Playmaster Units

Playmaster is a proudly family-owned and operated Australian business specialising in the design and manufacture of high-quality playground equipment. With a hands-on approach and a passion for creating fun, safe, and engaging play environments, we’ve been helping communities bring their playspaces to life for over 20 years. As a small business, we take pride in our personal service, local craftsmanship, and commitment to supporting children’s development through thoughtful, Australian-made play solutions.
- PM4-0827
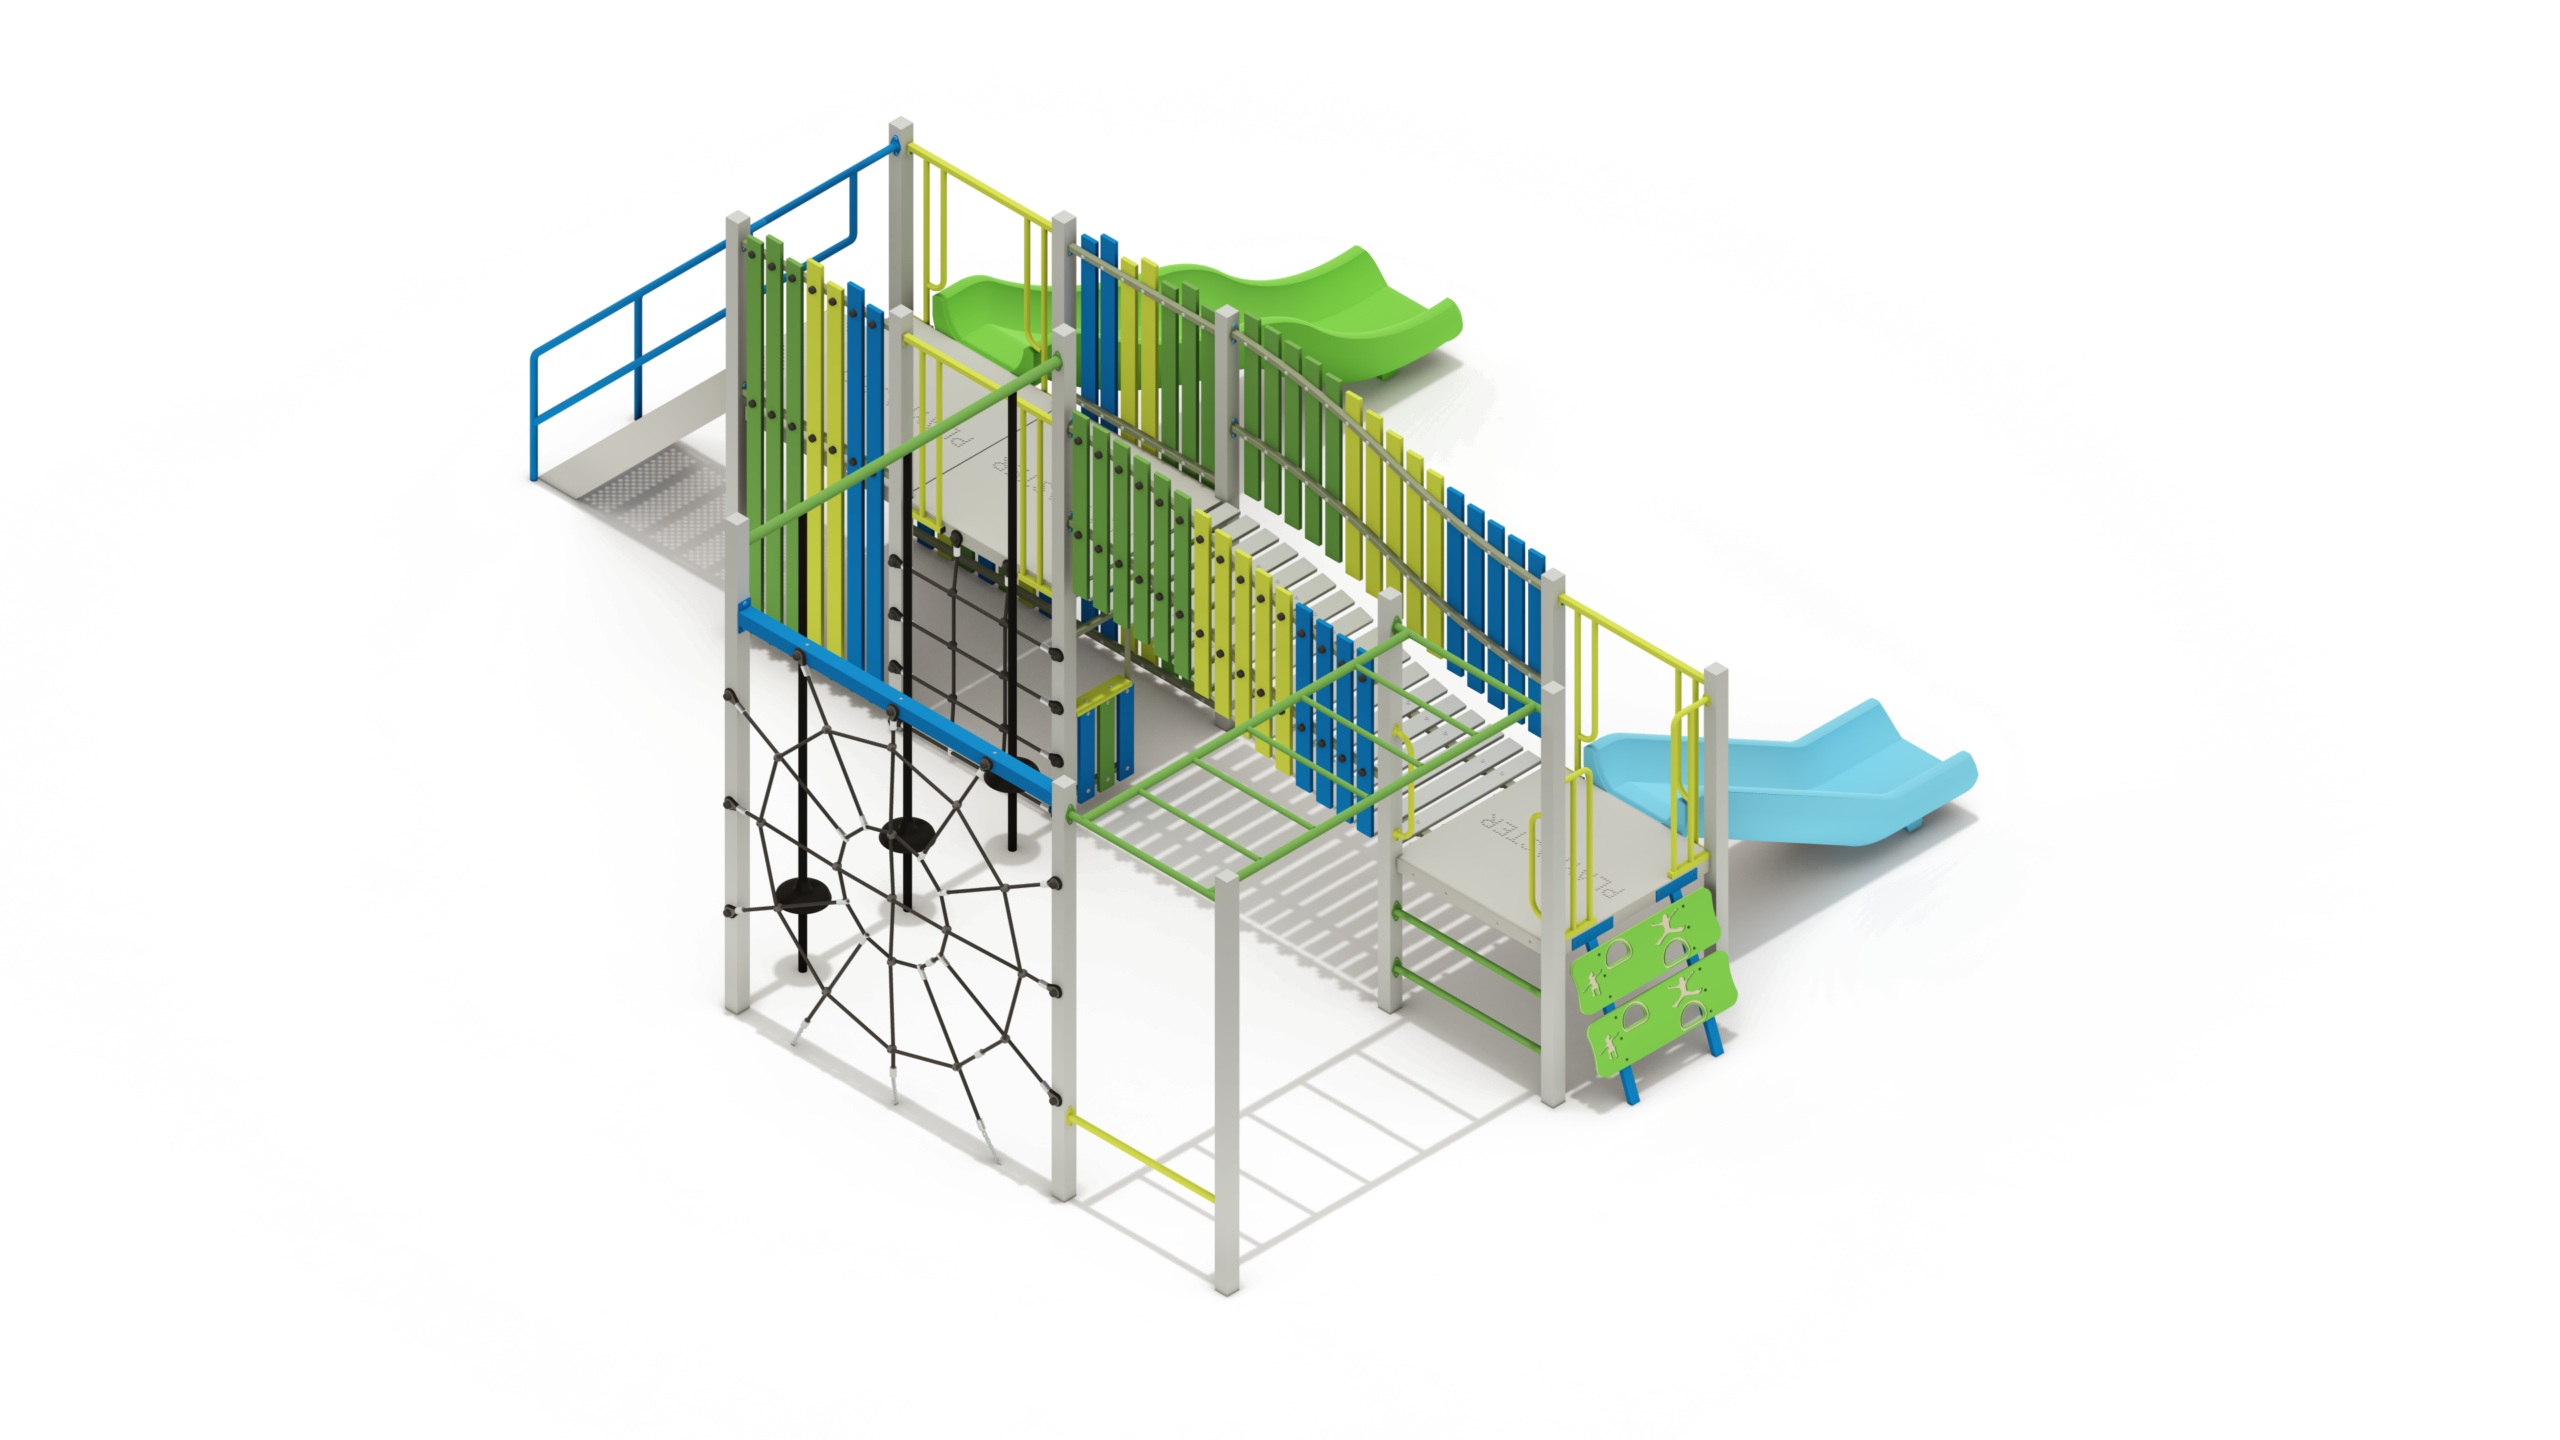
Rustic Moodjar
Height: 3.85m Width: 5.19m Length: 6.93m Fall Zone Area: 68m2 Free Height of Fall: 2.20m  PM4-0827
Rustic Moodjar
Height: 3.85m Width: 5.19m Length: 6.93m Fall Zone Area: 68m2 Free Height of Fall: 2.20m - PM2-0404
Rustic Paperbark
Height: 2.90m Width: 3.10m Length: 4.10m Fall Zone Area: 34m2 Free Height of Fall: 0.80m PM2-0404Rustic Paperbark
Height: 2.90m Width: 3.10m Length: 4.10m Fall Zone Area: 34m2 Free Height of Fall: 0.80m - PM12-26
Rustic Ribbon Pea
Height: 3.65m Width: 10.71m Length: 11.12m Fall Zone Area: 164m2 Free Height of Fall: 2.20m PM12-26Rustic Ribbon Pea
Height: 3.65m Width: 10.71m Length: 11.12m Fall Zone Area: 164m2 Free Height of Fall: 2.20m - PM4-0826-1
Rustic Sandalwood
Height: 3.85m Width: 3.94m Length: 7.90m Fall Zone Area: 65m2 Free Height of Fall: 2.00m PM4-0826-1Rustic Sandalwood
Height: 3.85m Width: 3.94m Length: 7.90m Fall Zone Area: 65m2 Free Height of Fall: 2.00m - PM5-612
Senior Dugita
Height: 3.00m Width: 9.11m Length: 10.07m Fall Zone Area: 122m2 Free Height of Fall: 2.20m PM5-612Senior Dugita
Height: 3.00m Width: 9.11m Length: 10.07m Fall Zone Area: 122m2 Free Height of Fall: 2.20m - AD10-003
Senior Fairy Orchid
Height: 3.9m Width: 7.47m Length: 11.5m Fall Zone Area: 134m2 Free Height of Fall: 2.2m AD10-003Senior Fairy Orchid
Height: 3.9m Width: 7.47m Length: 11.5m Fall Zone Area: 134m2 Free Height of Fall: 2.2m - PM3-682
Senior Leschenaulita
Height: 3.00m Width: 5.65m Length: 9.03m Fall Zone Area: 91m2 Free Height of Fall: 2.20m PM3-682Senior Leschenaulita
Height: 3.00m Width: 5.65m Length: 9.03m Fall Zone Area: 91m2 Free Height of Fall: 2.20m - PM4-0832
Senior Mulga
Height: 3.00m Width: 5.23m Length: 6.94m Fall Zone Area: 71m2 Free Height of Fall: 2.20m PM4-0832Senior Mulga
Height: 3.00m Width: 5.23m Length: 6.94m Fall Zone Area: 71m2 Free Height of Fall: 2.20m - PM10-271
Senior Pobblebonk
Height: 3.45m Width: 8.41m Length: 11.53m Fall Zone Area: 159m2 Free Height of Fall: 2.20m PM10-271Senior Pobblebonk
Height: 3.45m Width: 8.41m Length: 11.53m Fall Zone Area: 159m2 Free Height of Fall: 2.20m - PM2-409
Senior Spinifex
Height: 3.85m Width: 3.46m Length: 4.96m Fall Zone Area: 50m2 Free Height of Fall: 2.20m PM2-409Senior Spinifex
Height: 3.85m Width: 3.46m Length: 4.96m Fall Zone Area: 50m2 Free Height of Fall: 2.20m - PM2-0419
Urban Foxtail
Height: 3.20m Width: 4.57m Length: 6.86m Fall Zone Area: 49m2 Free Height of Fall: 2.20m PM2-0419Urban Foxtail
Height: 3.20m Width: 4.57m Length: 6.86m Fall Zone Area: 49m2 Free Height of Fall: 2.20m - PM6-324-1
Urban Manta
Height: 3.30m Width: 6.12m Length: 6.46m Fall Zone Area: 65m2 Free Height of Fall: 2.20m PM6-324-1Urban Manta
Height: 3.30m Width: 6.12m Length: 6.46m Fall Zone Area: 65m2 Free Height of Fall: 2.20m - PM4-0854
Urban Osprey
Height: 3.60m Width: 6.46m Length: 8.04m Fall Zone Area: 80m2 Free Height of Fall: 1.85m PM4-0854Urban Osprey
Height: 3.60m Width: 6.46m Length: 8.04m Fall Zone Area: 80m2 Free Height of Fall: 1.85m - PM5-659-1
Urban Sea Eagle
Height: 3.80m Width: 6.44m Length: 8.03m Fall Zone Area: 91m2 Free Height of Fall: 1.85m PM5-659-1Urban Sea Eagle
Height: 3.80m Width: 6.44m Length: 8.03m Fall Zone Area: 91m2 Free Height of Fall: 1.85m - PM3-711
Urban Starflower
Height: 2.80m Width: 4.88m Length: 7.03m Fall Zone Area: 67m2 Free Height of Fall: 2.20m PM3-711Urban Starflower
Height: 2.80m Width: 4.88m Length: 7.03m Fall Zone Area: 67m2 Free Height of Fall: 2.20m - PM3-712
Urban Thornbill
Height: 2.78m Width: 5.69m Length: 6.79m Fall Zone Area: 69m2 Free Height of Fall: 2.20m PM3-712Urban Thornbill
Height: 2.78m Width: 5.69m Length: 6.79m Fall Zone Area: 69m2 Free Height of Fall: 2.20m