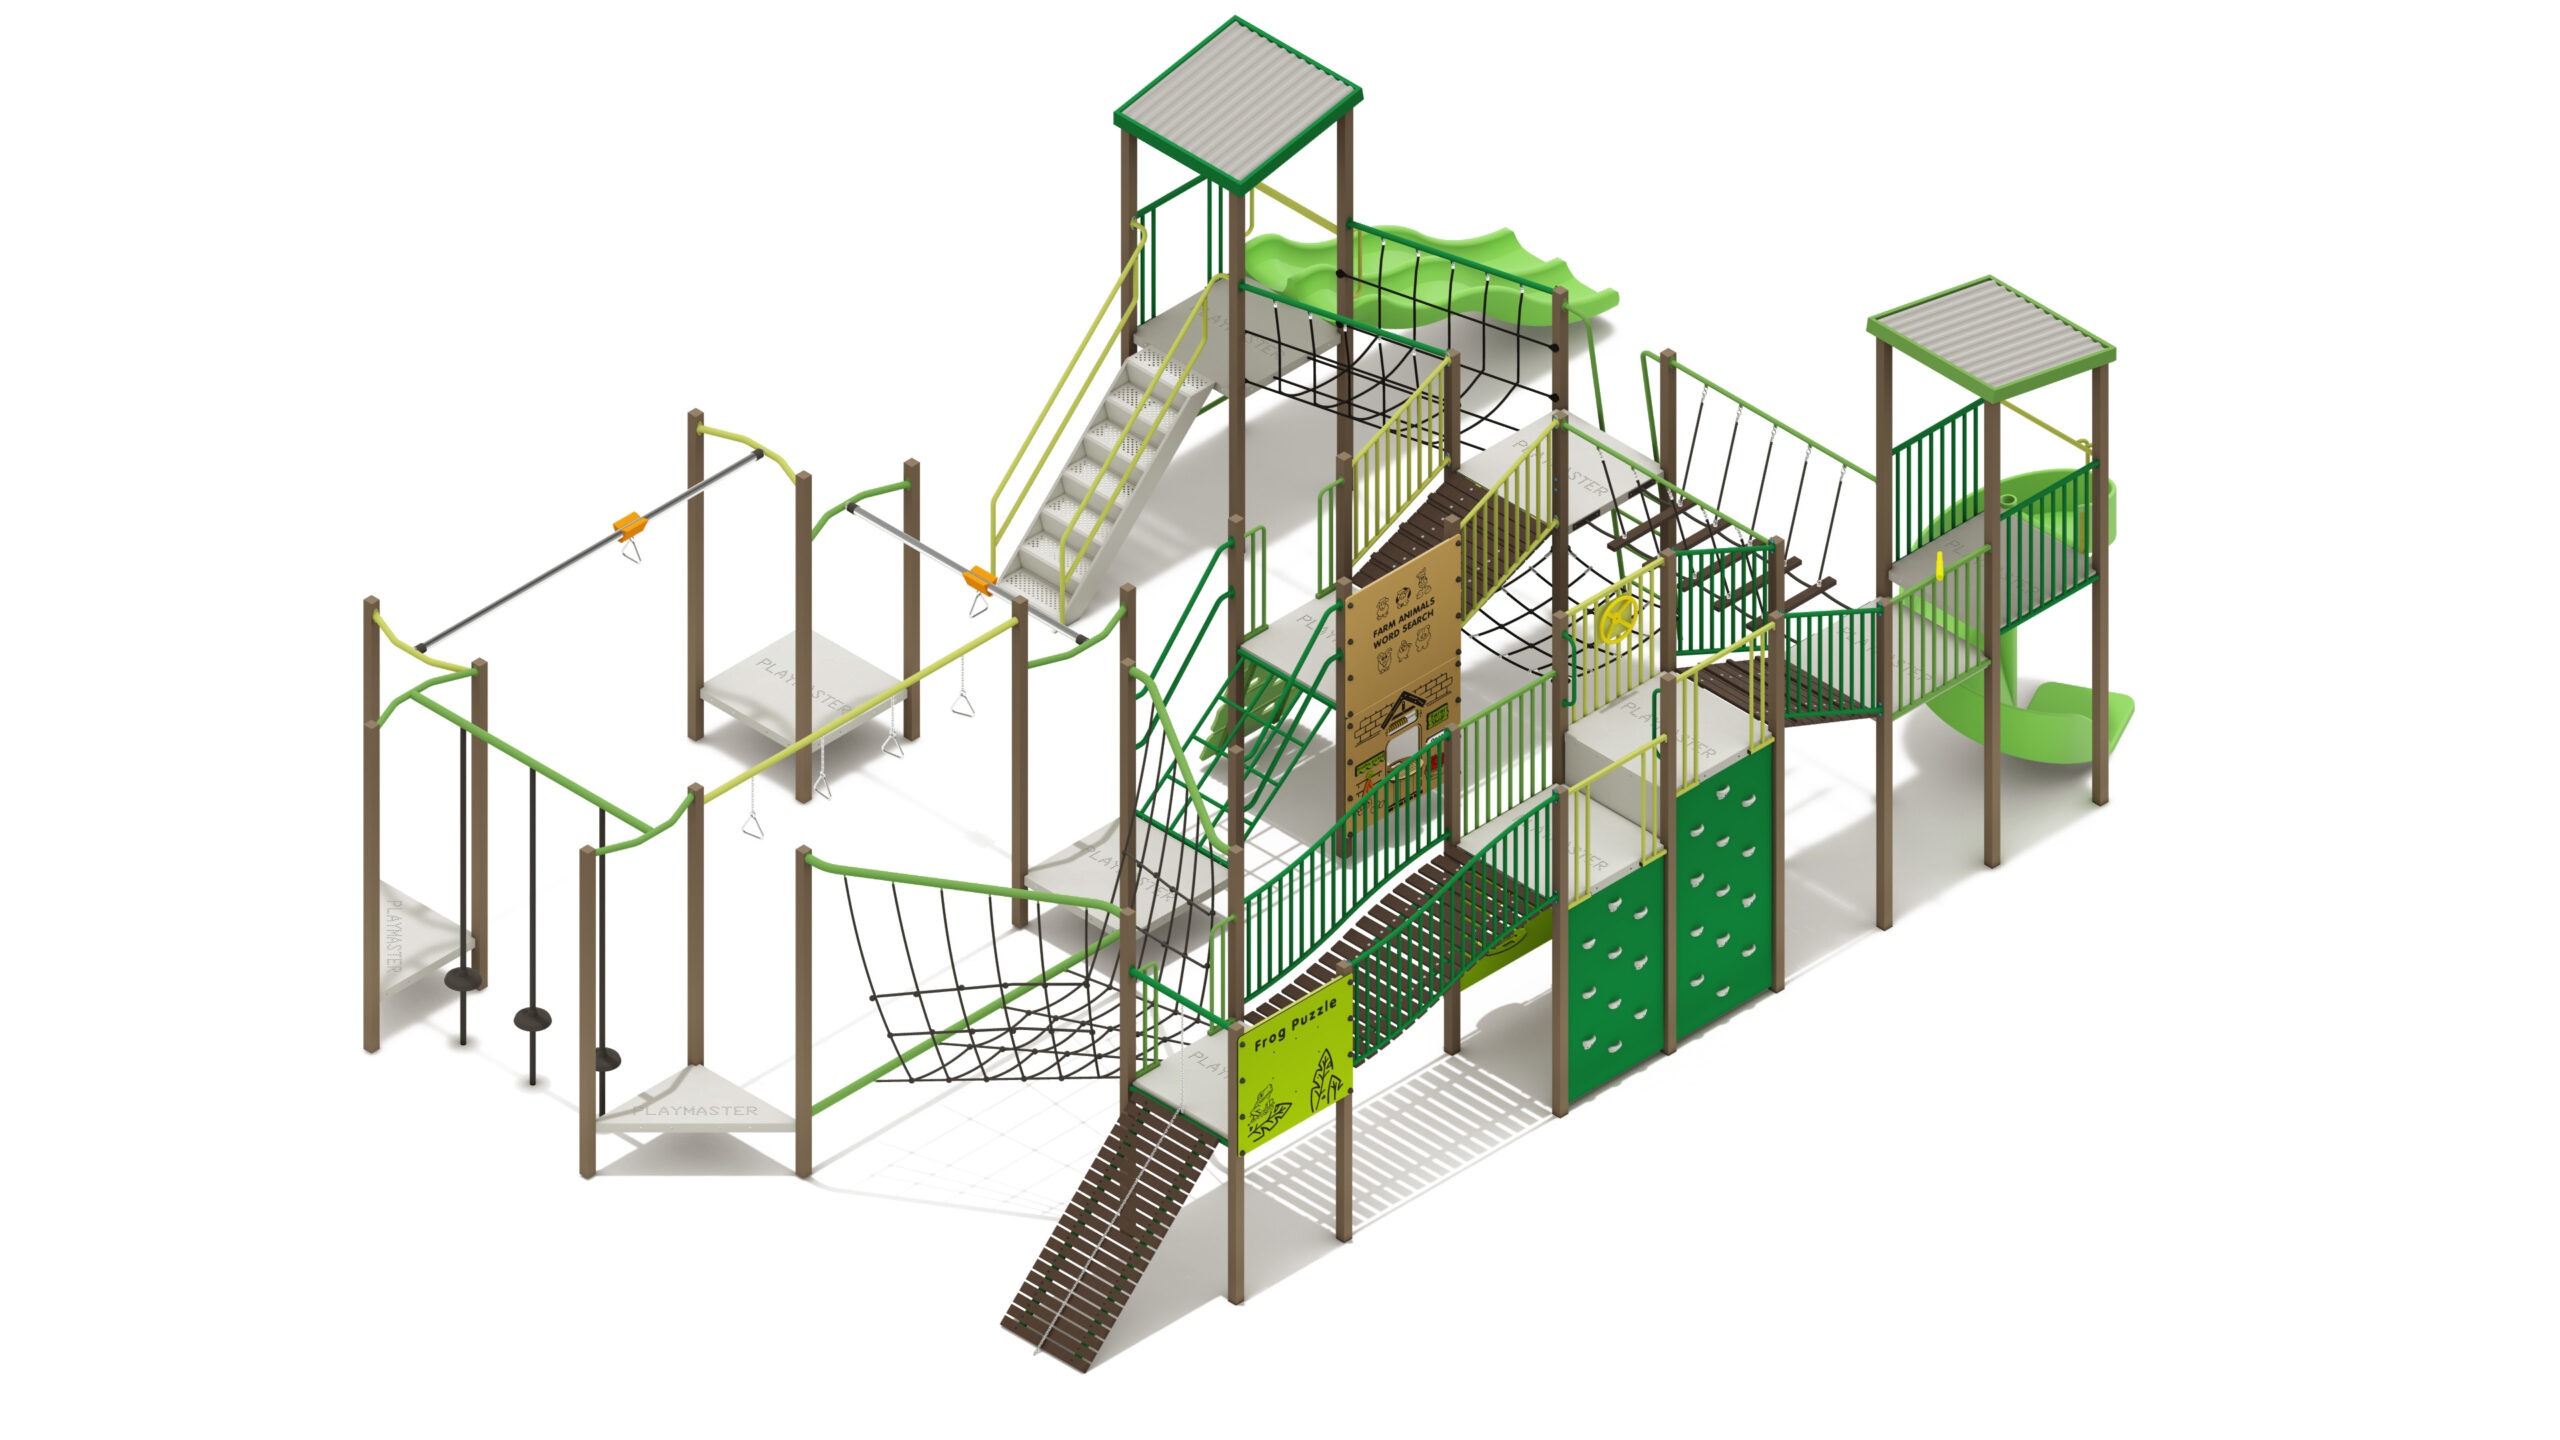
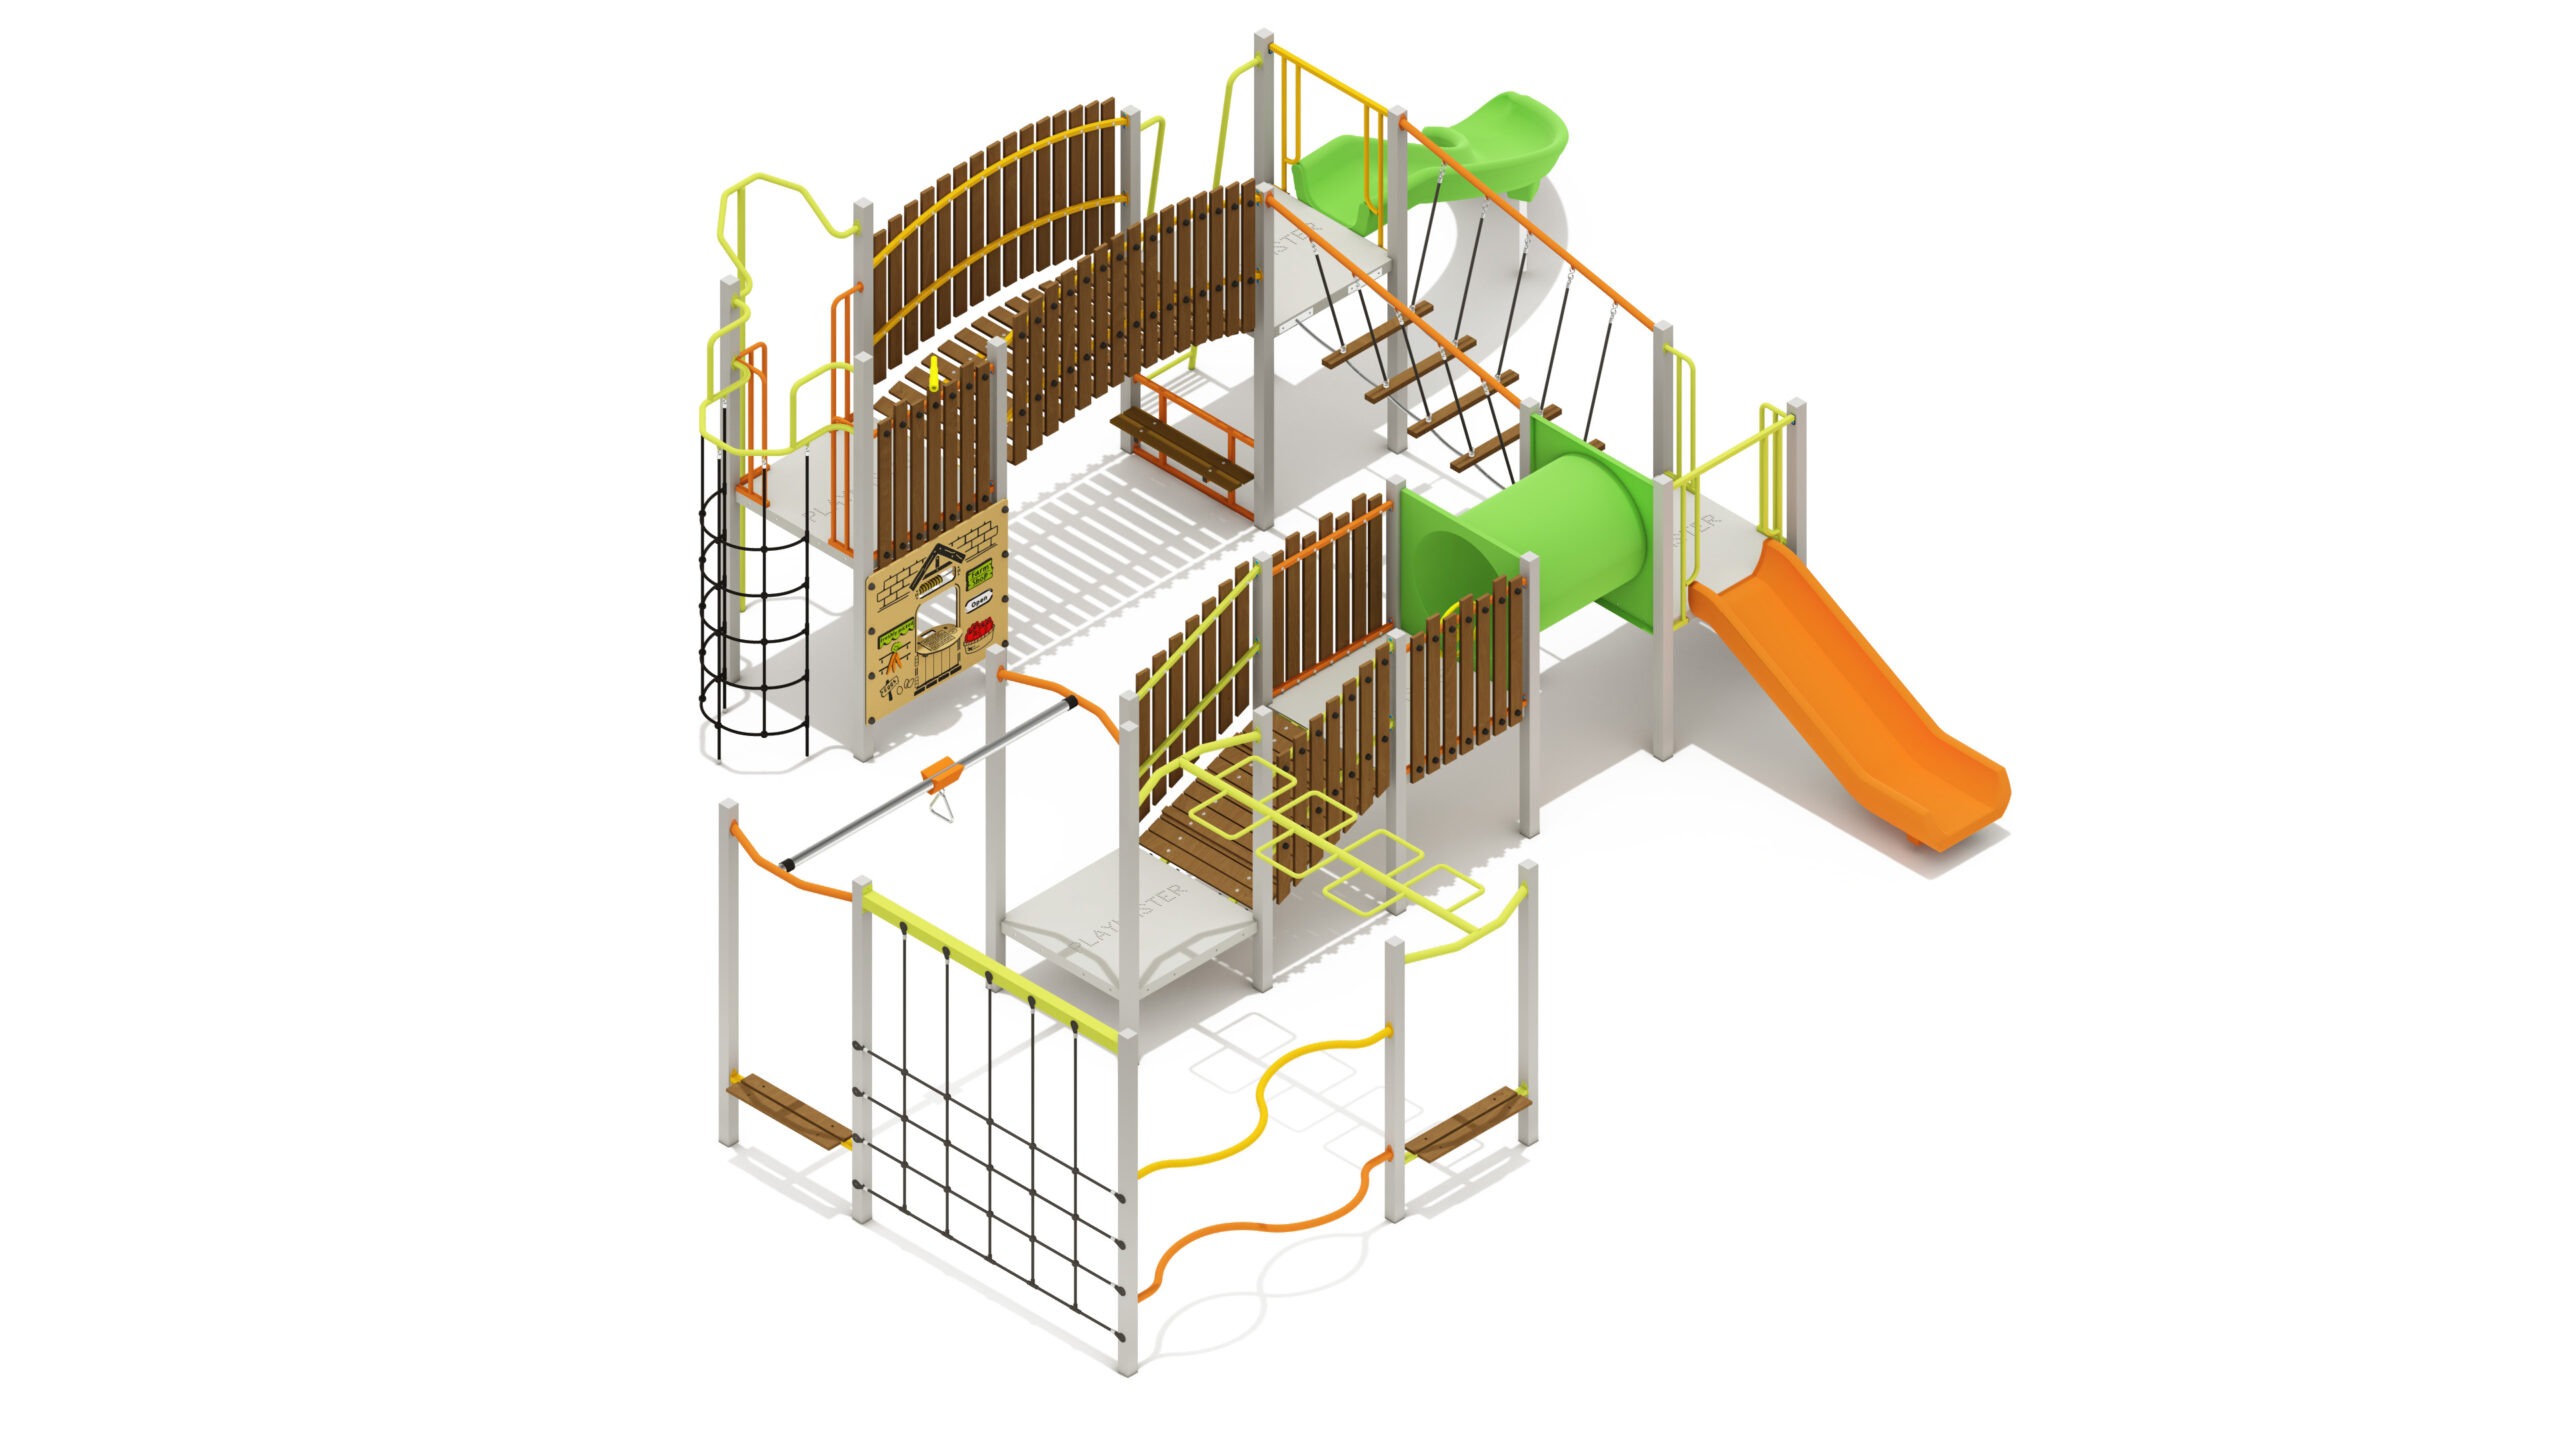
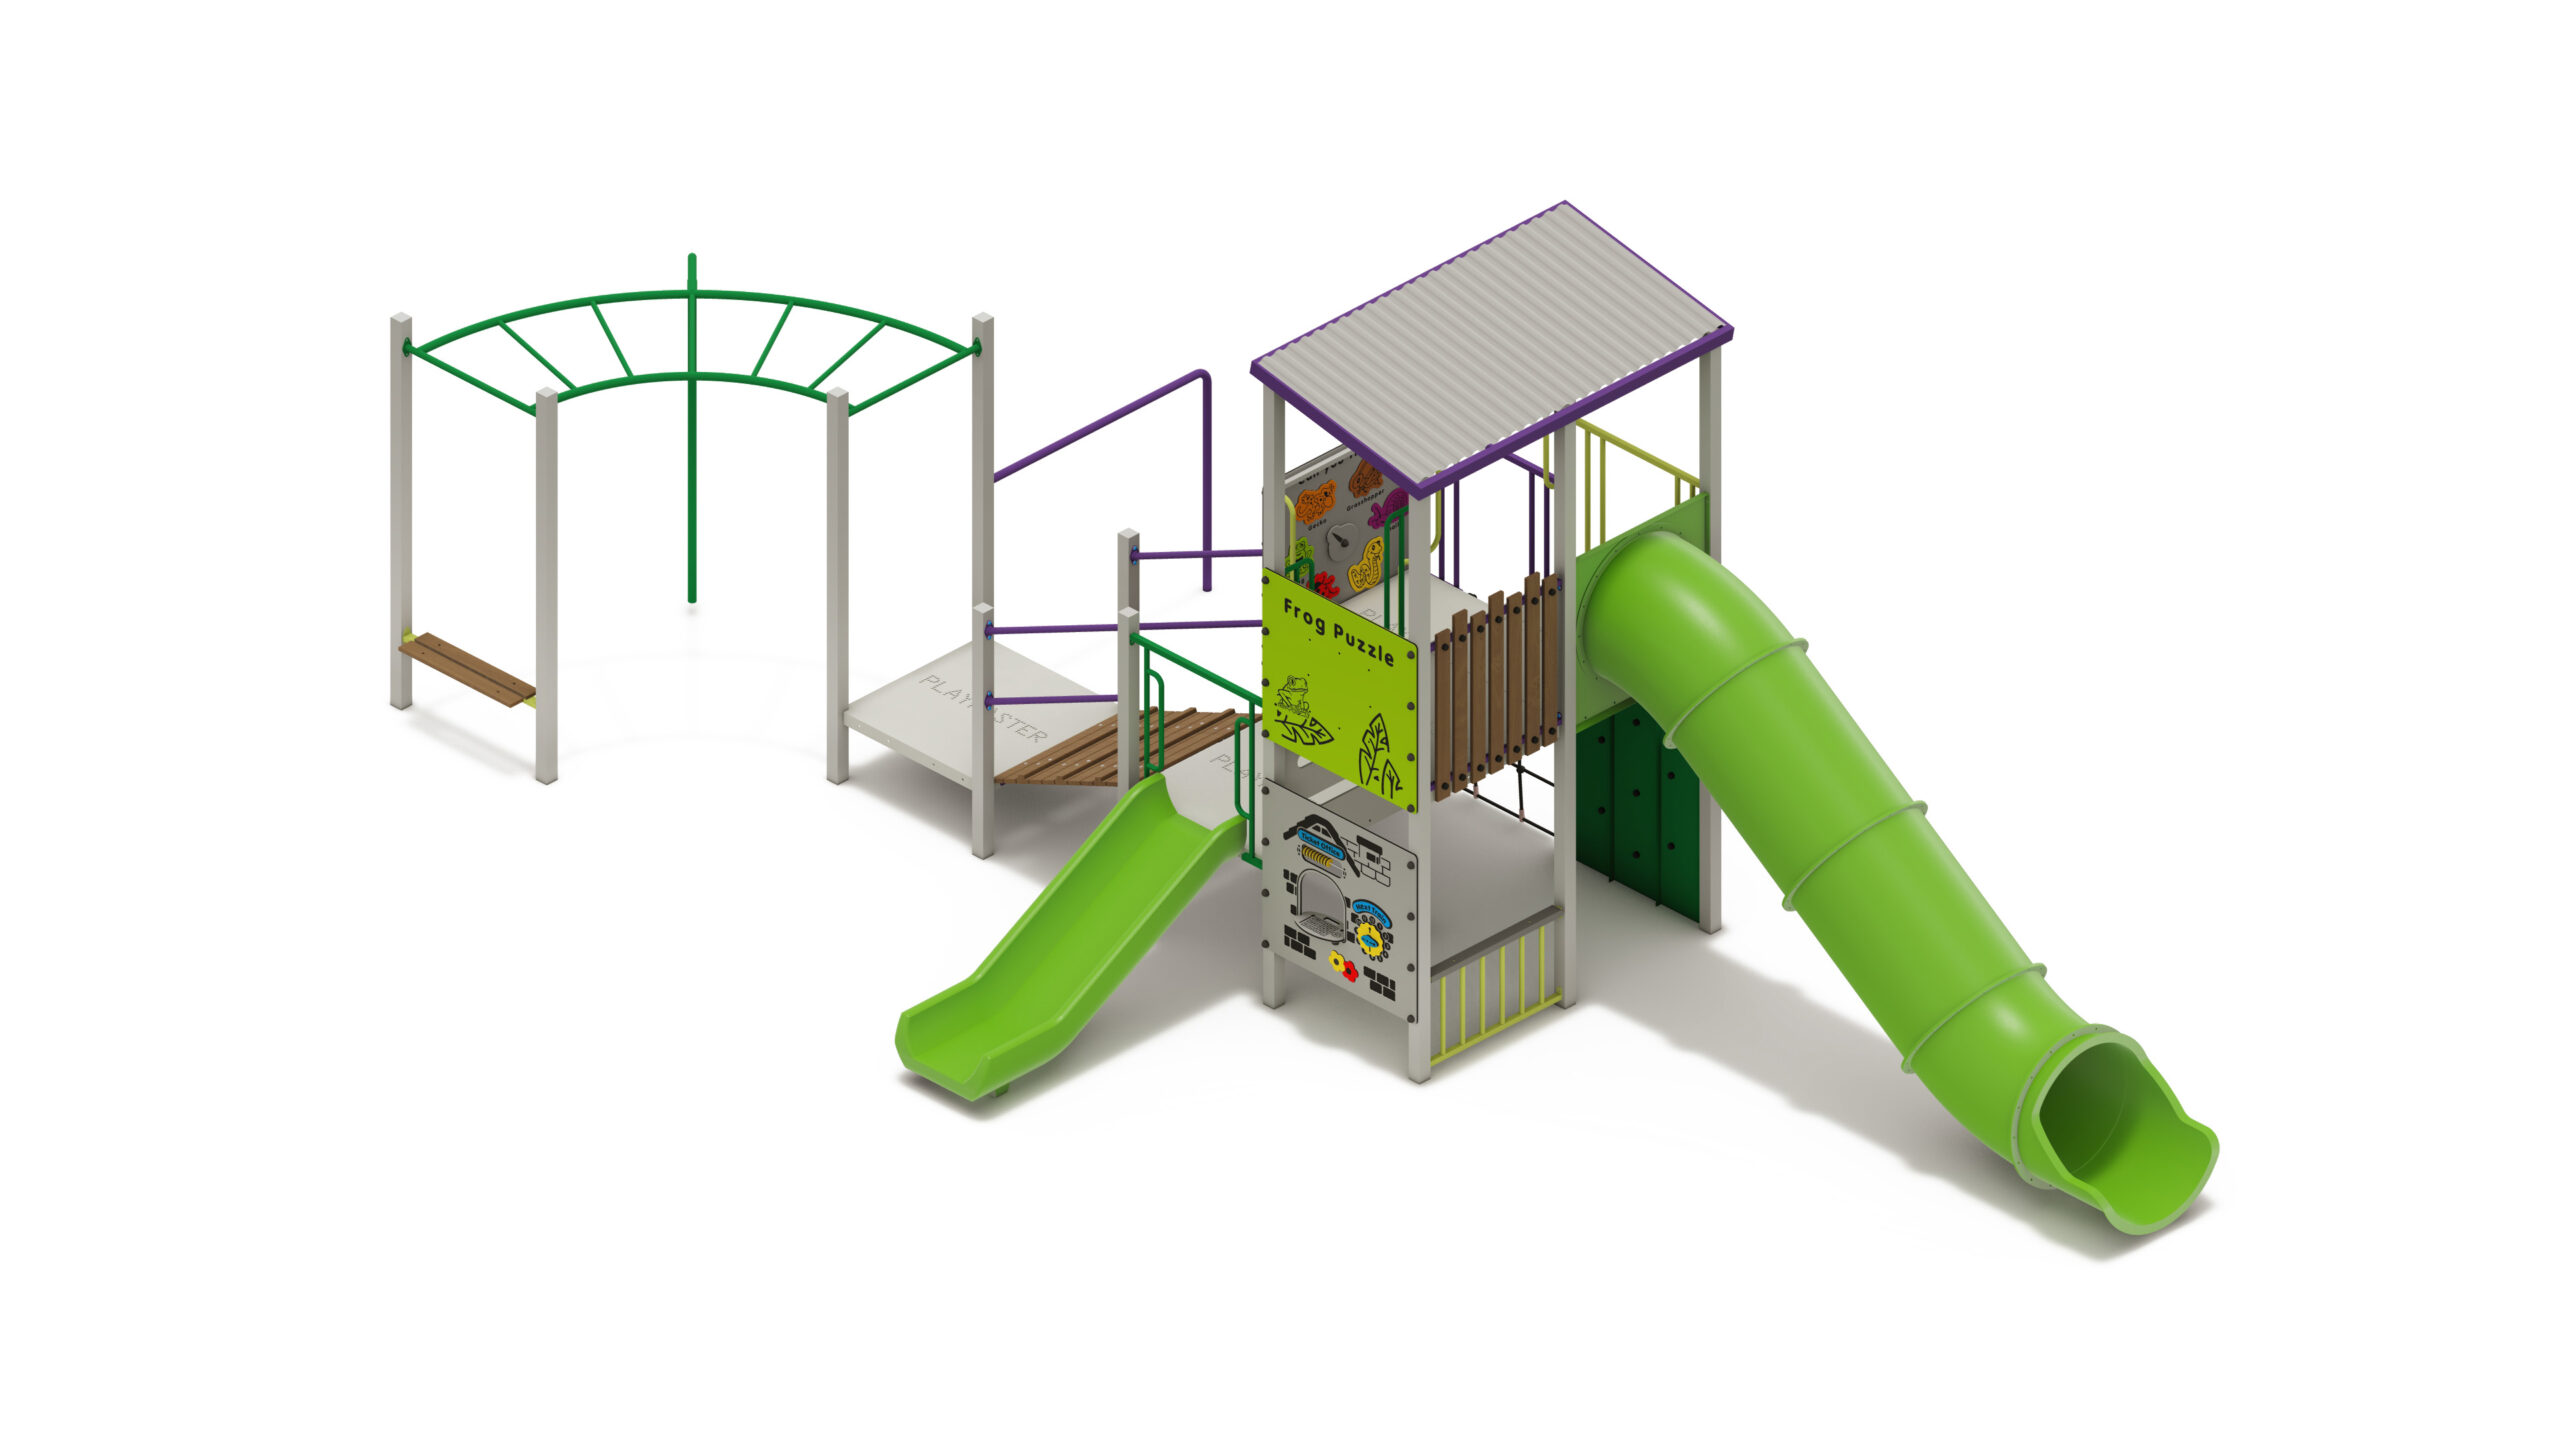
Senior Mulga
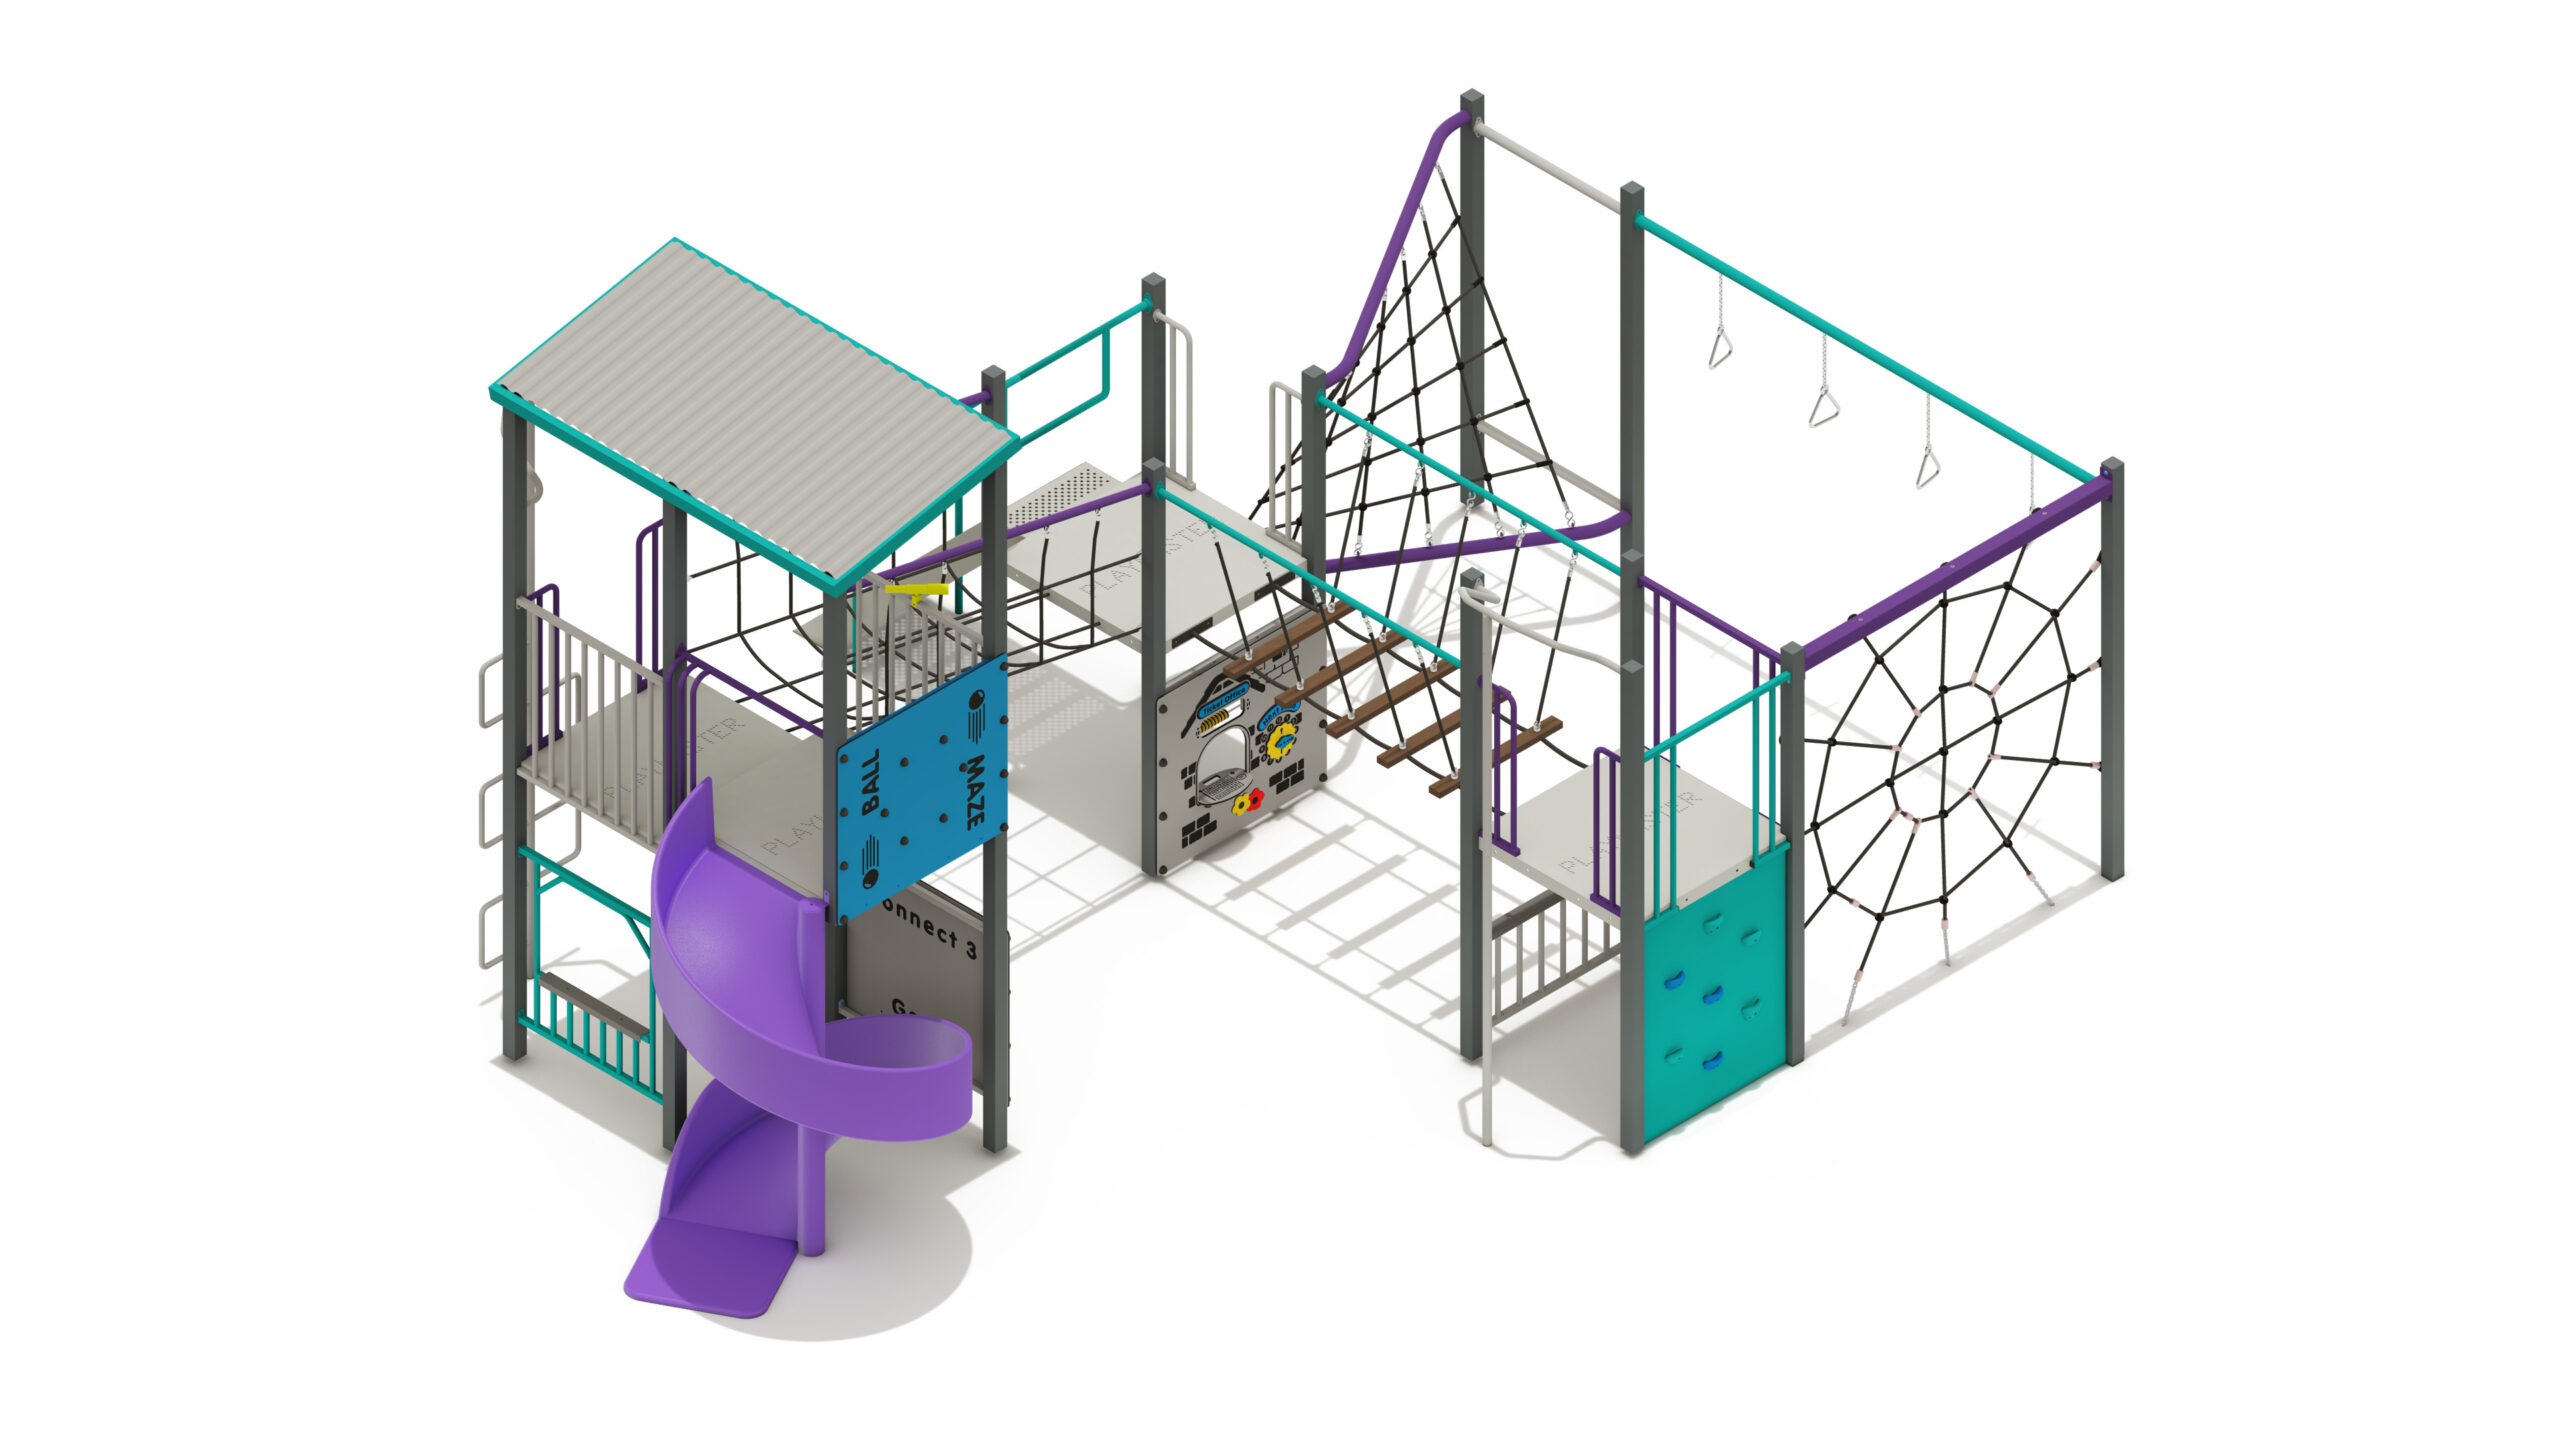
Senior Mulga
Product Specifications
- Height: 3.00m
- Width: 5.23m
- Length: 6.94m
- Fall Zone Area: 71m2
- Free Height of Fall: 2.20m
Downloads
Related Products
- PM12-27
All Ages Olive Python
Height: 3.86m Width: 7.13m Length: 11.62m Fall Zone Area: 144m2 Free Height of Fall: 2.20m  PM12-27
All Ages Olive Python
Height: 3.86m Width: 7.13m Length: 11.62m Fall Zone Area: 144m2 Free Height of Fall: 2.20m - PM5-604
Rustic Everlastings
Height: 2.78m Width: 6.56m Length: 9.53m Fall Zone Area: 95m2 Free Height of Fall: 2.00m PM5-604Rustic Everlastings
Height: 2.78m Width: 6.56m Length: 9.53m Fall Zone Area: 95m2 Free Height of Fall: 2.00m - PM5-057
All Ages Black Swan
Height: 3.65m Width: 4.38m Length: 9.64m Fall Zone Area: 68m2 Free Height of Fall: 1.85m PM5-057All Ages Black Swan
Height: 3.65m Width: 4.38m Length: 9.64m Fall Zone Area: 68m2 Free Height of Fall: 1.85m - AD4-0873
Early Childhood Honey Possum
Height: 2.90m Width: 4.08m Length: 3.57m Fall Zone Area: 36m2 Free Height of Fall: 1.50m AD4-0873Early Childhood Honey Possum
Height: 2.90m Width: 4.08m Length: 3.57m Fall Zone Area: 36m2 Free Height of Fall: 1.50m