New Products

What’s new at Active Discovery….. Our amazing partners have been working hard on beautiful new products for all your play space needs!
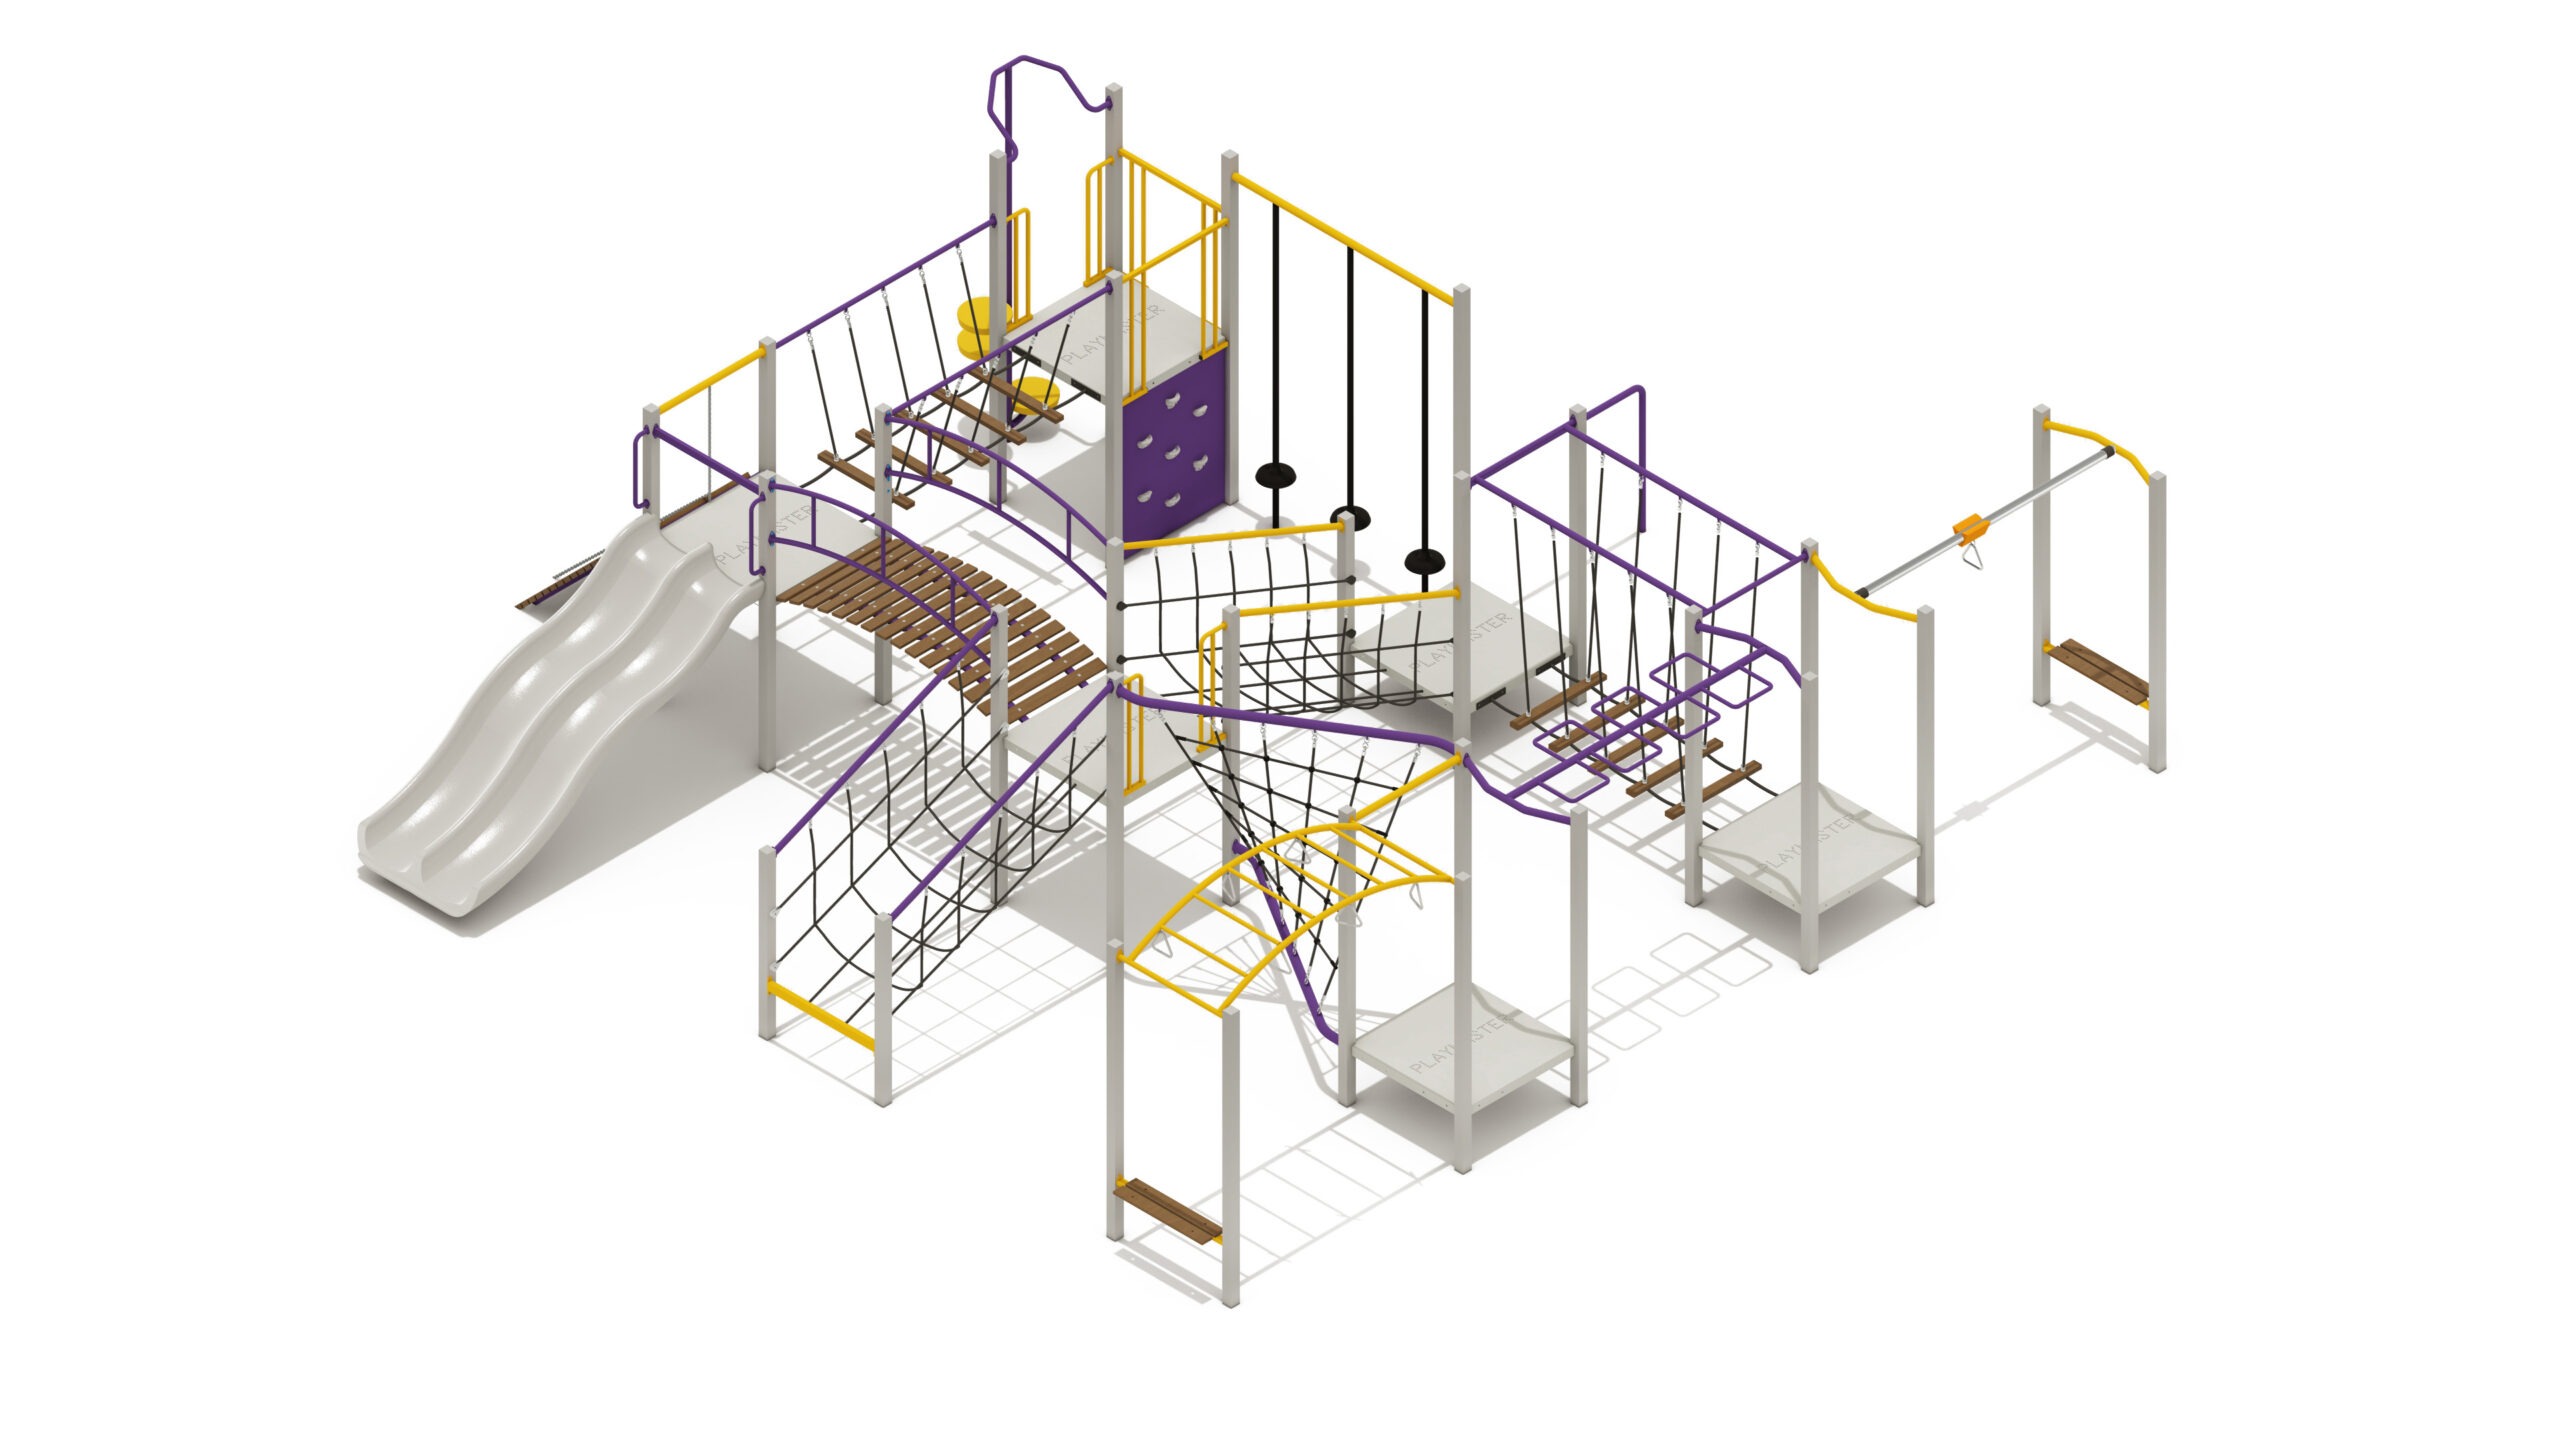
- NewPM1-188
All Ages Flatback
Height: 2.20m Width: 6.07m Length: 6.16m Fall Zone Area: 70m2 Free Height of Fall: 2.20m  PM1-188
All Ages Flatback
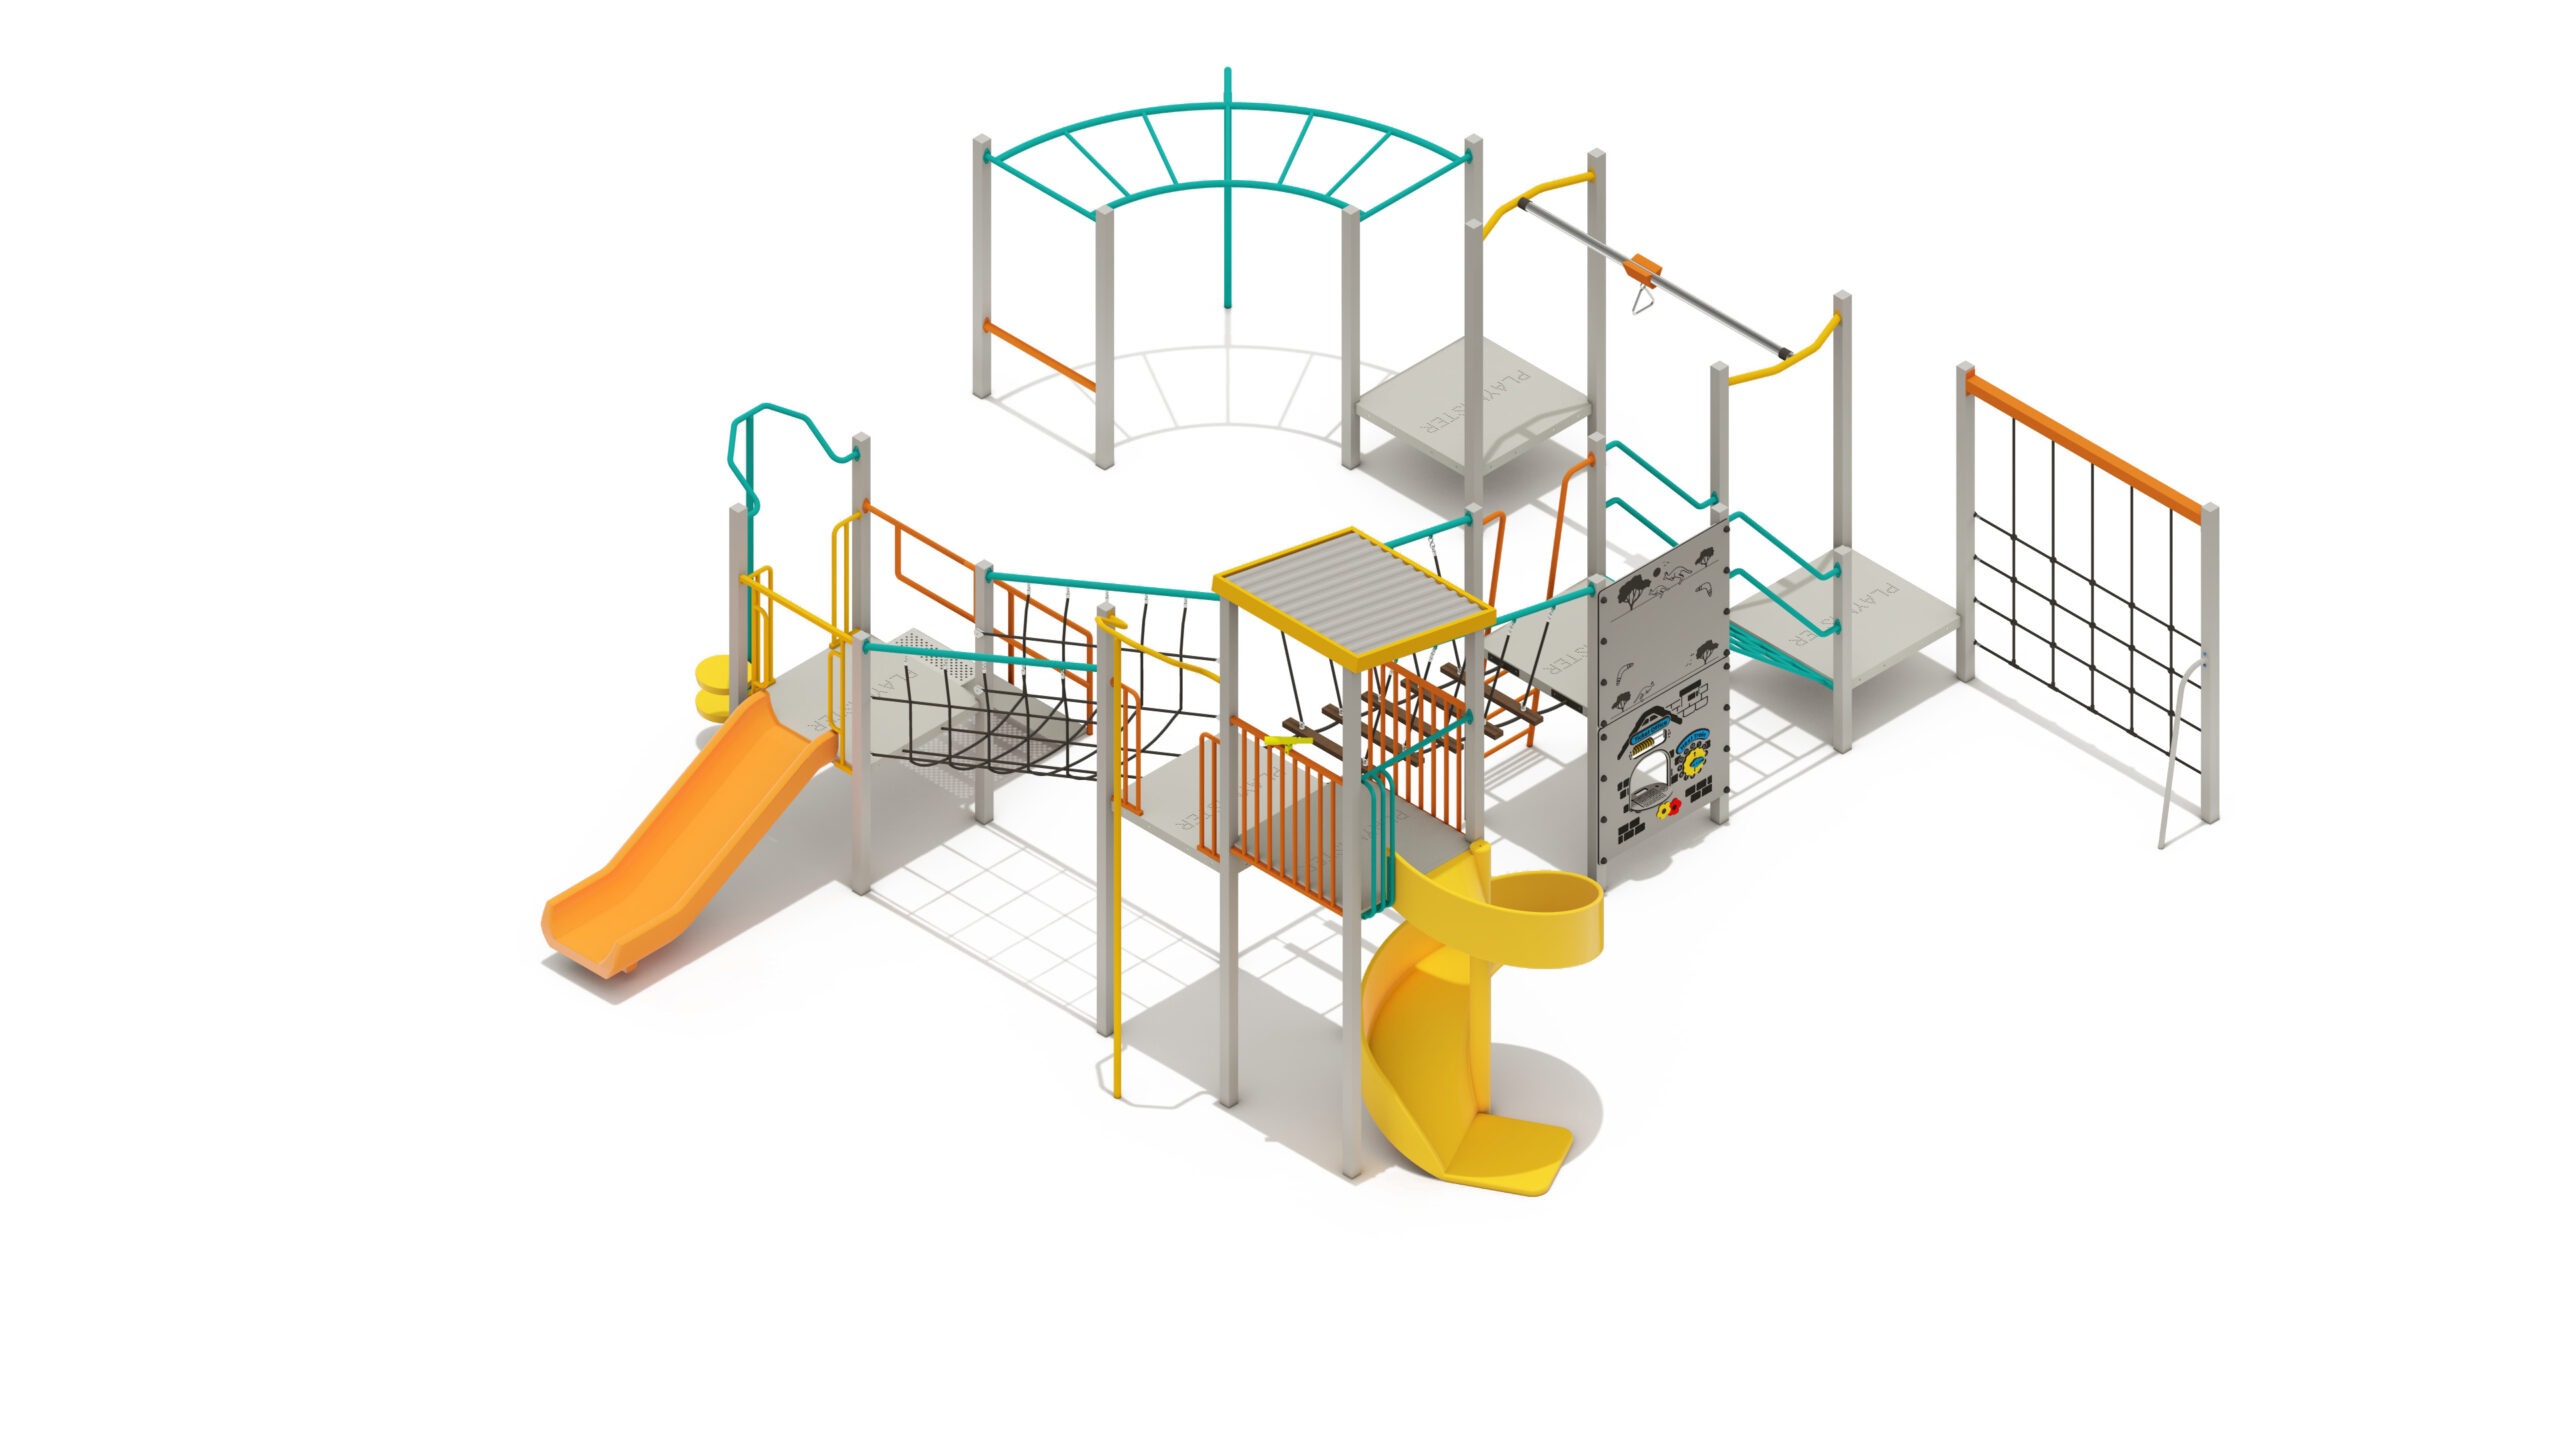
Height: 2.20m Width: 6.07m Length: 6.16m Fall Zone Area: 70m2 Free Height of Fall: 2.20m - NewPM6-275
All Ages King Skink
Height: 3.85m Width: 3.73m Length: 8.56m Fall Zone Area: 65m2 Free Height of Fall: 1.80m PM6-275All Ages King Skink
Height: 3.85m Width: 3.73m Length: 8.56m Fall Zone Area: 65m2 Free Height of Fall: 1.80m - NewPM6-278
All Ages Seadragon
Height: 2.20m Width: 8.33m Length: 8.71m Fall Zone Area: 65m2 Free Height of Fall: 2.20m PM6-278All Ages Seadragon
Height: 2.20m Width: 8.33m Length: 8.71m Fall Zone Area: 65m2 Free Height of Fall: 2.20m - NewPM6-277
All Ages Whale Shark
Height: 3.65m Width: 7.84m Length: 8.06m Fall Zone Area: 95m2 Free Height of Fall: 1.85m PM6-277All Ages Whale Shark
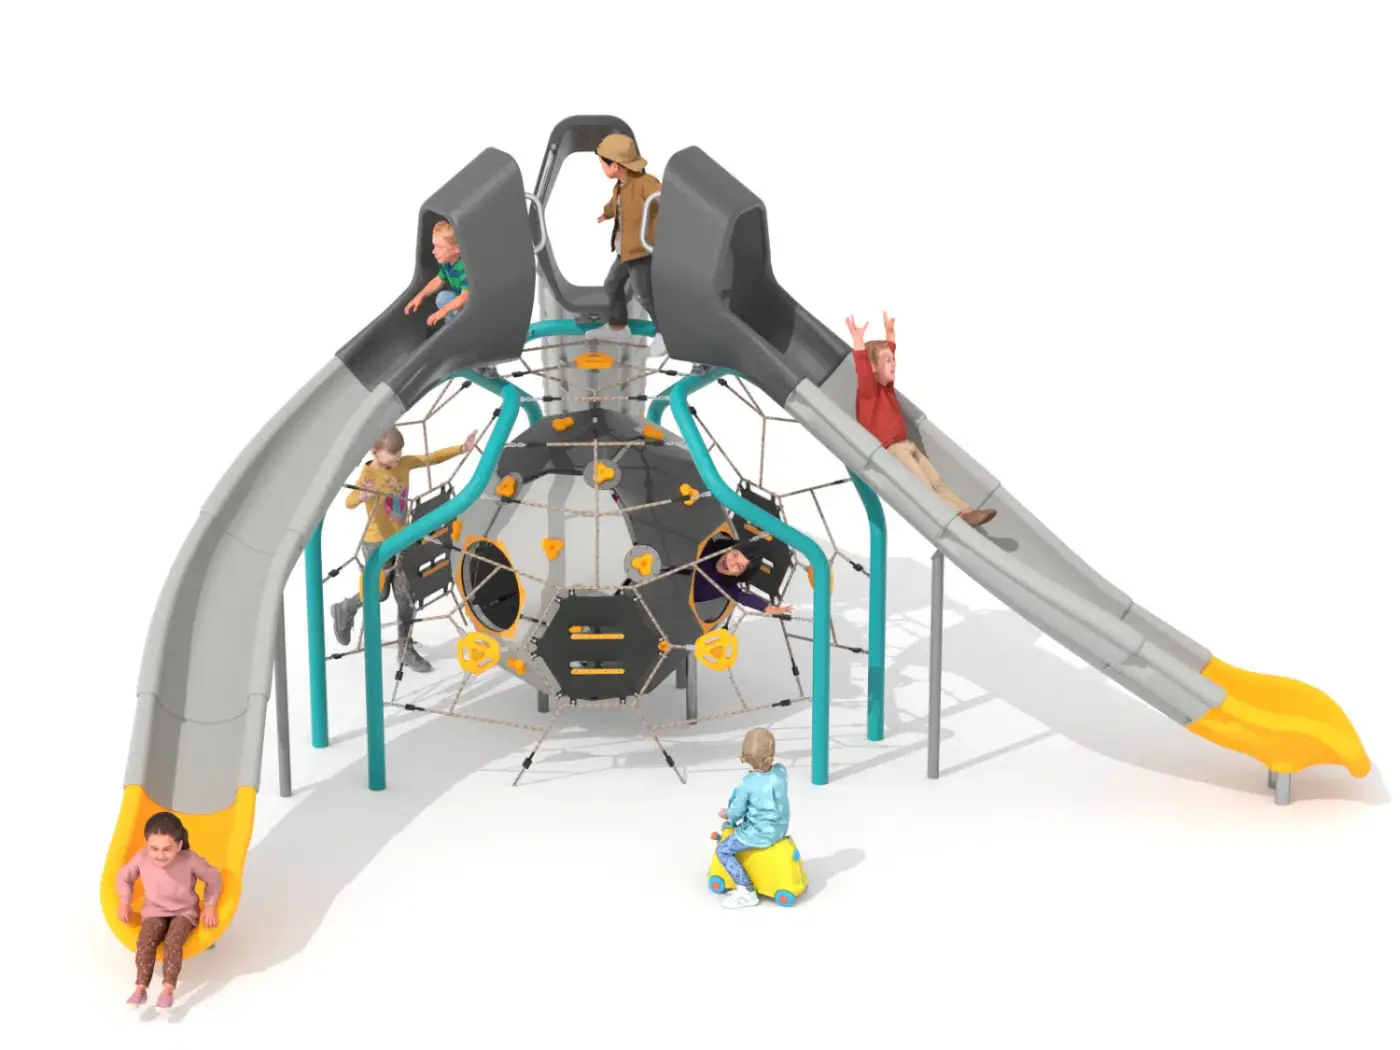
Height: 3.65m Width: 7.84m Length: 8.06m Fall Zone Area: 95m2 Free Height of Fall: 1.85m - New9521
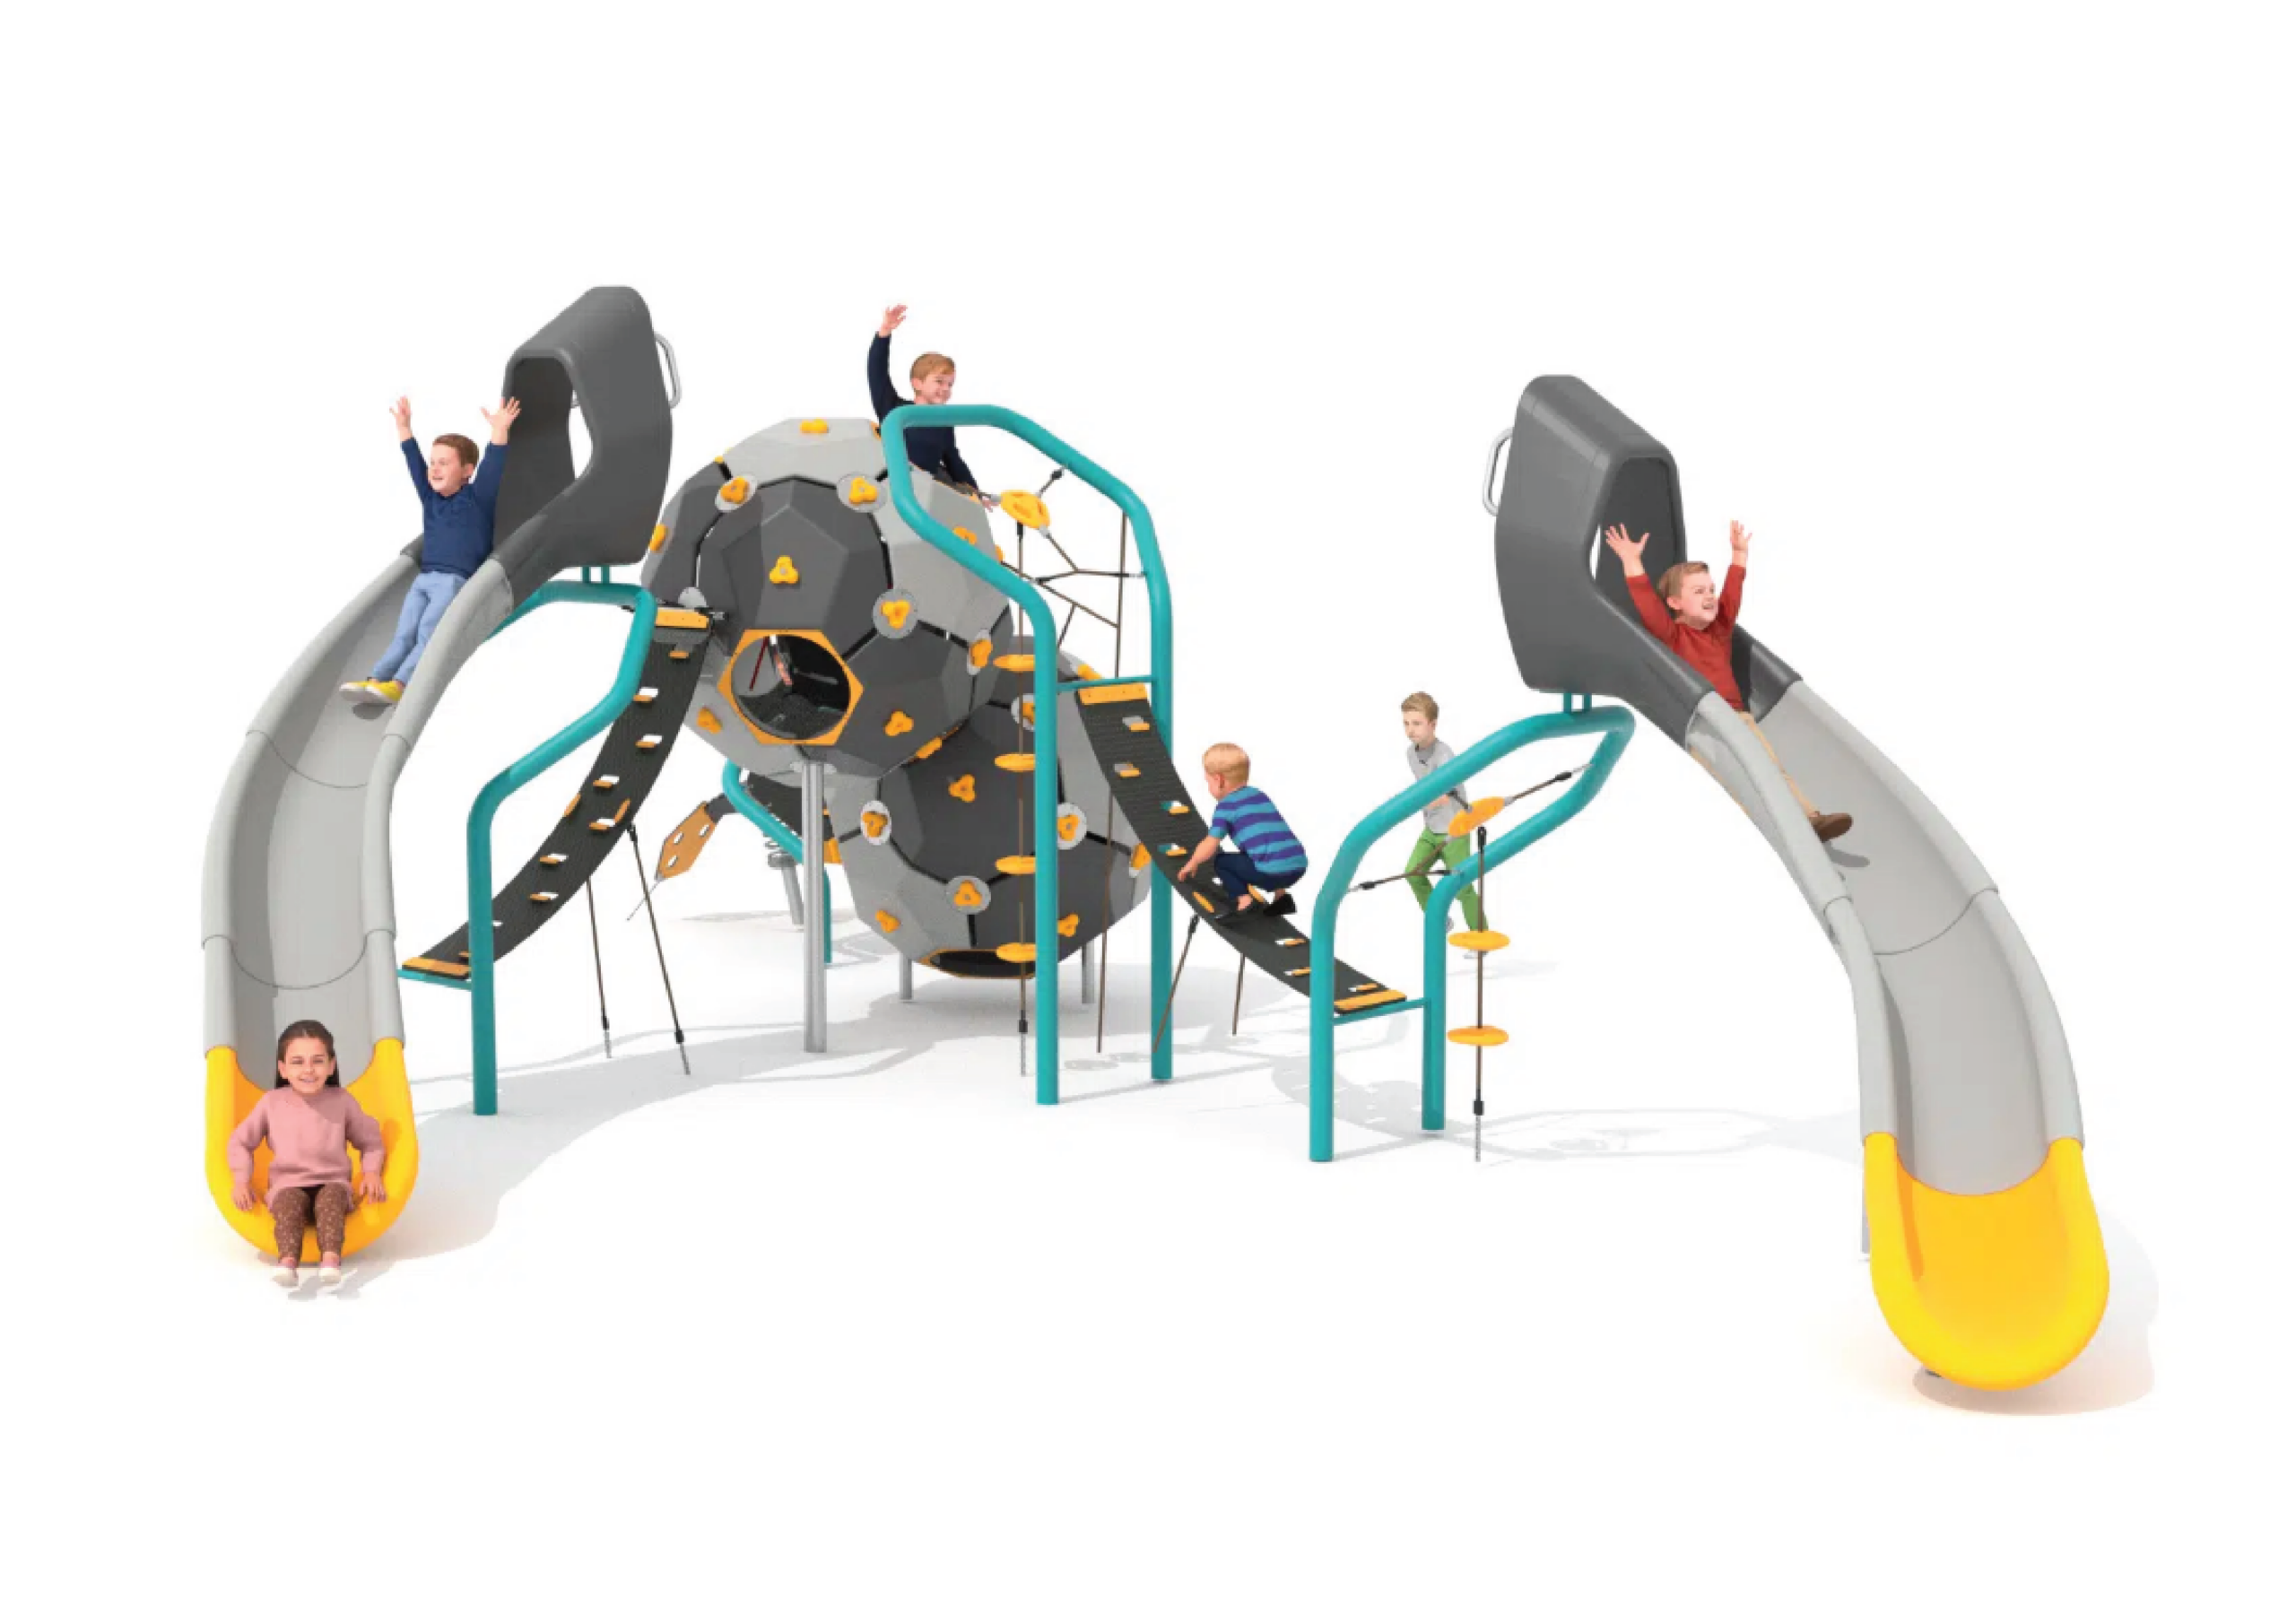
Atomiq Bubbles 1
Height: 2.99m Width: 6.47m Length: 7.14m Fall Zone Area: 107m2 Free Height of Fall: 2.1m  9521
9521Atomiq Bubbles 1
Height: 2.99m Width: 6.47m Length: 7.14m Fall Zone Area: 107m2 Free Height of Fall: 2.1m - New9522
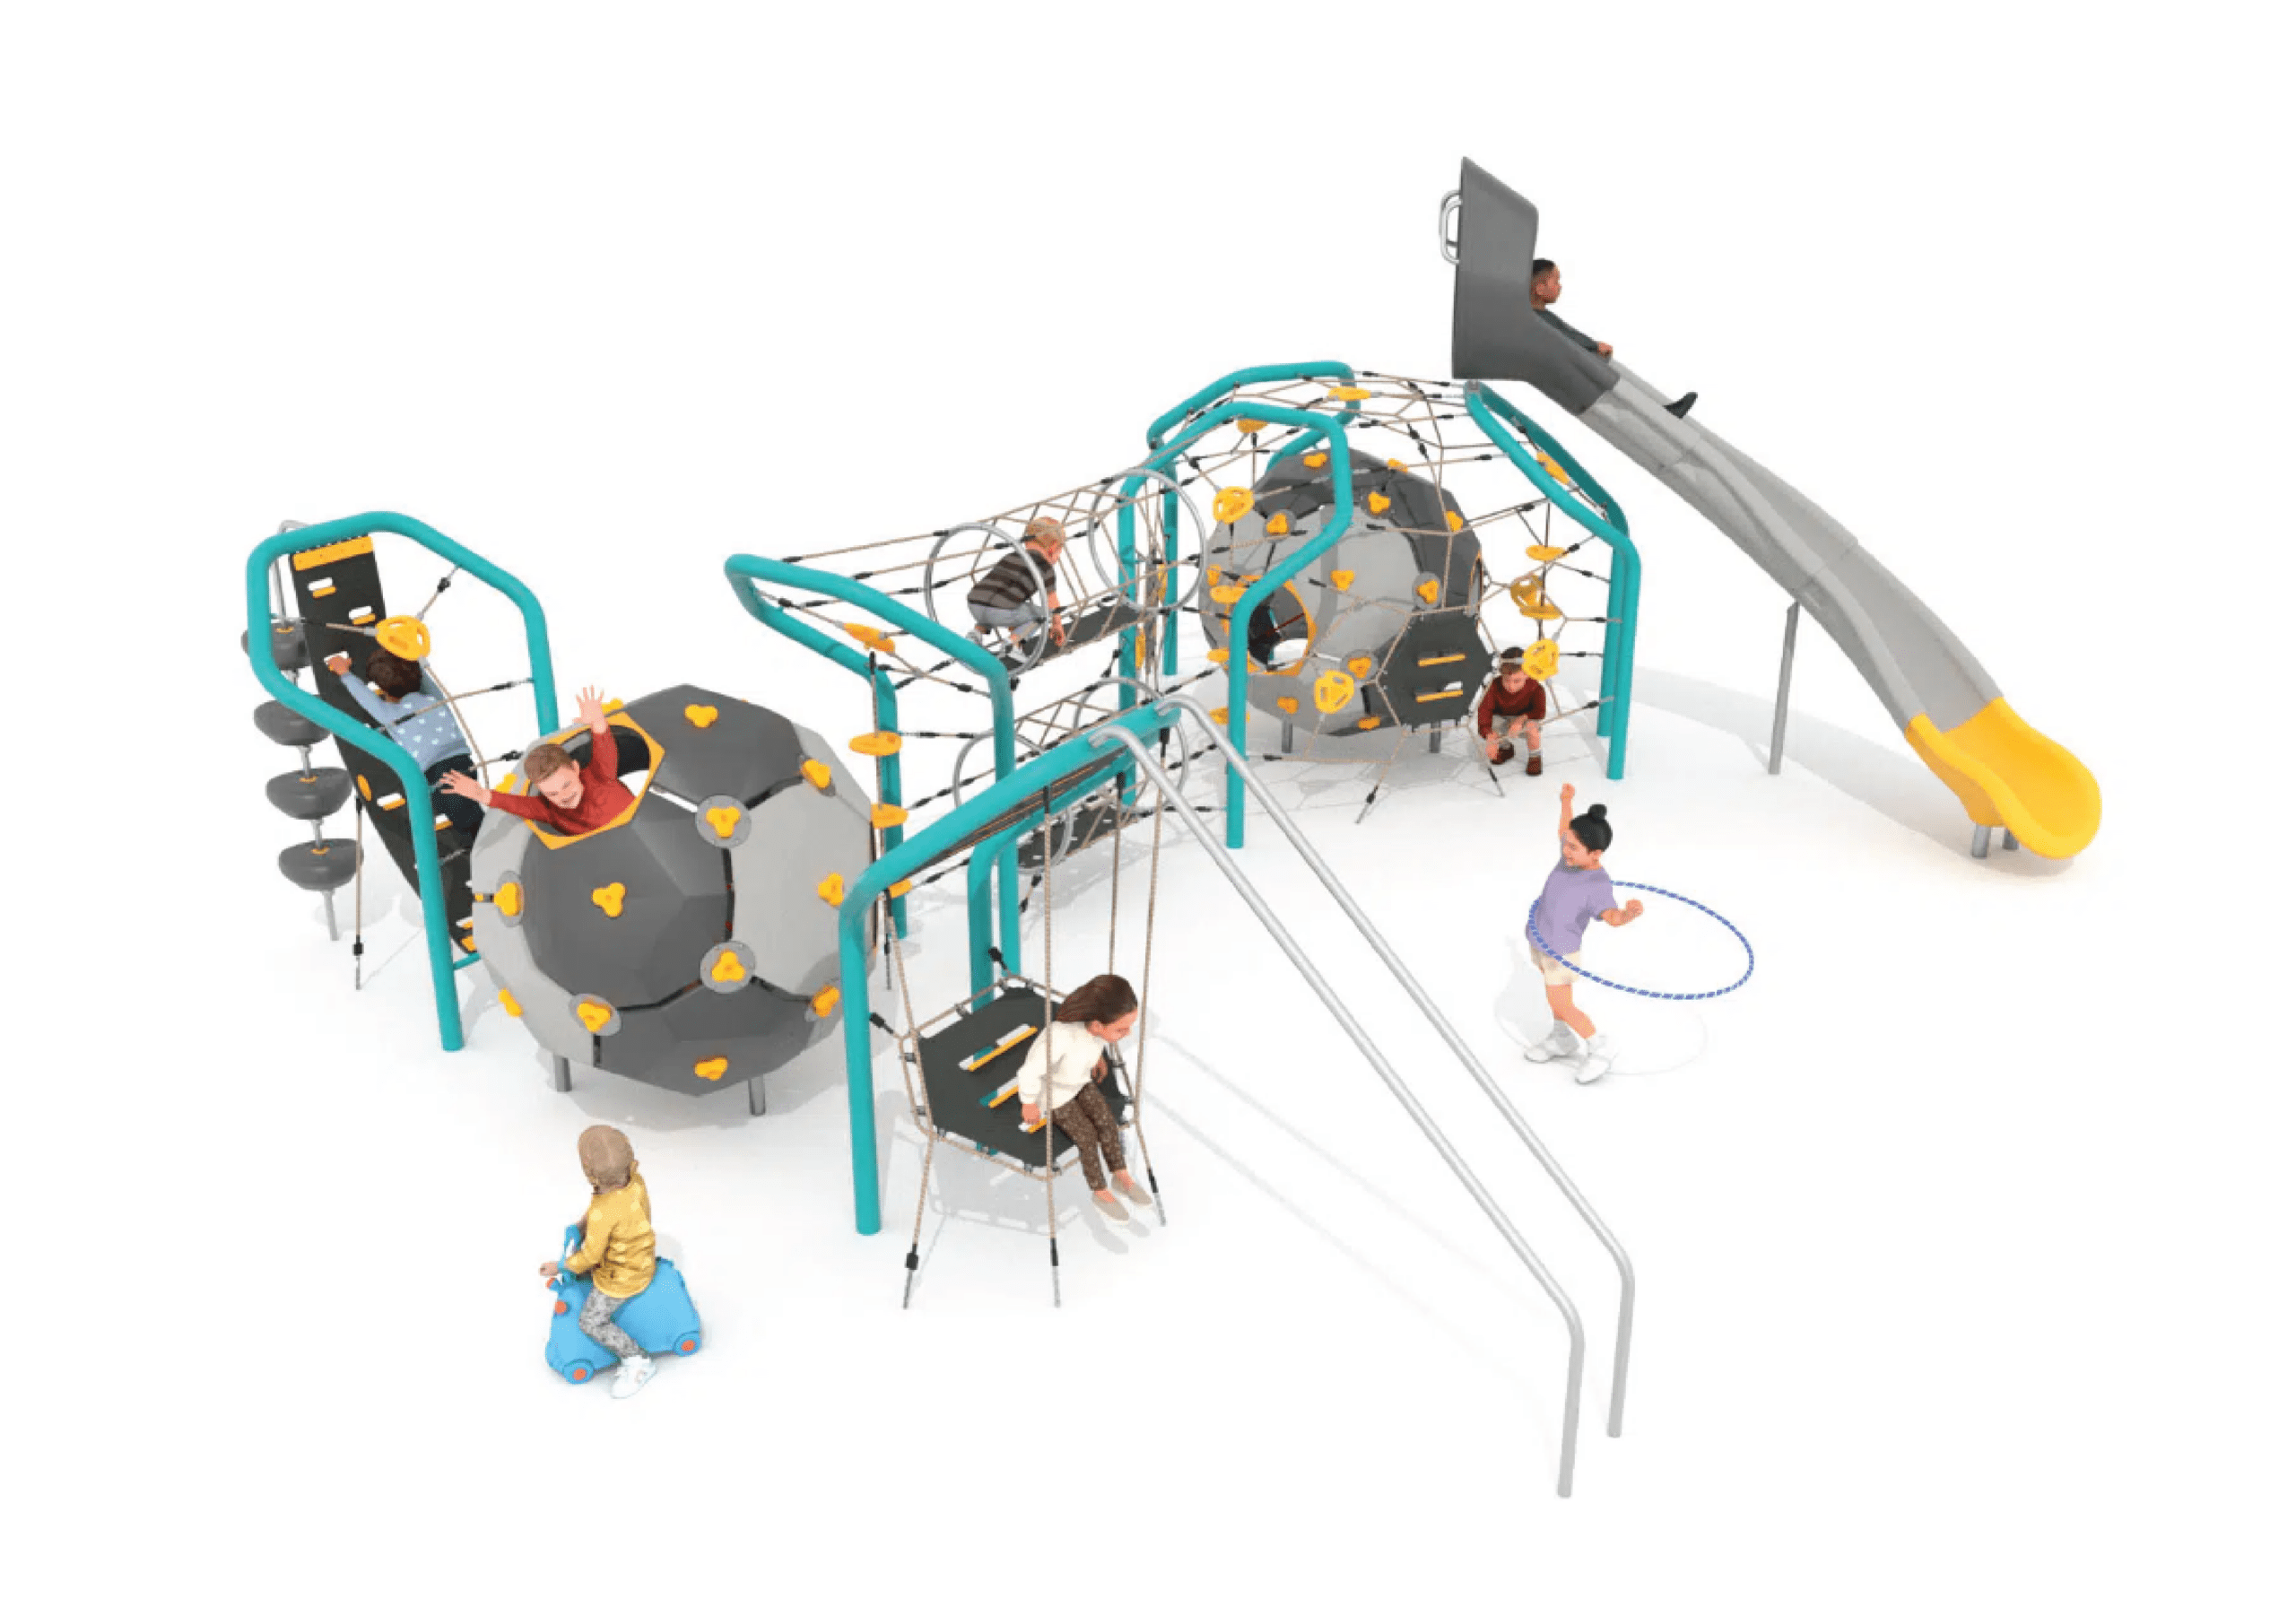
Atomiq Bubbles 2
Height: 3.03m Width: 4.86m Length: 8.95m Fall Zone Area: 107m2 Free Height of Fall: 2.1m  9522
9522Atomiq Bubbles 2
Height: 3.03m Width: 4.86m Length: 8.95m Fall Zone Area: 107m2 Free Height of Fall: 2.1m - New9523
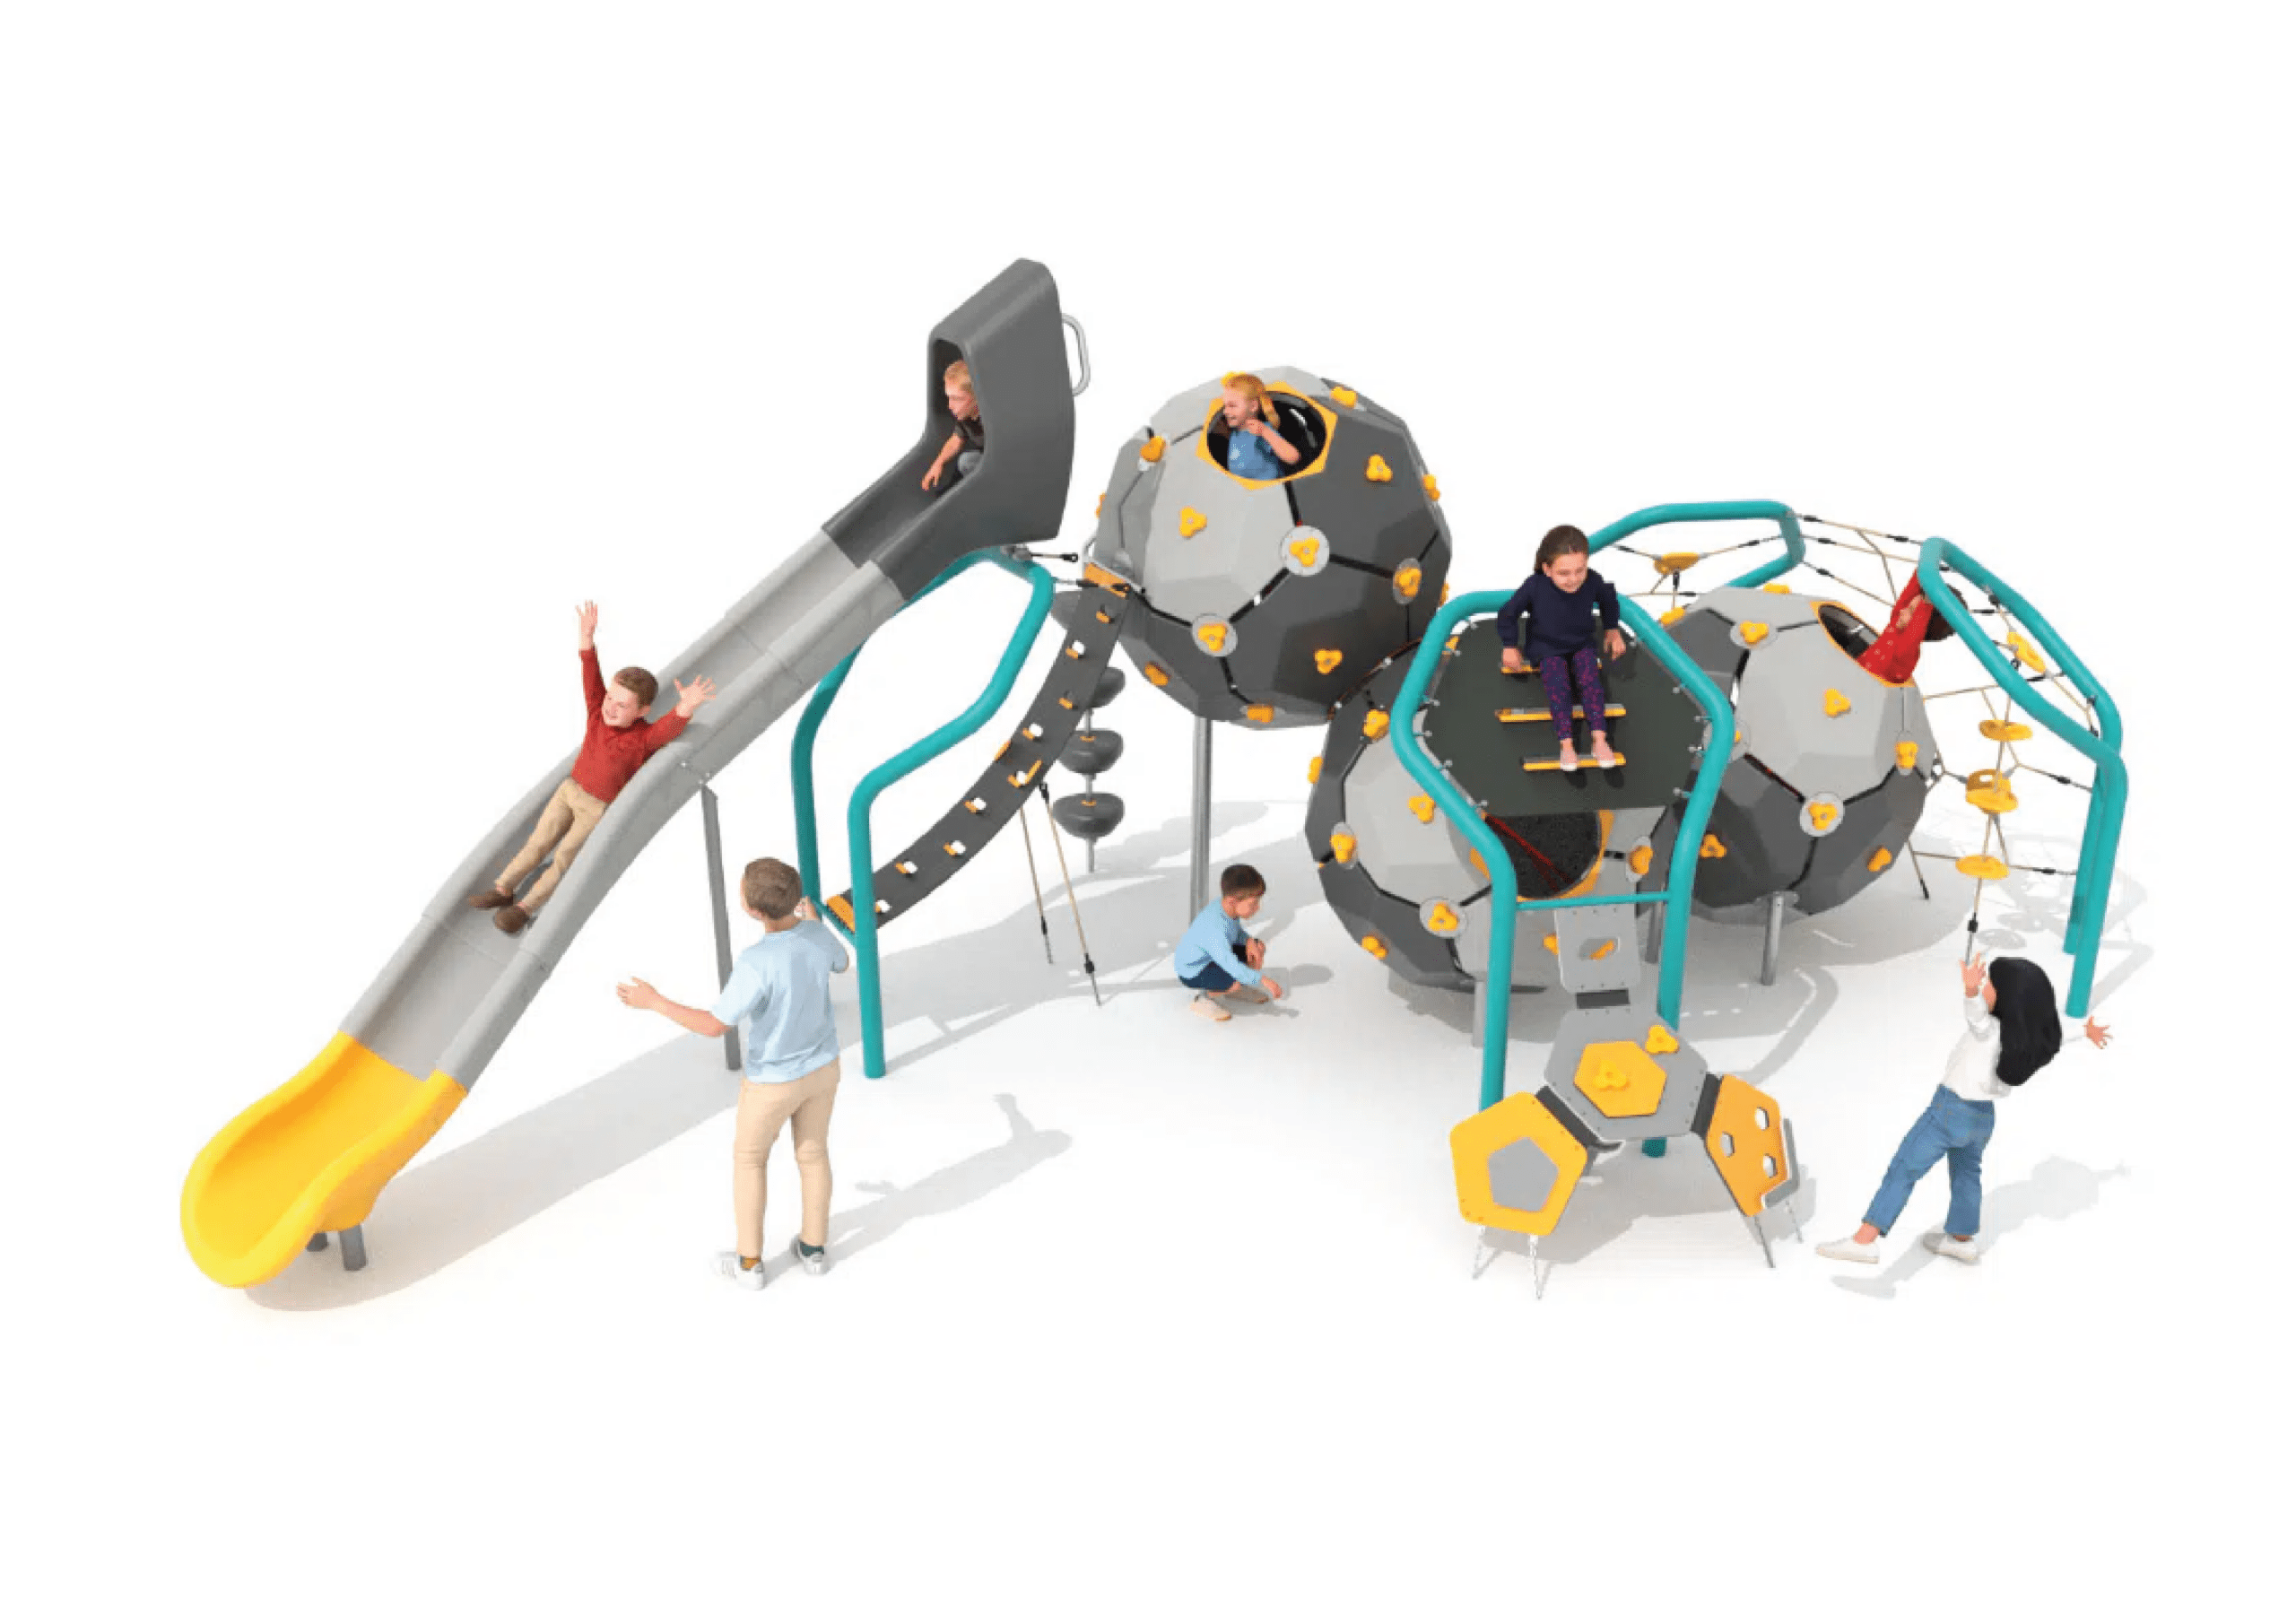
Atomiq Bubbles 3
Height: 2.99m Width: 5.89m Length: 9.88m Fall Zone Area: 75.5m2 Free Height of Fall: 2.69m 9523Atomiq Bubbles 3
Height: 2.99m Width: 5.89m Length: 9.88m Fall Zone Area: 75.5m2 Free Height of Fall: 2.69m - New9524
Atomiq Bubbles 4
Height: 3.28m Width: 6.56m Length: 7.08m Fall Zone Area: 75.5m2 Free Height of Fall: 2.10m 9524Atomiq Bubbles 4
Height: 3.28m Width: 6.56m Length: 7.08m Fall Zone Area: 75.5m2 Free Height of Fall: 2.10m - New9525
Atomiq Bubbles 5
Height: 2.99m Width: 4.32m Length: 8.04m Fall Zone Area: 59.5m2 Free Height of Fall: 2.69m 9525Atomiq Bubbles 5
Height: 2.99m Width: 4.32m Length: 8.04m Fall Zone Area: 59.5m2 Free Height of Fall: 2.69m - New9526
Atomiq Bubbles 6
Height: 3.56m Width: 8.13m Length: 8.24m Fall Zone Area: 94.5m2 Free Height of Fall: 2.69m 9526Atomiq Bubbles 6
Height: 3.56m Width: 8.13m Length: 8.24m Fall Zone Area: 94.5m2 Free Height of Fall: 2.69m - New9527
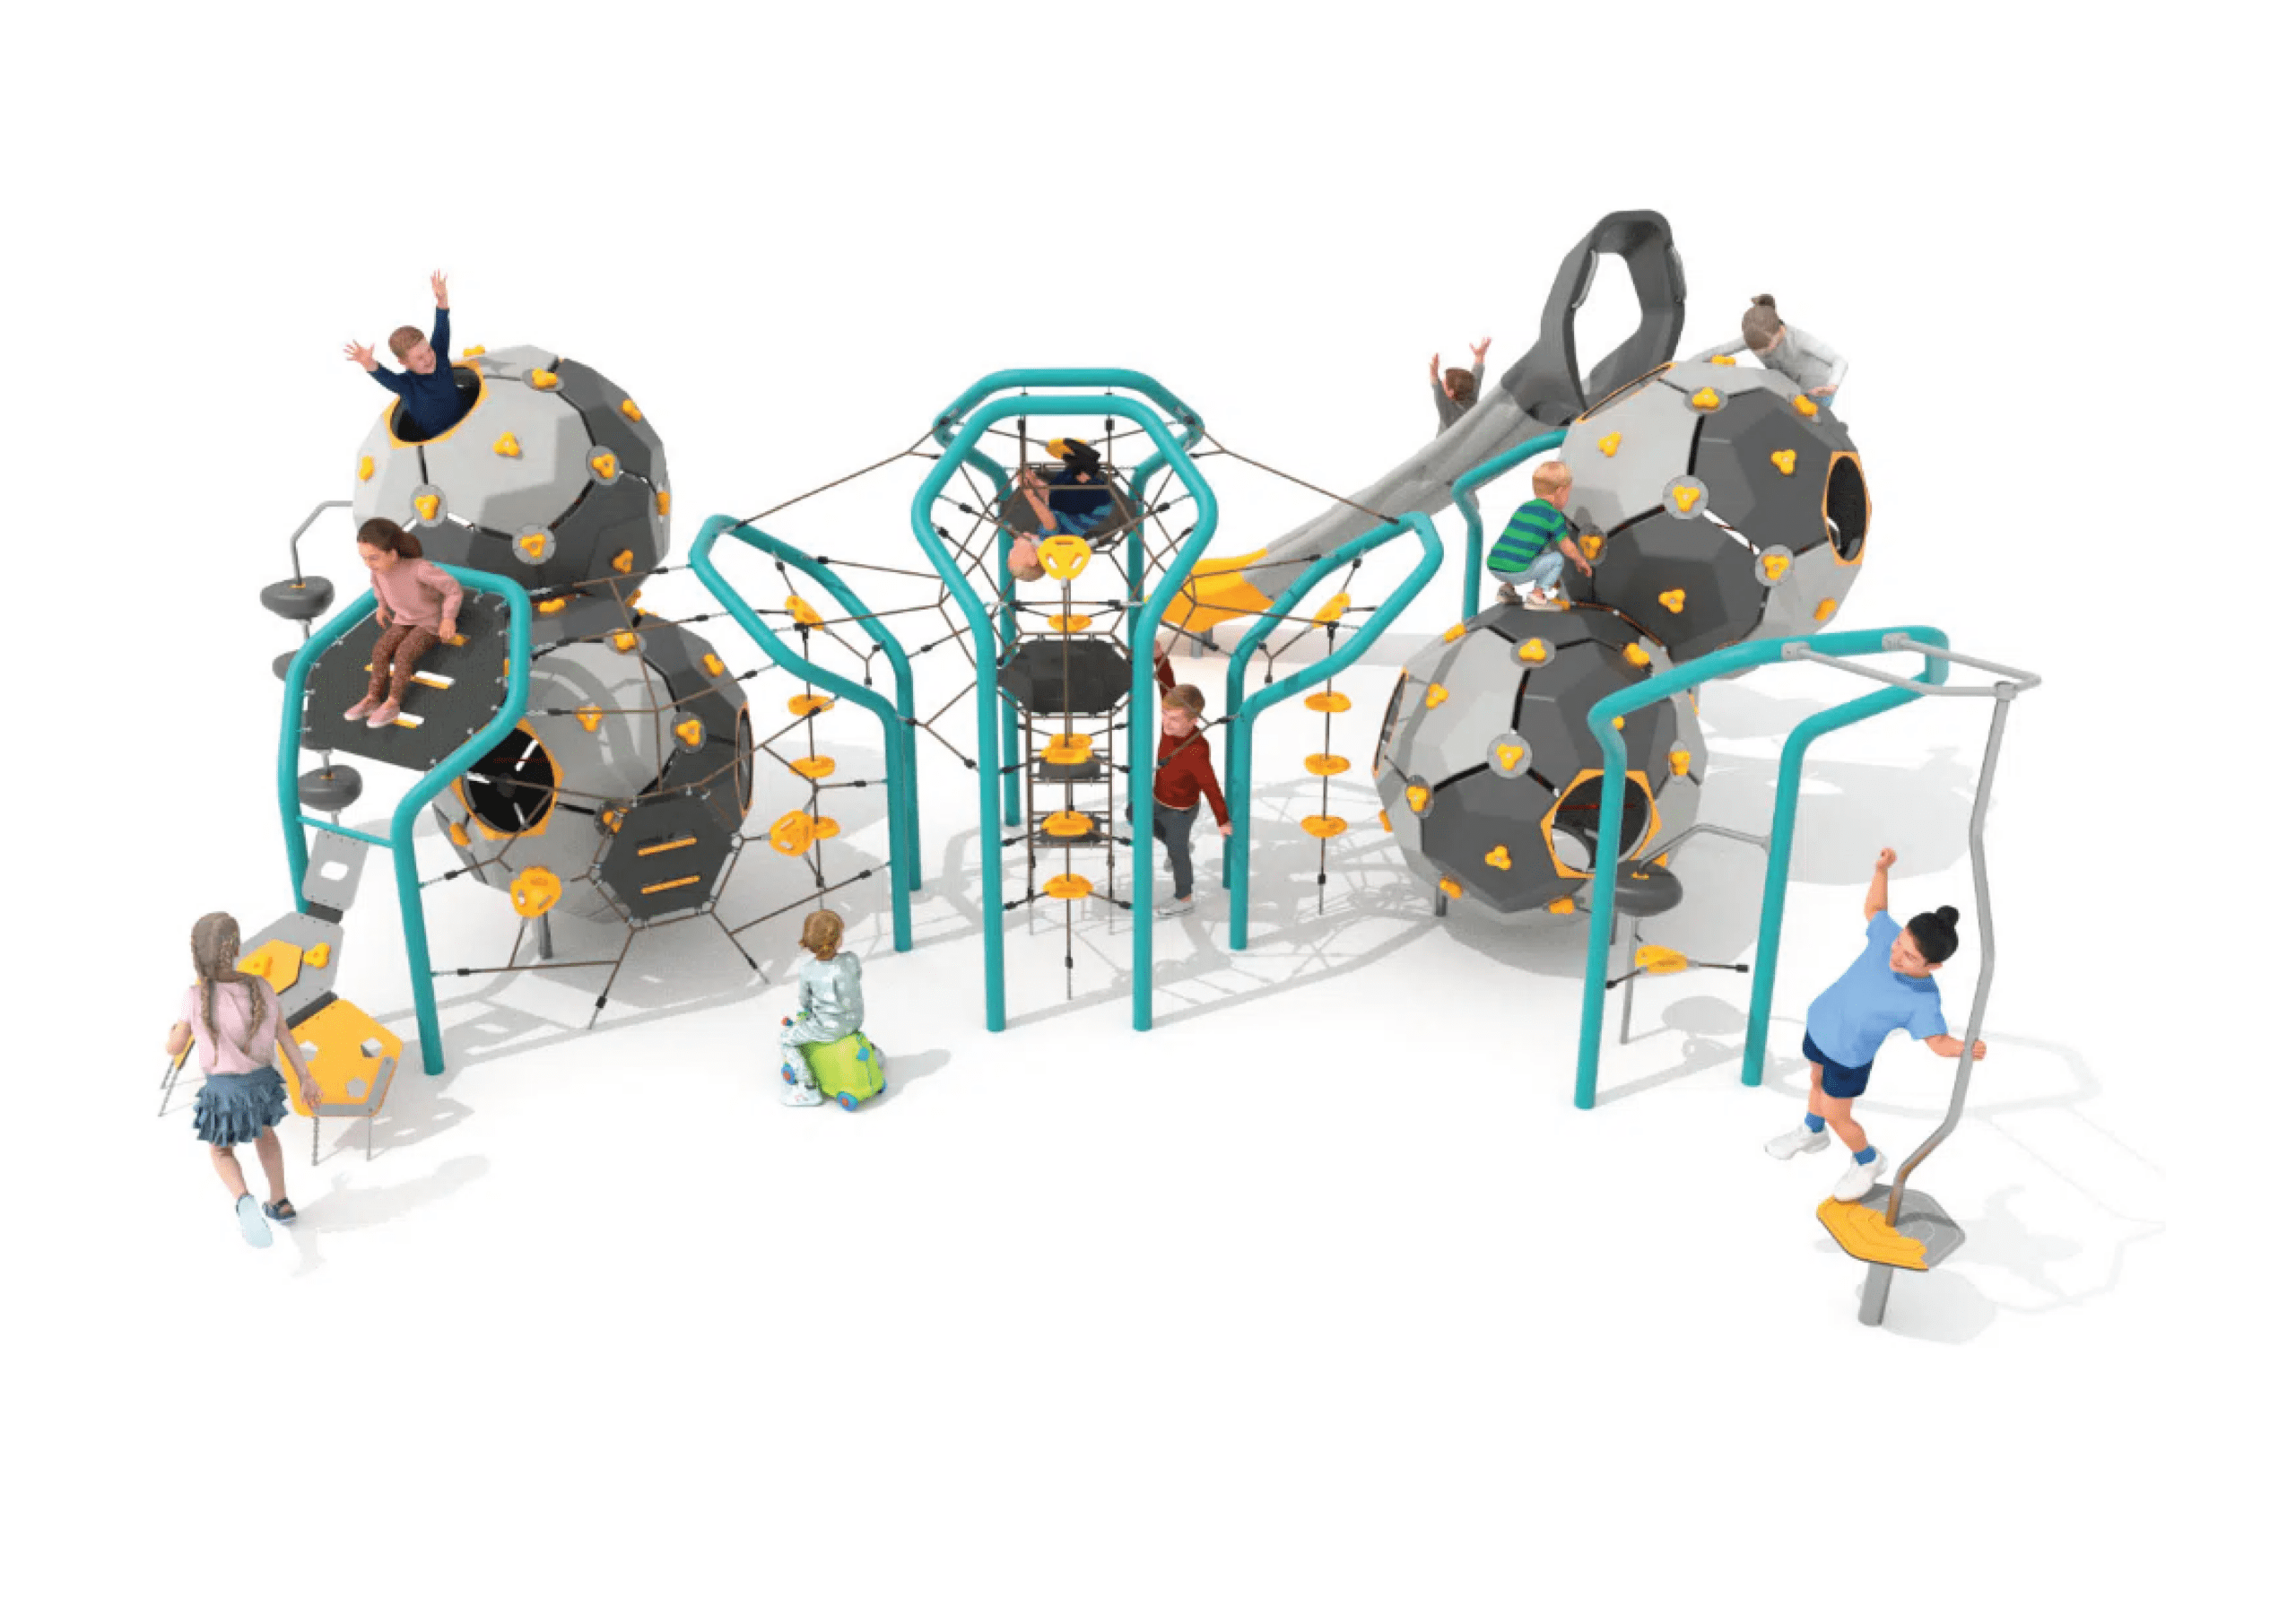
Atomiq Bubbles 7
Height: 3.20m Width: 9.48m Length: 10.16m Fall Zone Area: 115m2 Free Height of Fall: 2.69m 9527Atomiq Bubbles 7
Height: 3.20m Width: 9.48m Length: 10.16m Fall Zone Area: 115m2 Free Height of Fall: 2.69m - New9528
Atomiq Bubbles 8
Height: 2.99m Width: 11.22m Length: 12.93m Fall Zone Area: 150m2 Free Height of Fall: 2.69m 9528Atomiq Bubbles 8
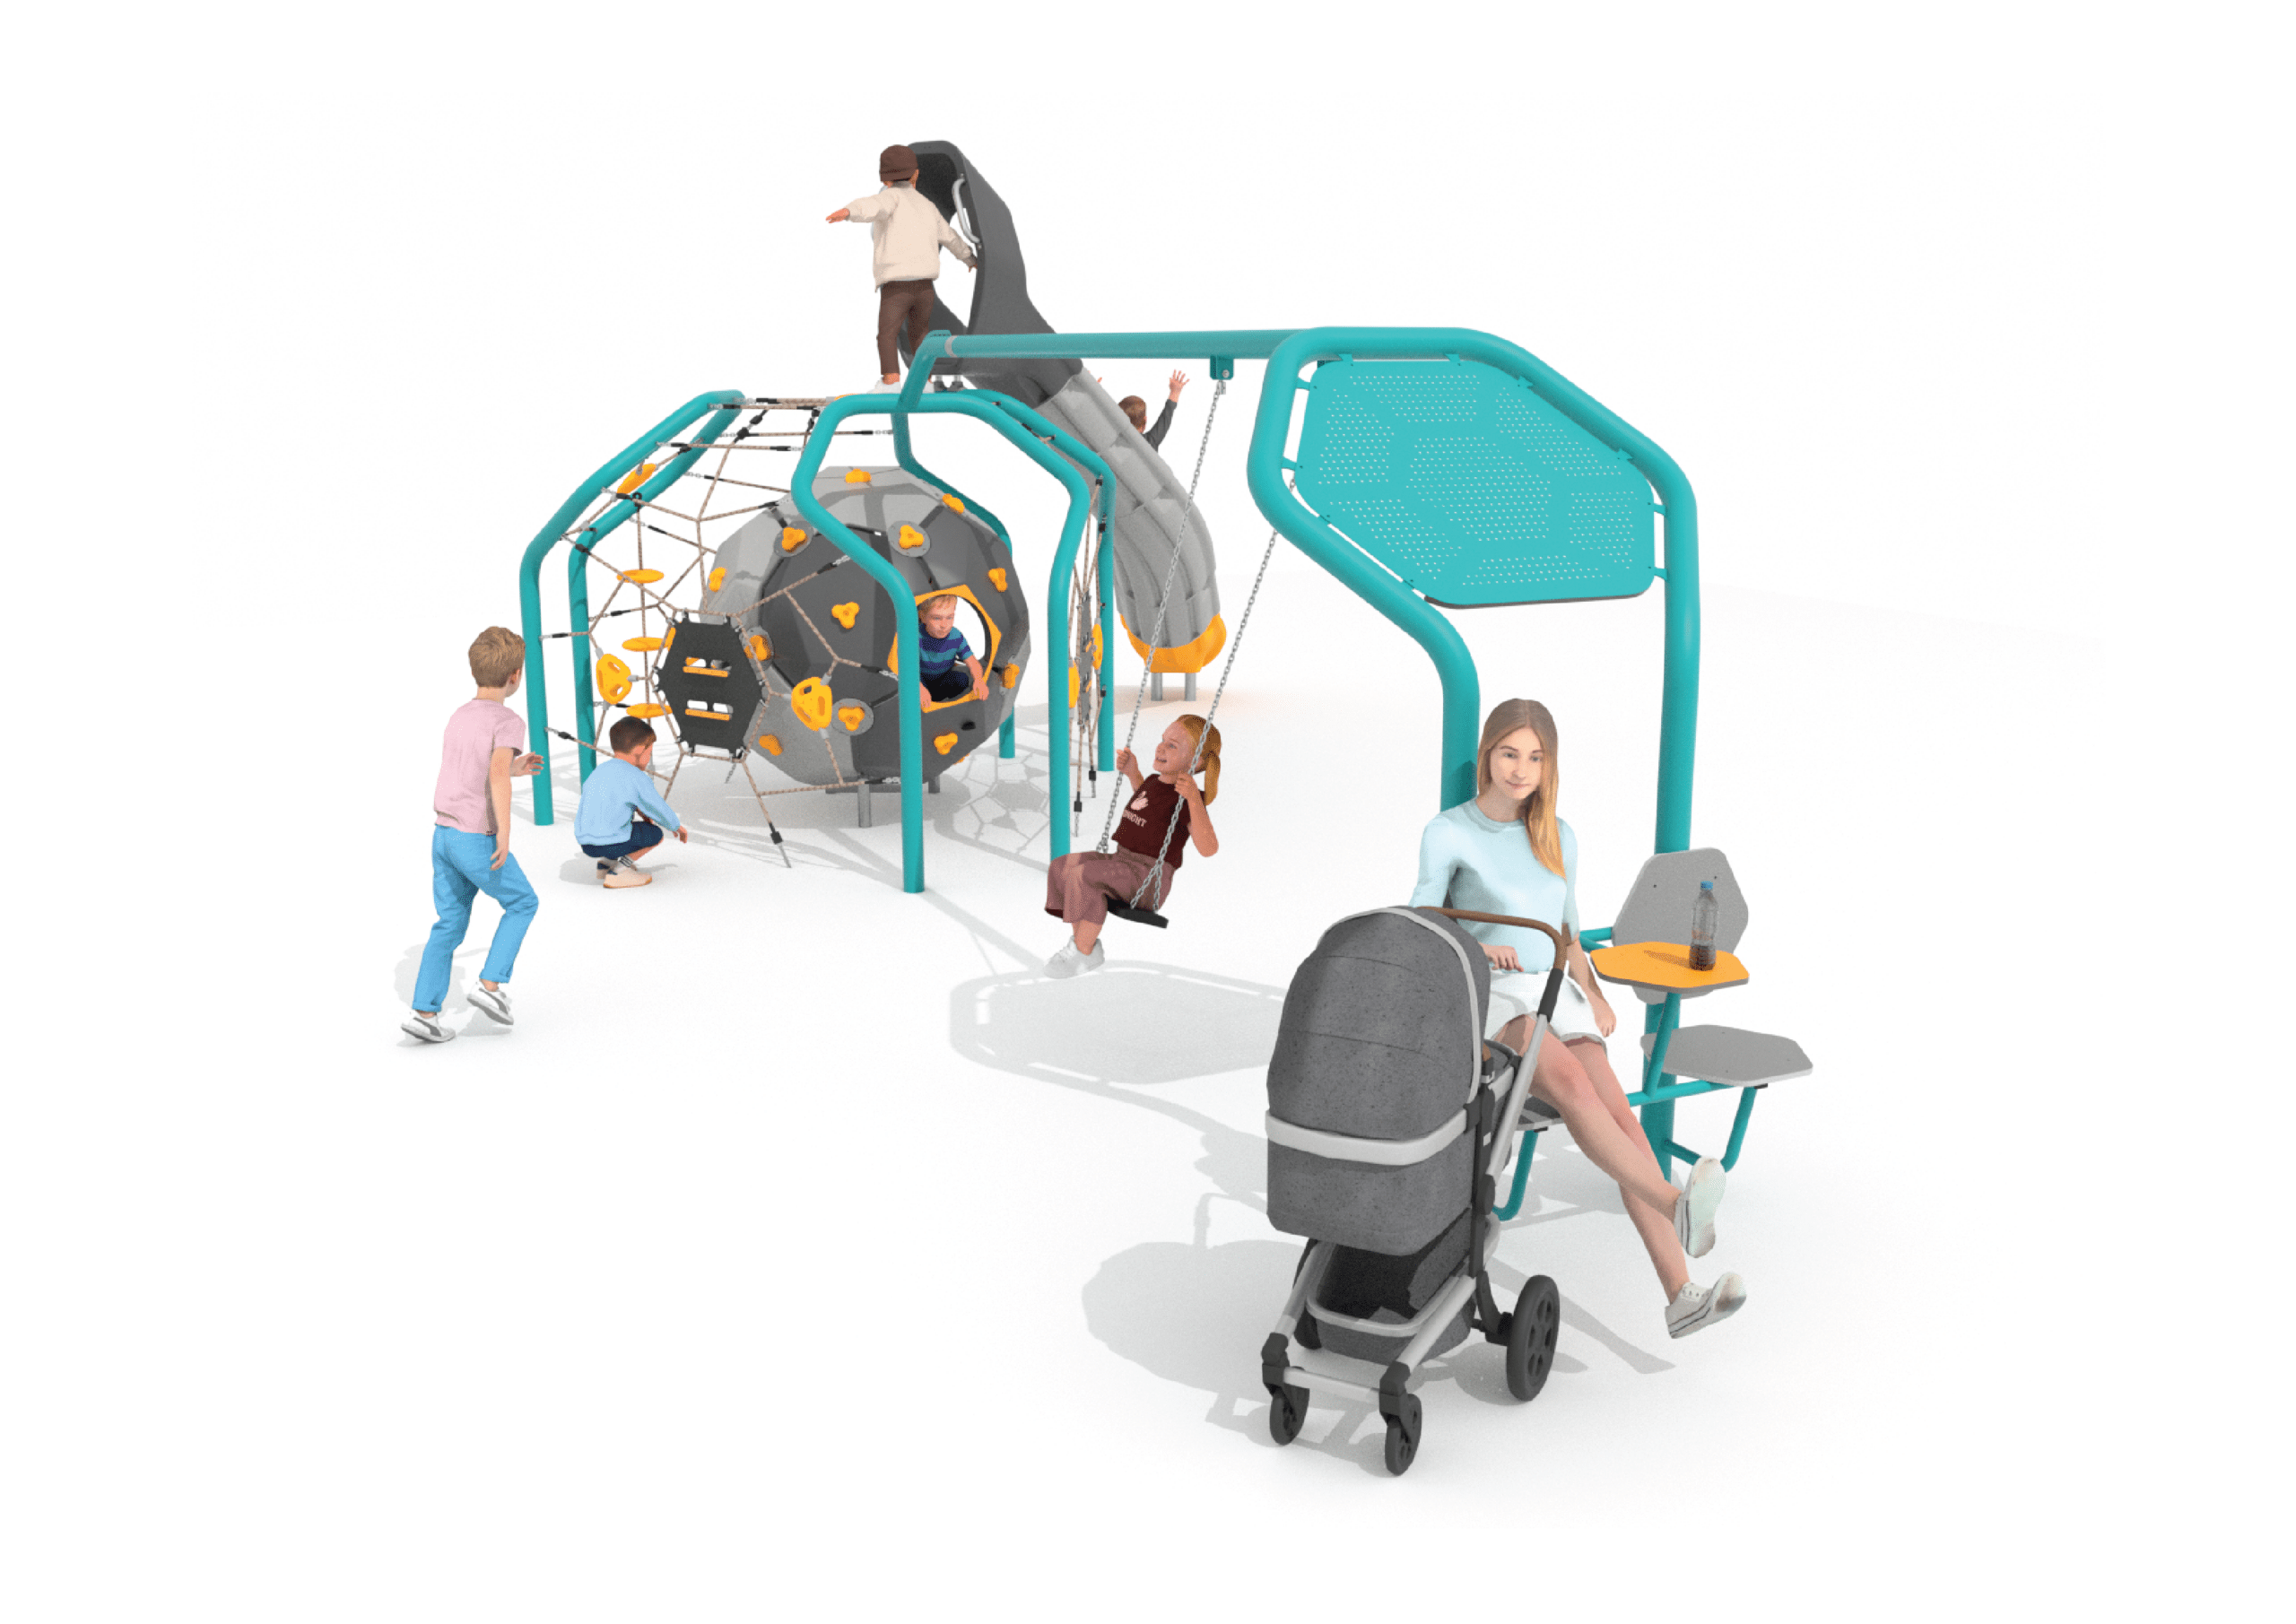
Height: 2.99m Width: 11.22m Length: 12.93m Fall Zone Area: 150m2 Free Height of Fall: 2.69m - New3040
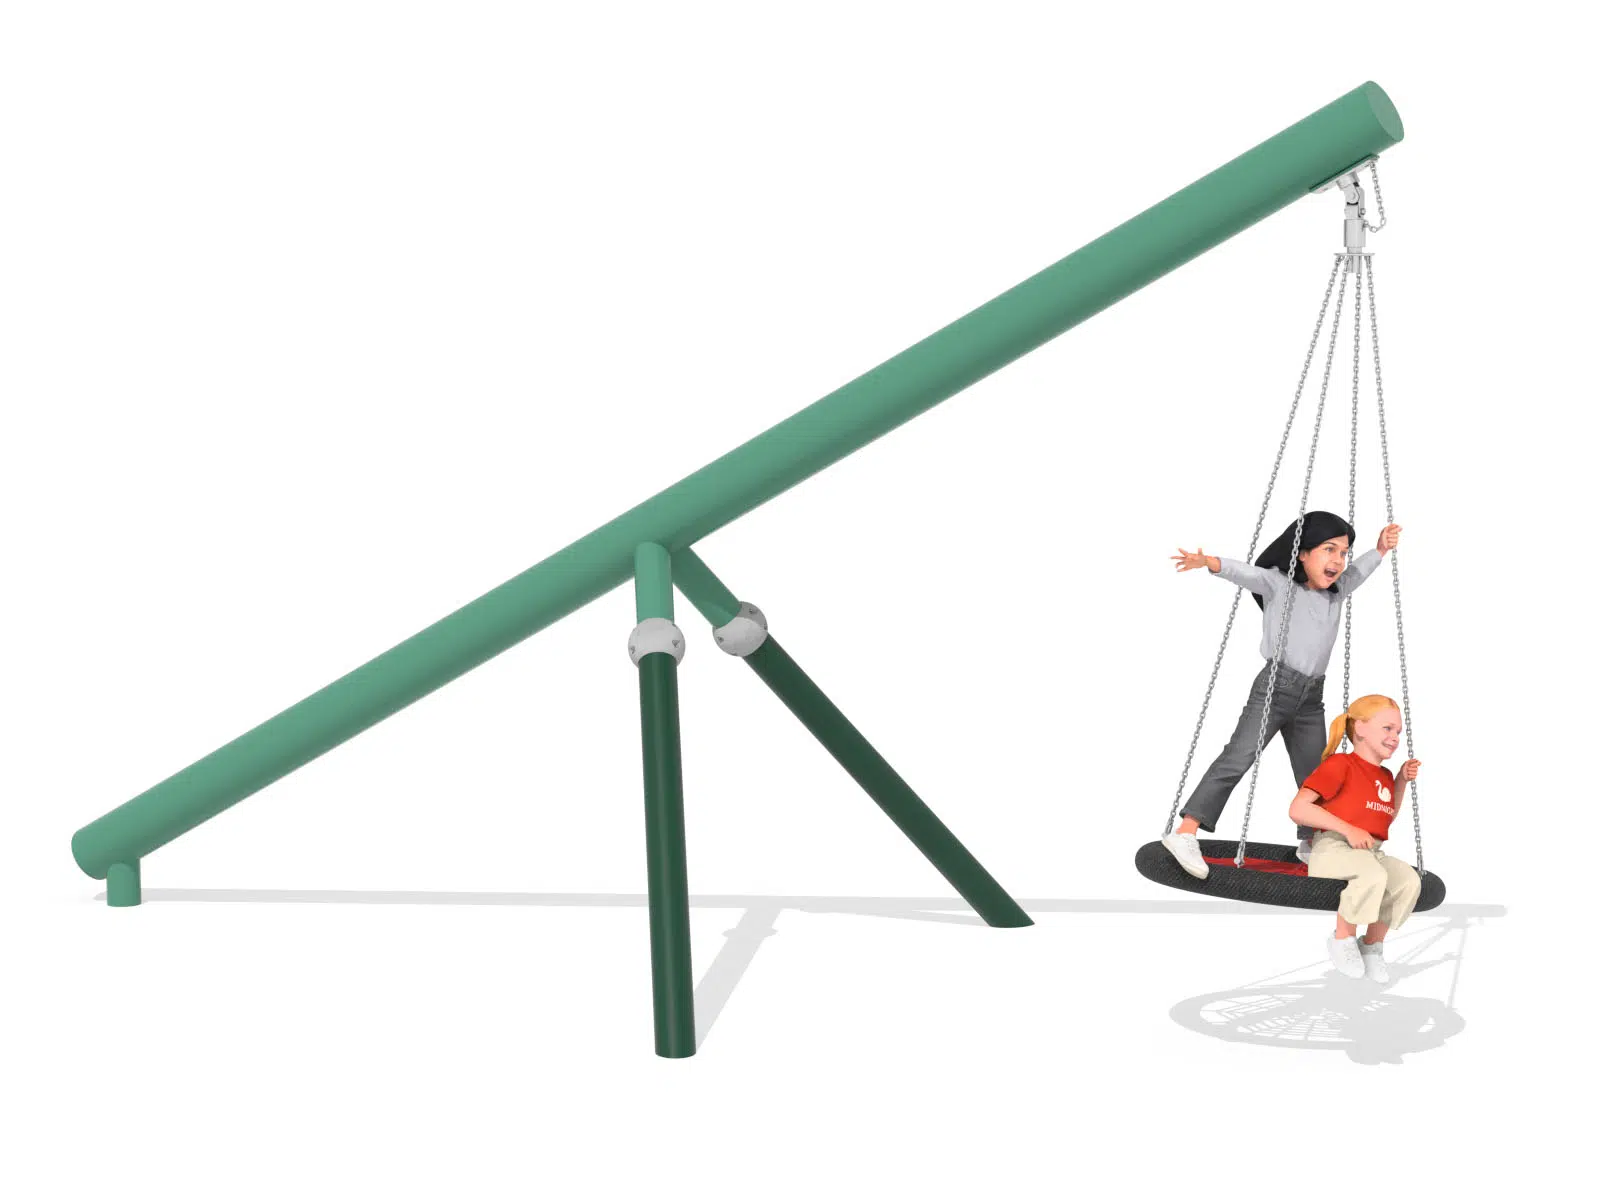
Cantilever Nest Swing
Height: 3.10m Width: 2.53m Length: 5.75m Fall Zone Area: 53.5m2 Free Height of Fall: 1.67m  3040
3040Cantilever Nest Swing
Height: 3.10m Width: 2.53m Length: 5.75m Fall Zone Area: 53.5m2 Free Height of Fall: 1.67m - New9312
Cat Climbing Structure with Ball of Wool
Height: 4.41m Width: 8.52m Length: 2.43m Fall Zone Area: 62m2 Free Height of Fall: 2.93m 9312Cat Climbing Structure with Ball of Wool
Height: 4.41m Width: 8.52m Length: 2.43m Fall Zone Area: 62m2 Free Height of Fall: 2.93m - New9313
Hummingbird Play Structure
Height: 3.09m Width: 8.45m Length: 7.72m Fall Zone Area: 62m2 Free Height of Fall: 2.12m  9313
9313Hummingbird Play Structure
Height: 3.09m Width: 8.45m Length: 7.72m Fall Zone Area: 62m2 Free Height of Fall: 2.12m