Playmaster Units

Playmaster is a proudly family-owned and operated Australian business specialising in the design and manufacture of high-quality playground equipment. With a hands-on approach and a passion for creating fun, safe, and engaging play environments, we’ve been helping communities bring their playspaces to life for over 20 years. As a small business, we take pride in our personal service, local craftsmanship, and commitment to supporting children’s development through thoughtful, Australian-made play solutions.
- AD10-009
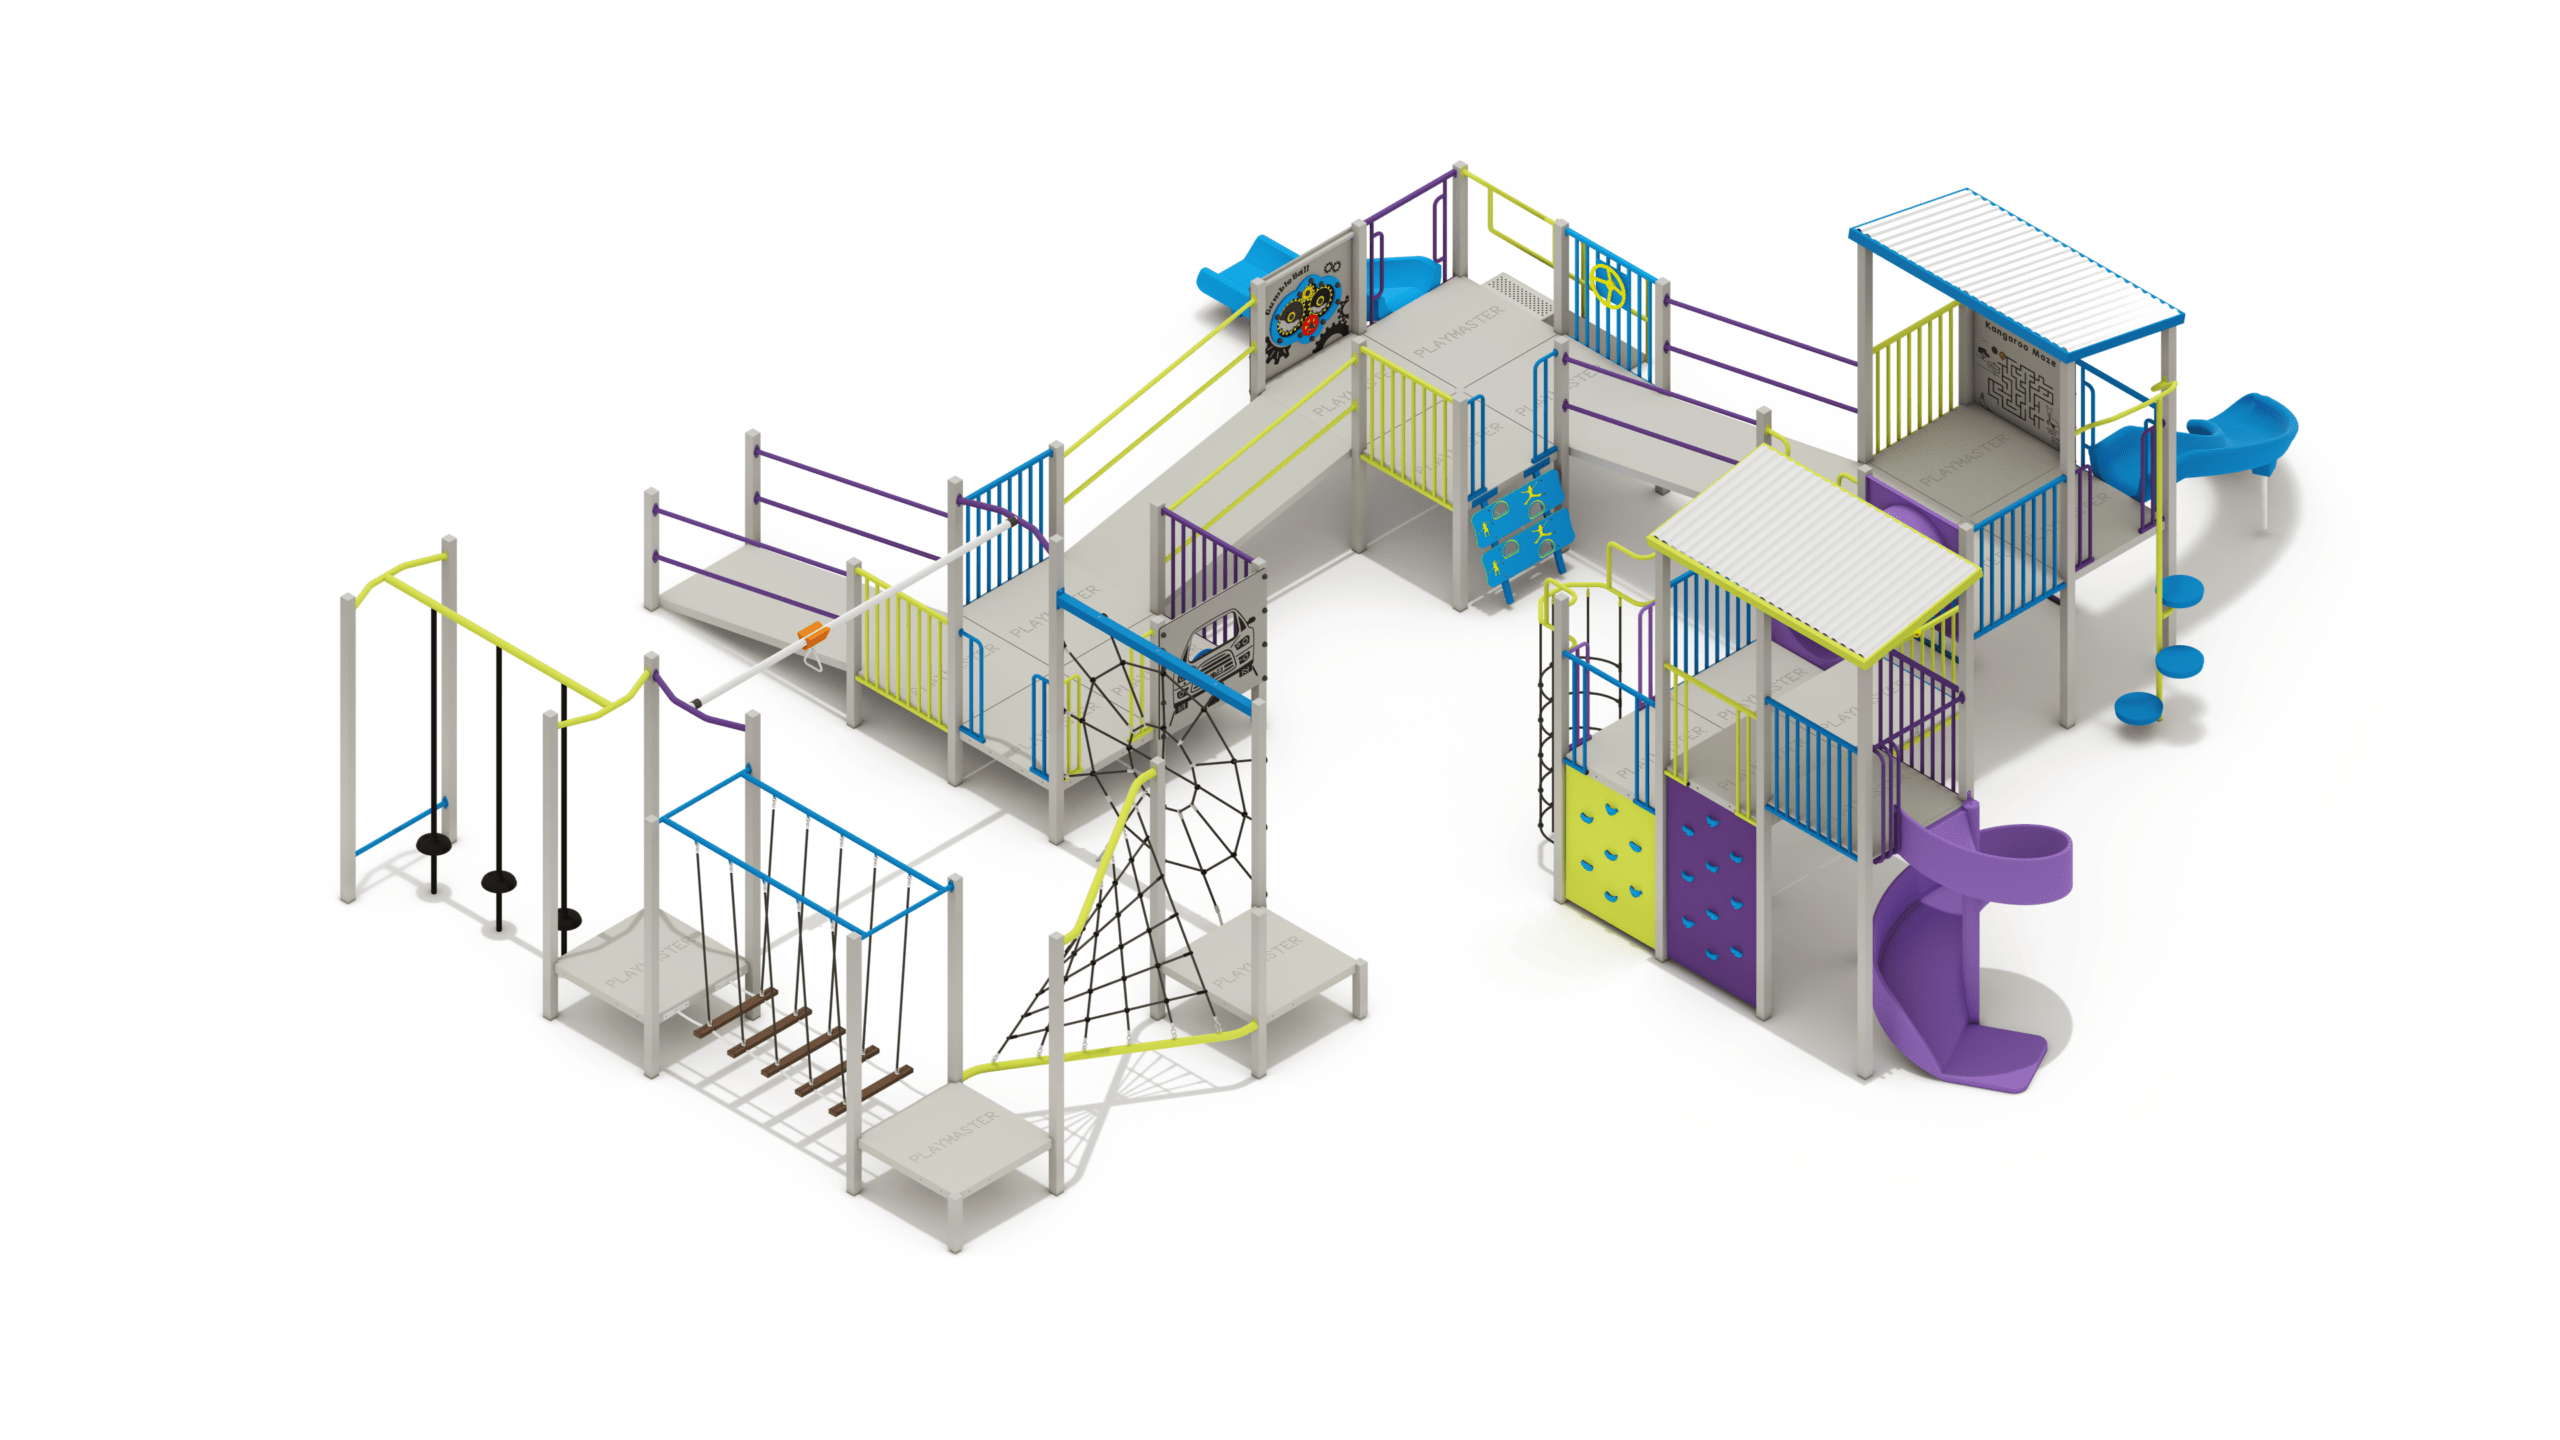
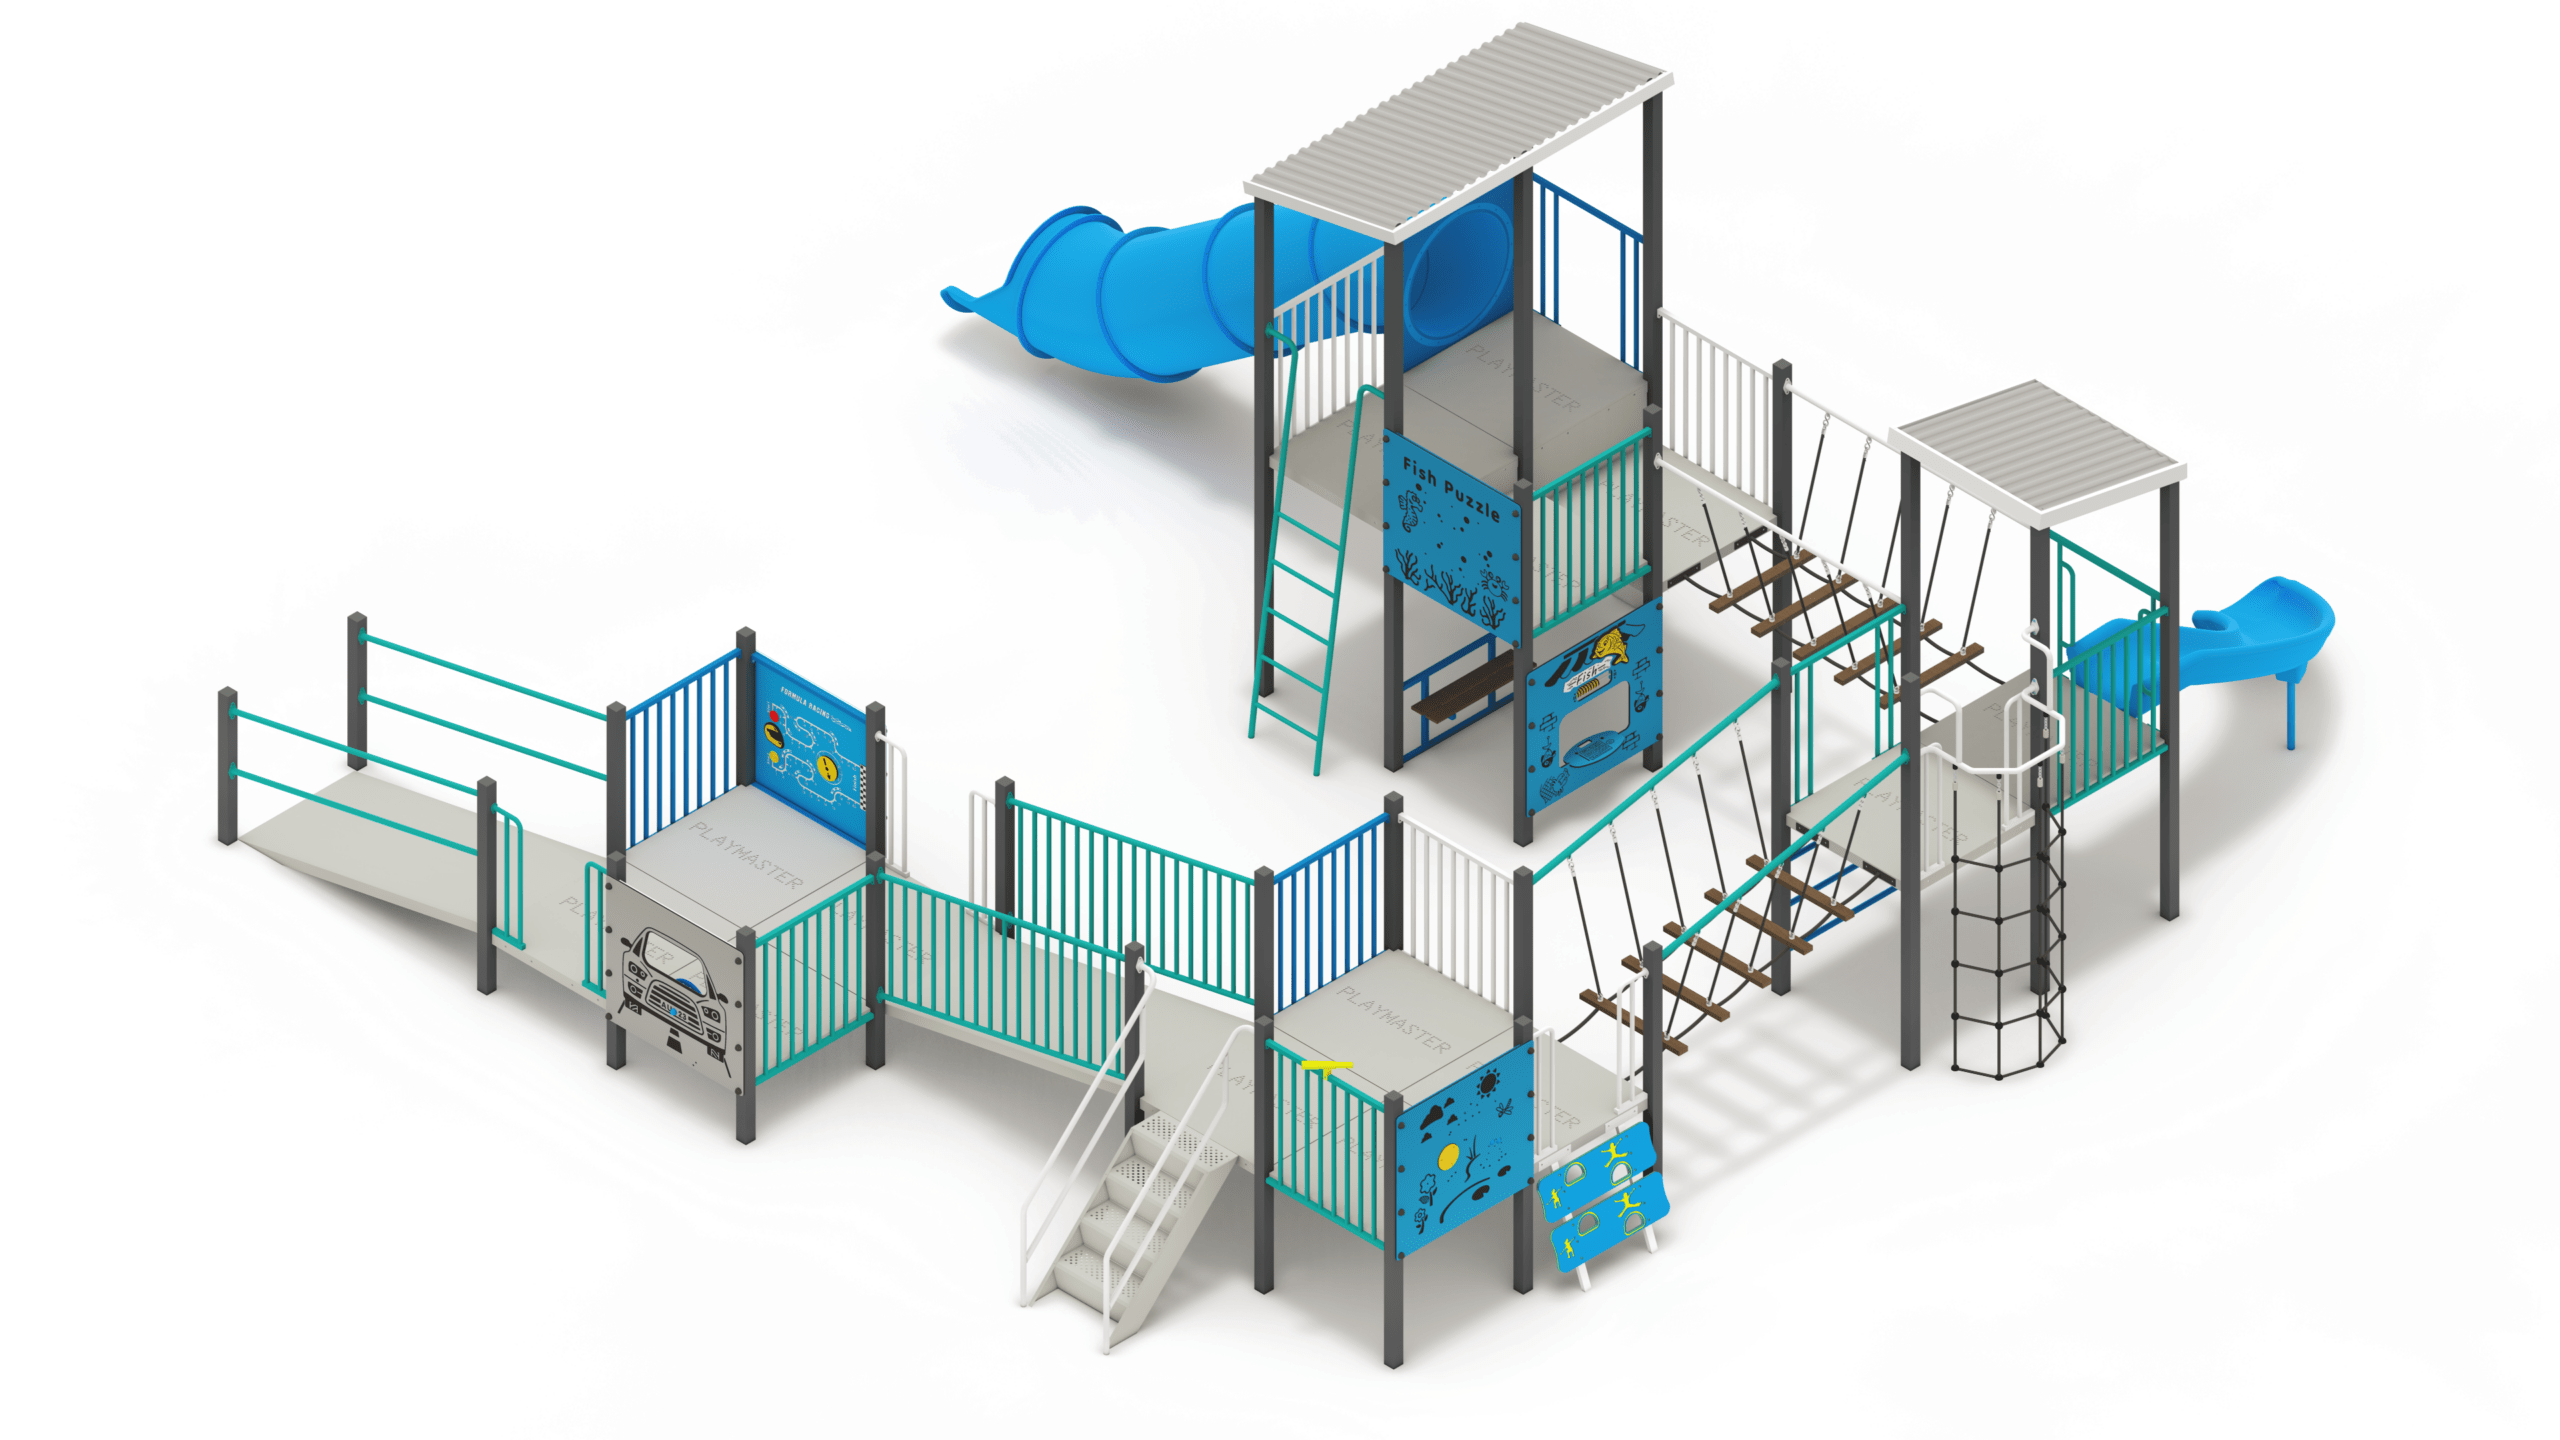
Inclusive Ghost Bat
Height: 3.80m Width: 9.68m Length: 9.95m Fall Zone Area: 121m2 Free Height of Fall: 2.20m  AD10-009
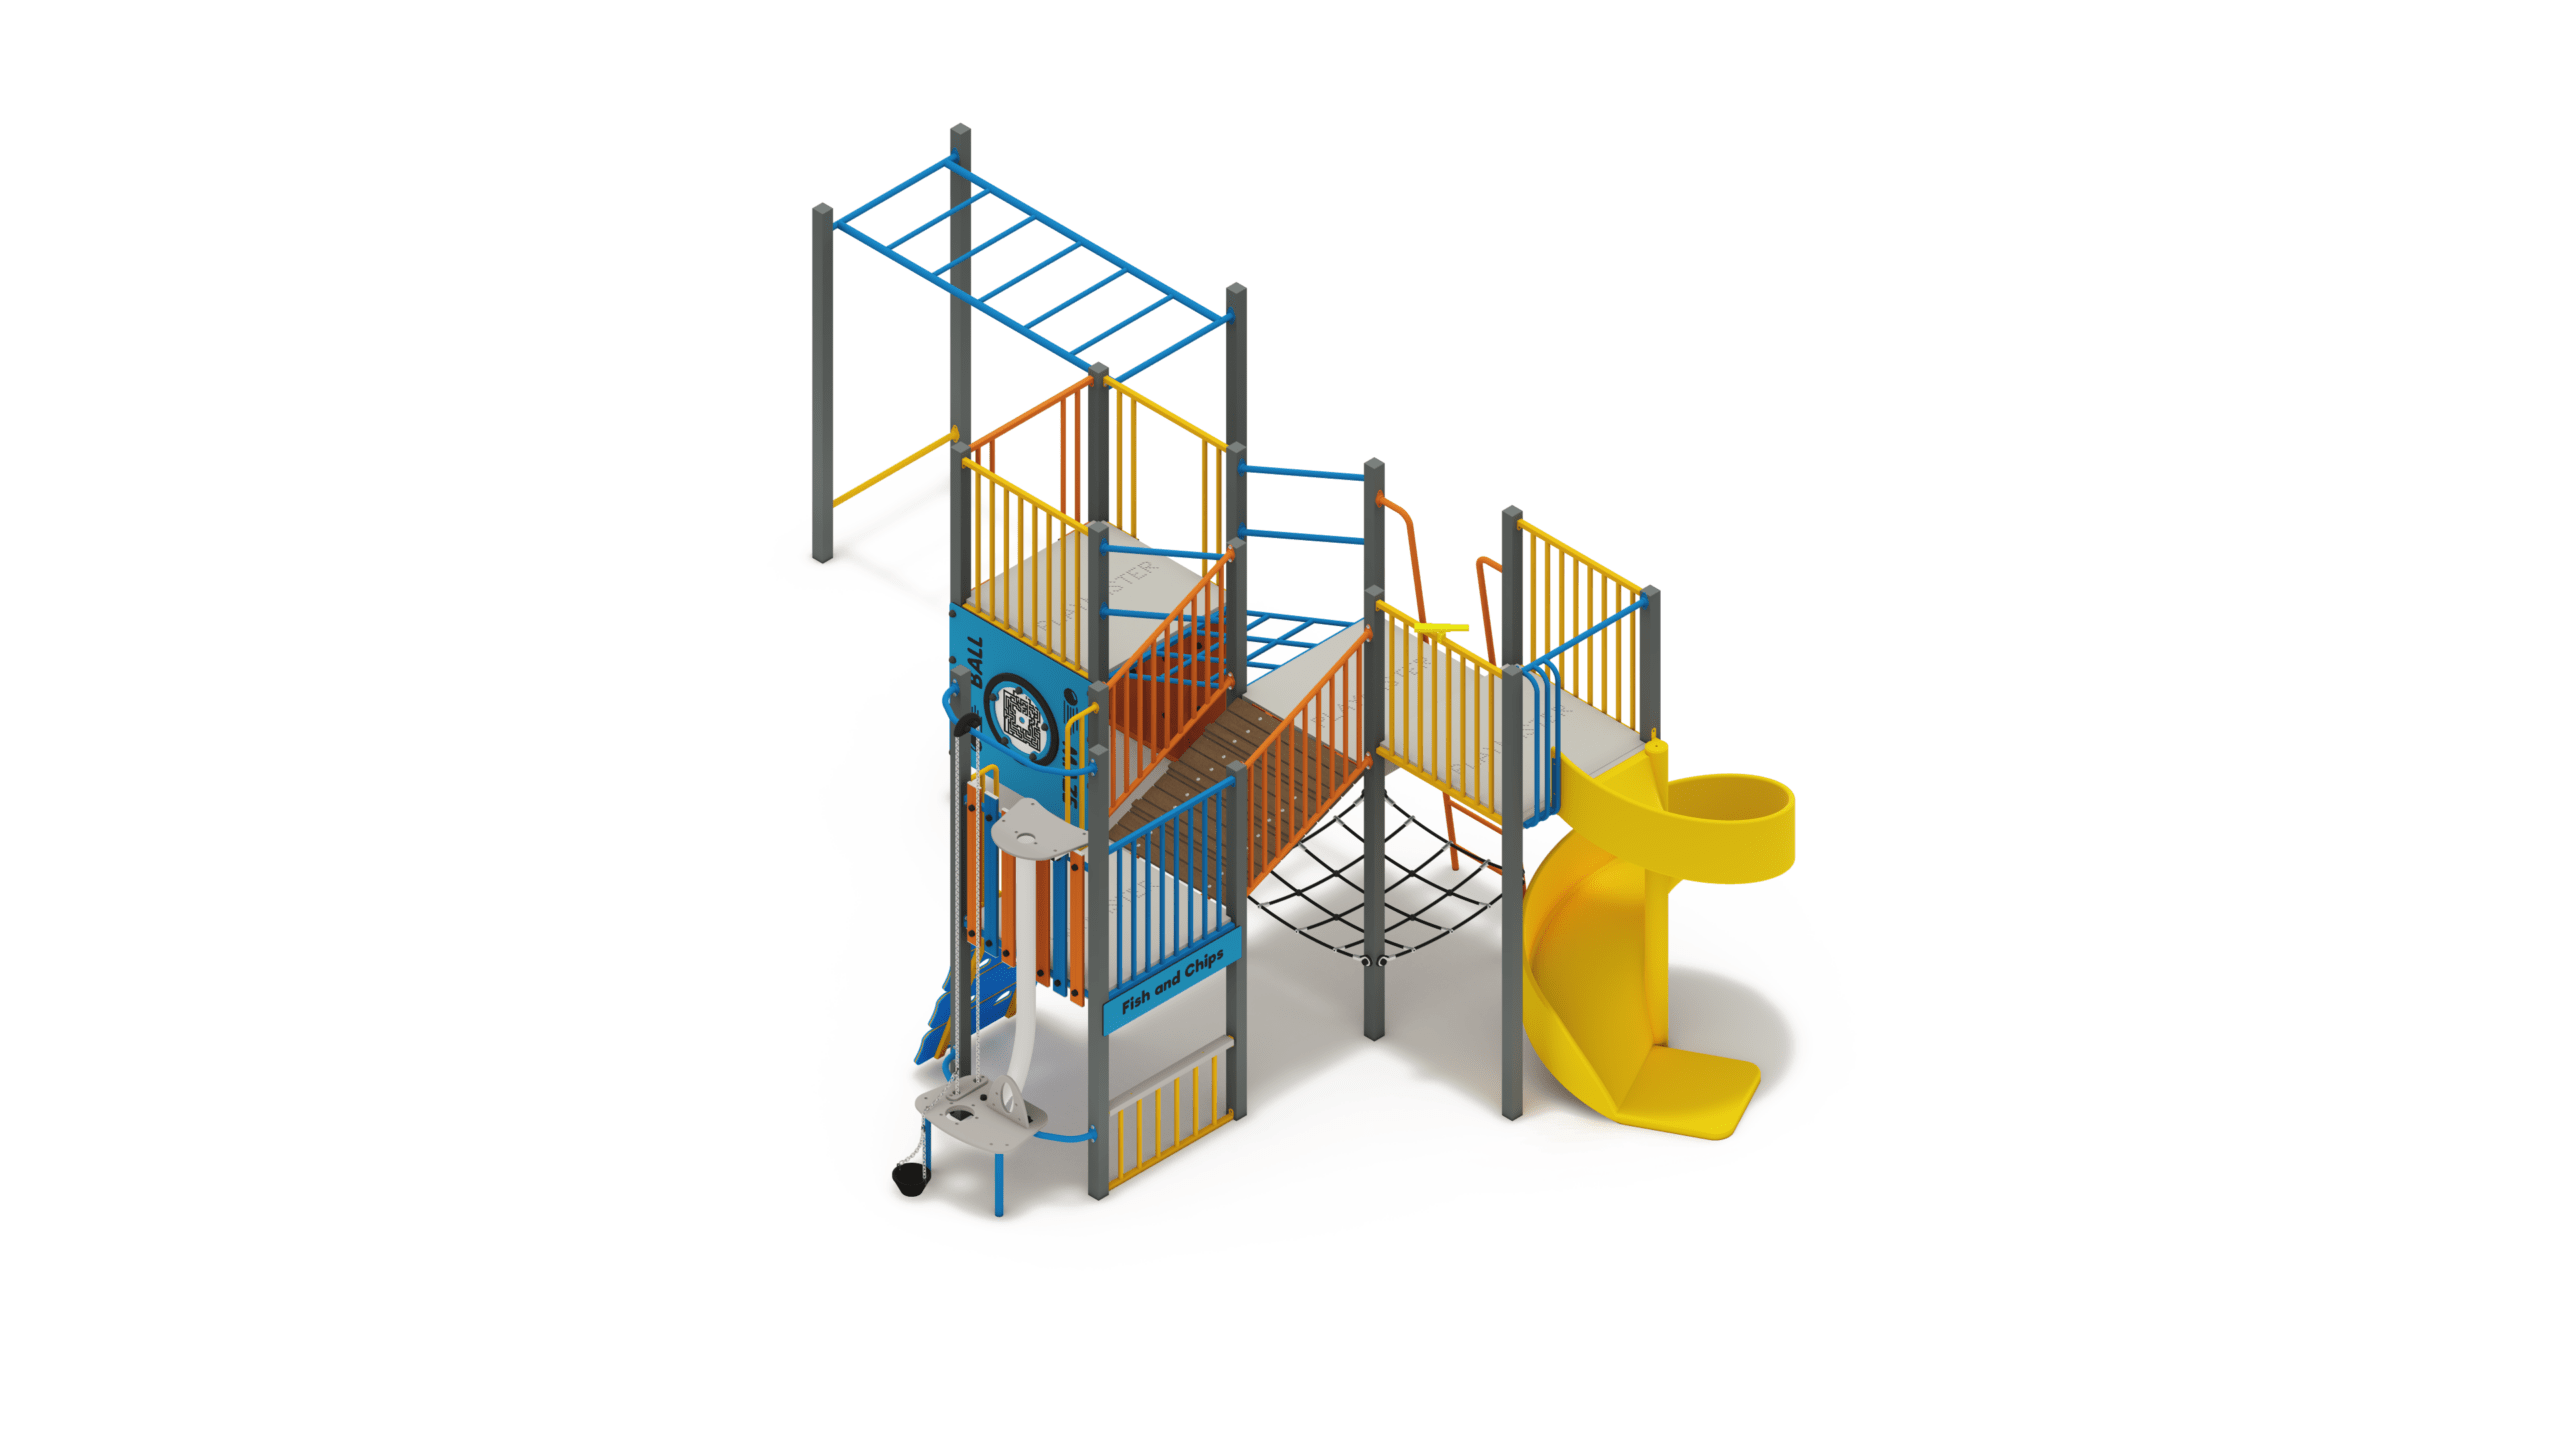
Inclusive Ghost Bat
Height: 3.80m Width: 9.68m Length: 9.95m Fall Zone Area: 121m2 Free Height of Fall: 2.20m - PM12-29
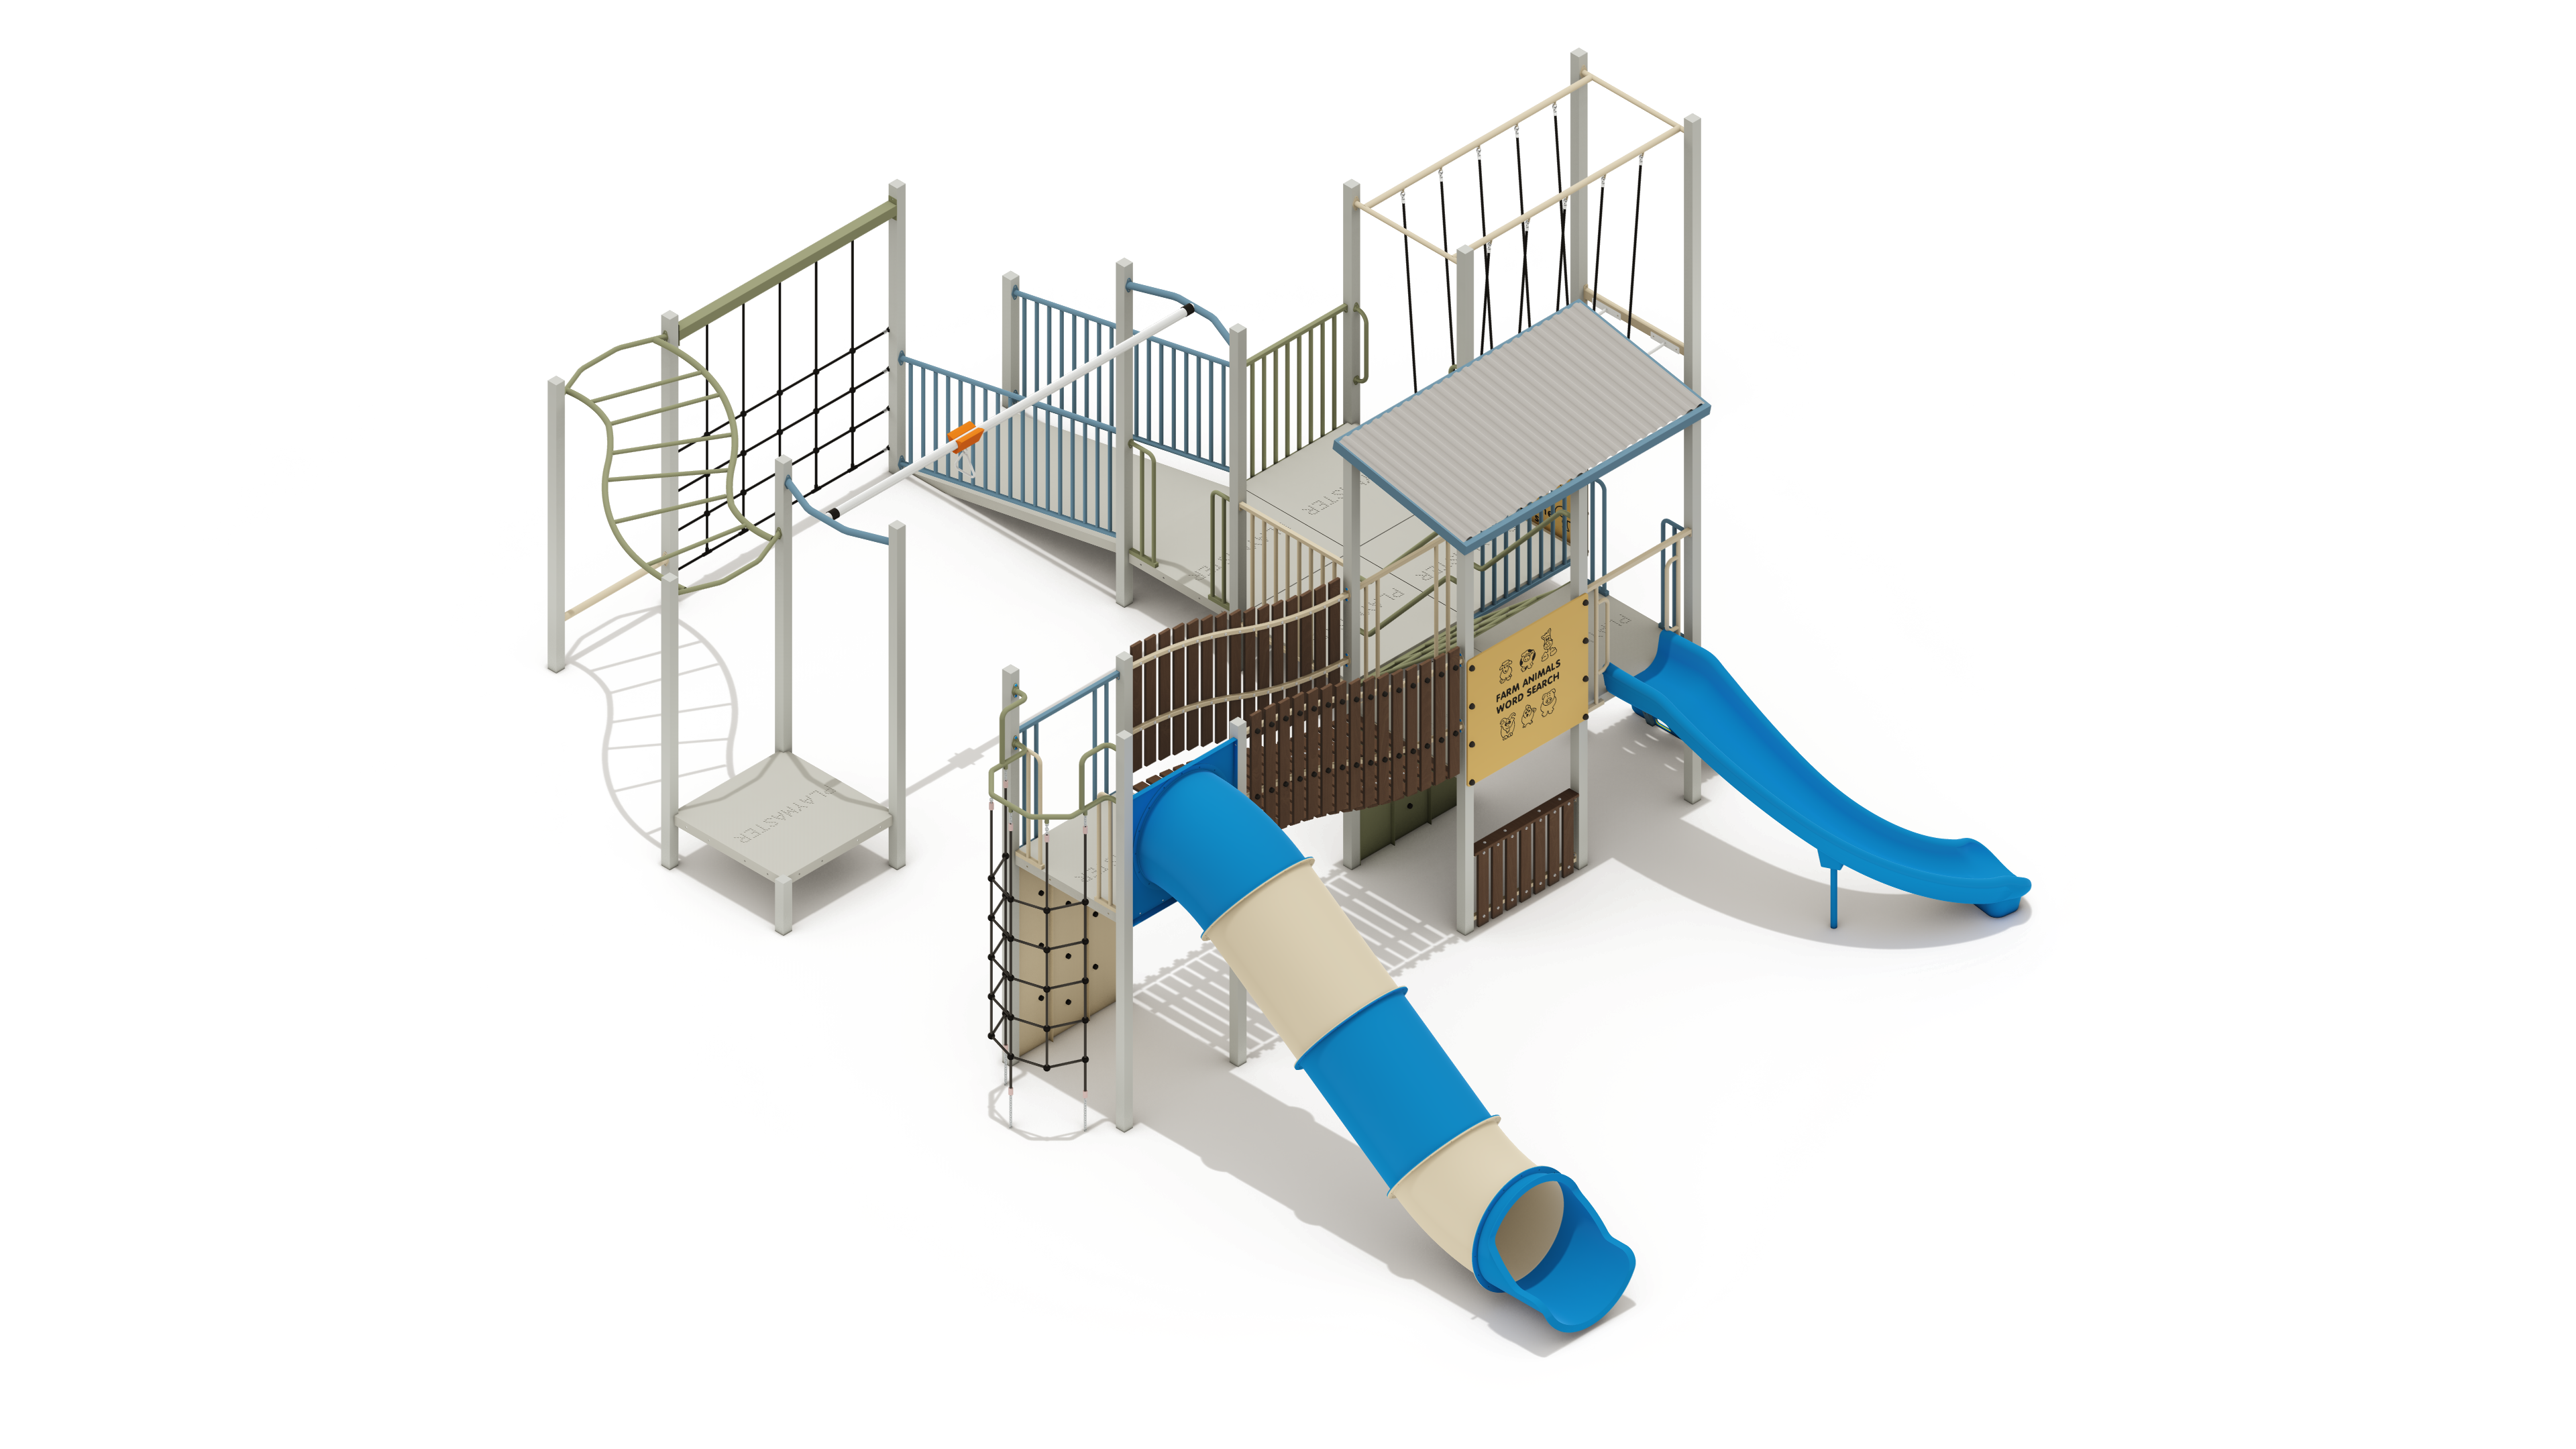
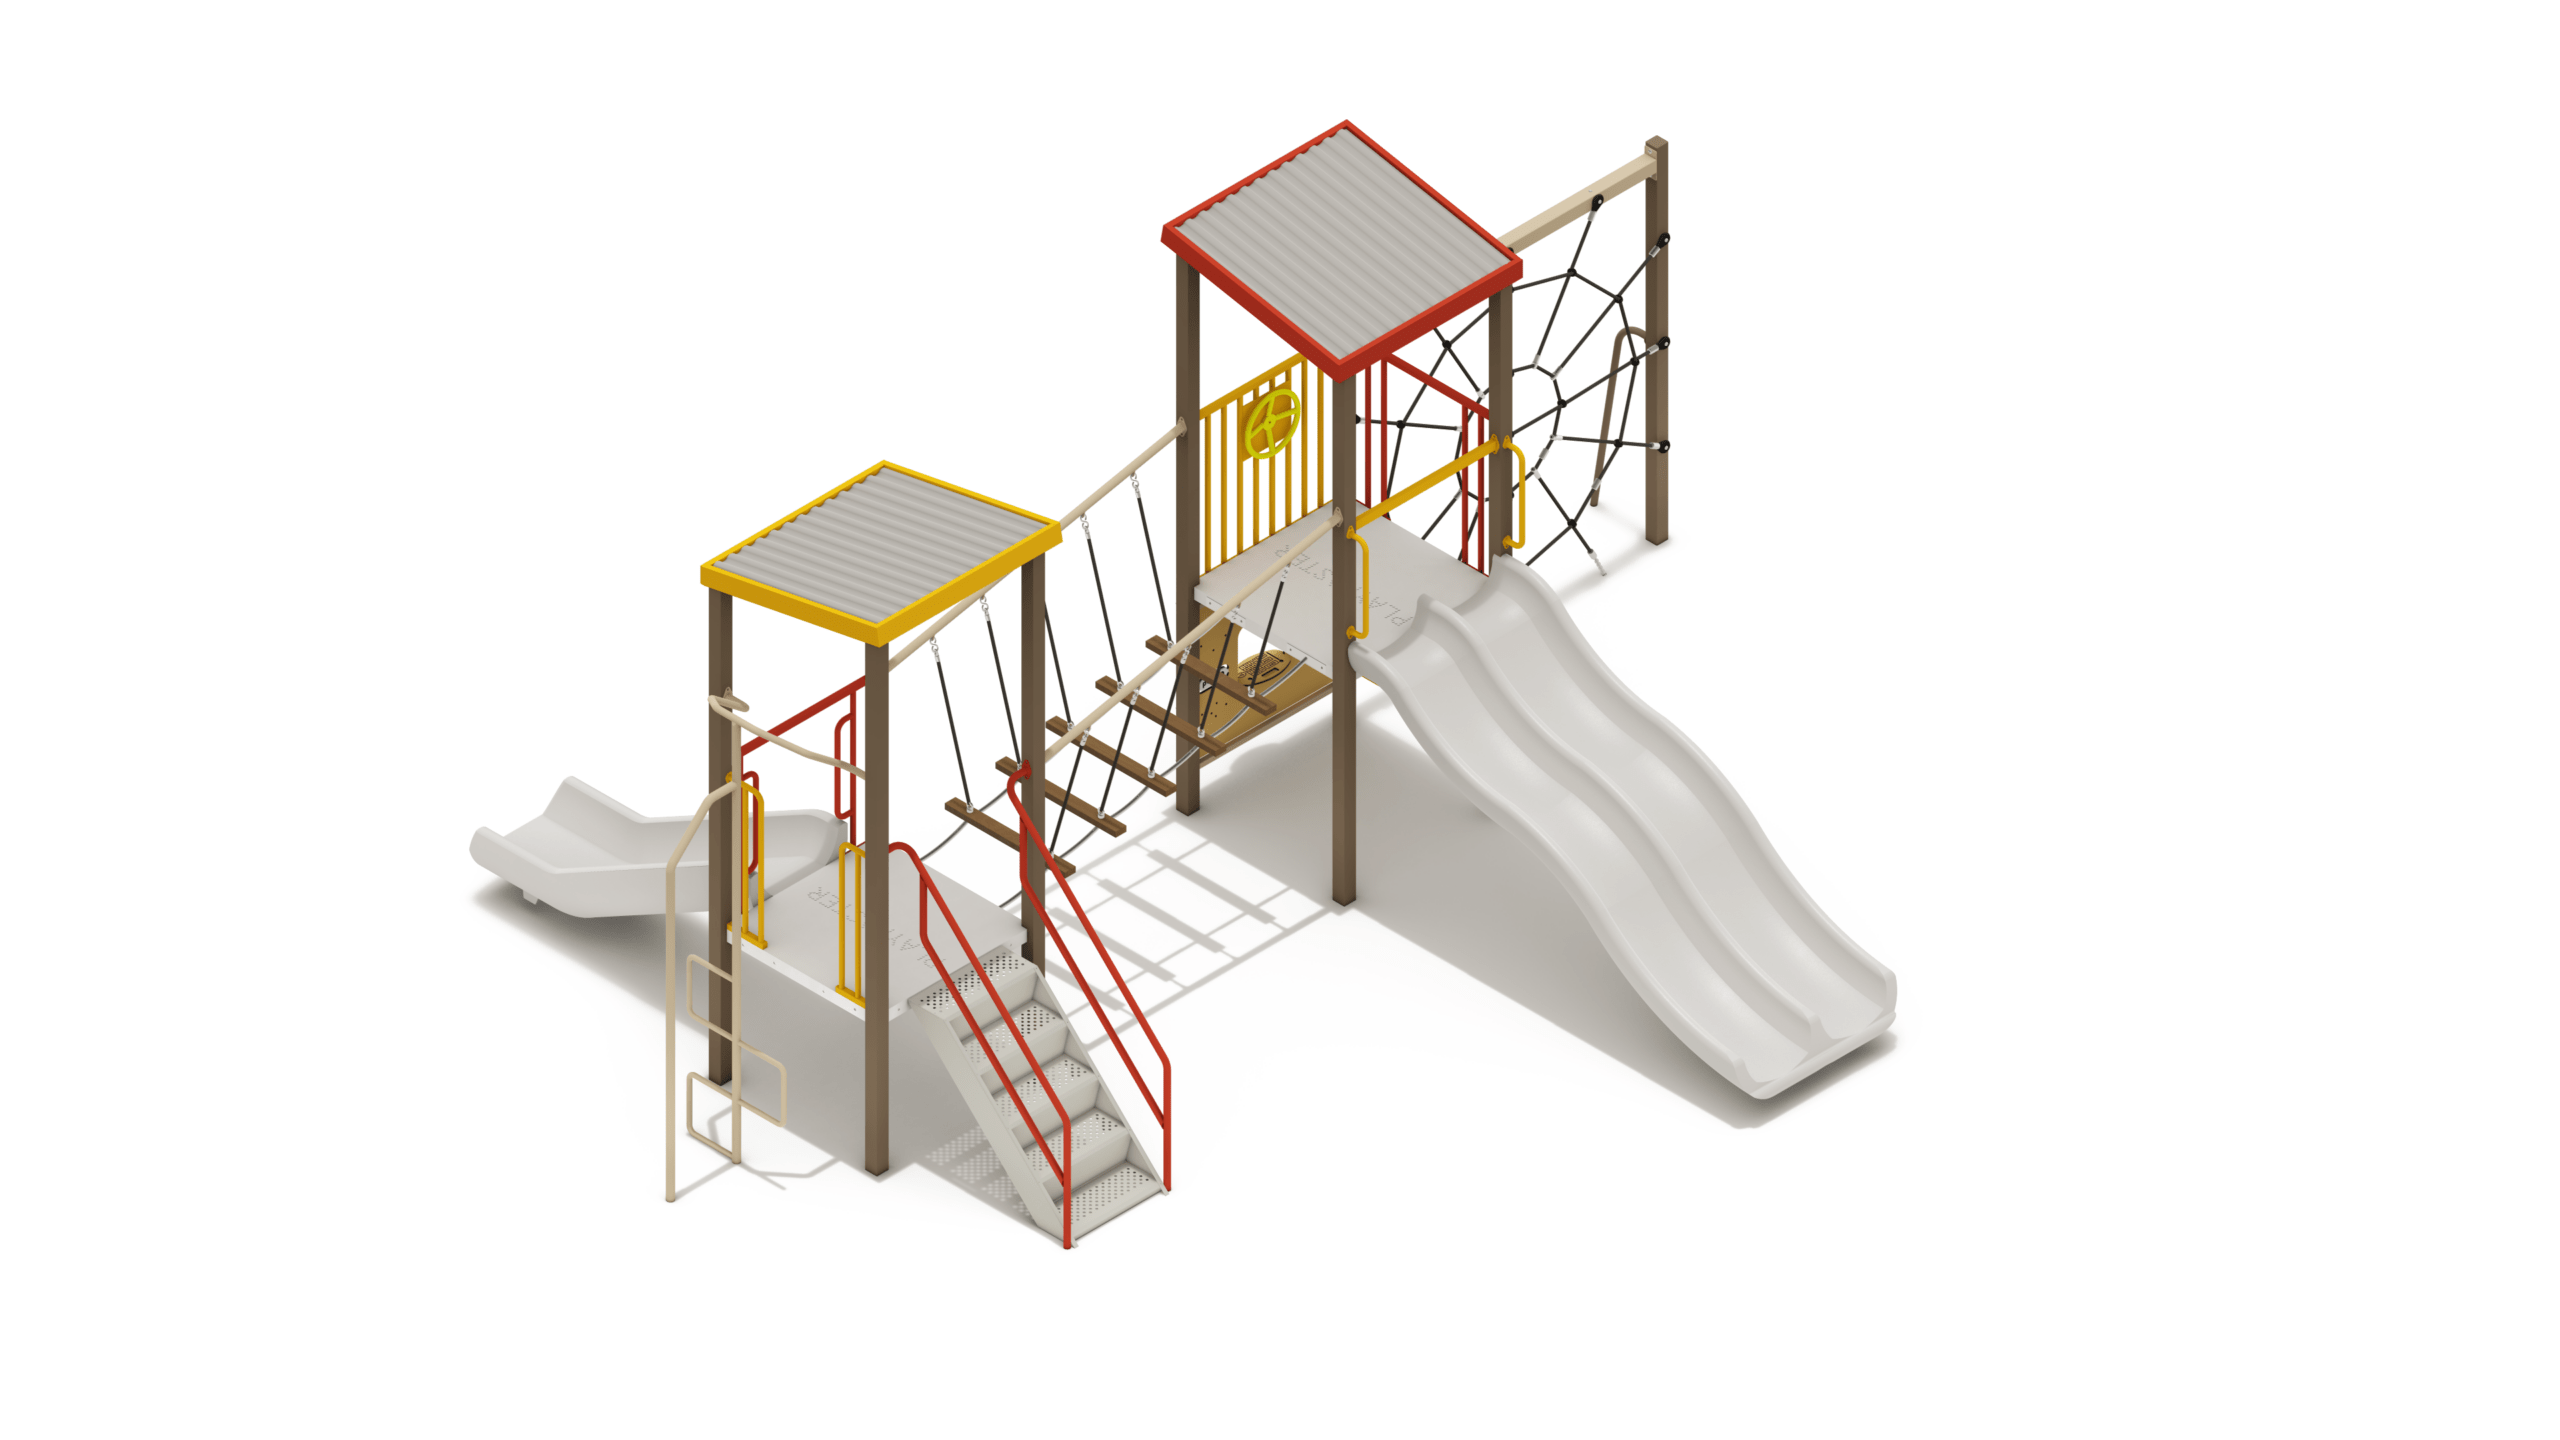
Inclusive Glider
Height: 2.77m Width: 8.55m Length: 10.40m Fall Zone Area: 120m2 Free Height of Fall: 2.20m PM12-29Inclusive Glider
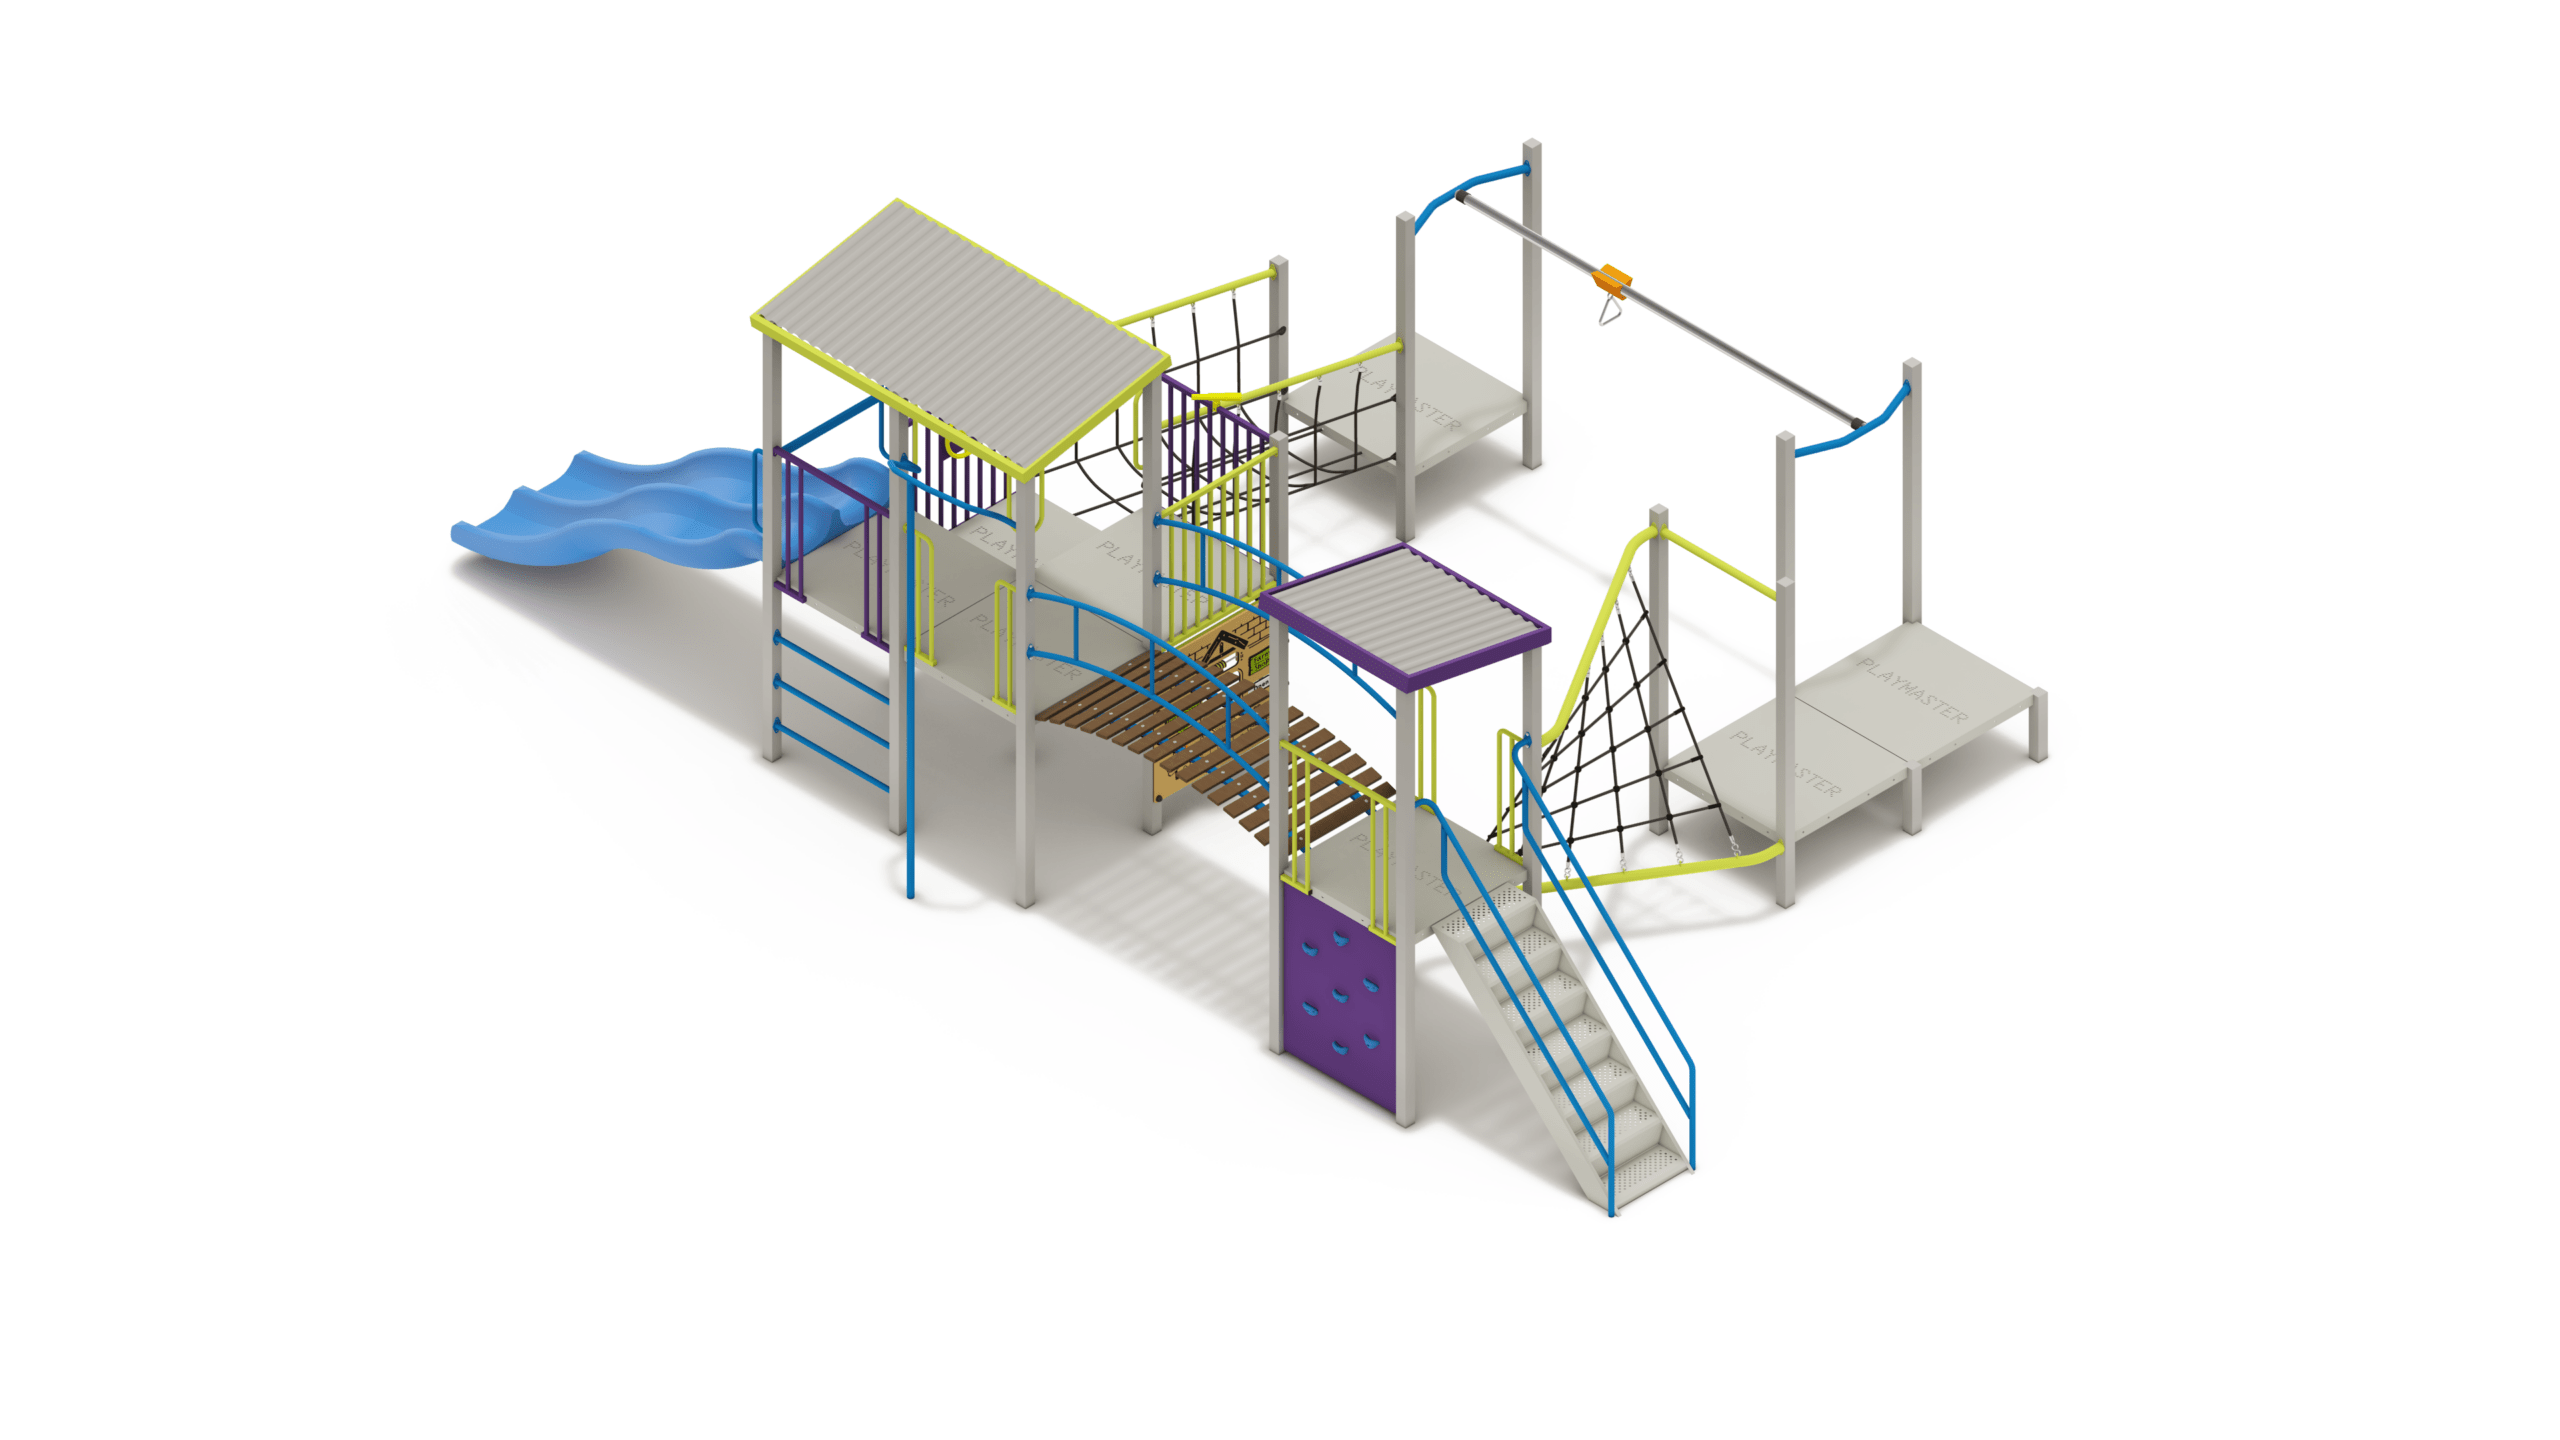
Height: 2.77m Width: 8.55m Length: 10.40m Fall Zone Area: 120m2 Free Height of Fall: 2.20m - PM8-137
Inclusive Native Violet
Height: 3.60m Width: 8.55m Length: 9.74m Fall Zone Area: 109m2 Free Height of Fall: 2.20m  PM8-137
Inclusive Native Violet
Height: 3.60m Width: 8.55m Length: 9.74m Fall Zone Area: 109m2 Free Height of Fall: 2.20m - PM15-07
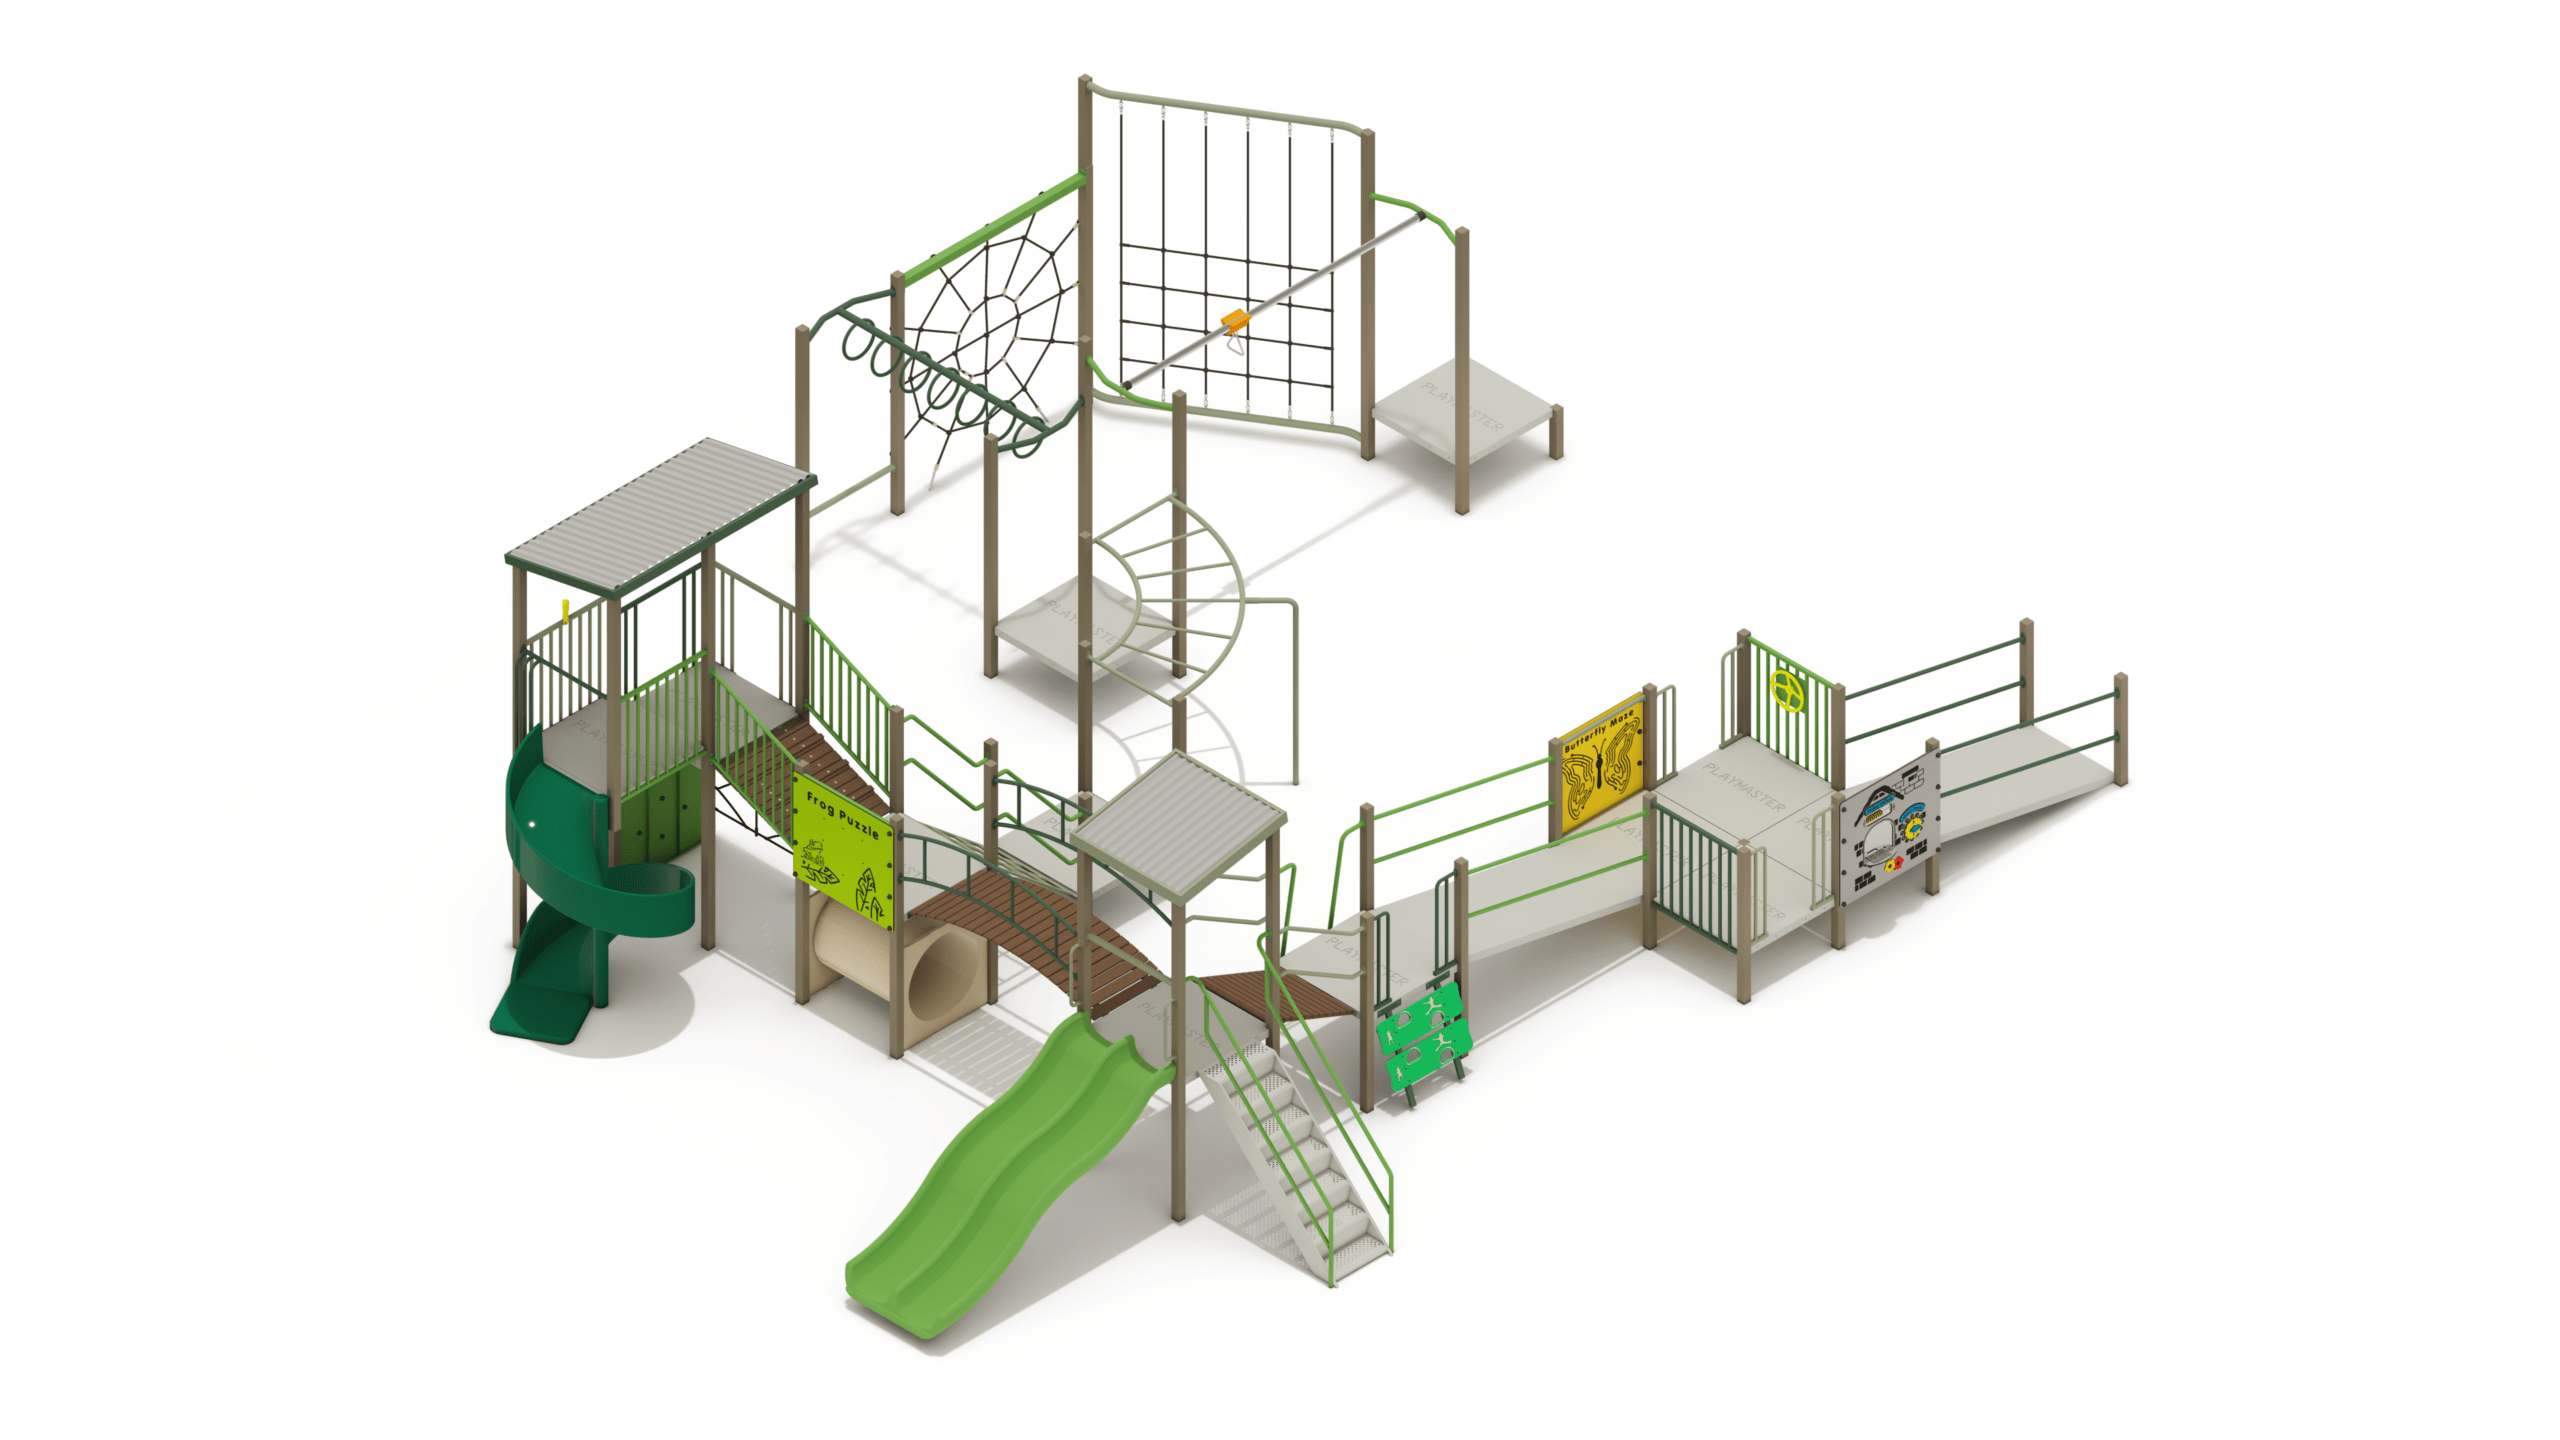
Inclusive Tree Frog
Height: 3.85m Width: 10.96m Length: 13.43m Fall Zone Area: 156m2 Free Height of Fall: 2.20m PM15-07Inclusive Tree Frog
Height: 3.85m Width: 10.96m Length: 13.43m Fall Zone Area: 156m2 Free Height of Fall: 2.20m - PM11-48
Inclusive Wallaroo
Height: 3.25m Width: 8.82m Length: 9.37m Fall Zone Area: 105m2 Free Height of Fall: 1.20m PM11-48Inclusive Wallaroo
Height: 3.25m Width: 8.82m Length: 9.37m Fall Zone Area: 105m2 Free Height of Fall: 1.20m - PM11-32
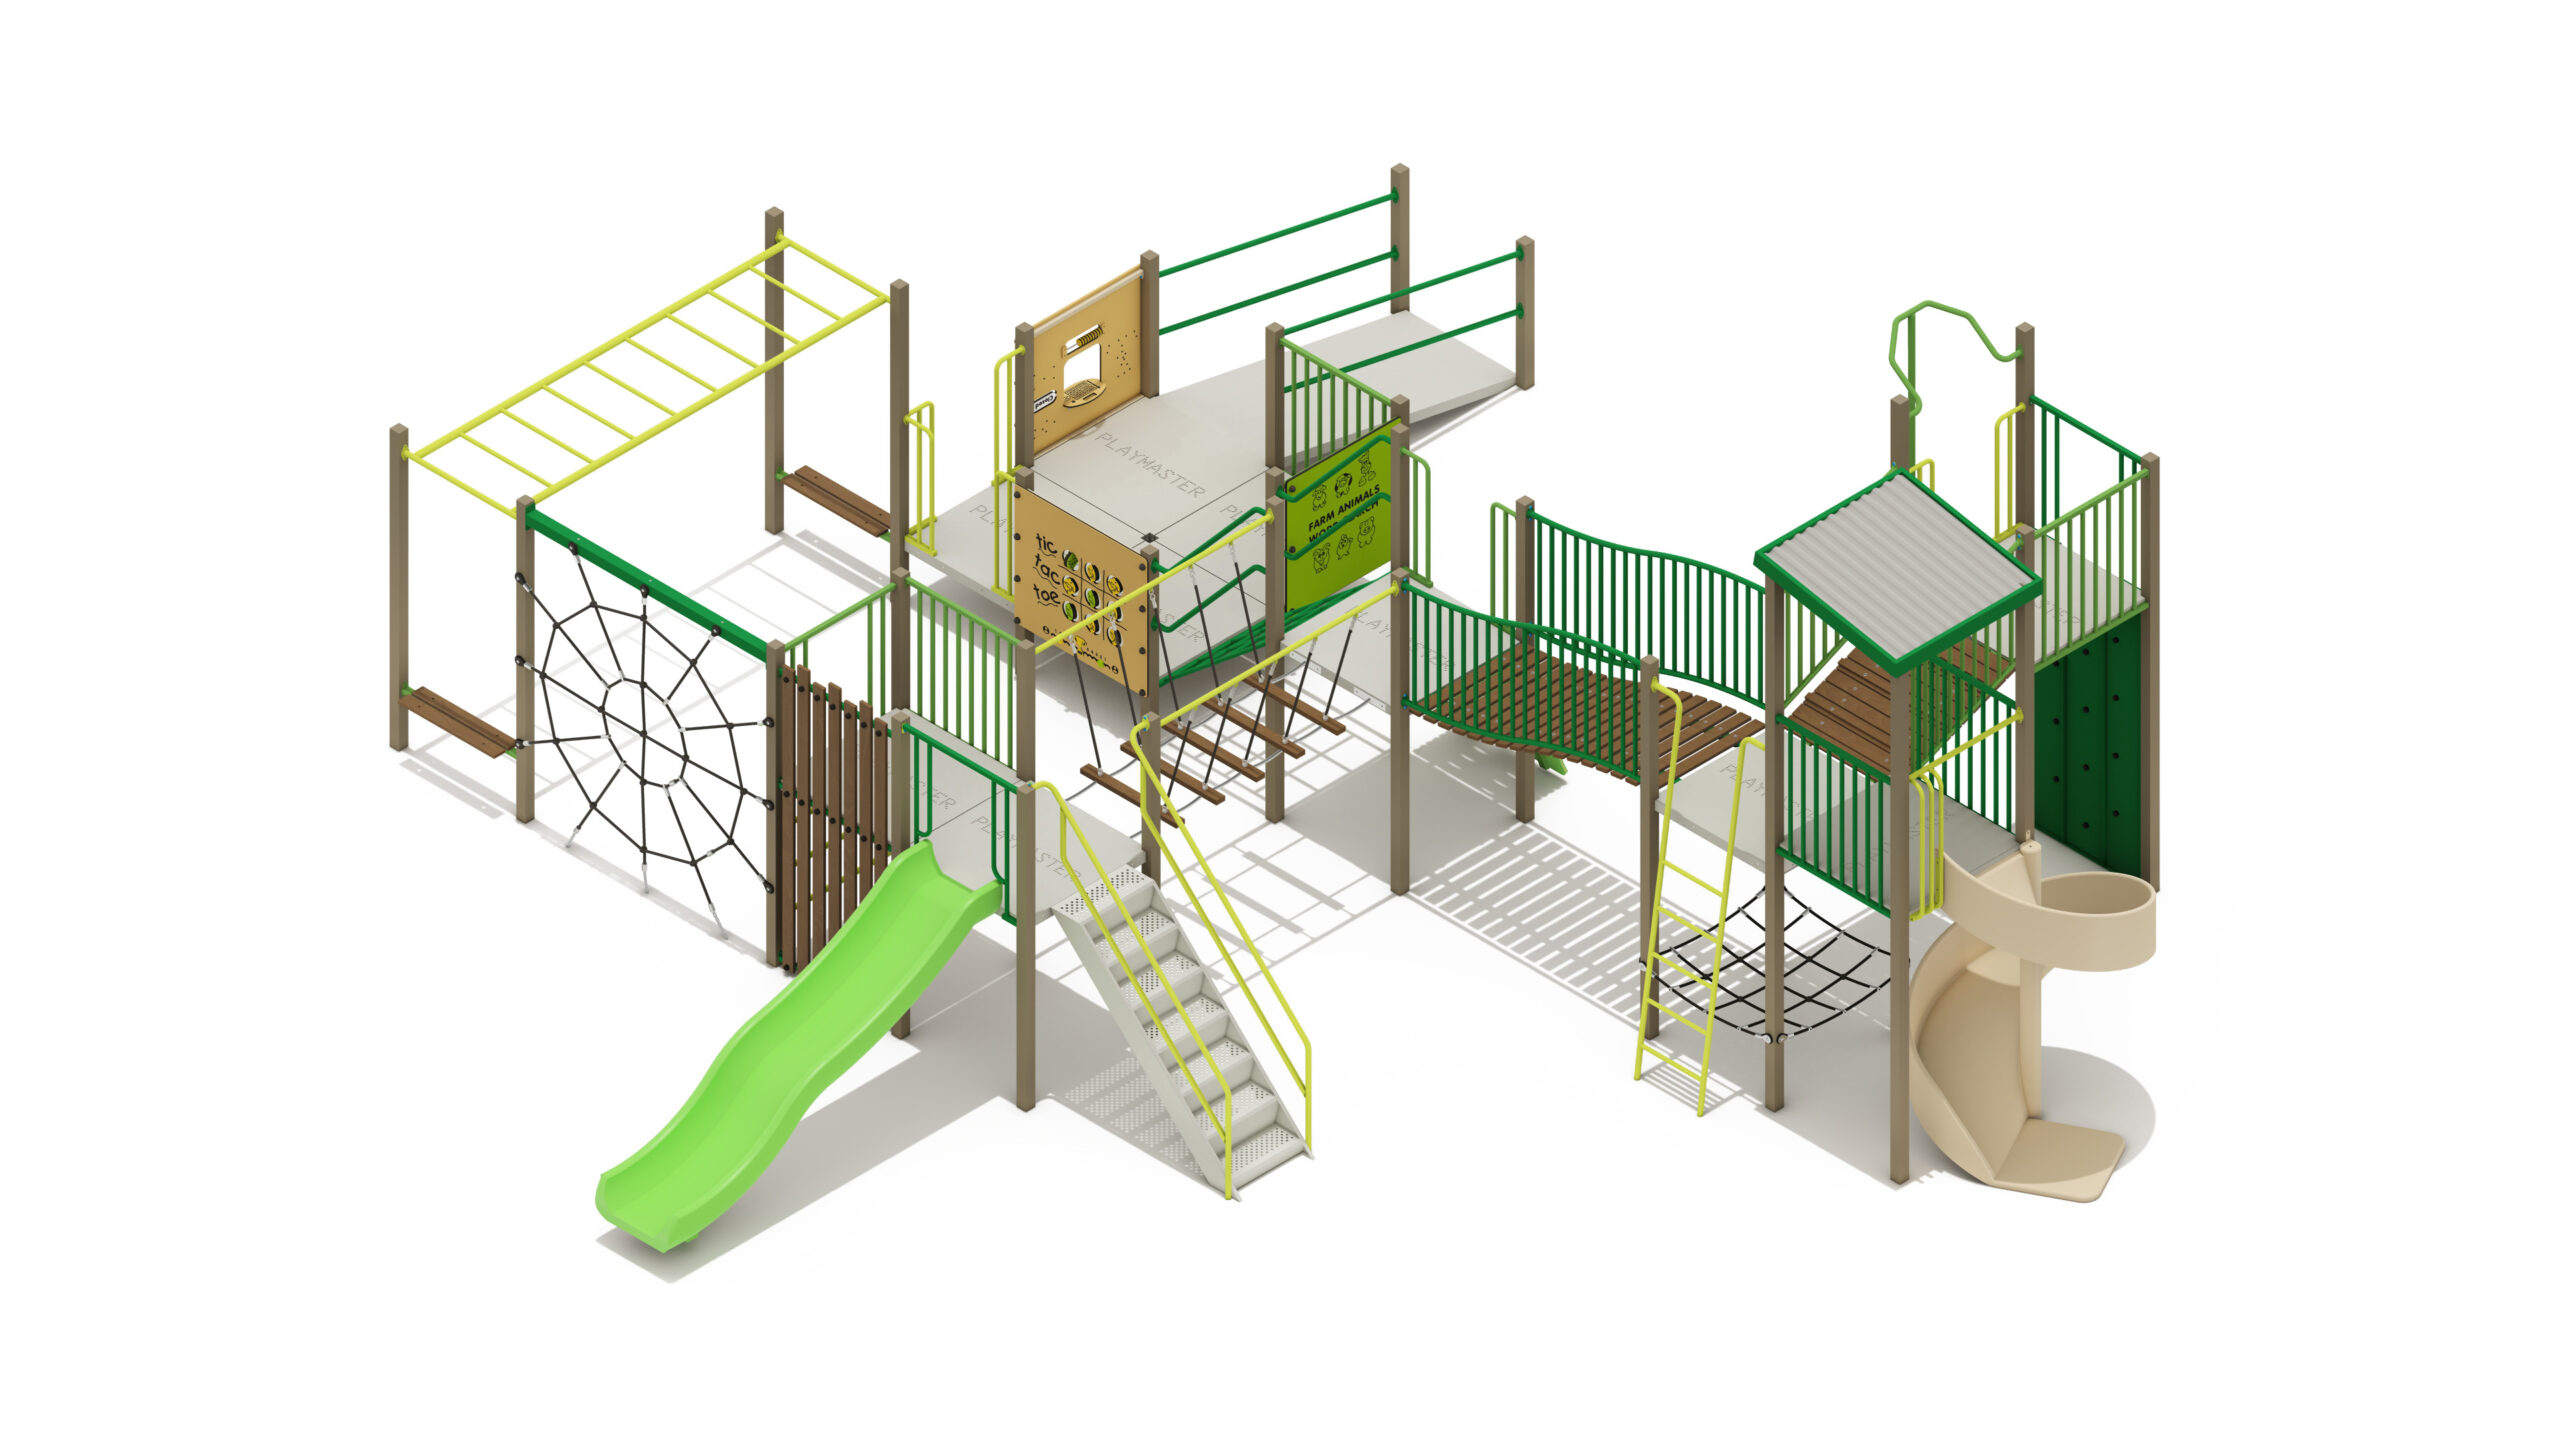
Inclusive Water Gum
Height: 3.85m Width: 9.59m Length: 11.65m Fall Zone Area: 143m2 Free Height of Fall: 2.20m PM11-32Inclusive Water Gum
Height: 3.85m Width: 9.59m Length: 11.65m Fall Zone Area: 143m2 Free Height of Fall: 2.20m - PM14-20
Inclusive Wombat
Height: 3.65m Width: 9.11m Length: 9.43m Fall Zone Area: 107m2 Free Height of Fall: 2.20m PM14-20Inclusive Wombat
Height: 3.65m Width: 9.11m Length: 9.43m Fall Zone Area: 107m2 Free Height of Fall: 2.20m - PM4-0925
Junior Banksia
Height: 2.80m Width: 4.08m Length: 6.96m Fall Zone Area: 54m2 Free Height of Fall: 2.20m PM4-0925Junior Banksia
Height: 2.80m Width: 4.08m Length: 6.96m Fall Zone Area: 54m2 Free Height of Fall: 2.20m - PM5-602
Junior Featherflowers
Height: 3.00m Width: 7.07m Length: 9.19m Fall Zone Area: 98m2 Free Height of Fall: 2.20m PM5-602Junior Featherflowers
Height: 3.00m Width: 7.07m Length: 9.19m Fall Zone Area: 98m2 Free Height of Fall: 2.20m - PM2-408
Junior Jarrah
Height: 3.26m Width: 5.40m Length: 6.87m Fall Zone Area: 58m2 Free Height of Fall: 2.20m PM2-408Junior Jarrah
Height: 3.26m Width: 5.40m Length: 6.87m Fall Zone Area: 58m2 Free Height of Fall: 2.20m - PM7-324
Junior Kangaroo Paw
Height: 3.30m Width: 5.47m Length: 8.80m Fall Zone Area: 80m2 Free Height of Fall: 2.20m PM7-324Junior Kangaroo Paw
Height: 3.30m Width: 5.47m Length: 8.80m Fall Zone Area: 80m2 Free Height of Fall: 2.20m - PM4-0830
Junior Karri
Height: 3.45m Width: 6.06m Length: 8.59m Fall Zone Area: 85m2 Free Height of Fall: 2.20m PM4-0830Junior Karri
Height: 3.45m Width: 6.06m Length: 8.59m Fall Zone Area: 85m2 Free Height of Fall: 2.20m - AD3-687
Junior Malleefowl
Height: 3.20m Width: 5.08m Length: 6.82m Fall Zone Area: 59m2 Free Height of Fall: 2.20m AD3-687Junior Malleefowl
Height: 3.20m Width: 5.08m Length: 6.82m Fall Zone Area: 59m2 Free Height of Fall: 2.20m - PM4-0824
Junior Marri
Height: 3.00m Width: 6.24m Length: 6.72m Fall Zone Area: 82m2 Free Height of Fall: 2.00m PM4-0824Junior Marri
Height: 3.00m Width: 6.24m Length: 6.72m Fall Zone Area: 82m2 Free Height of Fall: 2.00m - PM5-610
Junior Quandong
Height: 3.65m Width: 6.33m Length: 9.11m Fall Zone Area: 97m2 Free Height of Fall: 2.20m PM5-610Junior Quandong
Height: 3.65m Width: 6.33m Length: 9.11m Fall Zone Area: 97m2 Free Height of Fall: 2.20m - PM4-0831
Junior Tuart
Height: 3.25m Width: 7.00m Length: 8.67m Fall Zone Area: 108m2 Free Height of Fall: 2.20m PM4-0831Junior Tuart
Height: 3.25m Width: 7.00m Length: 8.67m Fall Zone Area: 108m2 Free Height of Fall: 2.20m - AD2-0418
Junior Western Rosella
Height: 3.25m Width: 3.50m Length: 4.48m Fall Zone Area: 36m2 Free Height of Fall: 1.50m AD2-0418Junior Western Rosella
Height: 3.25m Width: 3.50m Length: 4.48m Fall Zone Area: 36m2 Free Height of Fall: 1.50m - PM5-061
Rustic Bluebell
Height: 2.80m Width: 7.00m Length: 7.95m Fall Zone Area: 91m2 Free Height of Fall: 2.20m PM5-061Rustic Bluebell
Height: 2.80m Width: 7.00m Length: 7.95m Fall Zone Area: 91m2 Free Height of Fall: 2.20m - PM7-325
Rustic Coneflower
Height: 3.25m Width: 5.46m Length: 11.49m Fall Zone Area: 99m2 Free Height of Fall: 2.20m PM7-325Rustic Coneflower
Height: 3.25m Width: 5.46m Length: 11.49m Fall Zone Area: 99m2 Free Height of Fall: 2.20m - PM5-611
Rustic Dampiera
Height: 3.85m Width: 7.35m Length: 10.64m Fall Zone Area: 113m2 Free Height of Fall: 2.20m PM5-611Rustic Dampiera
Height: 3.85m Width: 7.35m Length: 10.64m Fall Zone Area: 113m2 Free Height of Fall: 2.20m - PM5-604
Rustic Everlastings
Height: 2.78m Width: 6.56m Length: 9.53m Fall Zone Area: 95m2 Free Height of Fall: 2.00m PM5-604Rustic Everlastings
Height: 2.78m Width: 6.56m Length: 9.53m Fall Zone Area: 95m2 Free Height of Fall: 2.00m - PM10-272
Rustic Fan Flower
Height: 3.85m Width: 8.69m Length: 8.70m Fall Zone Area: 124m2 Free Height of Fall: 2.20m PM10-272Rustic Fan Flower
Height: 3.85m Width: 8.69m Length: 8.70m Fall Zone Area: 124m2 Free Height of Fall: 2.20m