Urban
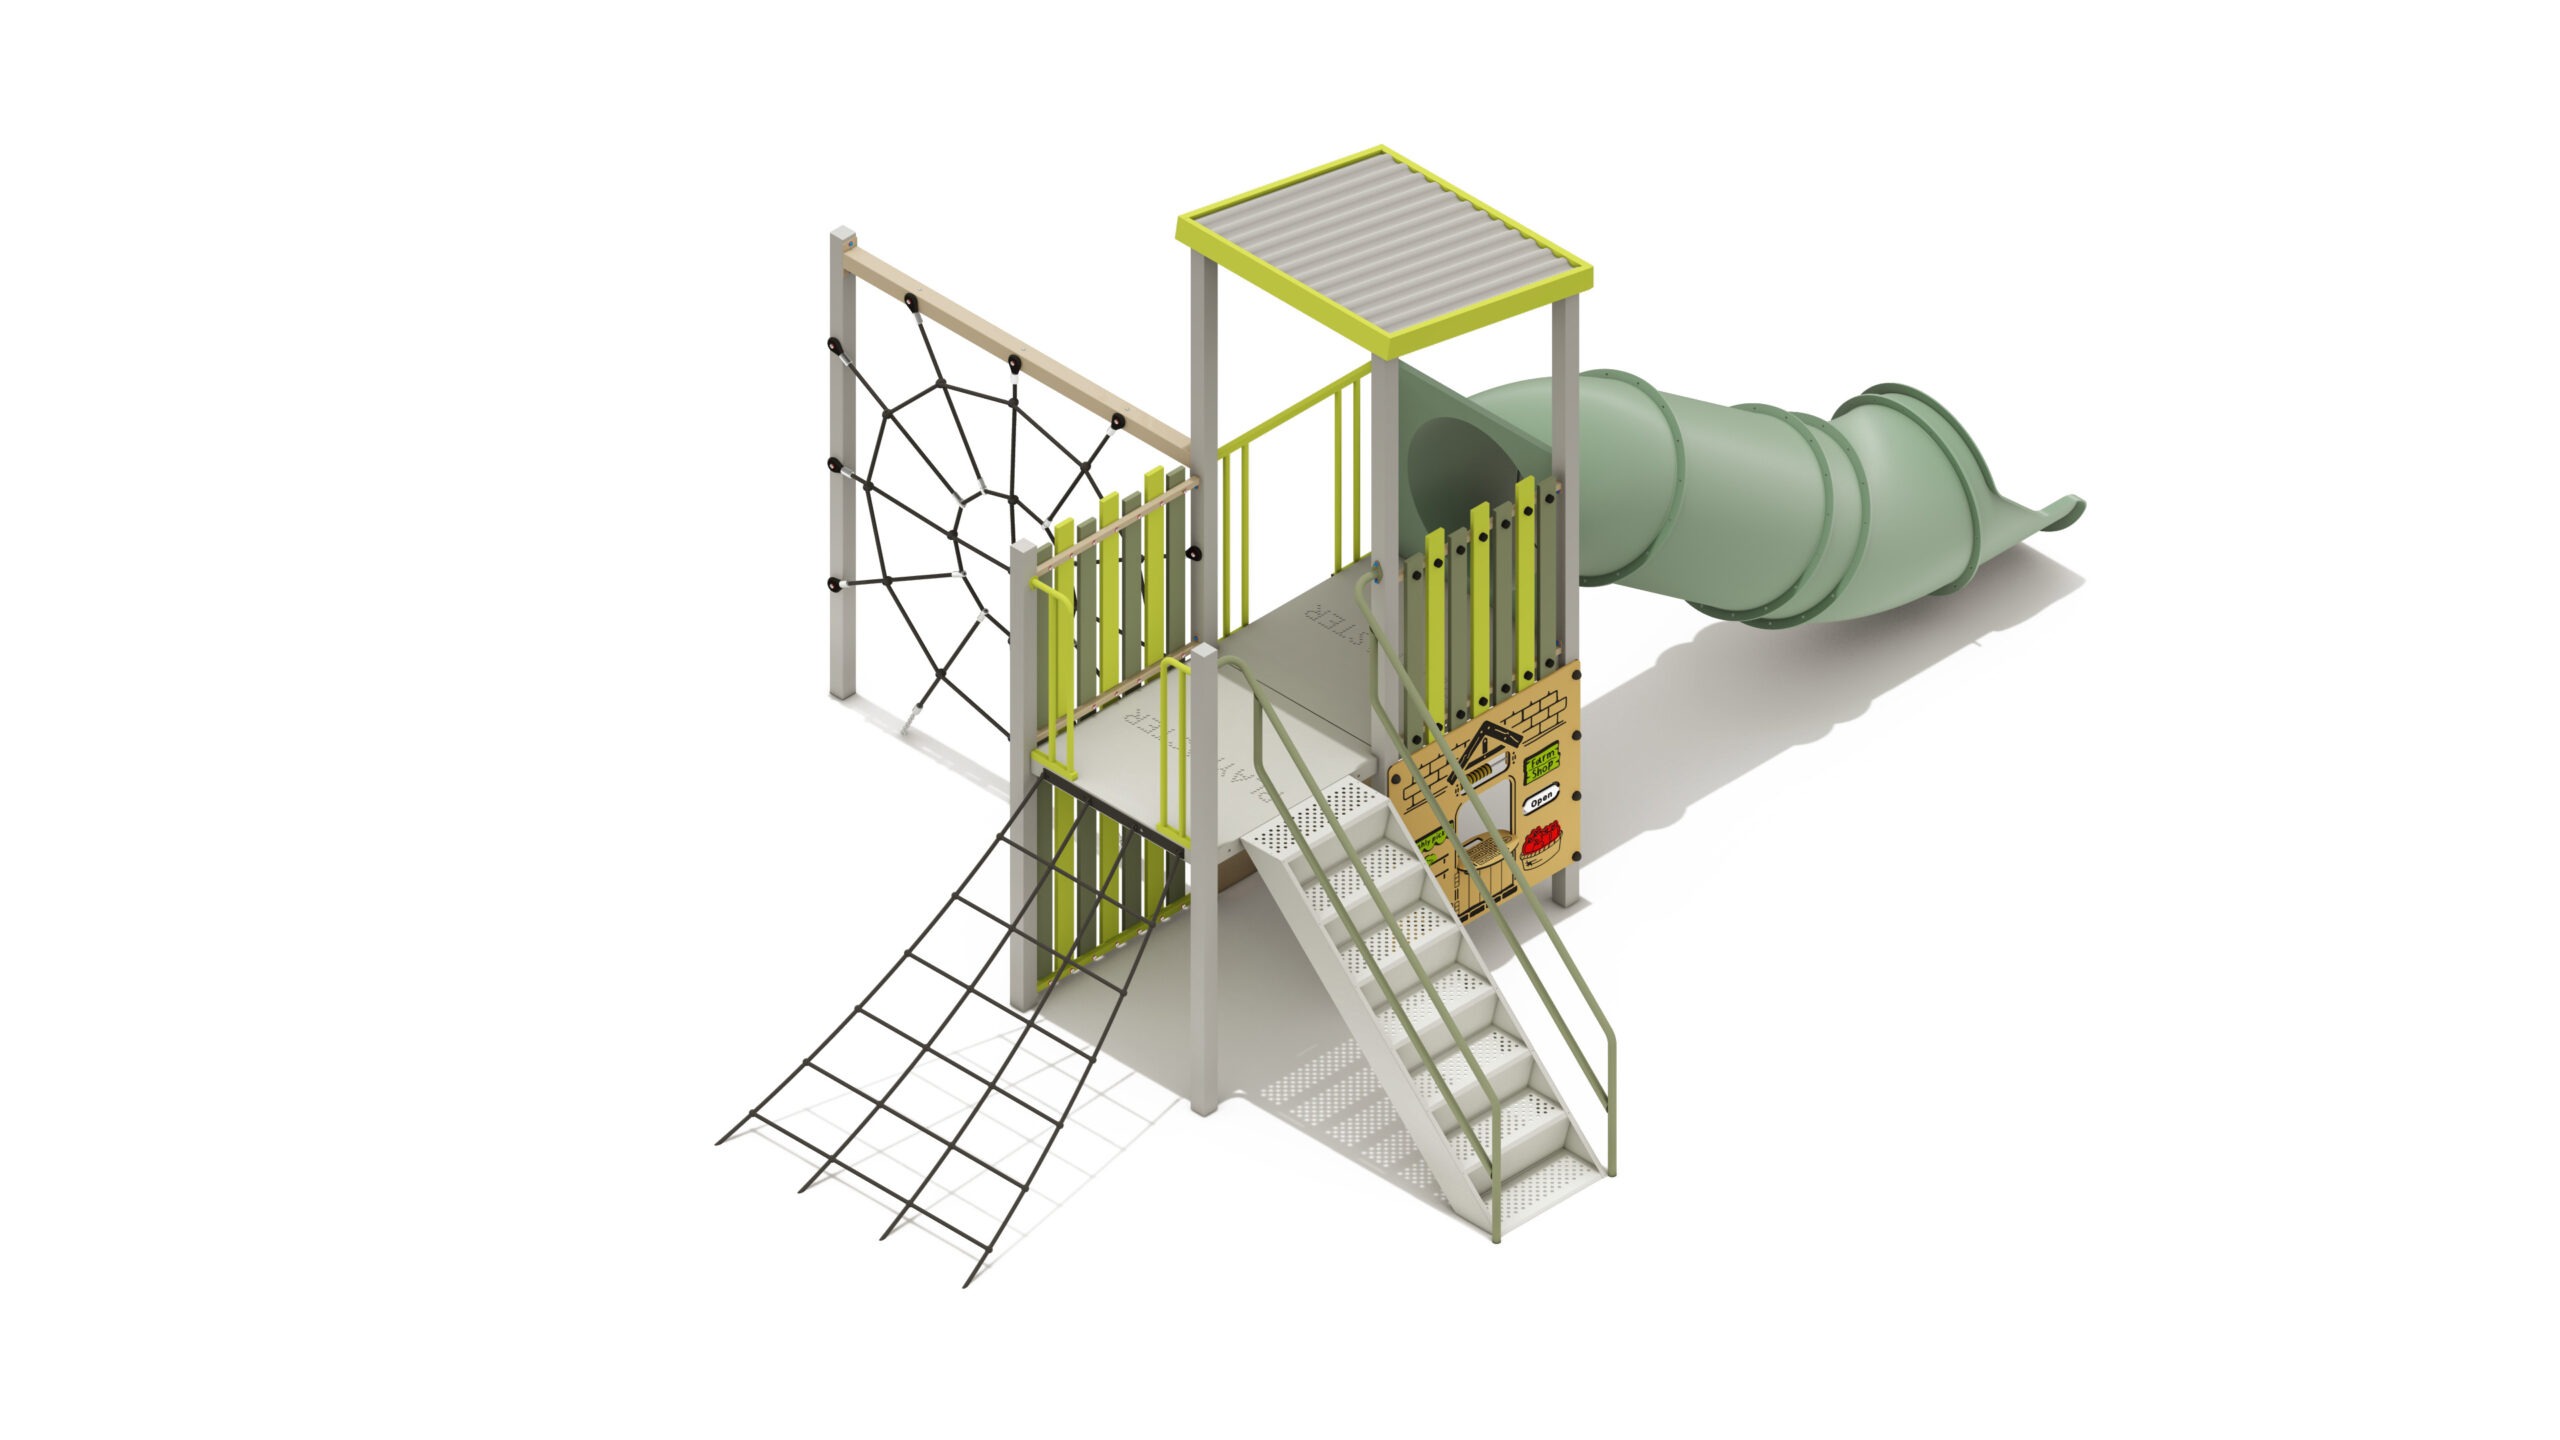
- PM2-0419
Urban Foxtail
Height: 3.20m Width: 4.57m Length: 6.86m Fall Zone Area: 49m2 Free Height of Fall: 2.20m  PM2-0419
Urban Foxtail
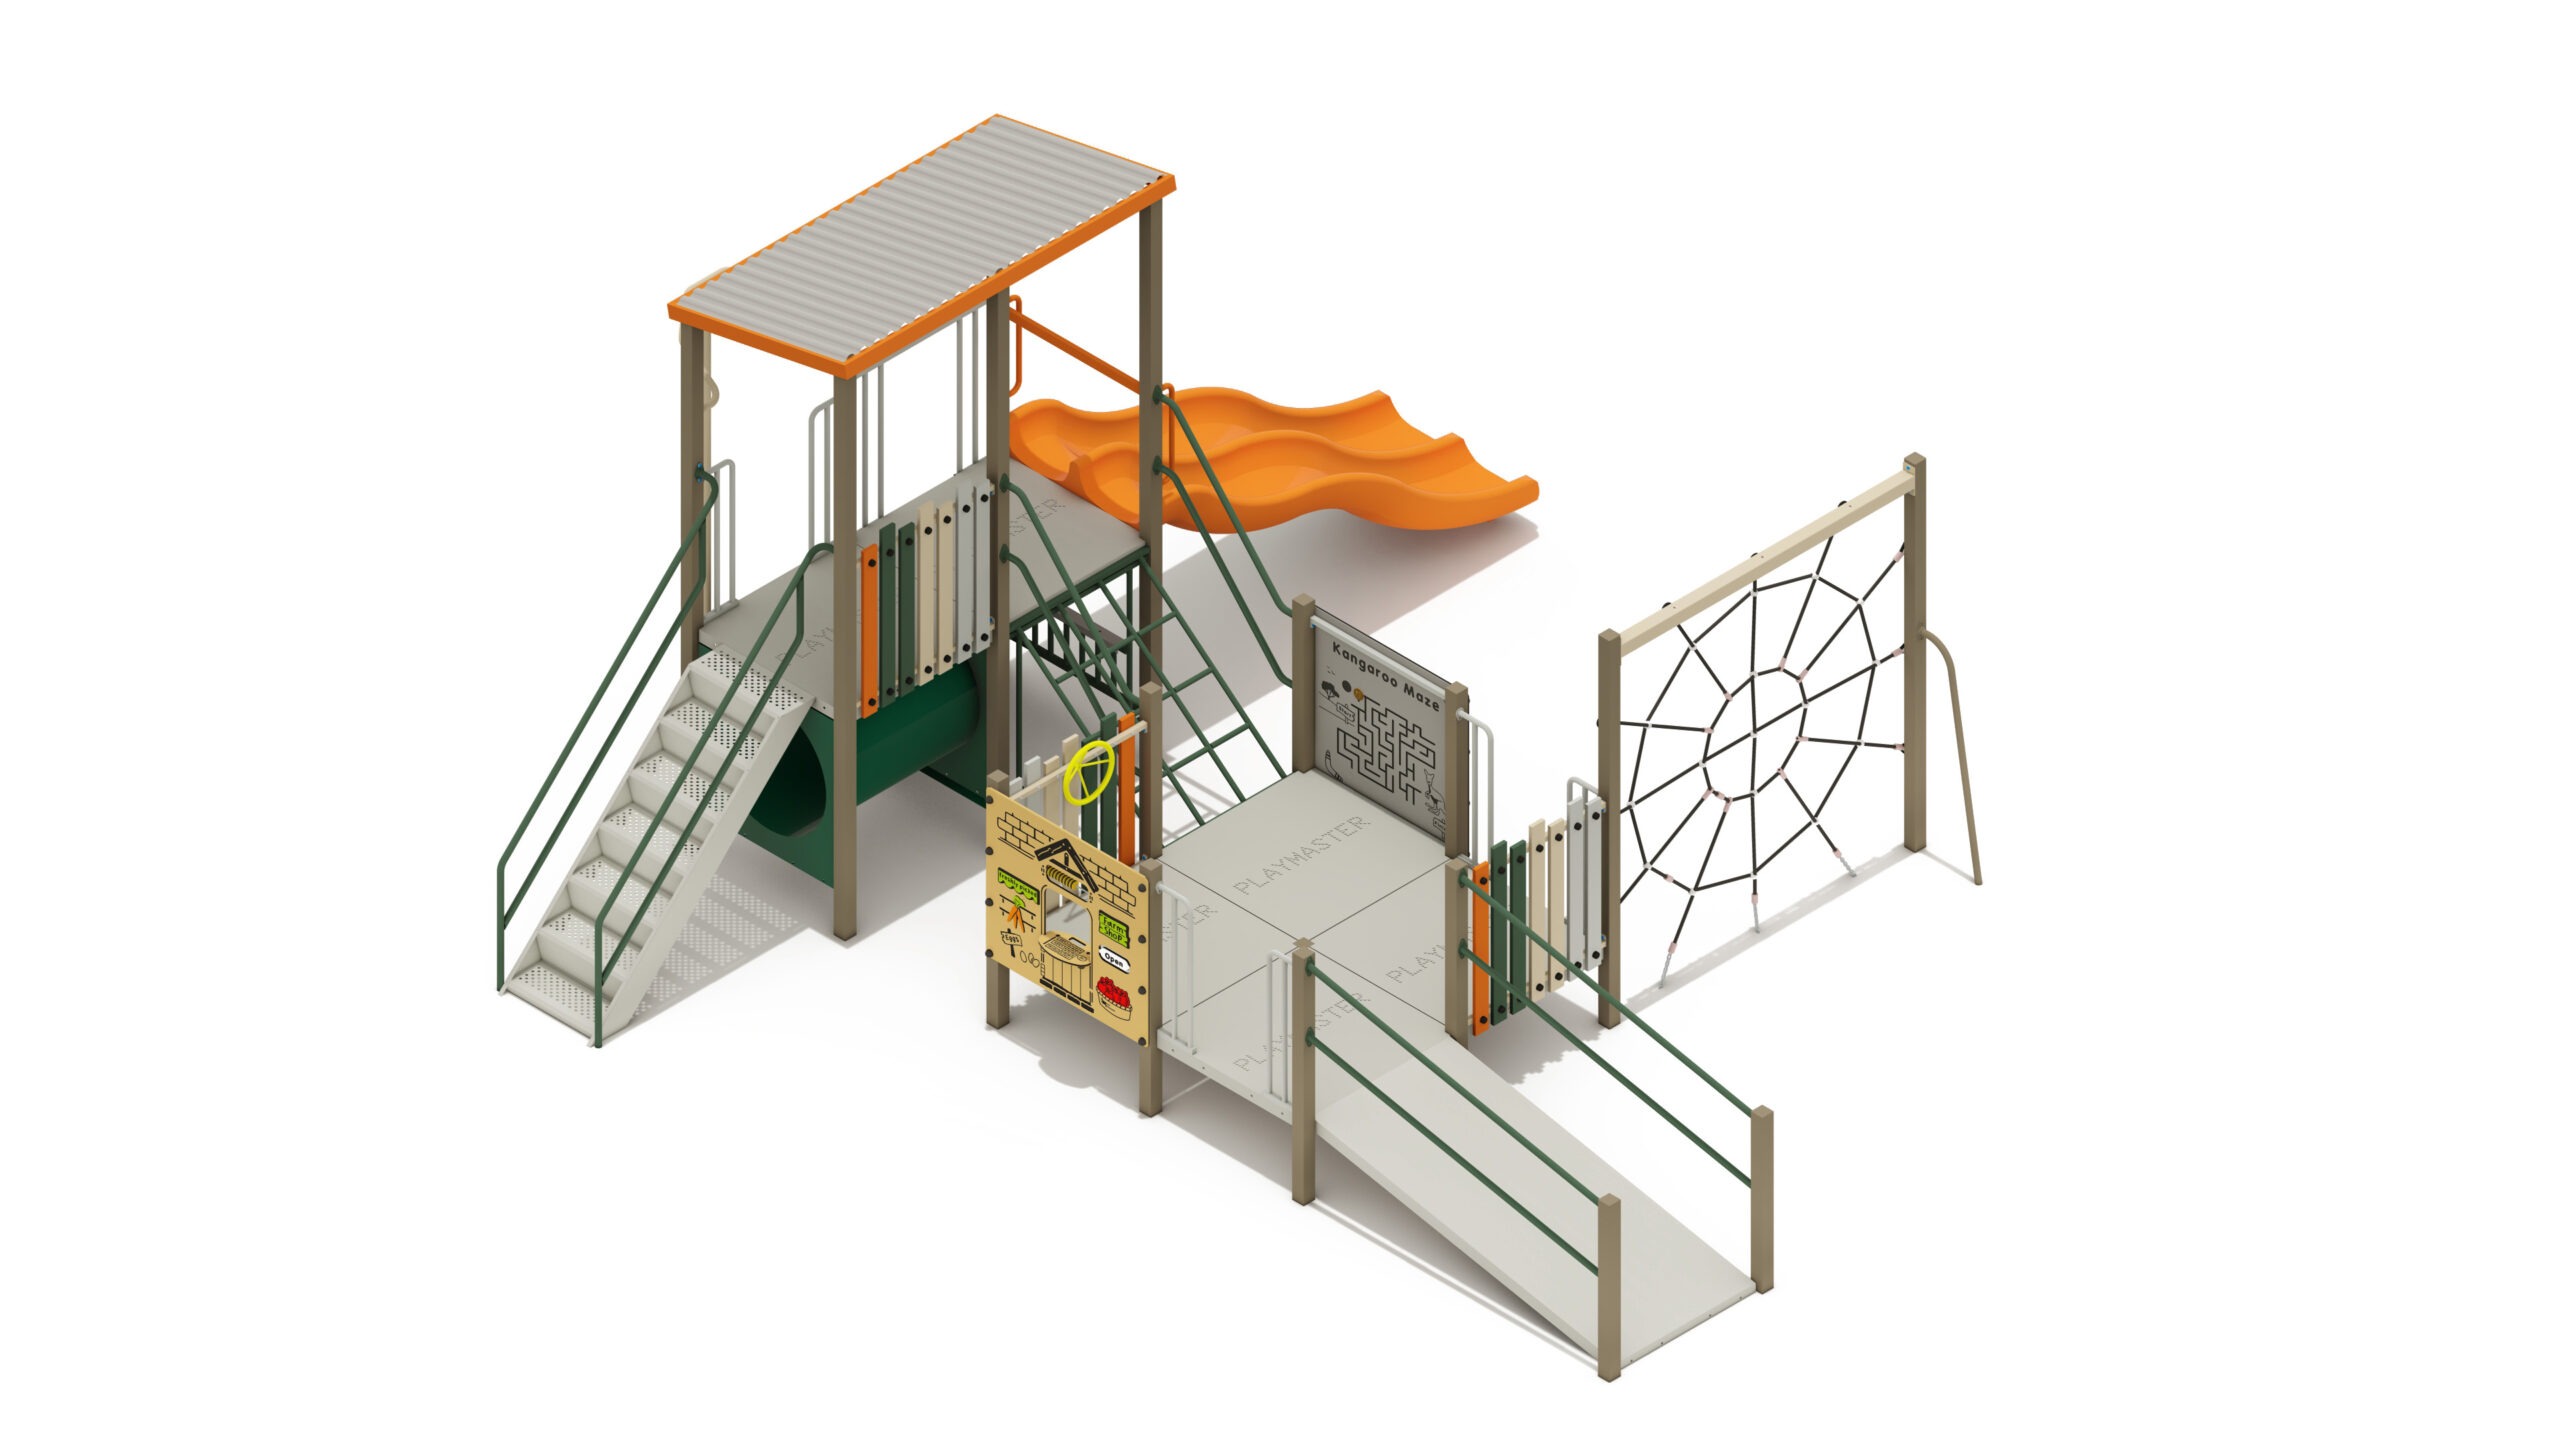
Height: 3.20m Width: 4.57m Length: 6.86m Fall Zone Area: 49m2 Free Height of Fall: 2.20m - PM6-324-1
Urban Manta
Height: 3.30m Width: 6.12m Length: 6.46m Fall Zone Area: 65m2 Free Height of Fall: 2.20m PM6-324-1Urban Manta
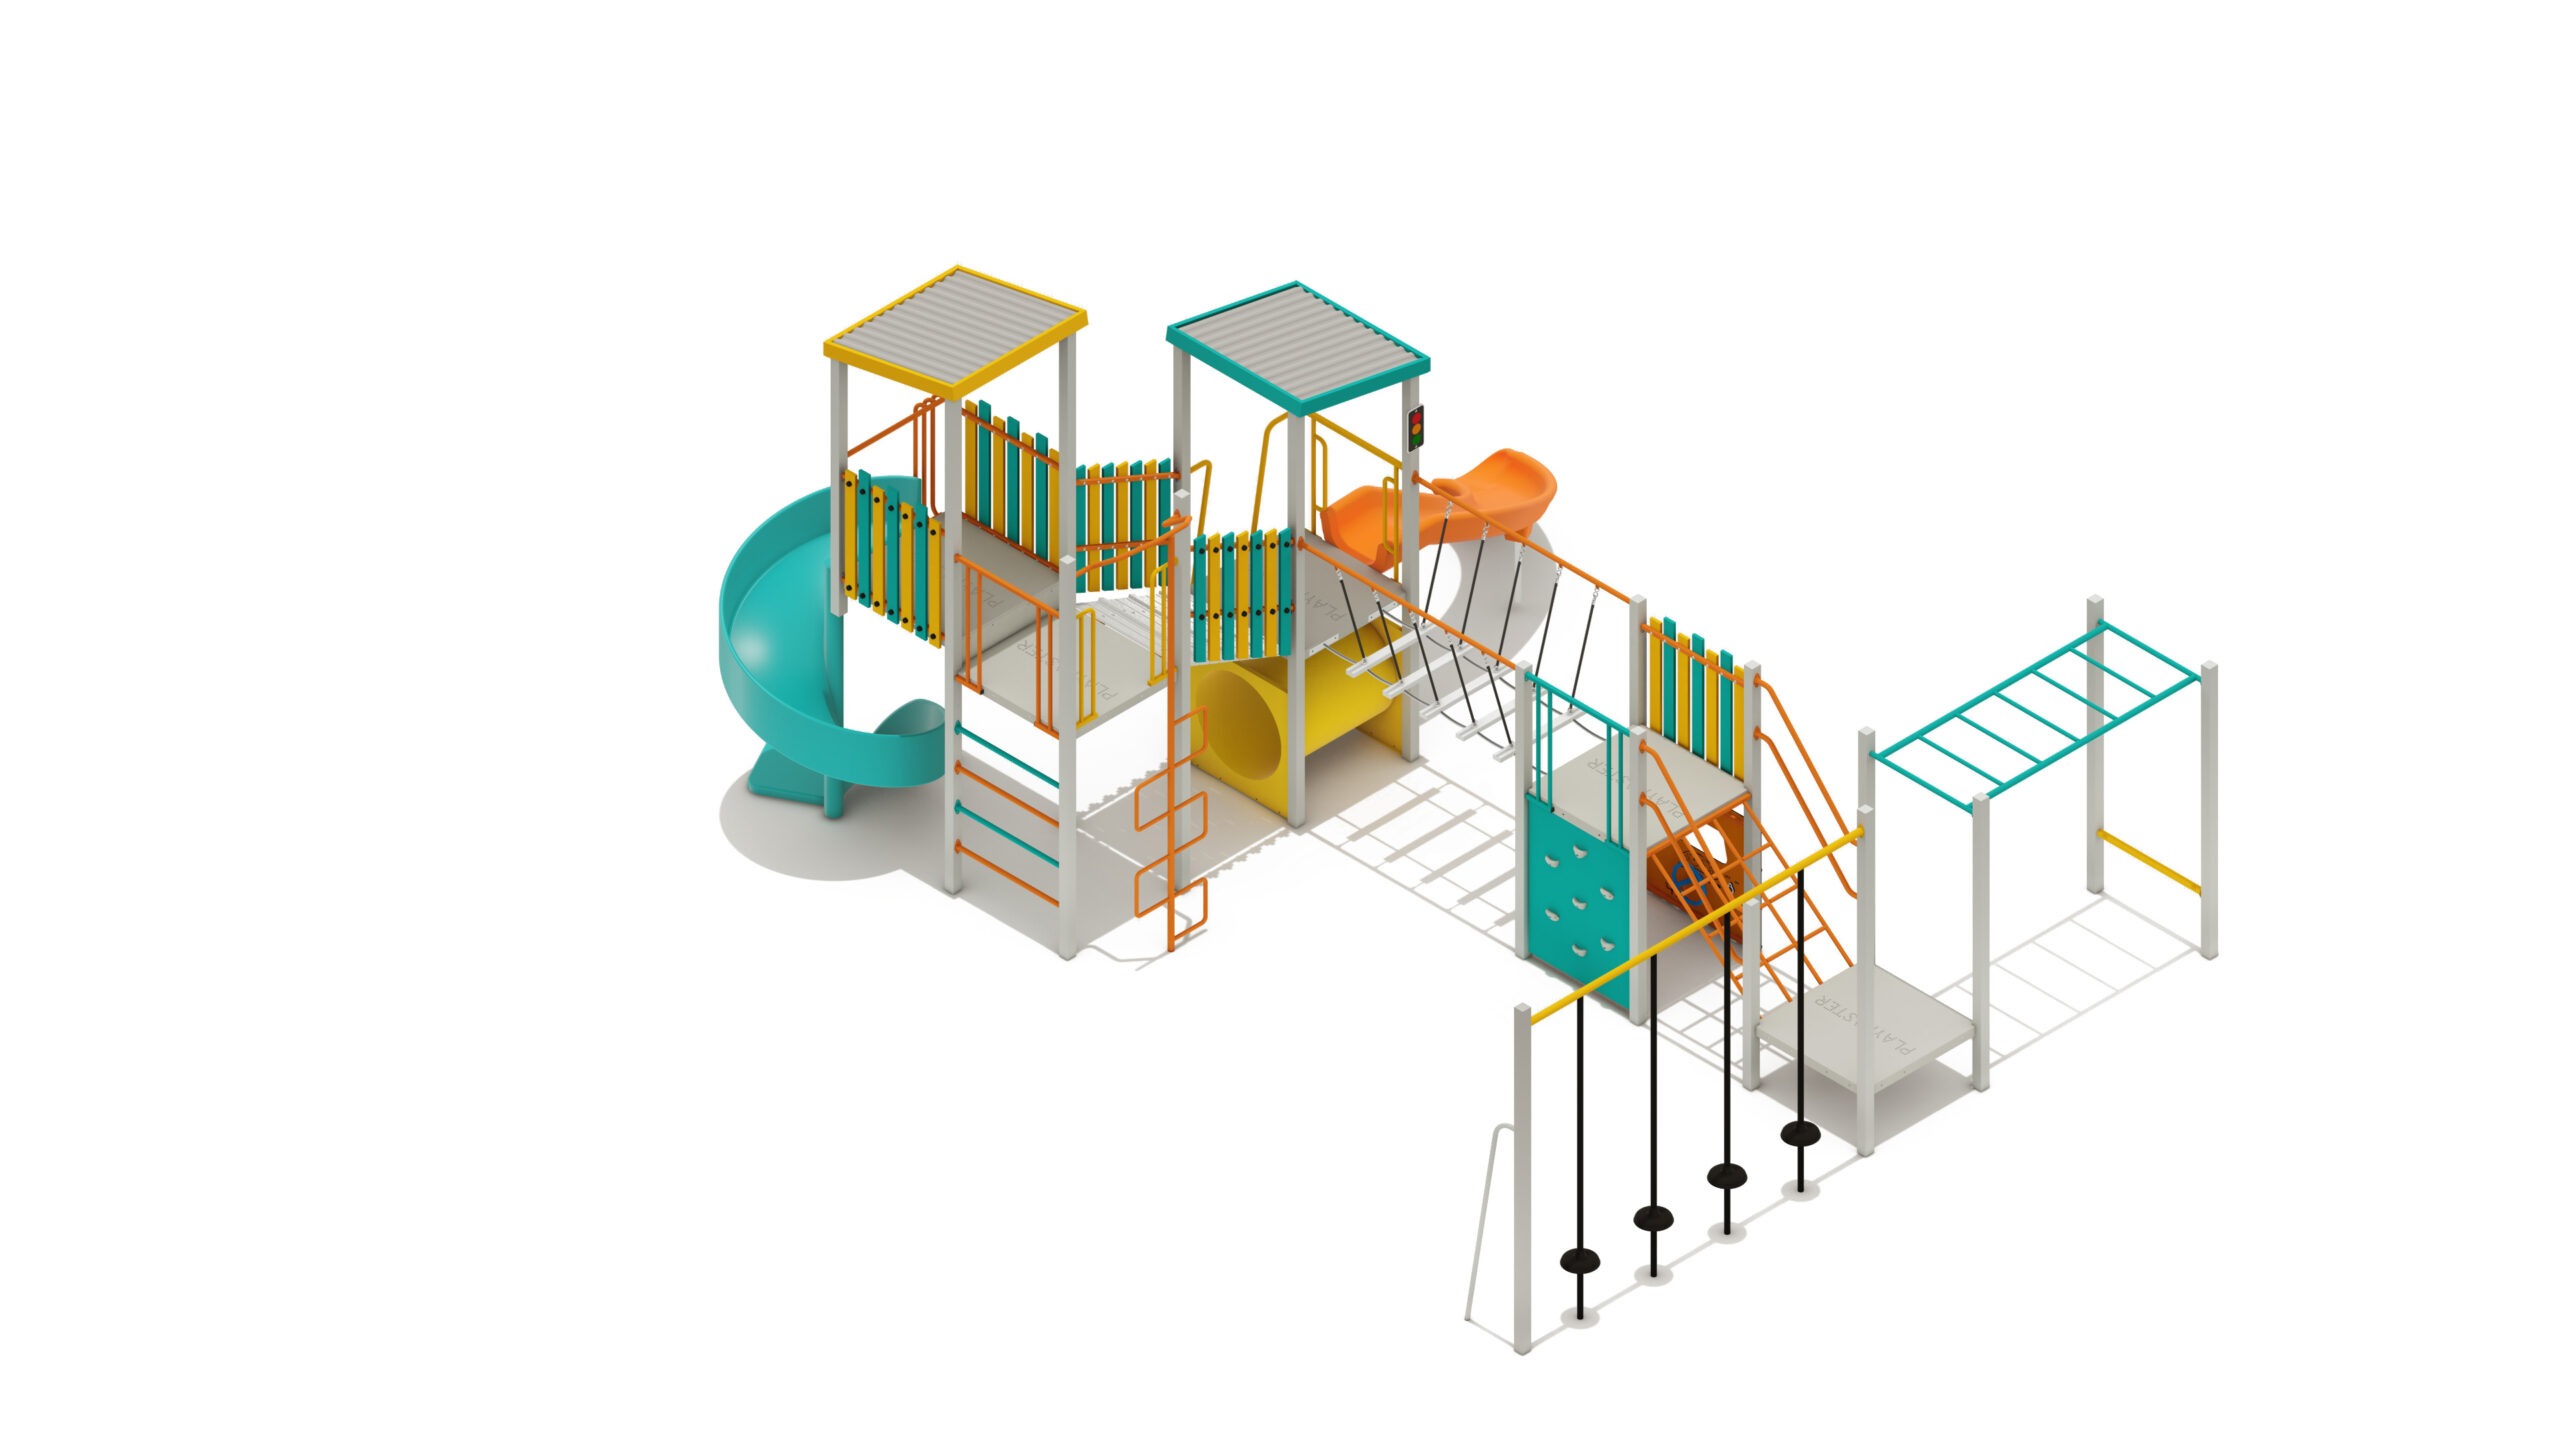
Height: 3.30m Width: 6.12m Length: 6.46m Fall Zone Area: 65m2 Free Height of Fall: 2.20m - PM4-0854
Urban Osprey
Height: 3.60m Width: 6.46m Length: 8.04m Fall Zone Area: 80m2 Free Height of Fall: 1.85m PM4-0854Urban Osprey
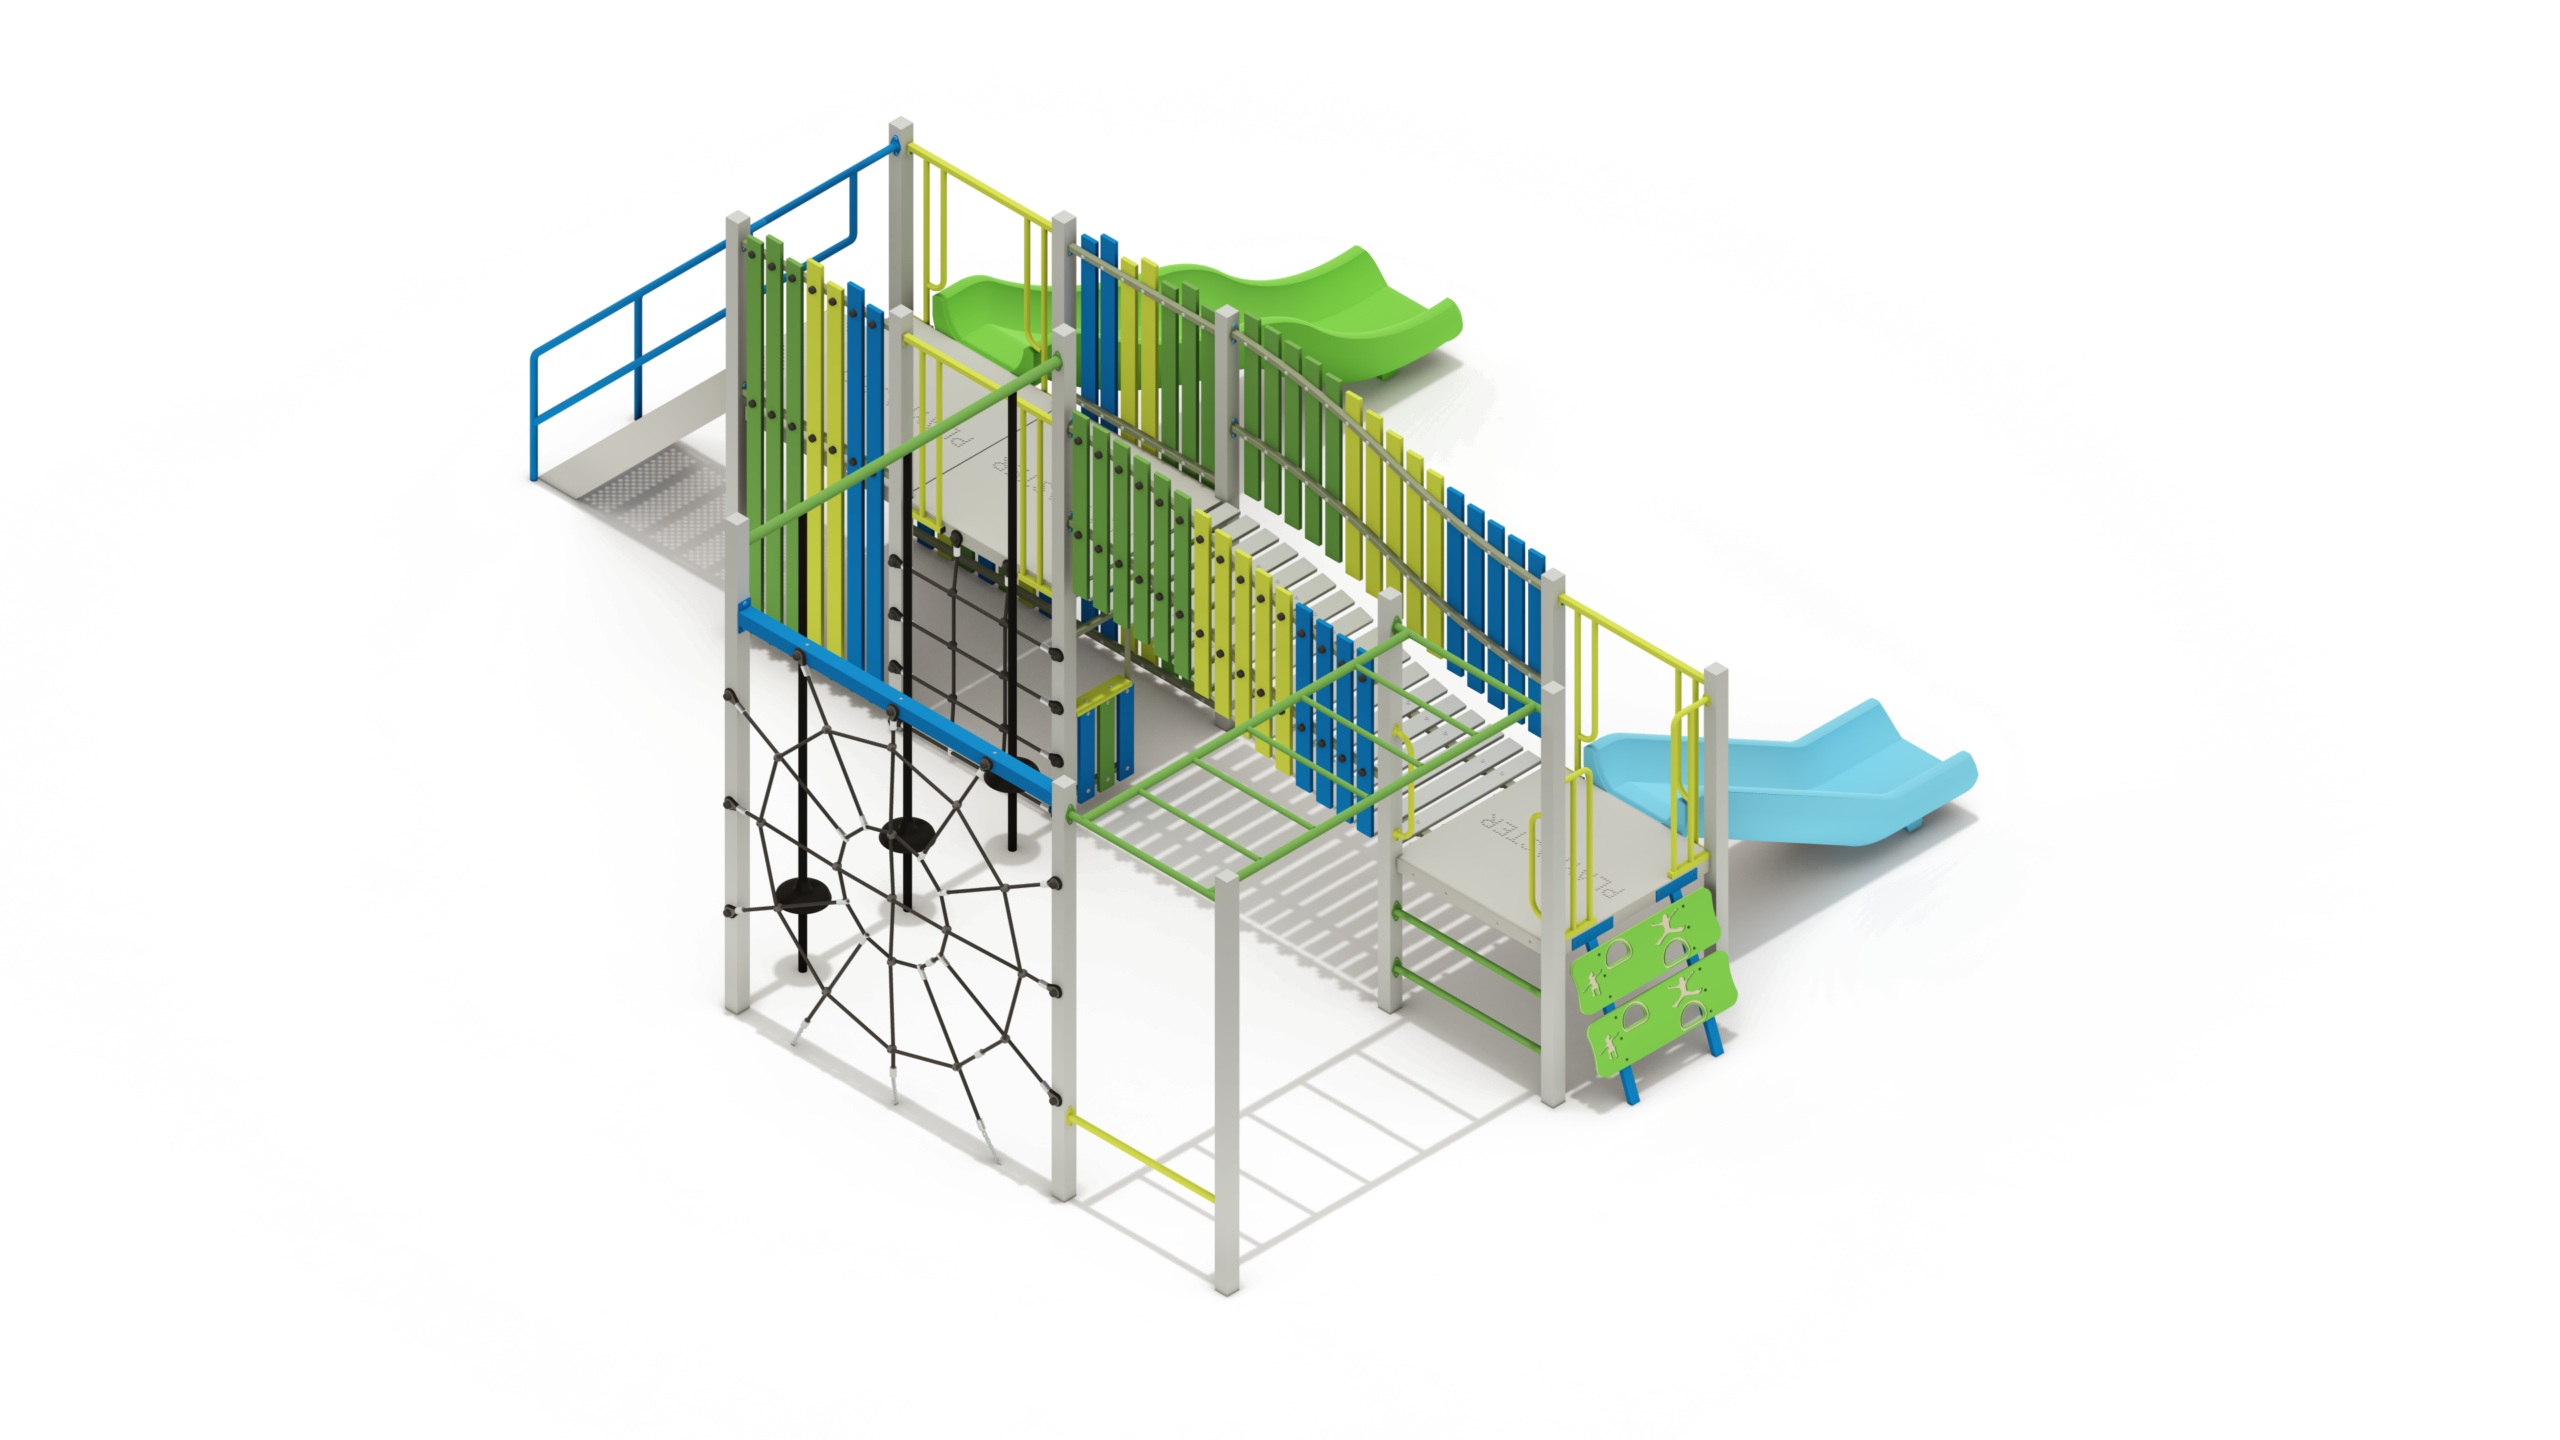
Height: 3.60m Width: 6.46m Length: 8.04m Fall Zone Area: 80m2 Free Height of Fall: 1.85m - PM5-659-1
Urban Sea Eagle
Height: 3.80m Width: 6.44m Length: 8.03m Fall Zone Area: 91m2 Free Height of Fall: 1.85m PM5-659-1Urban Sea Eagle
Height: 3.80m Width: 6.44m Length: 8.03m Fall Zone Area: 91m2 Free Height of Fall: 1.85m - PM3-711
Urban Starflower
Height: 2.80m Width: 4.88m Length: 7.03m Fall Zone Area: 67m2 Free Height of Fall: 2.20m PM3-711Urban Starflower
Height: 2.80m Width: 4.88m Length: 7.03m Fall Zone Area: 67m2 Free Height of Fall: 2.20m - PM3-712
Urban Thornbill
Height: 2.78m Width: 5.69m Length: 6.79m Fall Zone Area: 69m2 Free Height of Fall: 2.20m PM3-712Urban Thornbill
Height: 2.78m Width: 5.69m Length: 6.79m Fall Zone Area: 69m2 Free Height of Fall: 2.20m