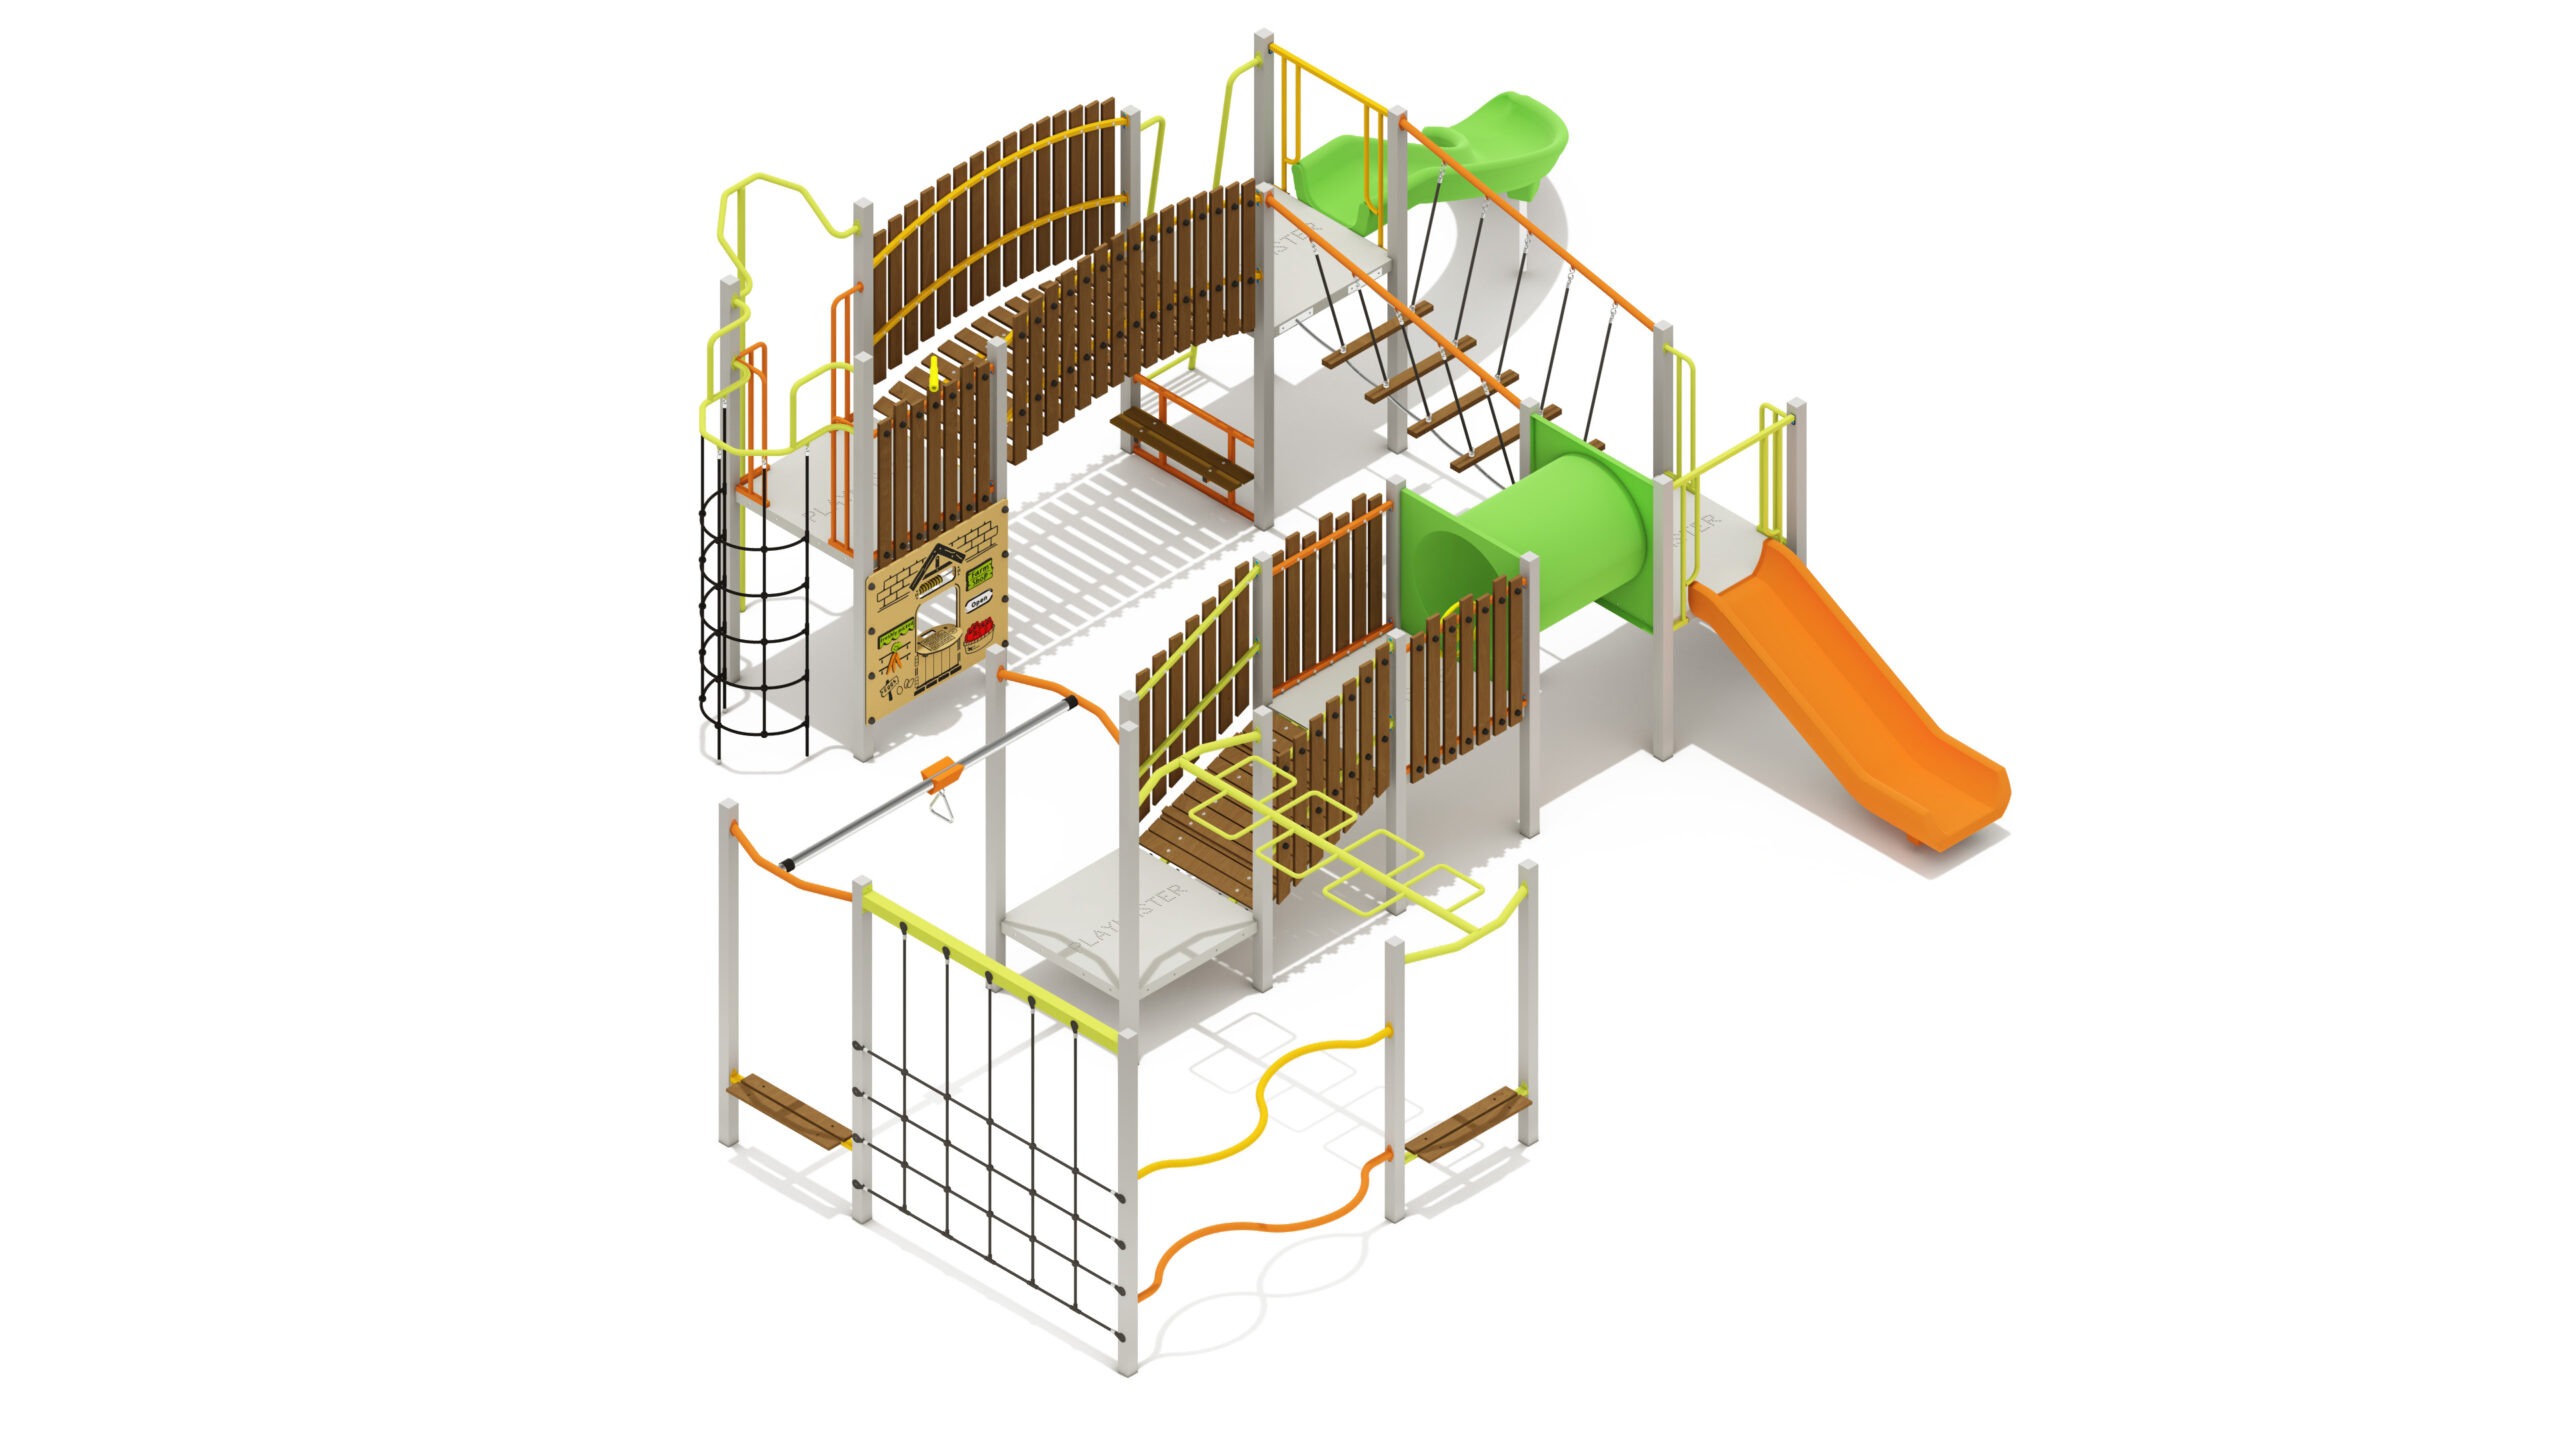
Urban Sea Eagle
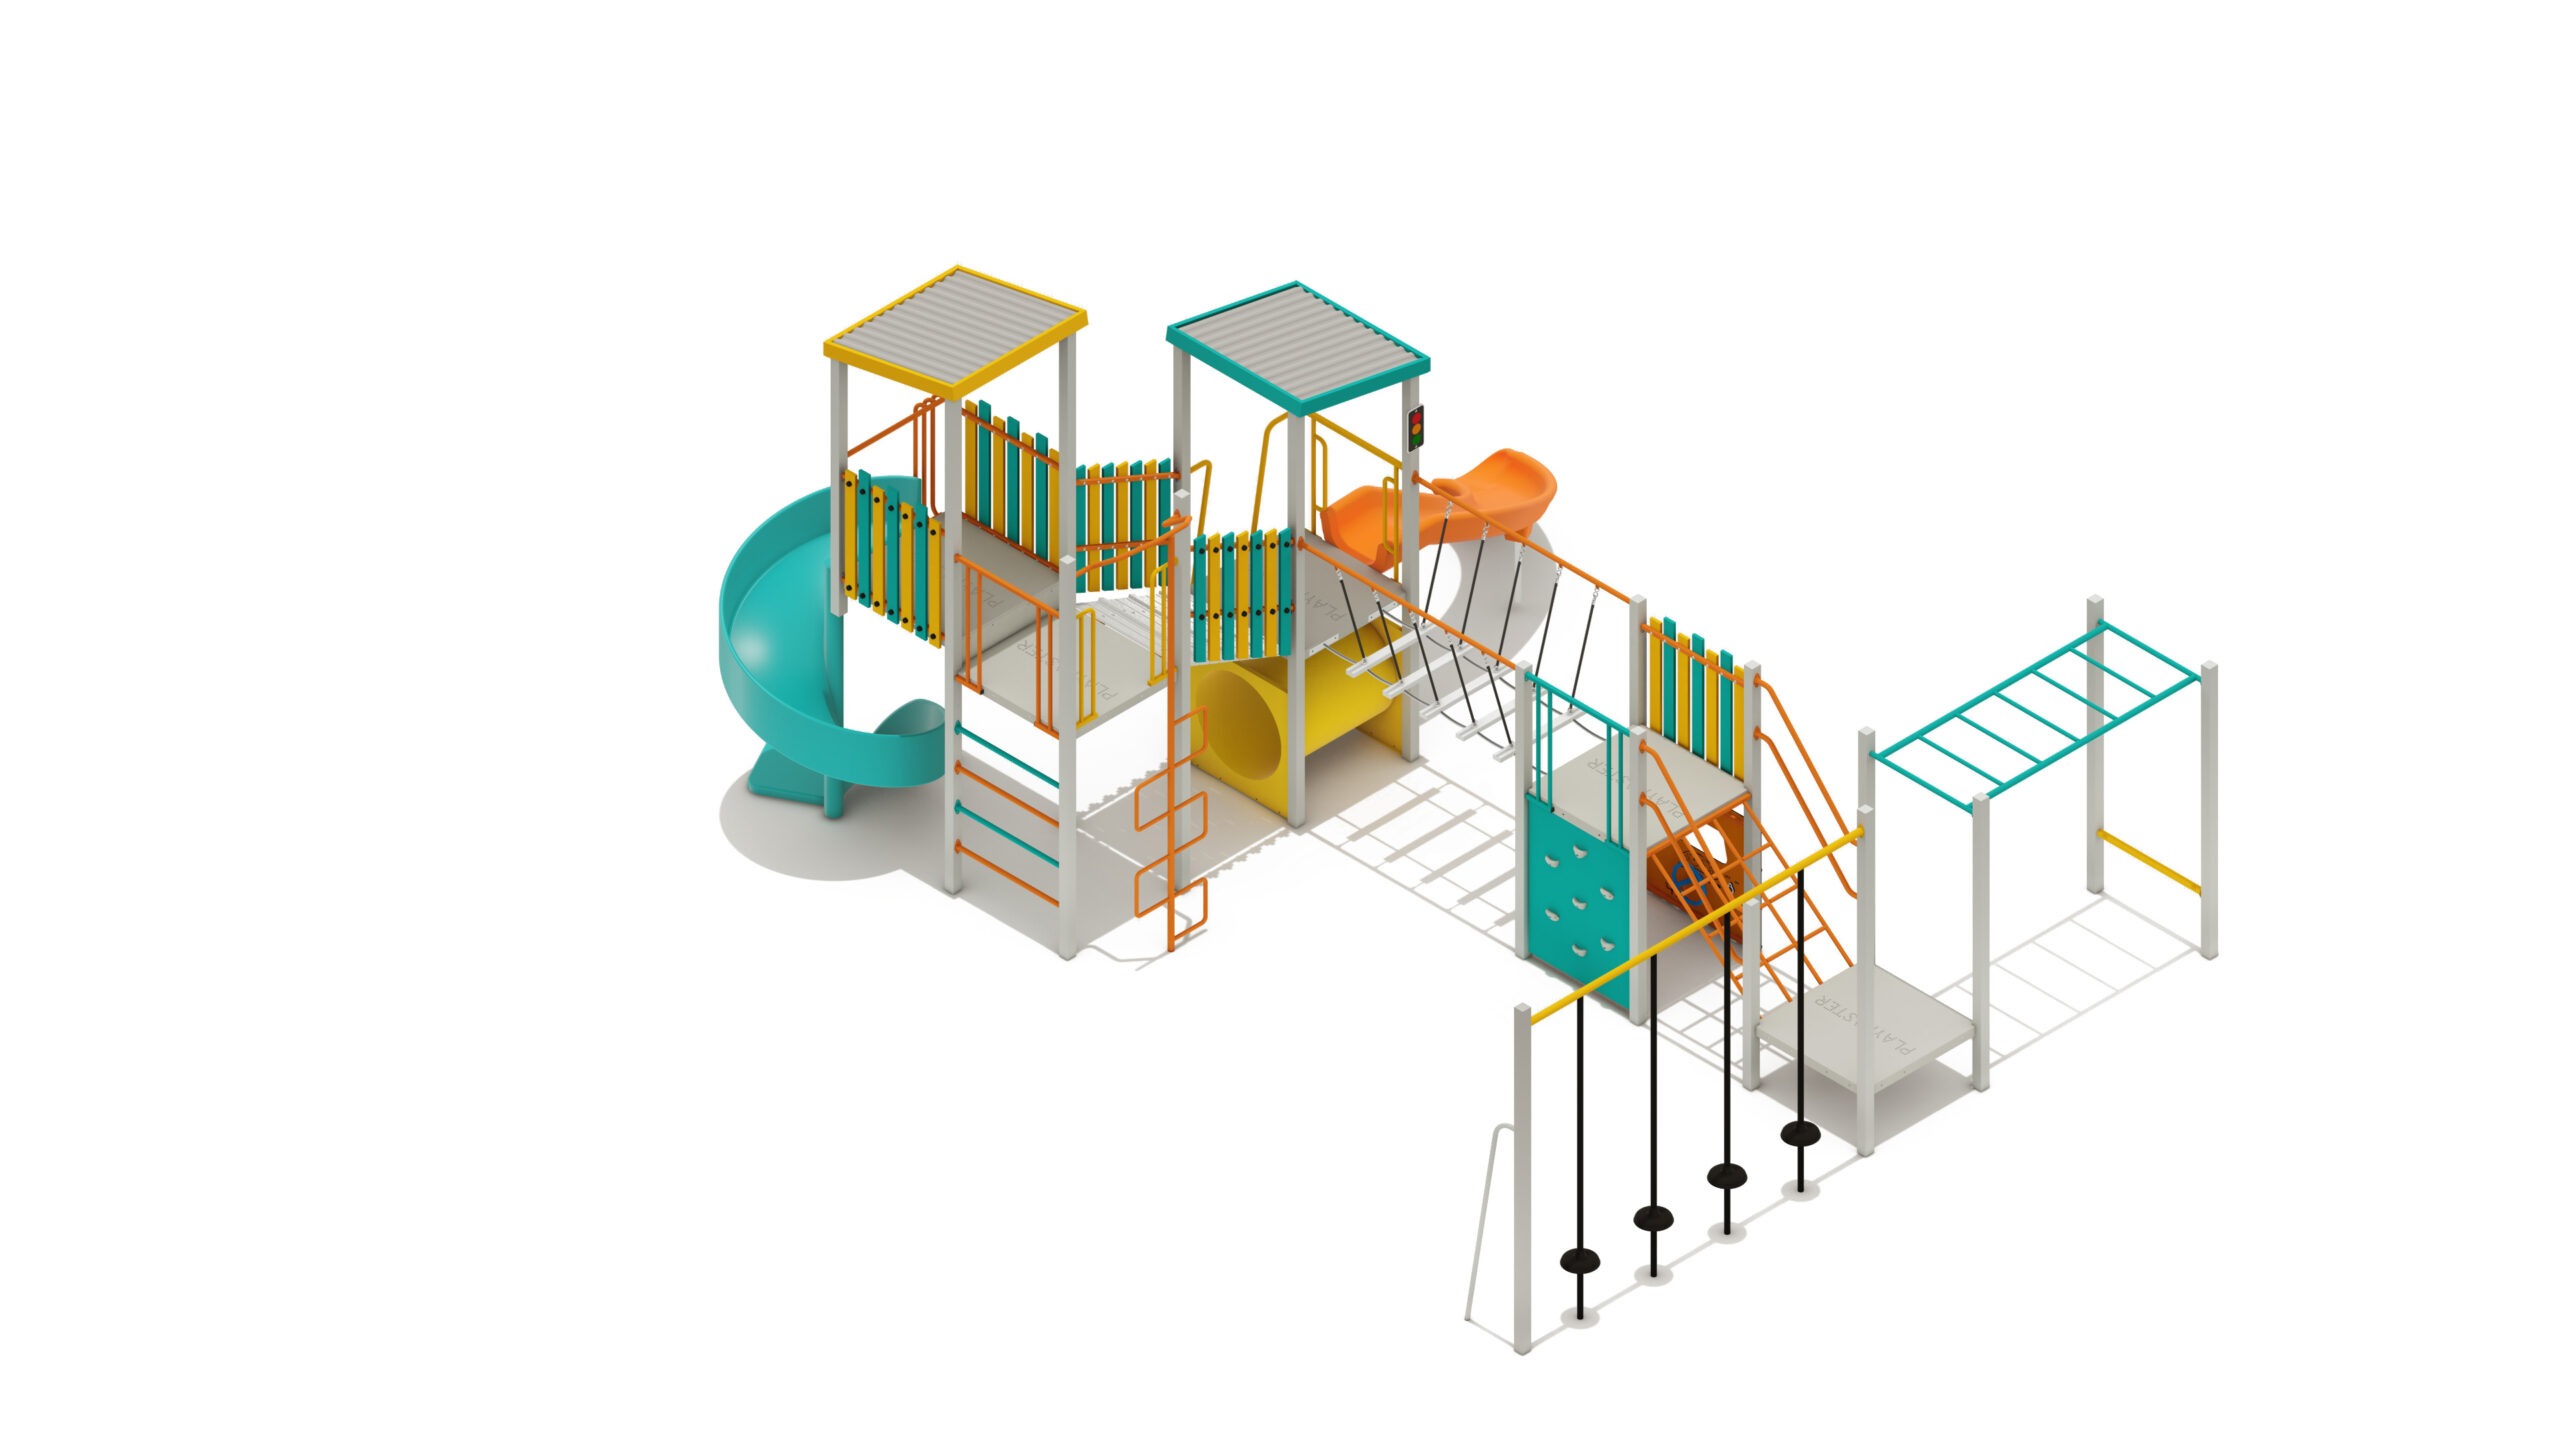
Urban Sea Eagle
Product Specifications
- Height: 3.80m
- Width: 6.44m
- Length: 8.03m
- Fall Zone Area: 91m2
- Free Height of Fall: 1.85m
Downloads
Related Products
- AD5-030
All Ages Rock Wallaby
Height: 3.85m Width: 5.70m Length: 6.07m Fall Zone Area: 71m2 Free Height of Fall: 1.80m  AD5-030
All Ages Rock Wallaby
Height: 3.85m Width: 5.70m Length: 6.07m Fall Zone Area: 71m2 Free Height of Fall: 1.80m - PM5-602
Junior Featherflowers
Height: 3.00m Width: 7.07m Length: 9.19m Fall Zone Area: 98m2 Free Height of Fall: 2.20m PM5-602Junior Featherflowers
Height: 3.00m Width: 7.07m Length: 9.19m Fall Zone Area: 98m2 Free Height of Fall: 2.20m - PM5-604
Rustic Everlastings
Height: 2.78m Width: 6.56m Length: 9.53m Fall Zone Area: 95m2 Free Height of Fall: 2.00m PM5-604Rustic Everlastings
Height: 2.78m Width: 6.56m Length: 9.53m Fall Zone Area: 95m2 Free Height of Fall: 2.00m