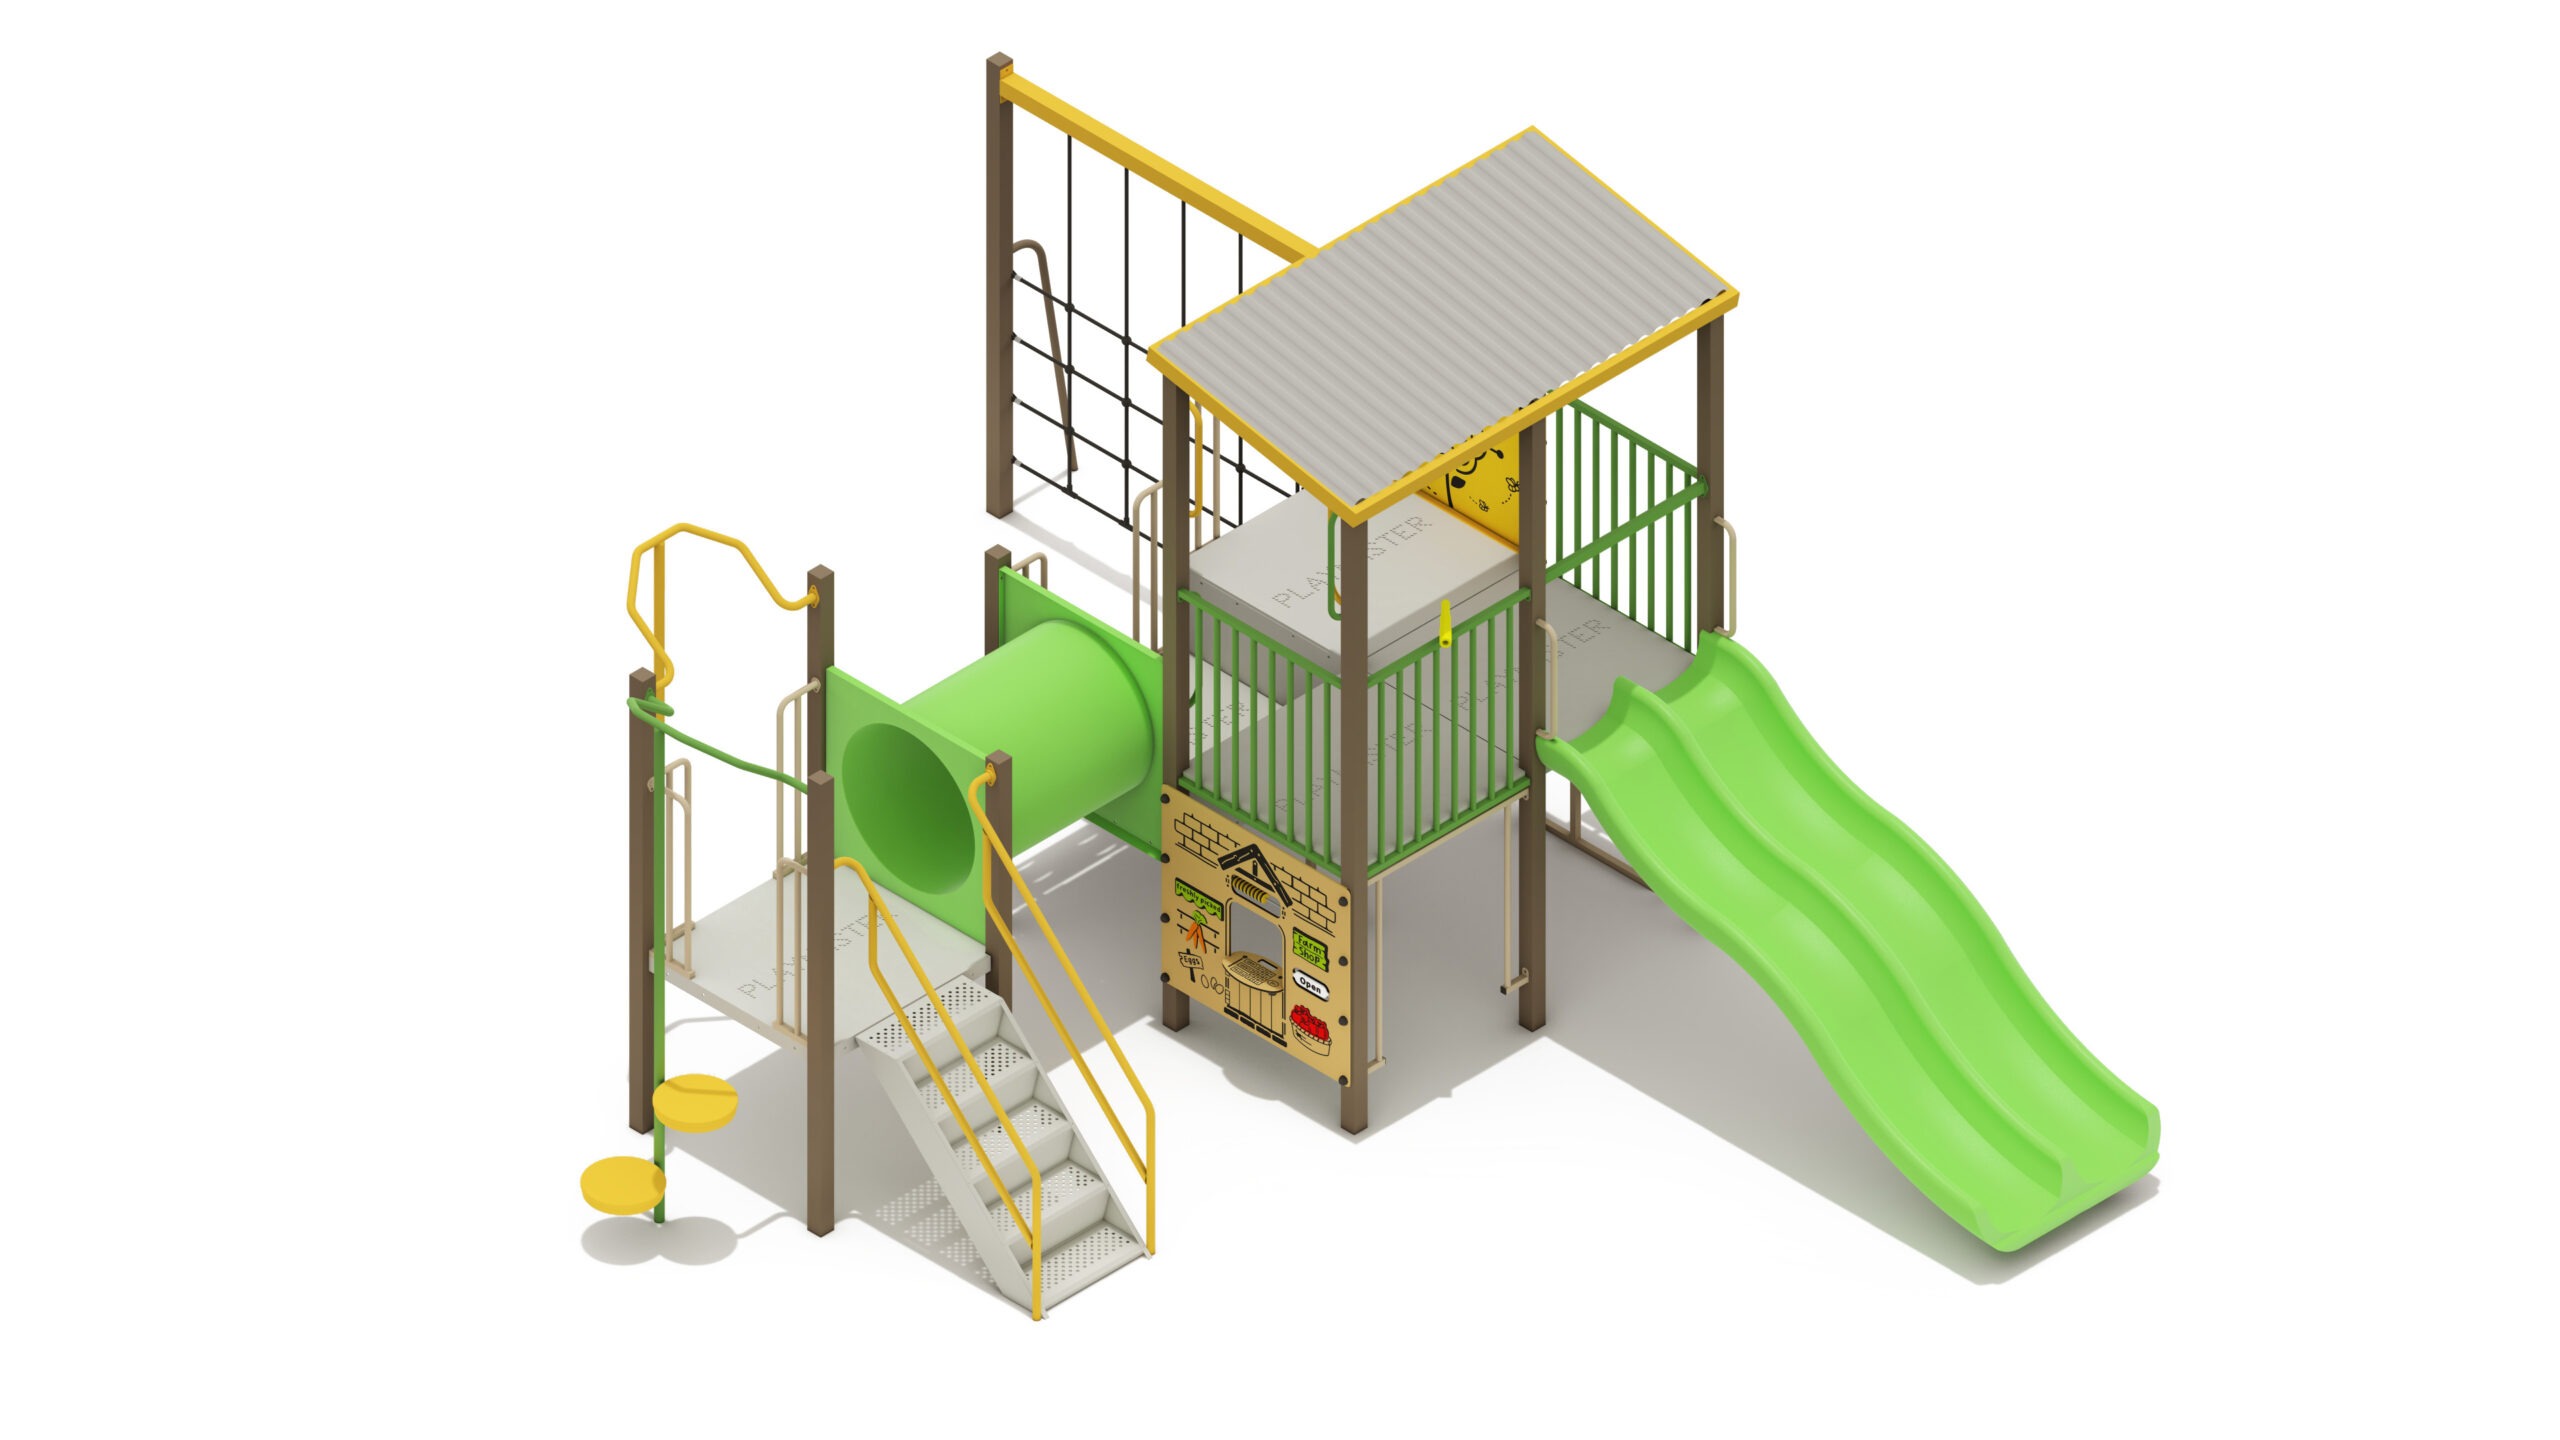
Urban Manta
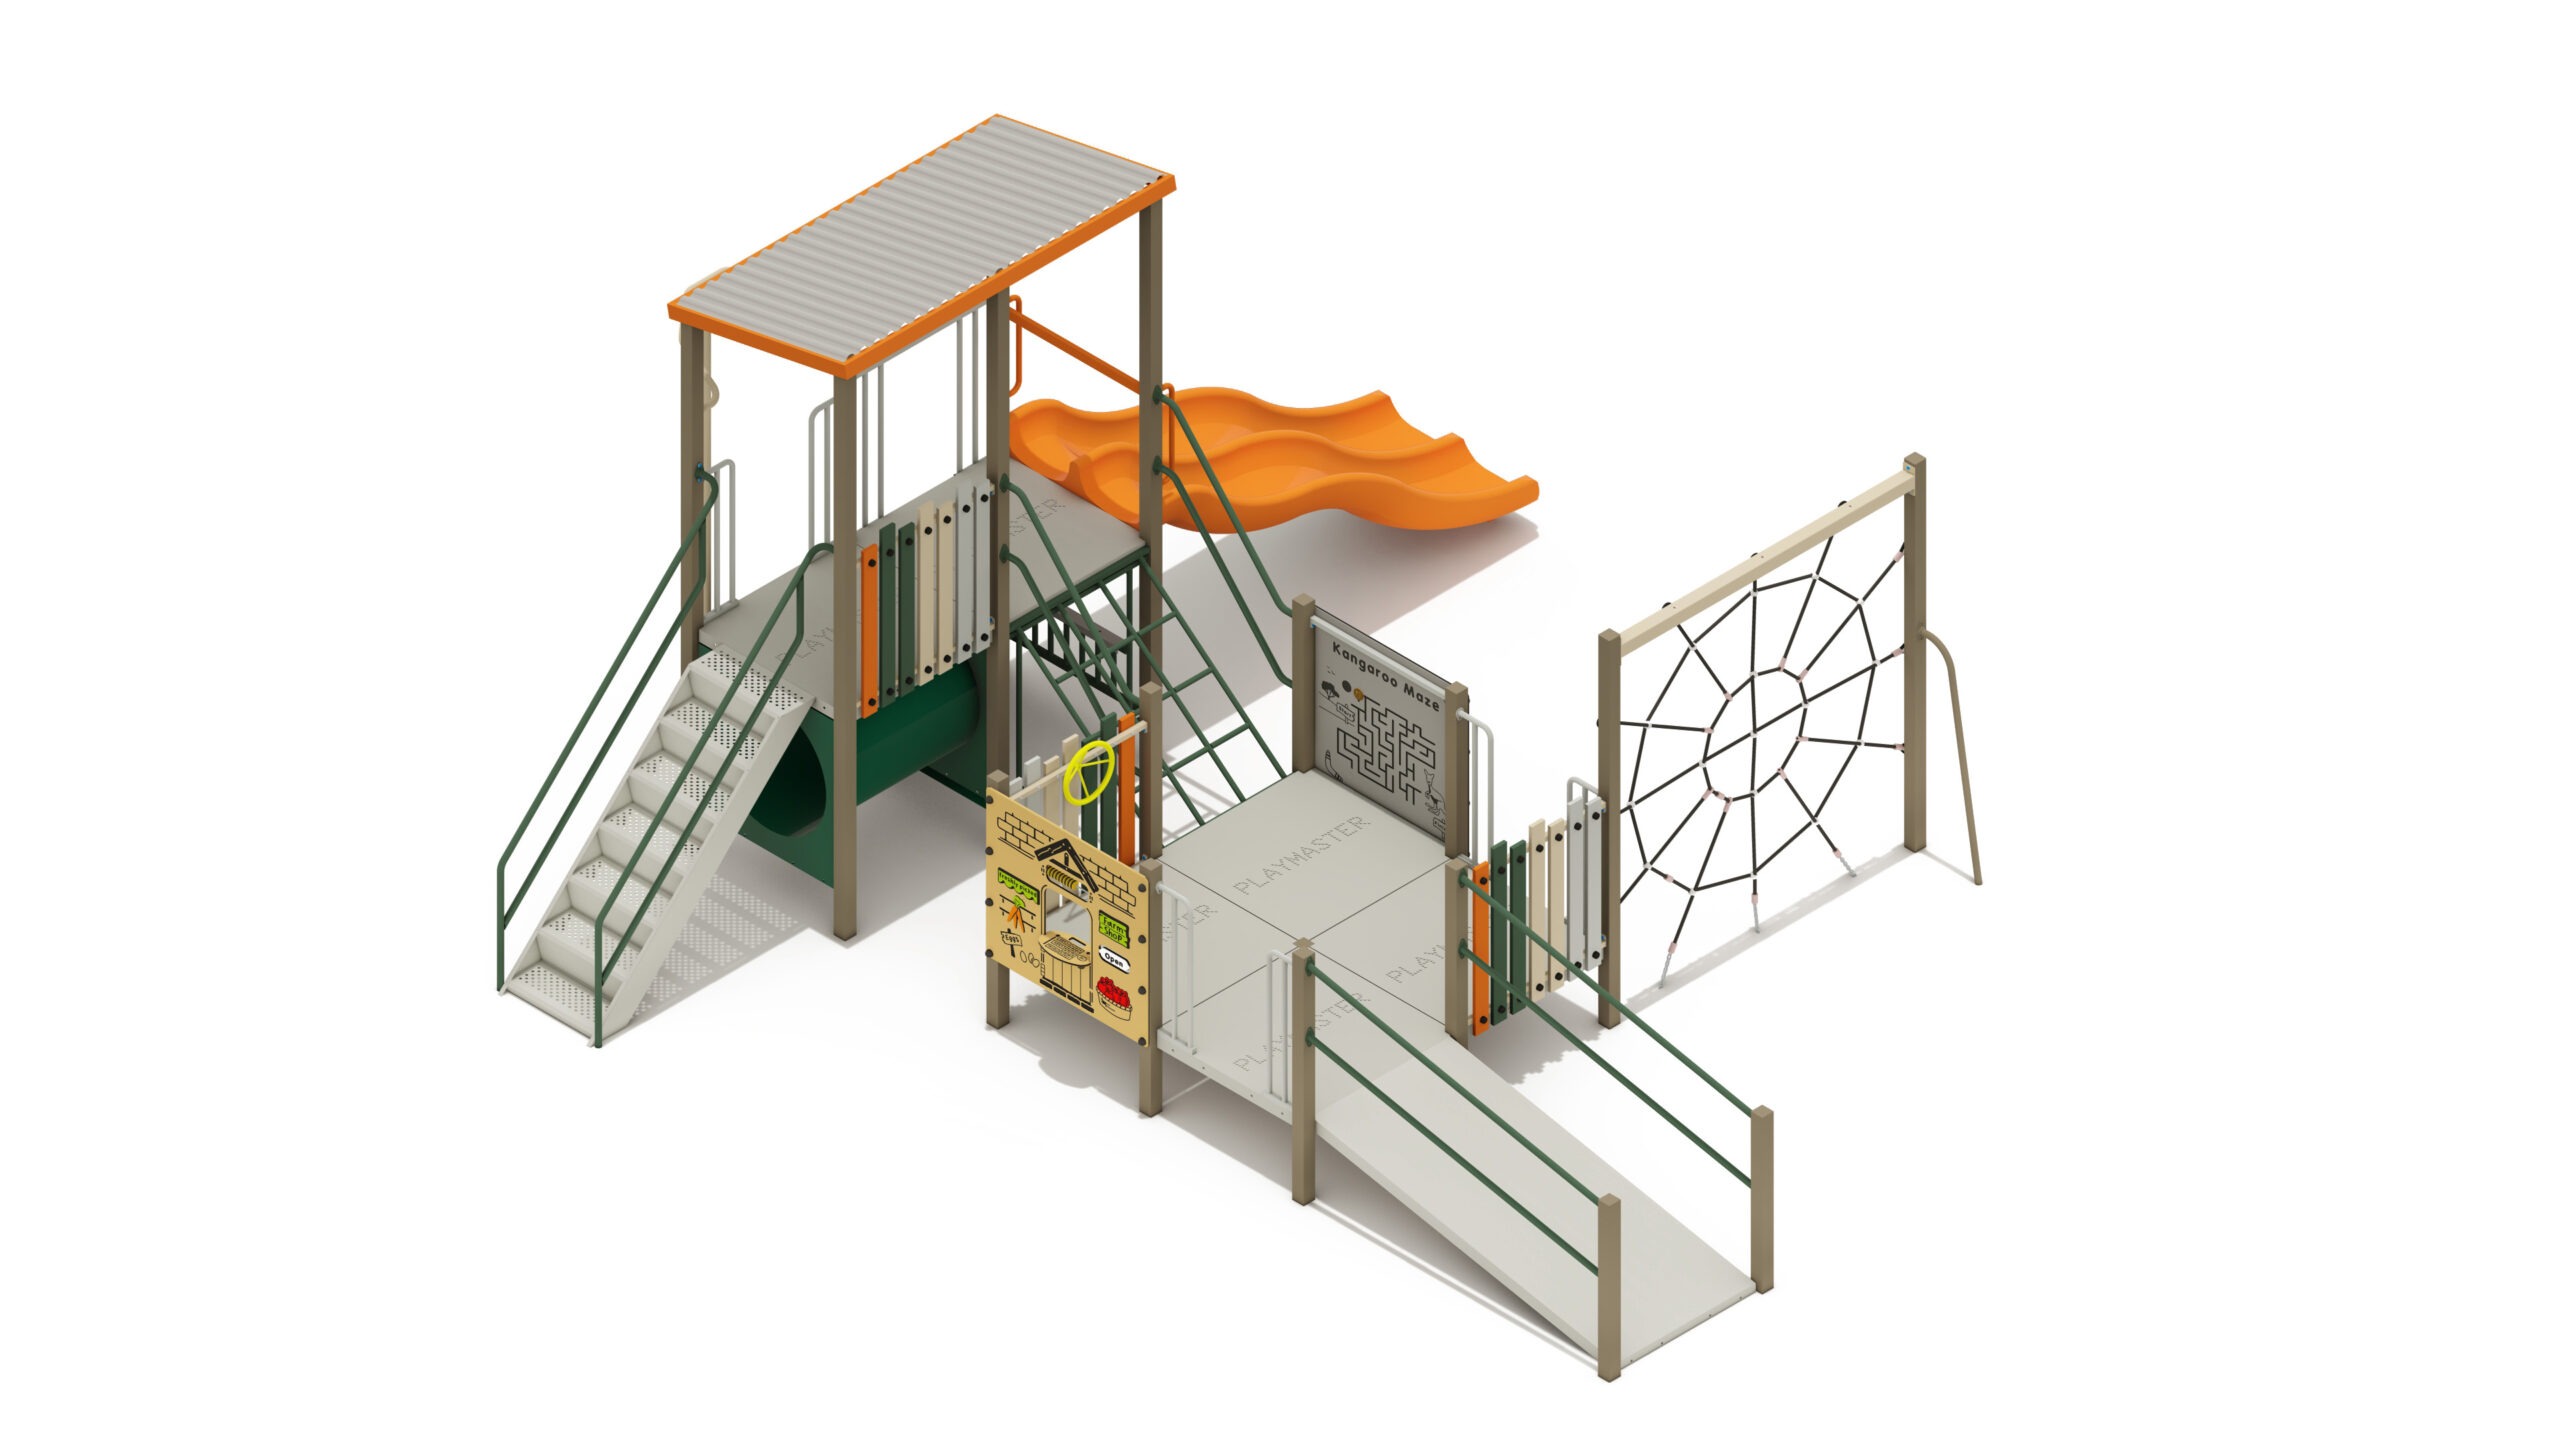
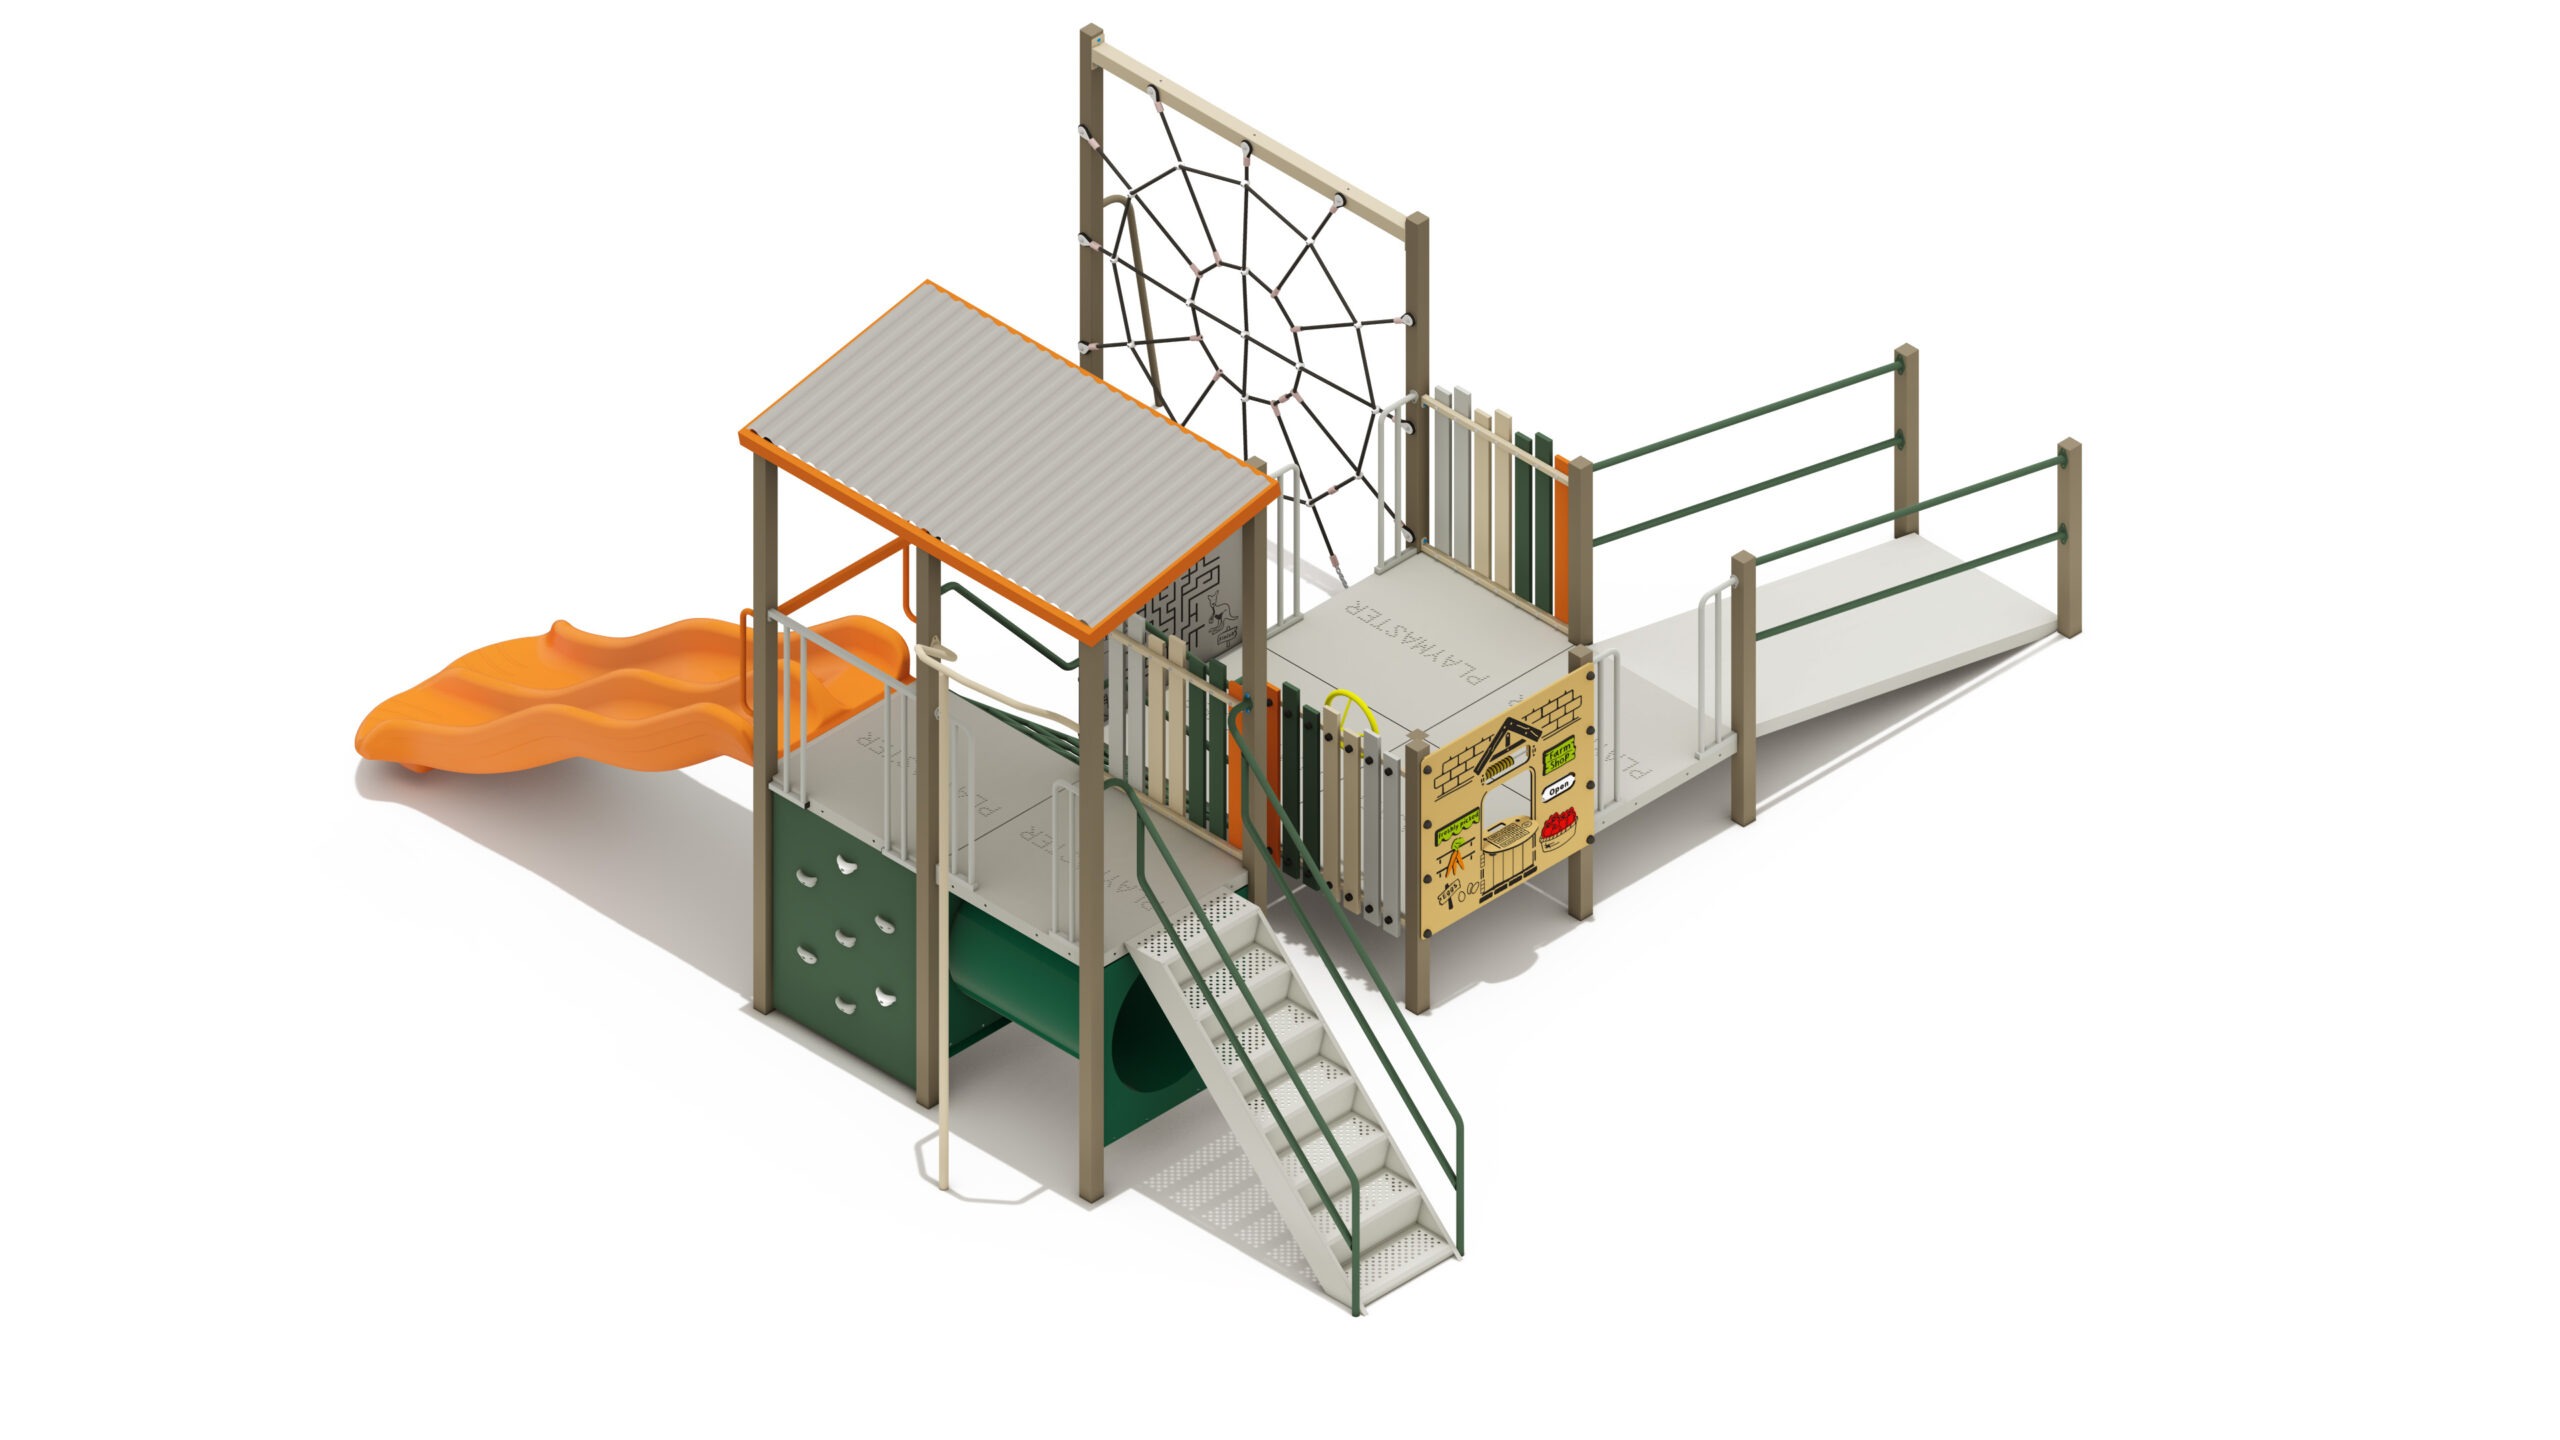
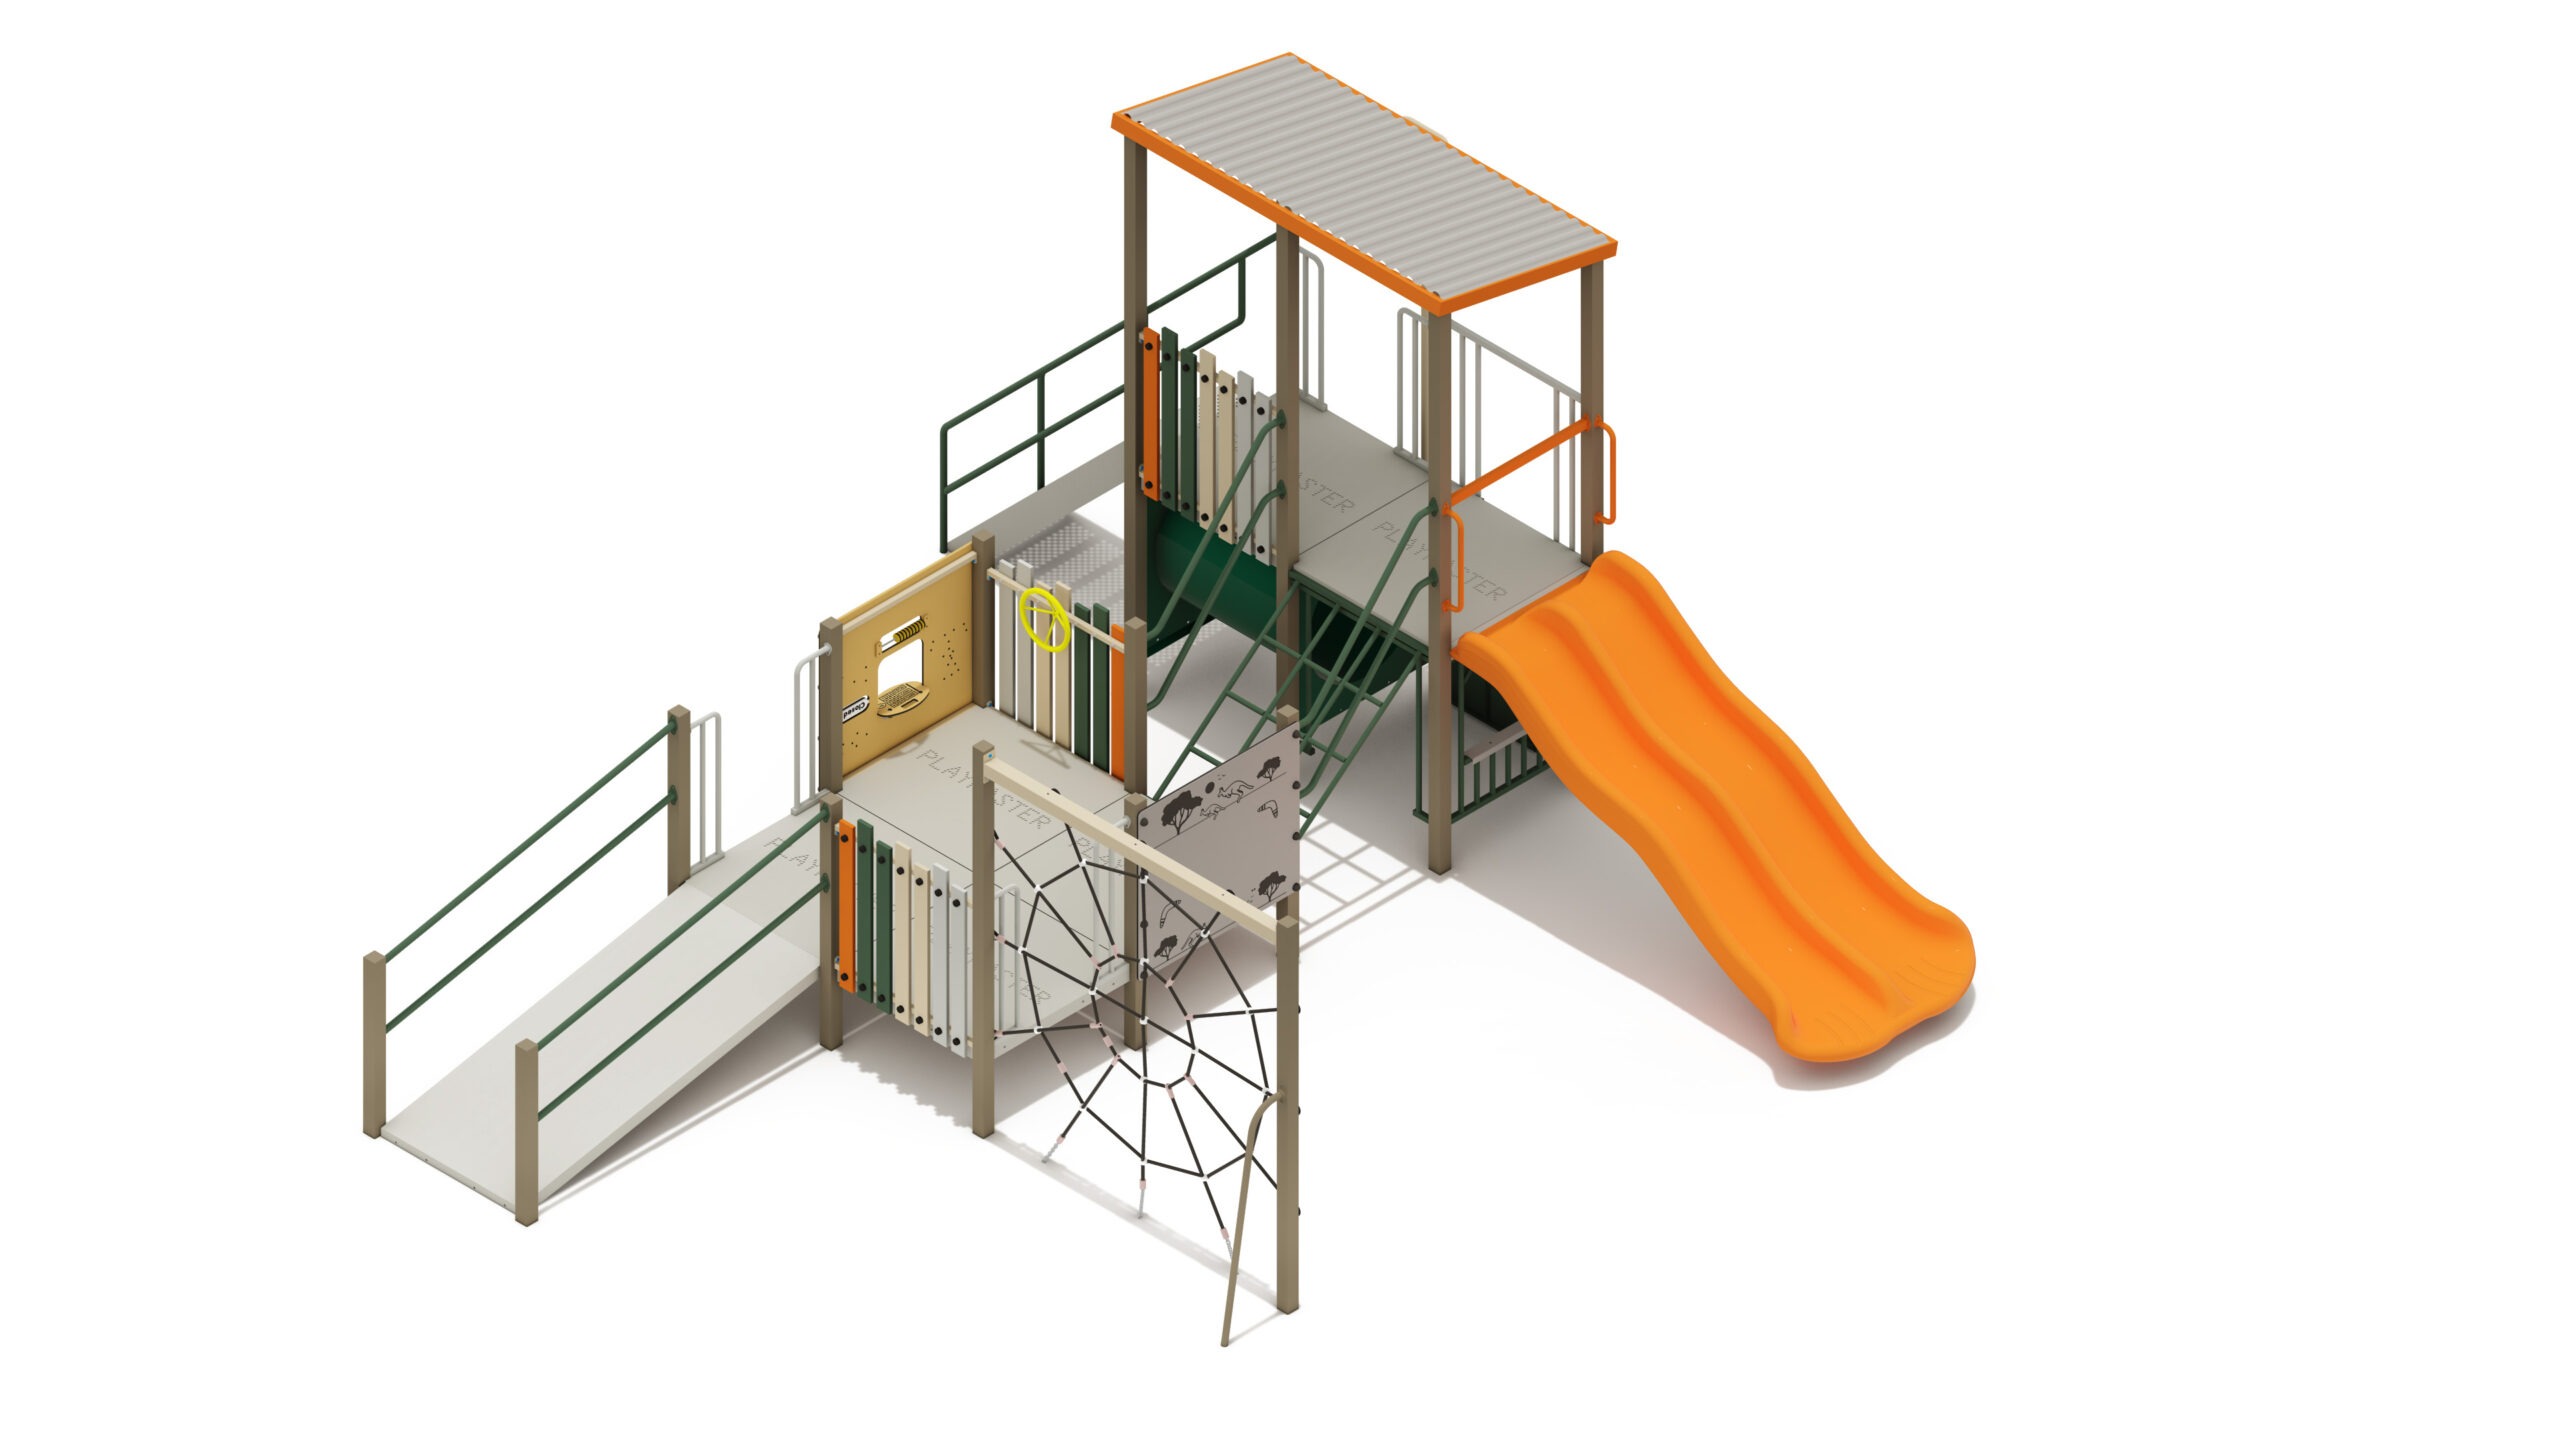
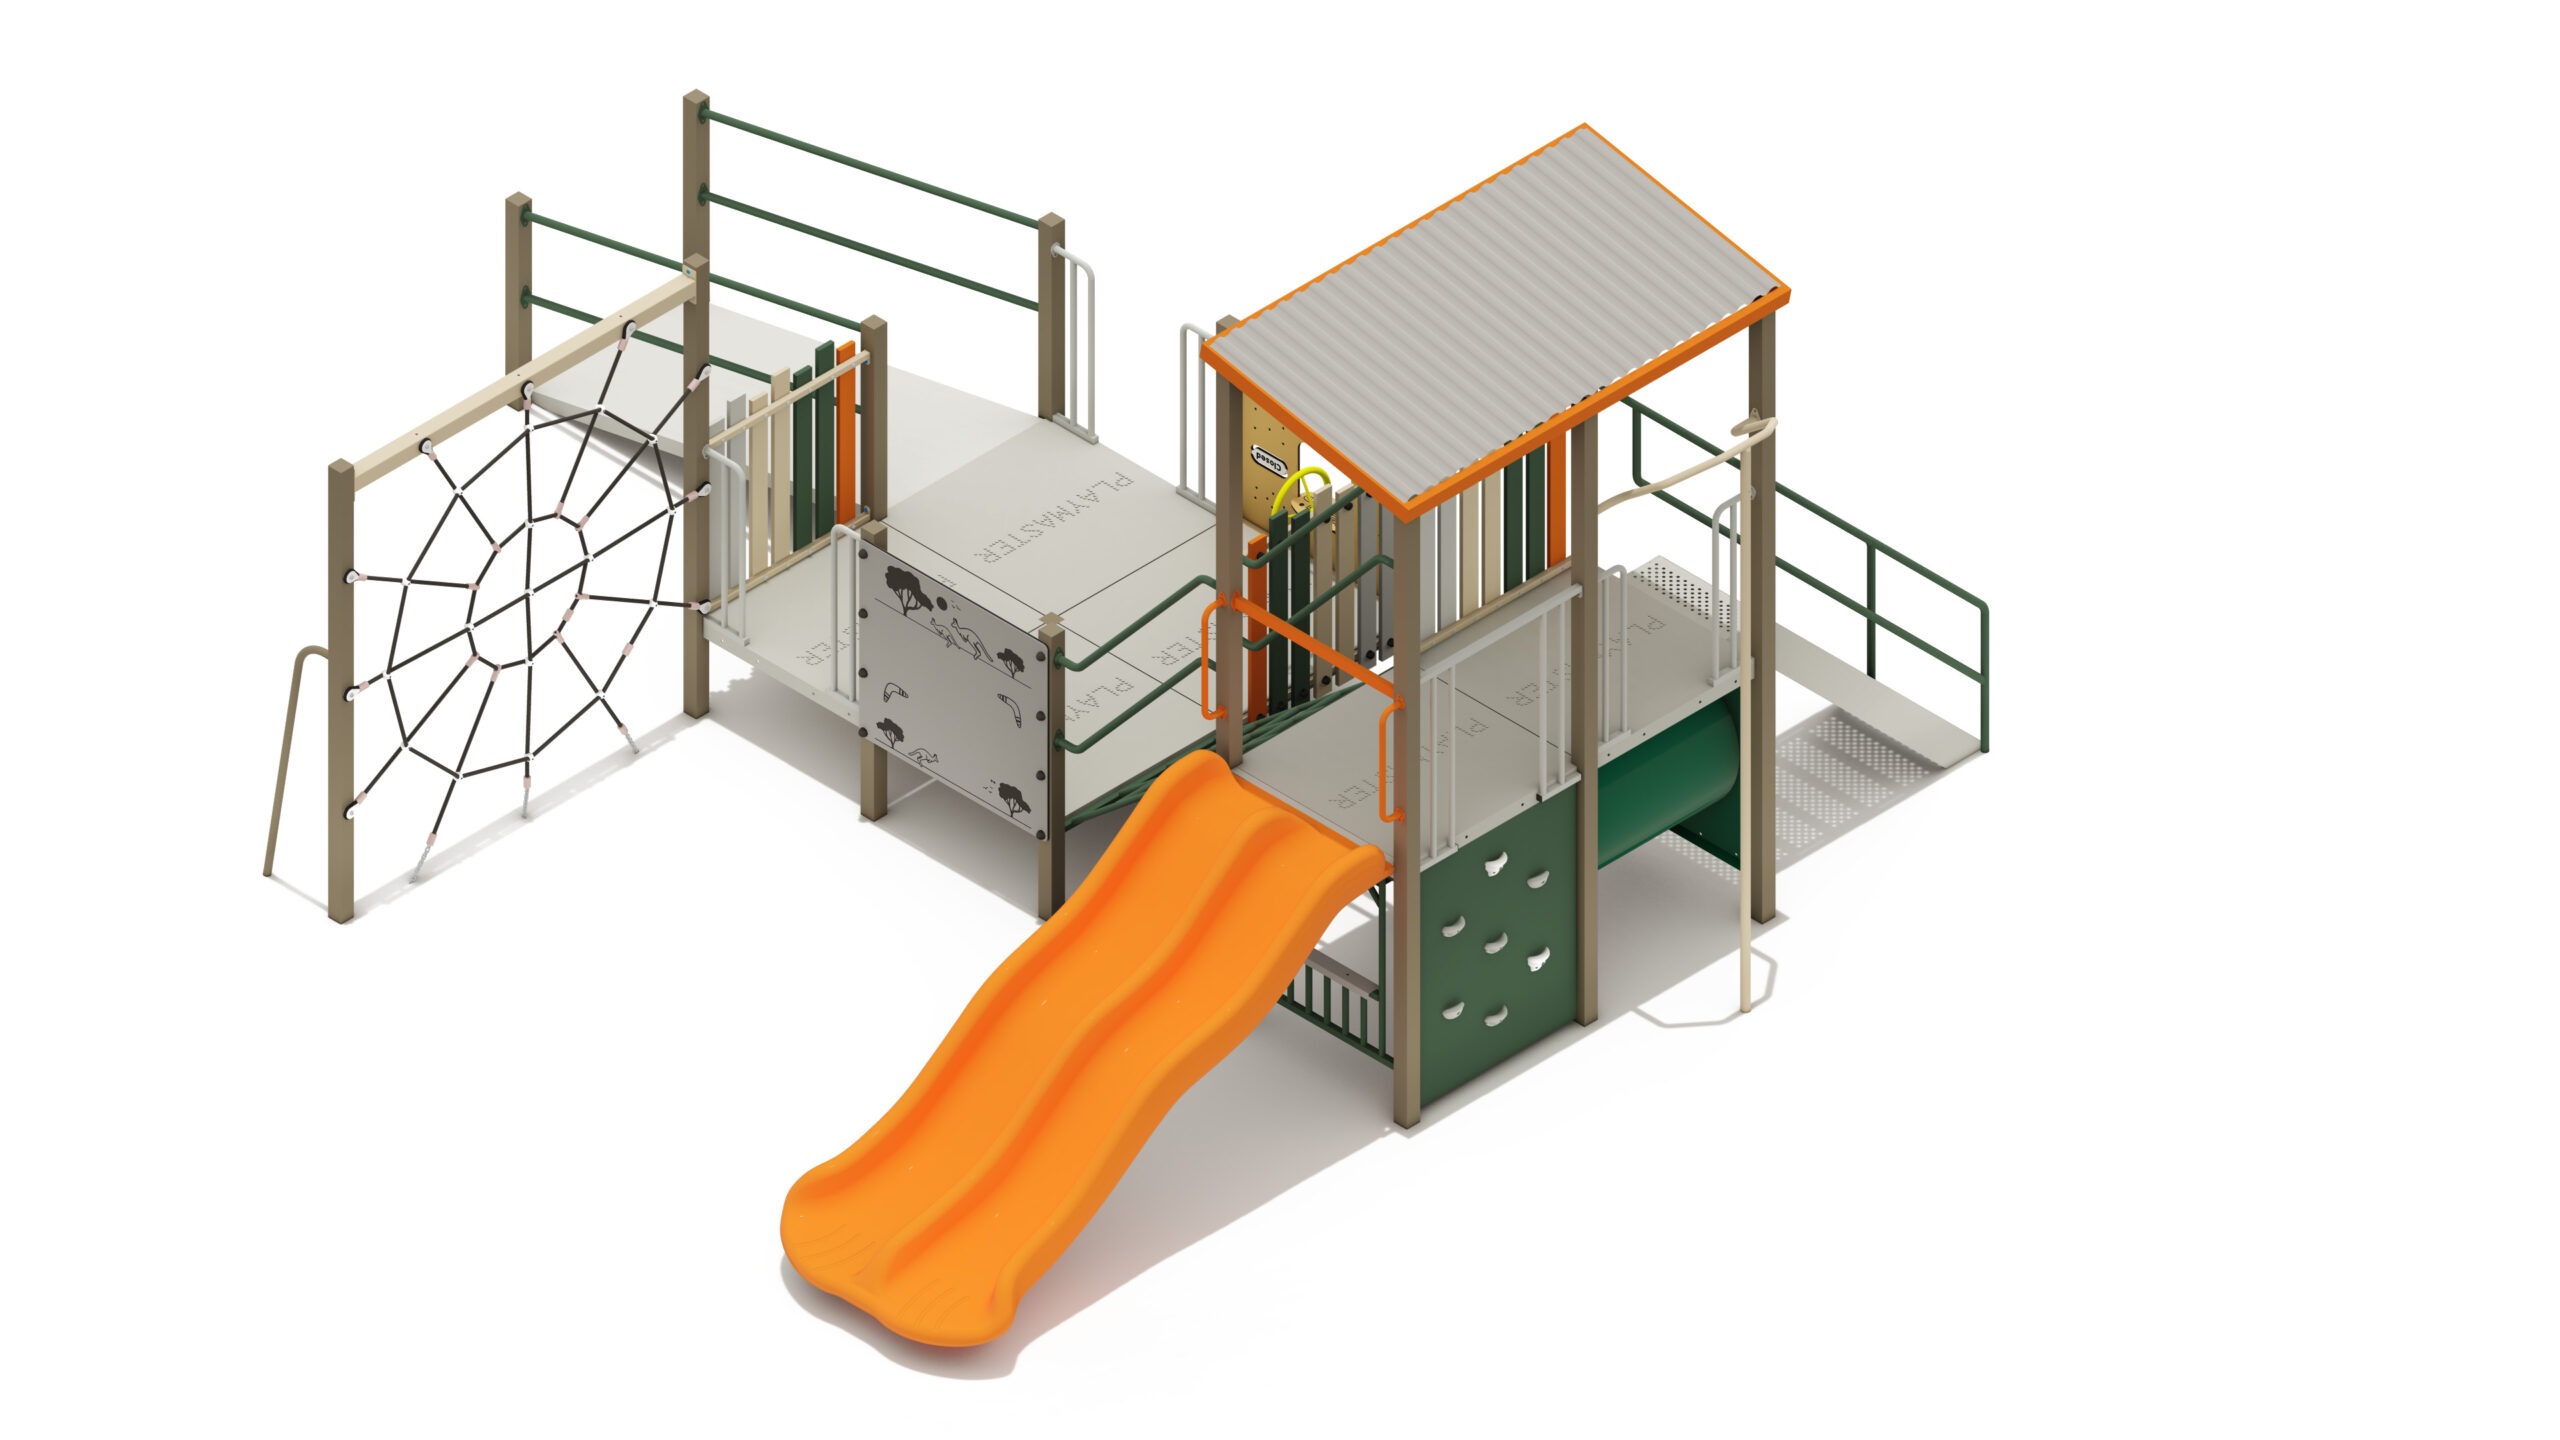
Urban Manta
Product Specifications
- Height: 3.30m
- Width: 6.12m
- Length: 6.46m
- Fall Zone Area: 65m2
- Free Height of Fall: 2.20m
Downloads
Related Products
- PM4-0824
Junior Marri
Height: 3.00m Width: 6.24m Length: 6.72m Fall Zone Area: 82m2 Free Height of Fall: 2.00m  PM4-0824
Junior Marri
Height: 3.00m Width: 6.24m Length: 6.72m Fall Zone Area: 82m2 Free Height of Fall: 2.00m - PM10-271
Senior Pobblebonk
Height: 3.45m Width: 8.41m Length: 11.53m Fall Zone Area: 159m2 Free Height of Fall: 2.20m PM10-271Senior Pobblebonk
Height: 3.45m Width: 8.41m Length: 11.53m Fall Zone Area: 159m2 Free Height of Fall: 2.20m - PM5-605
Early Childhood Cockatoo
Height: 3.30m Width: 4.99m Length: 6.64m Fall Zone Area: 52m2 Free Height of Fall: 1.50m PM5-605Early Childhood Cockatoo
Height: 3.30m Width: 4.99m Length: 6.64m Fall Zone Area: 52m2 Free Height of Fall: 1.50m - PM5-602
Junior Featherflowers
Height: 3.00m Width: 7.07m Length: 9.19m Fall Zone Area: 98m2 Free Height of Fall: 2.20m PM5-602Junior Featherflowers
Height: 3.00m Width: 7.07m Length: 9.19m Fall Zone Area: 98m2 Free Height of Fall: 2.20m