Multi Play Units
Multiplay units offer maximum play features within the available space spreading activities across different levels. They cater to a variety of age groups and abilities and encourage social interaction as the children explore all the play options available within the unit.
- PM7-321
All Ages PM7-321
Height: 3.6m Width: 5.994m Length: 8.26m Fall Zone Area: 115m2 Free Height of Fall: 2.0m  PM7-321
All Ages PM7-321
Height: 3.6m Width: 5.994m Length: 8.26m Fall Zone Area: 115m2 Free Height of Fall: 2.0m - New9521
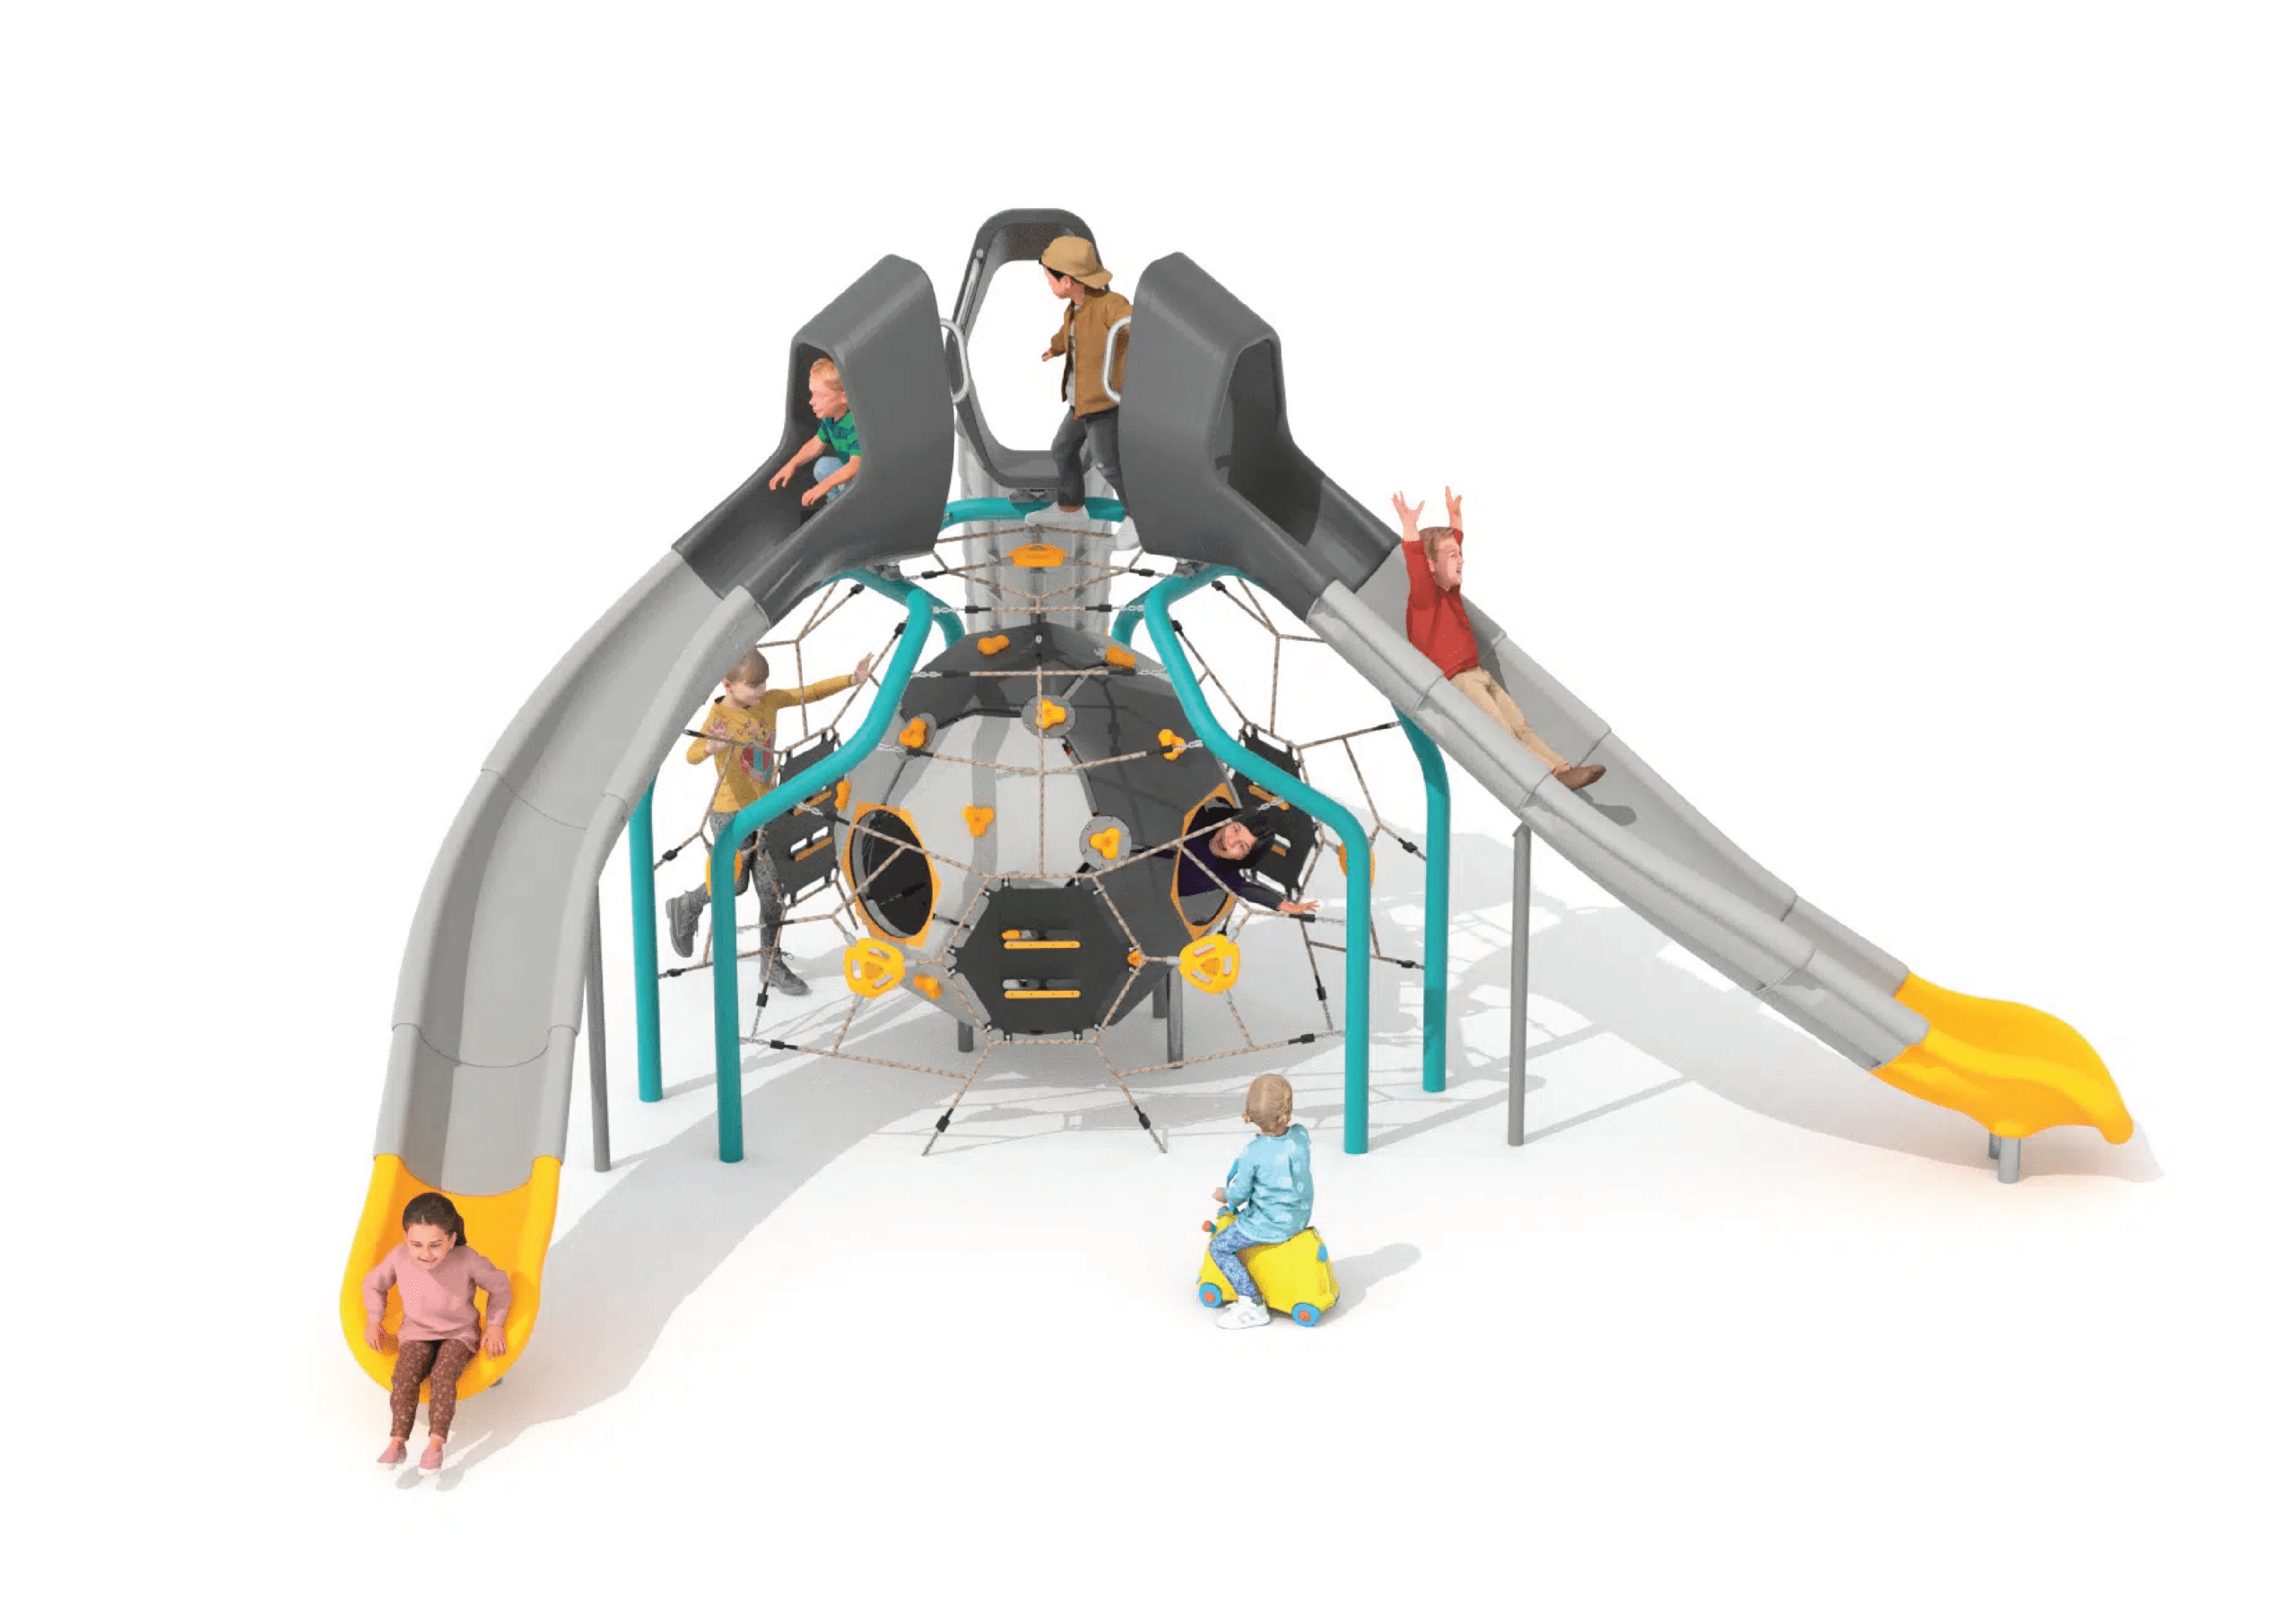
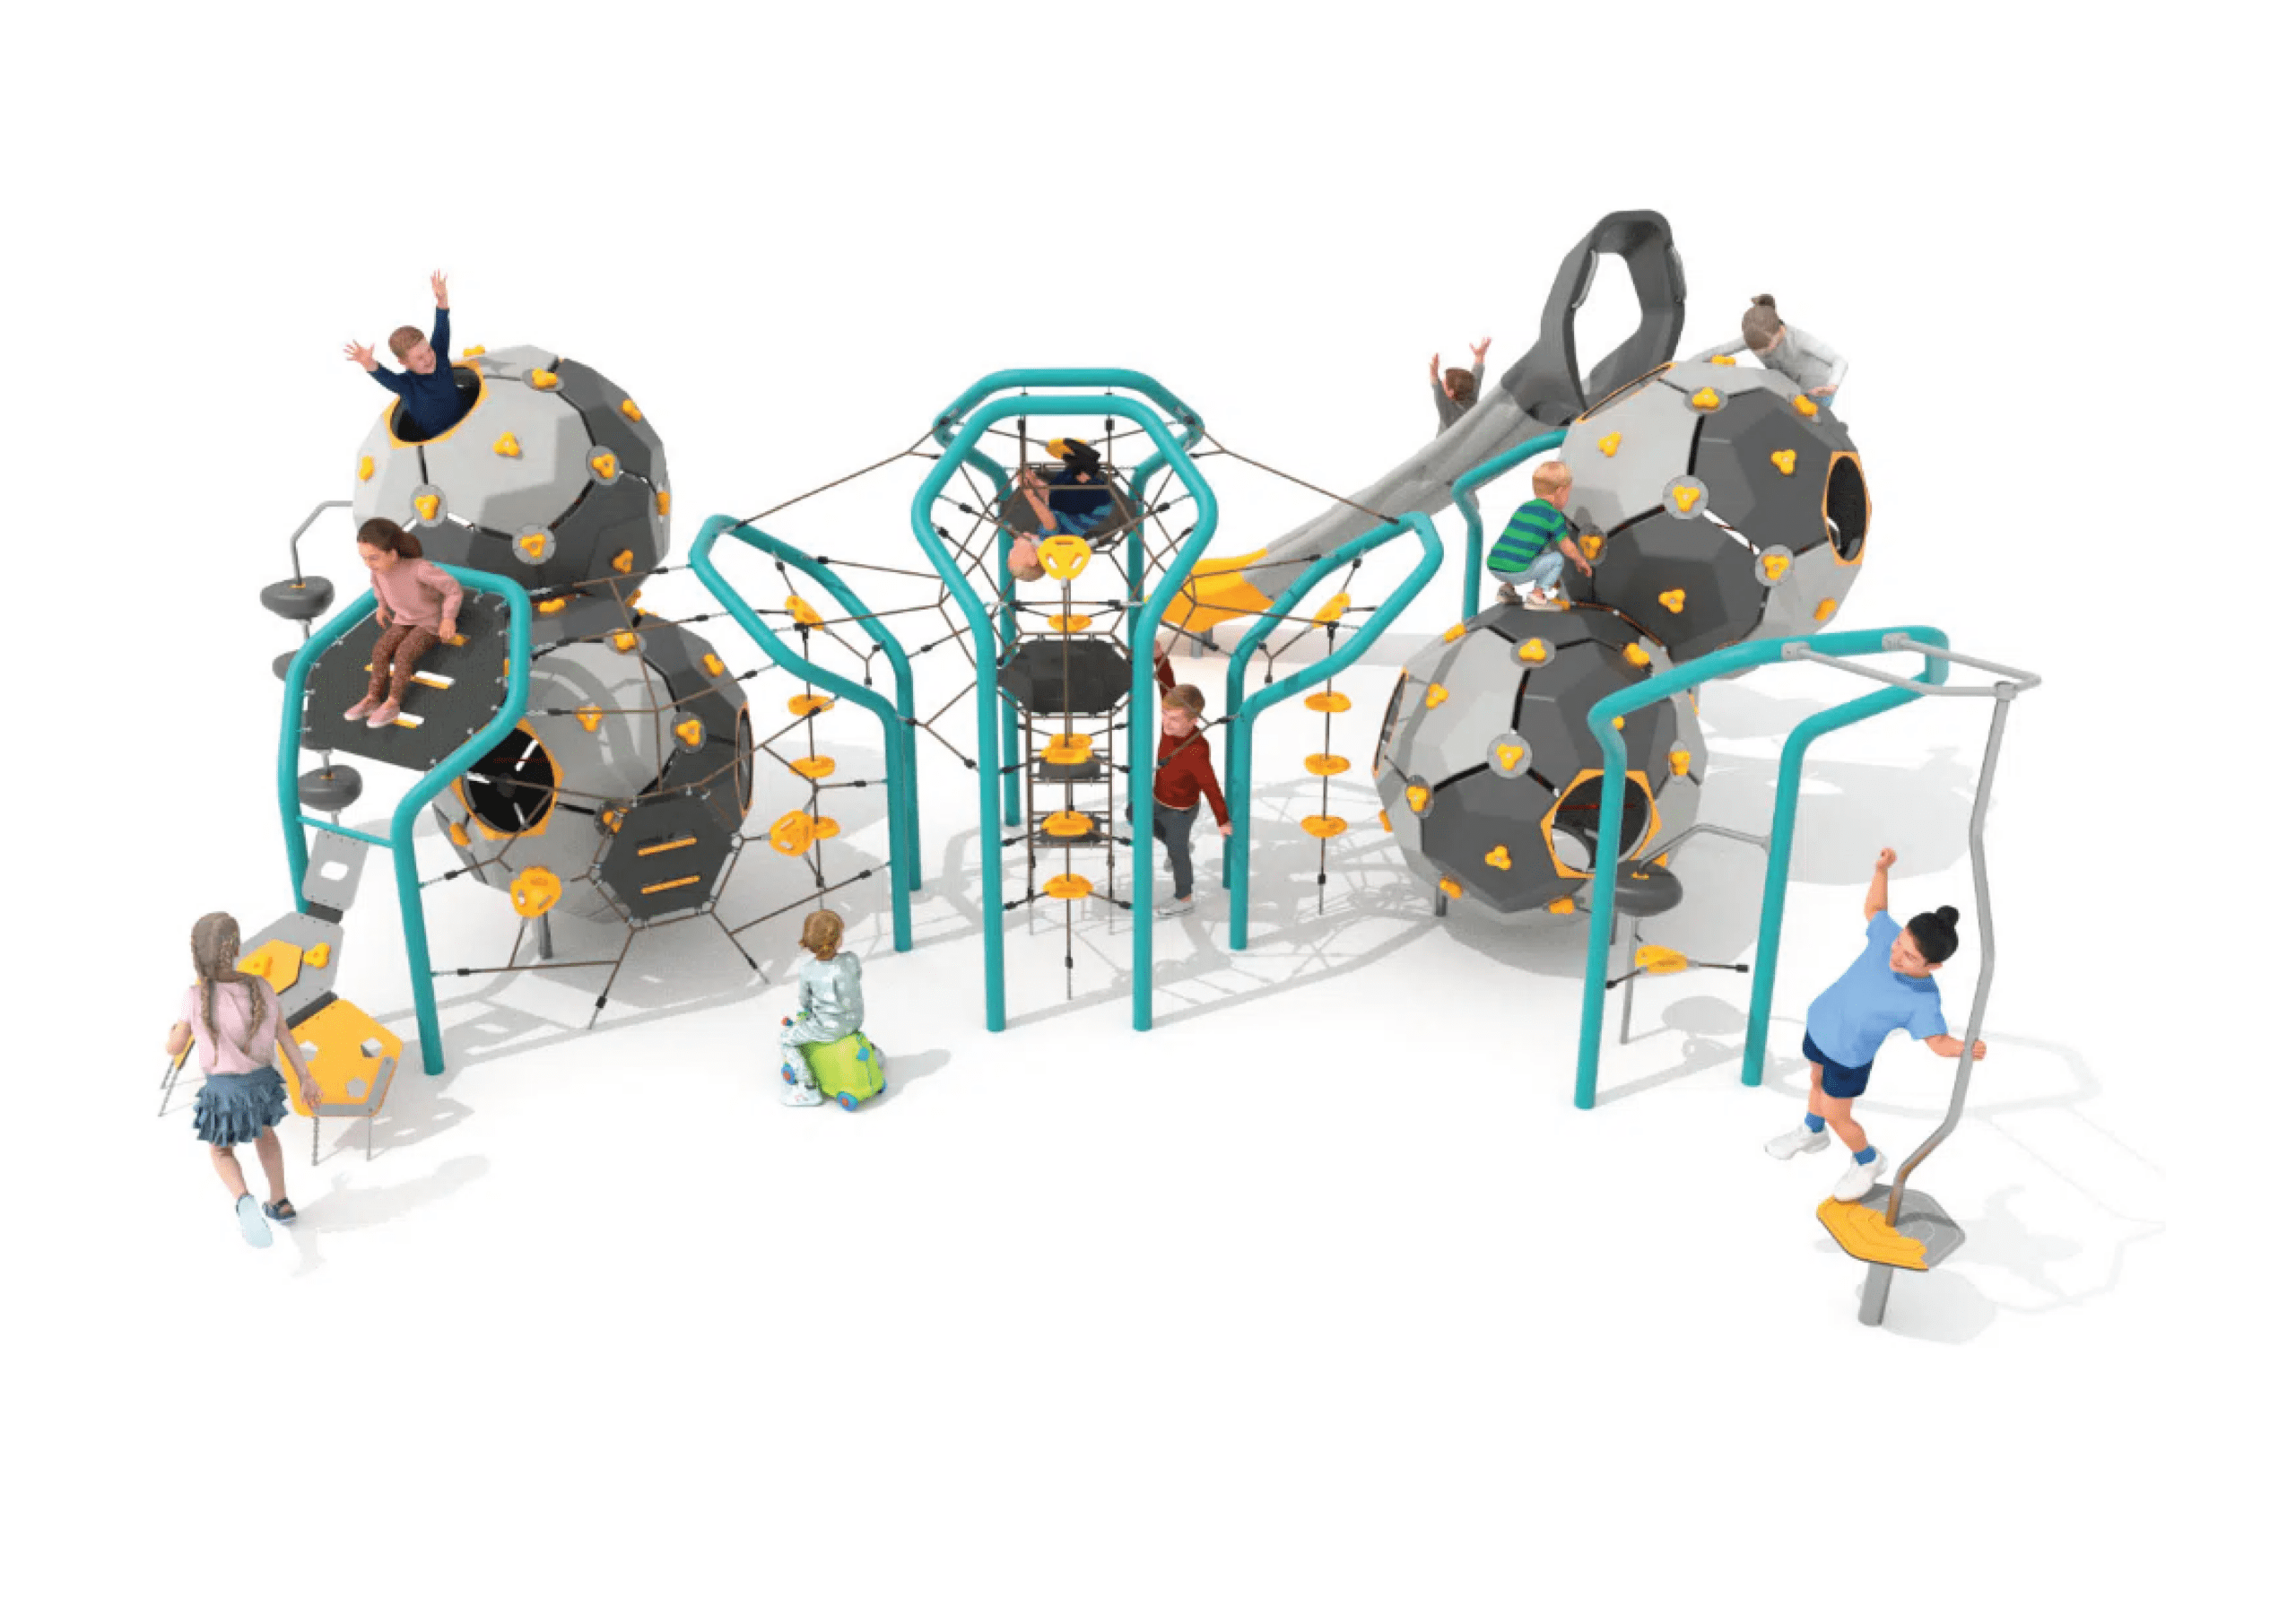
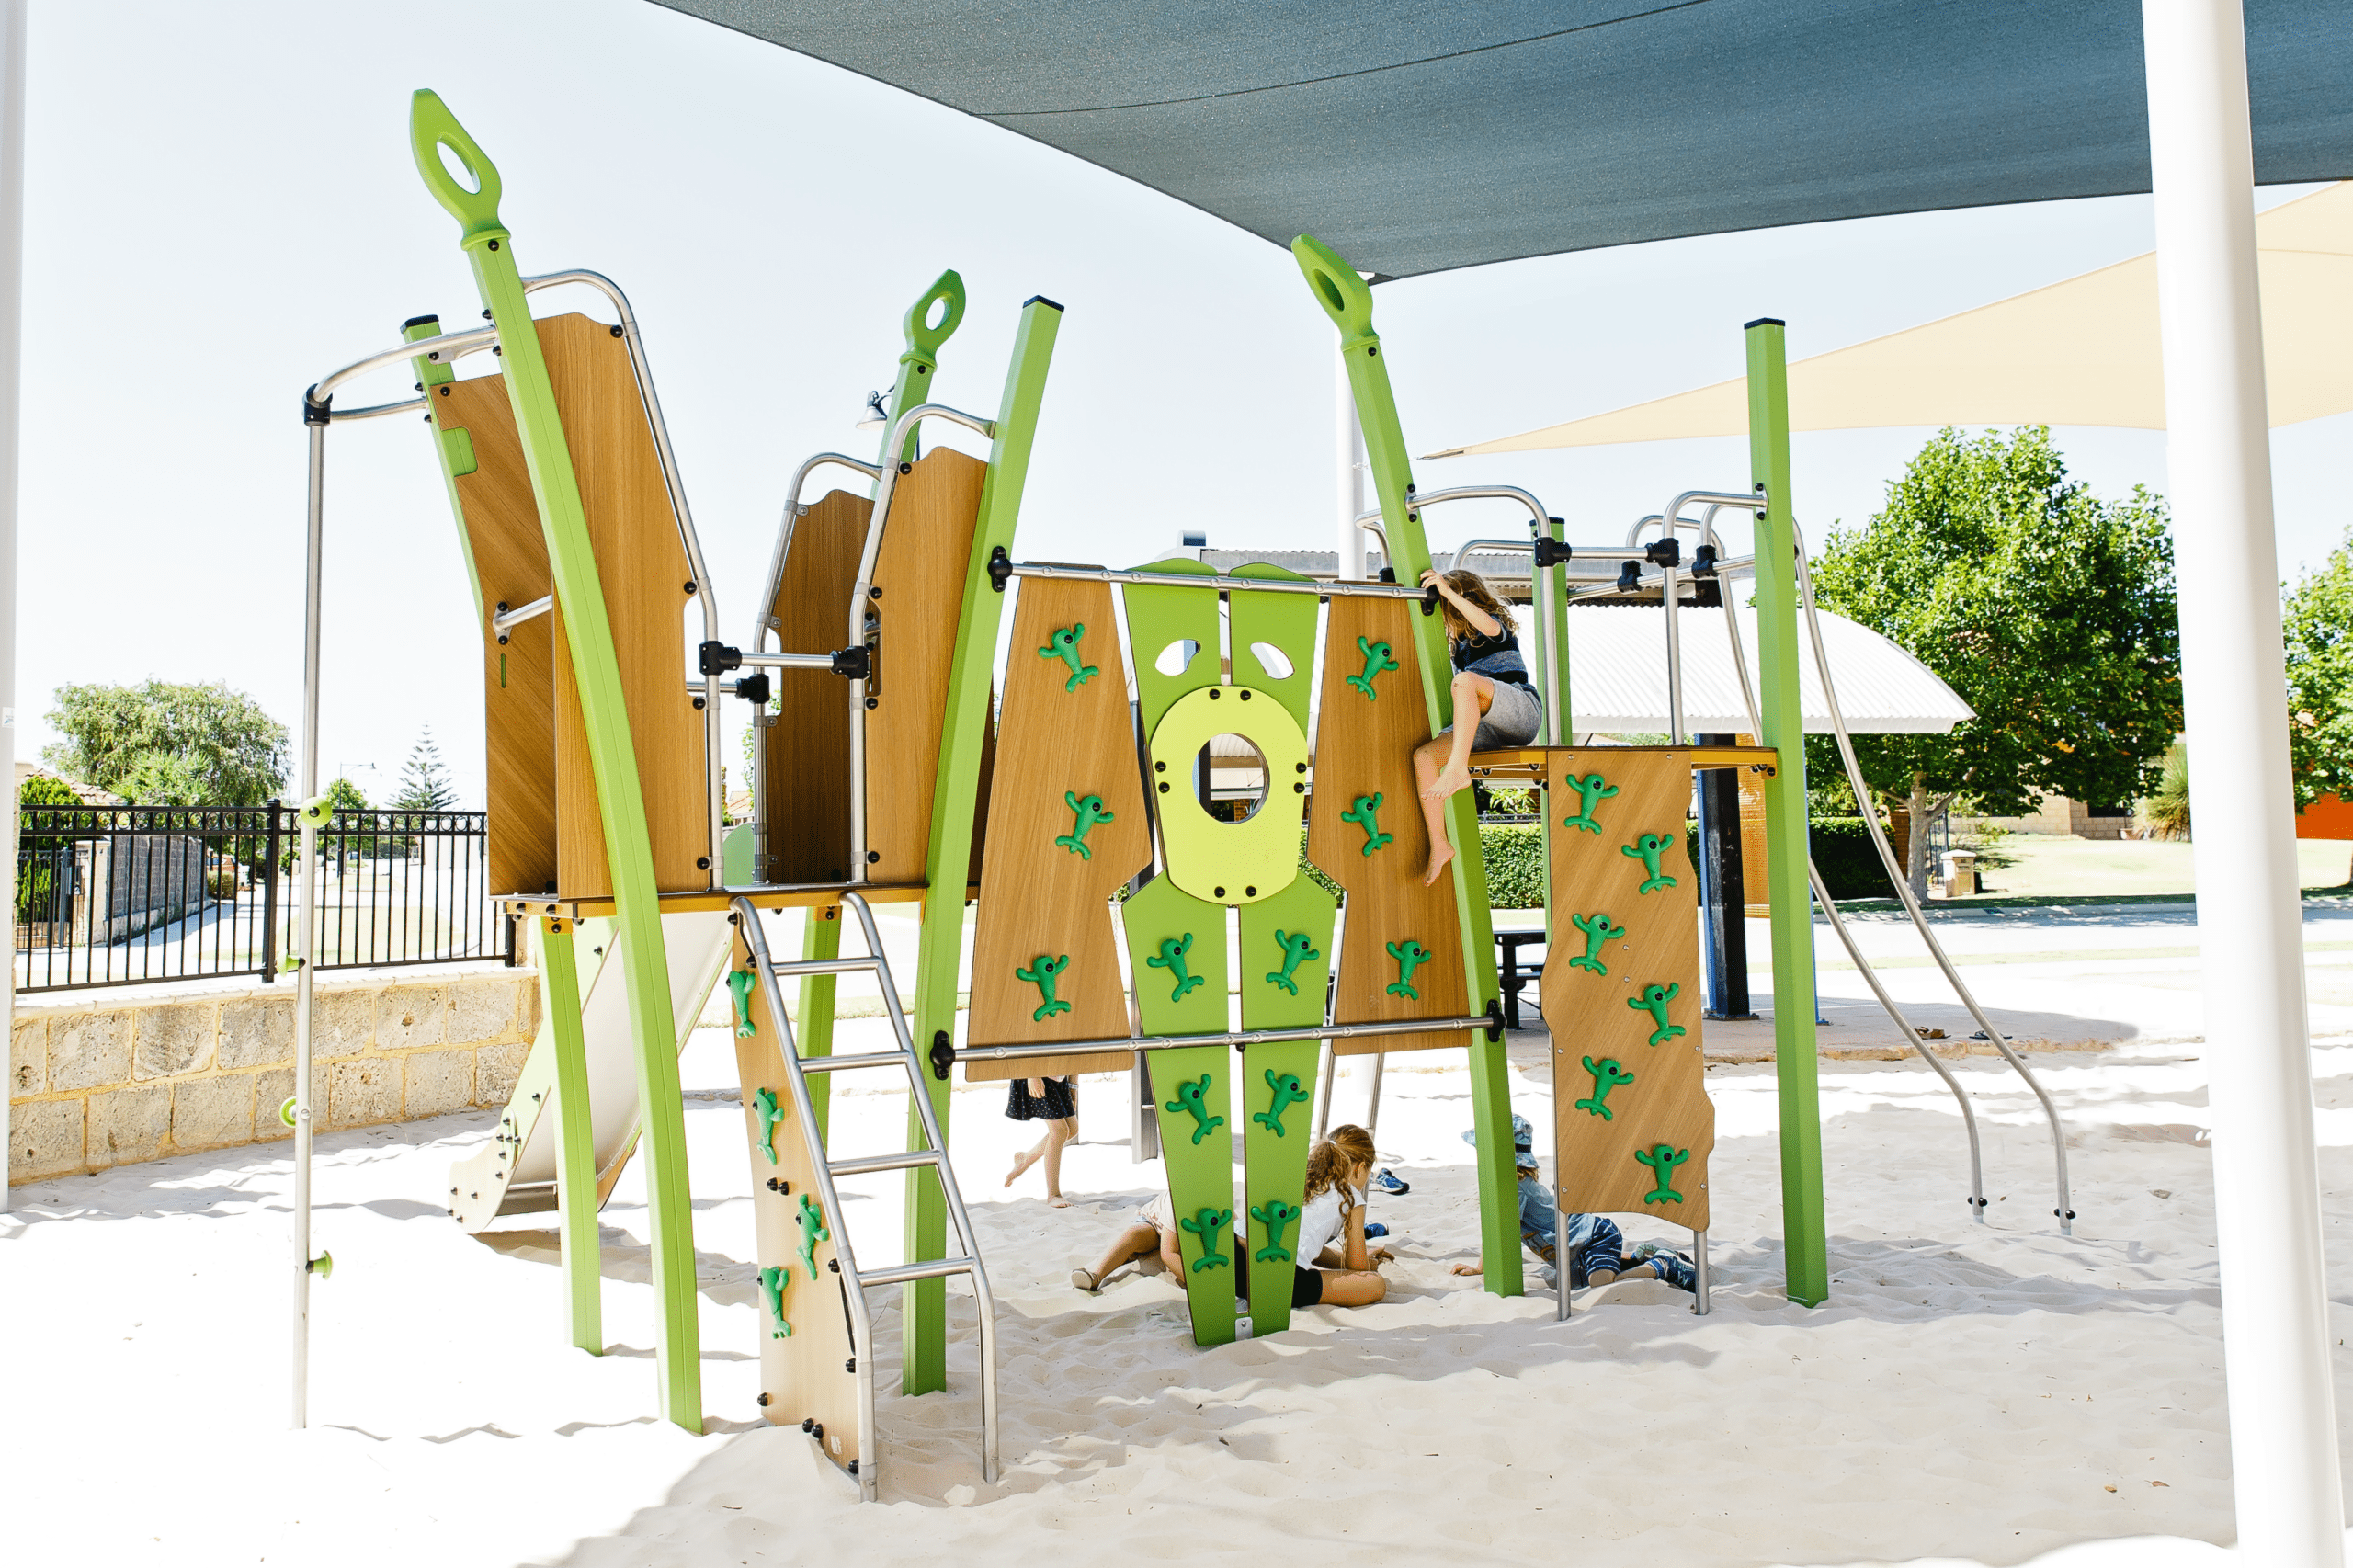
Atomiq Bubbles 1
Height: 2.99m Width: 6.47m Length: 7.14m Fall Zone Area: 107m2 Free Height of Fall: 2.1m  9521
9521Atomiq Bubbles 1
Height: 2.99m Width: 6.47m Length: 7.14m Fall Zone Area: 107m2 Free Height of Fall: 2.1m - New9522
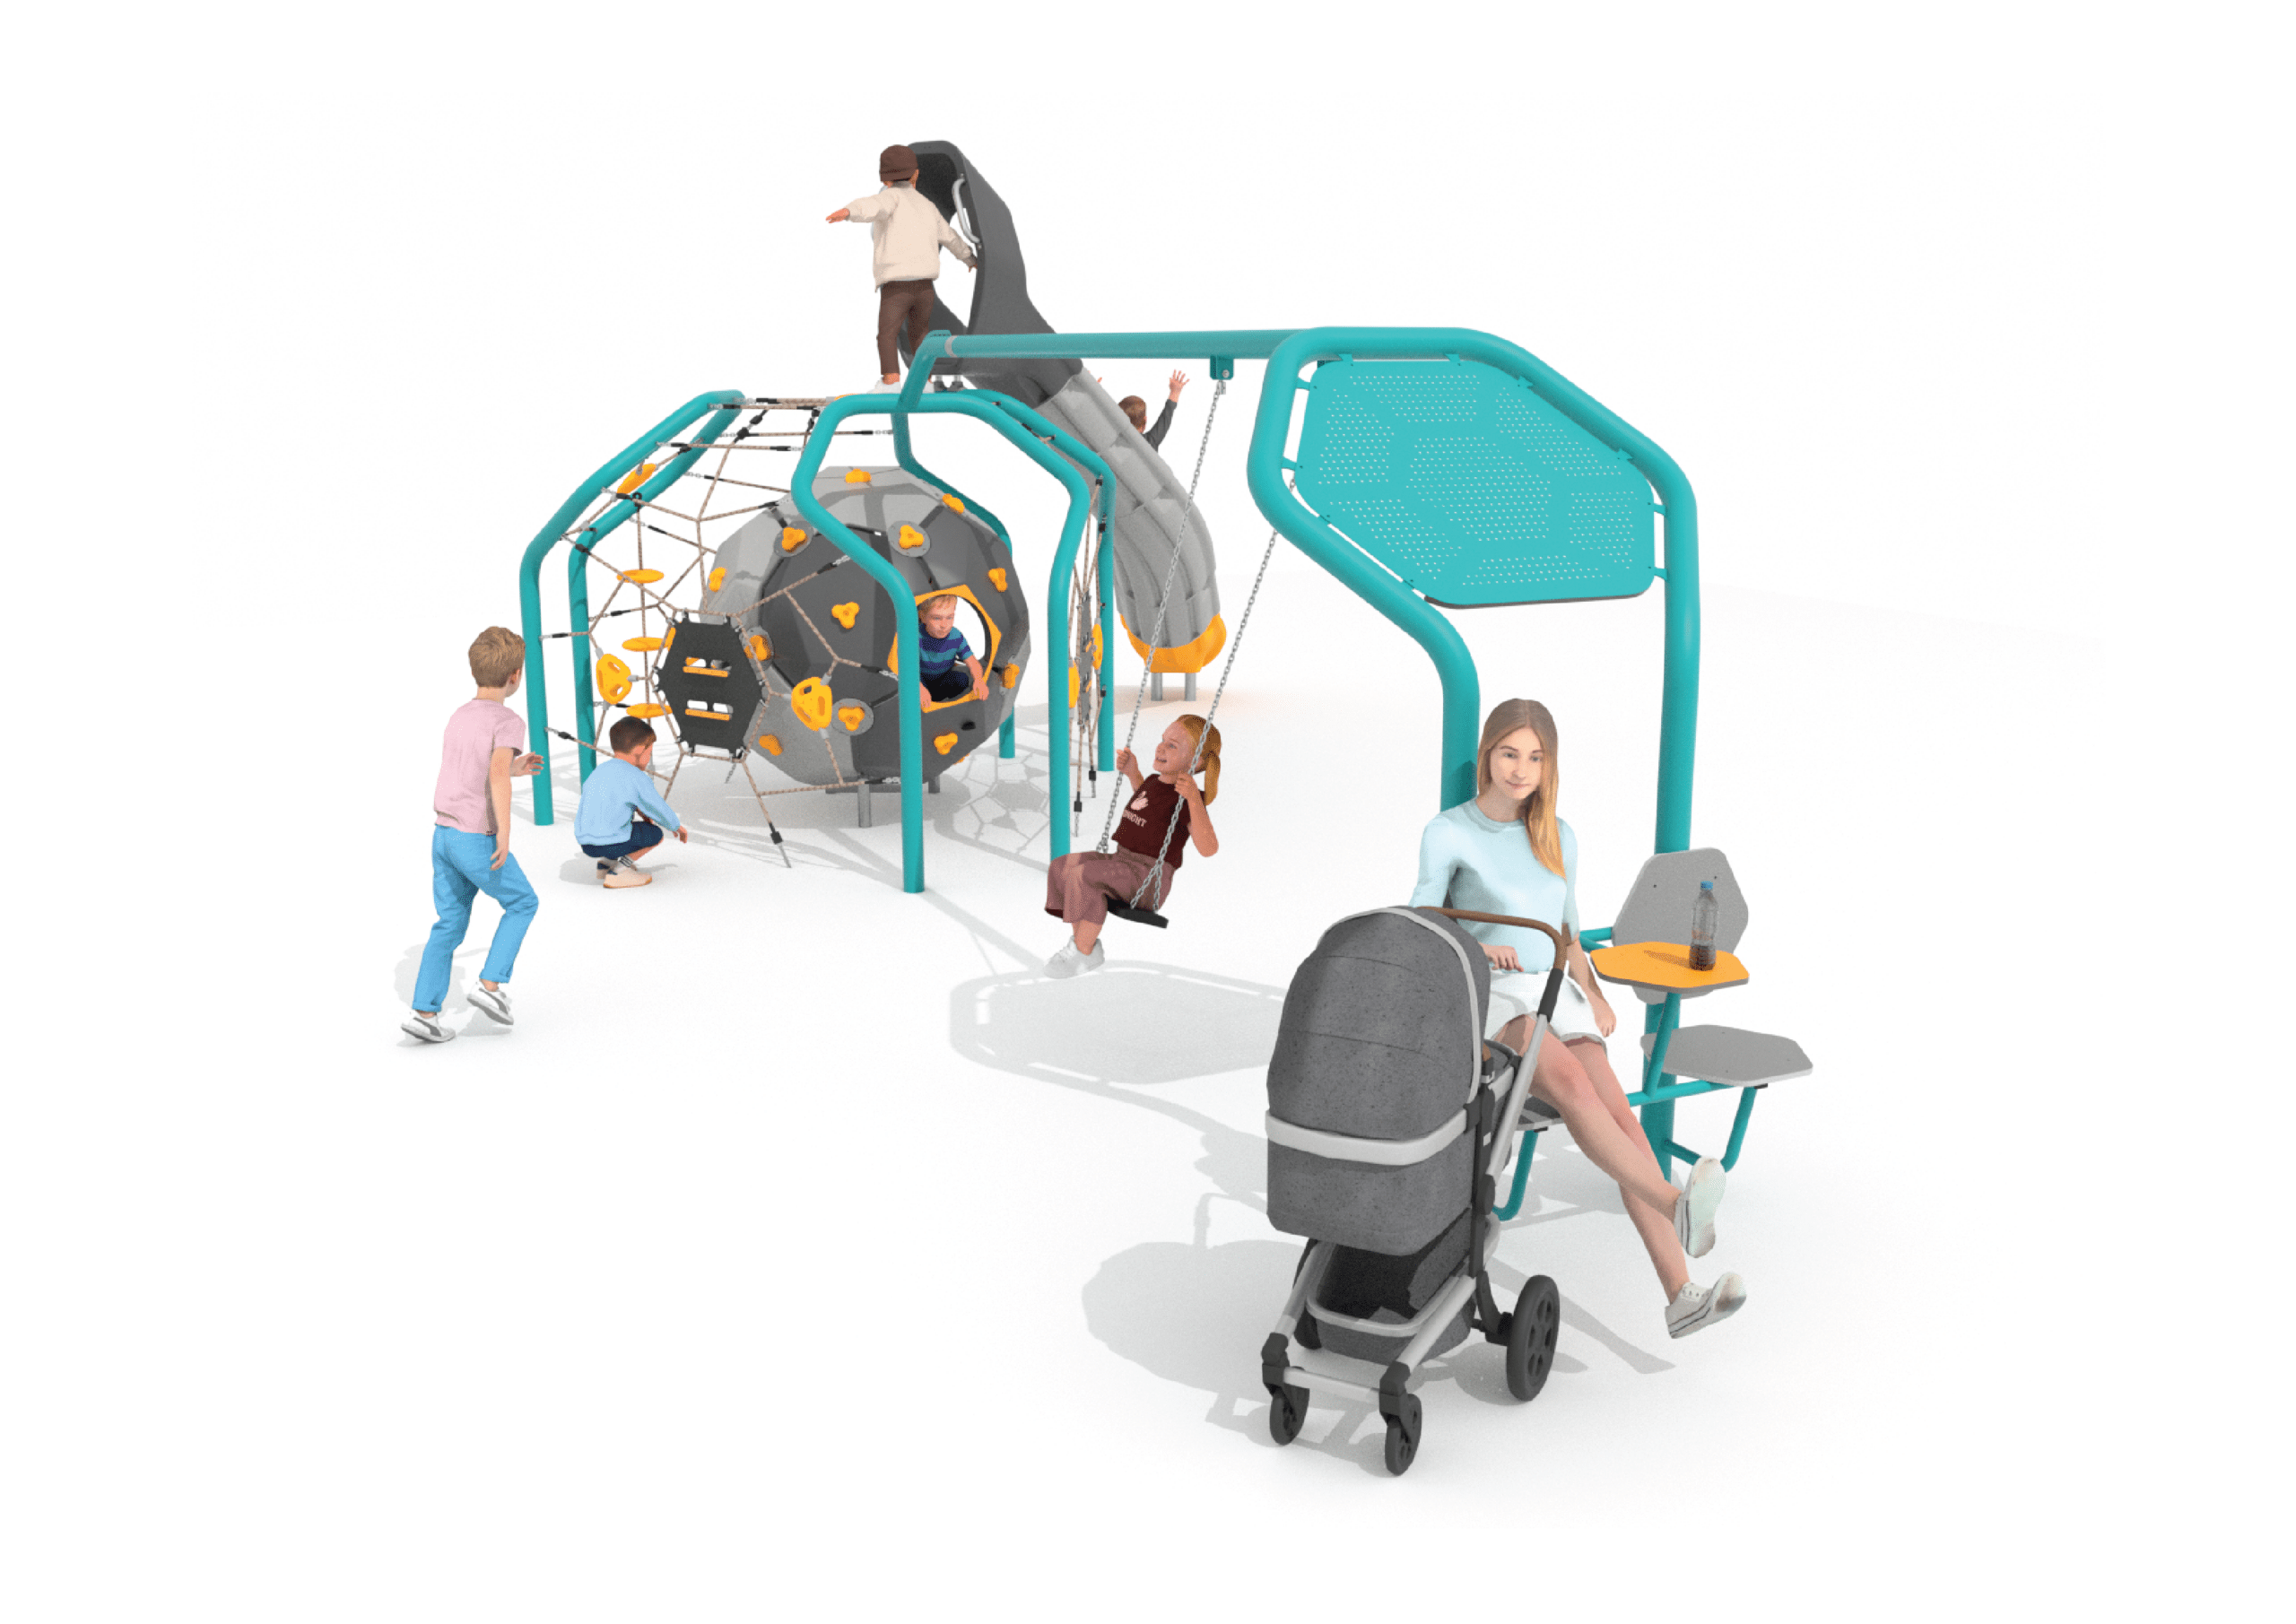
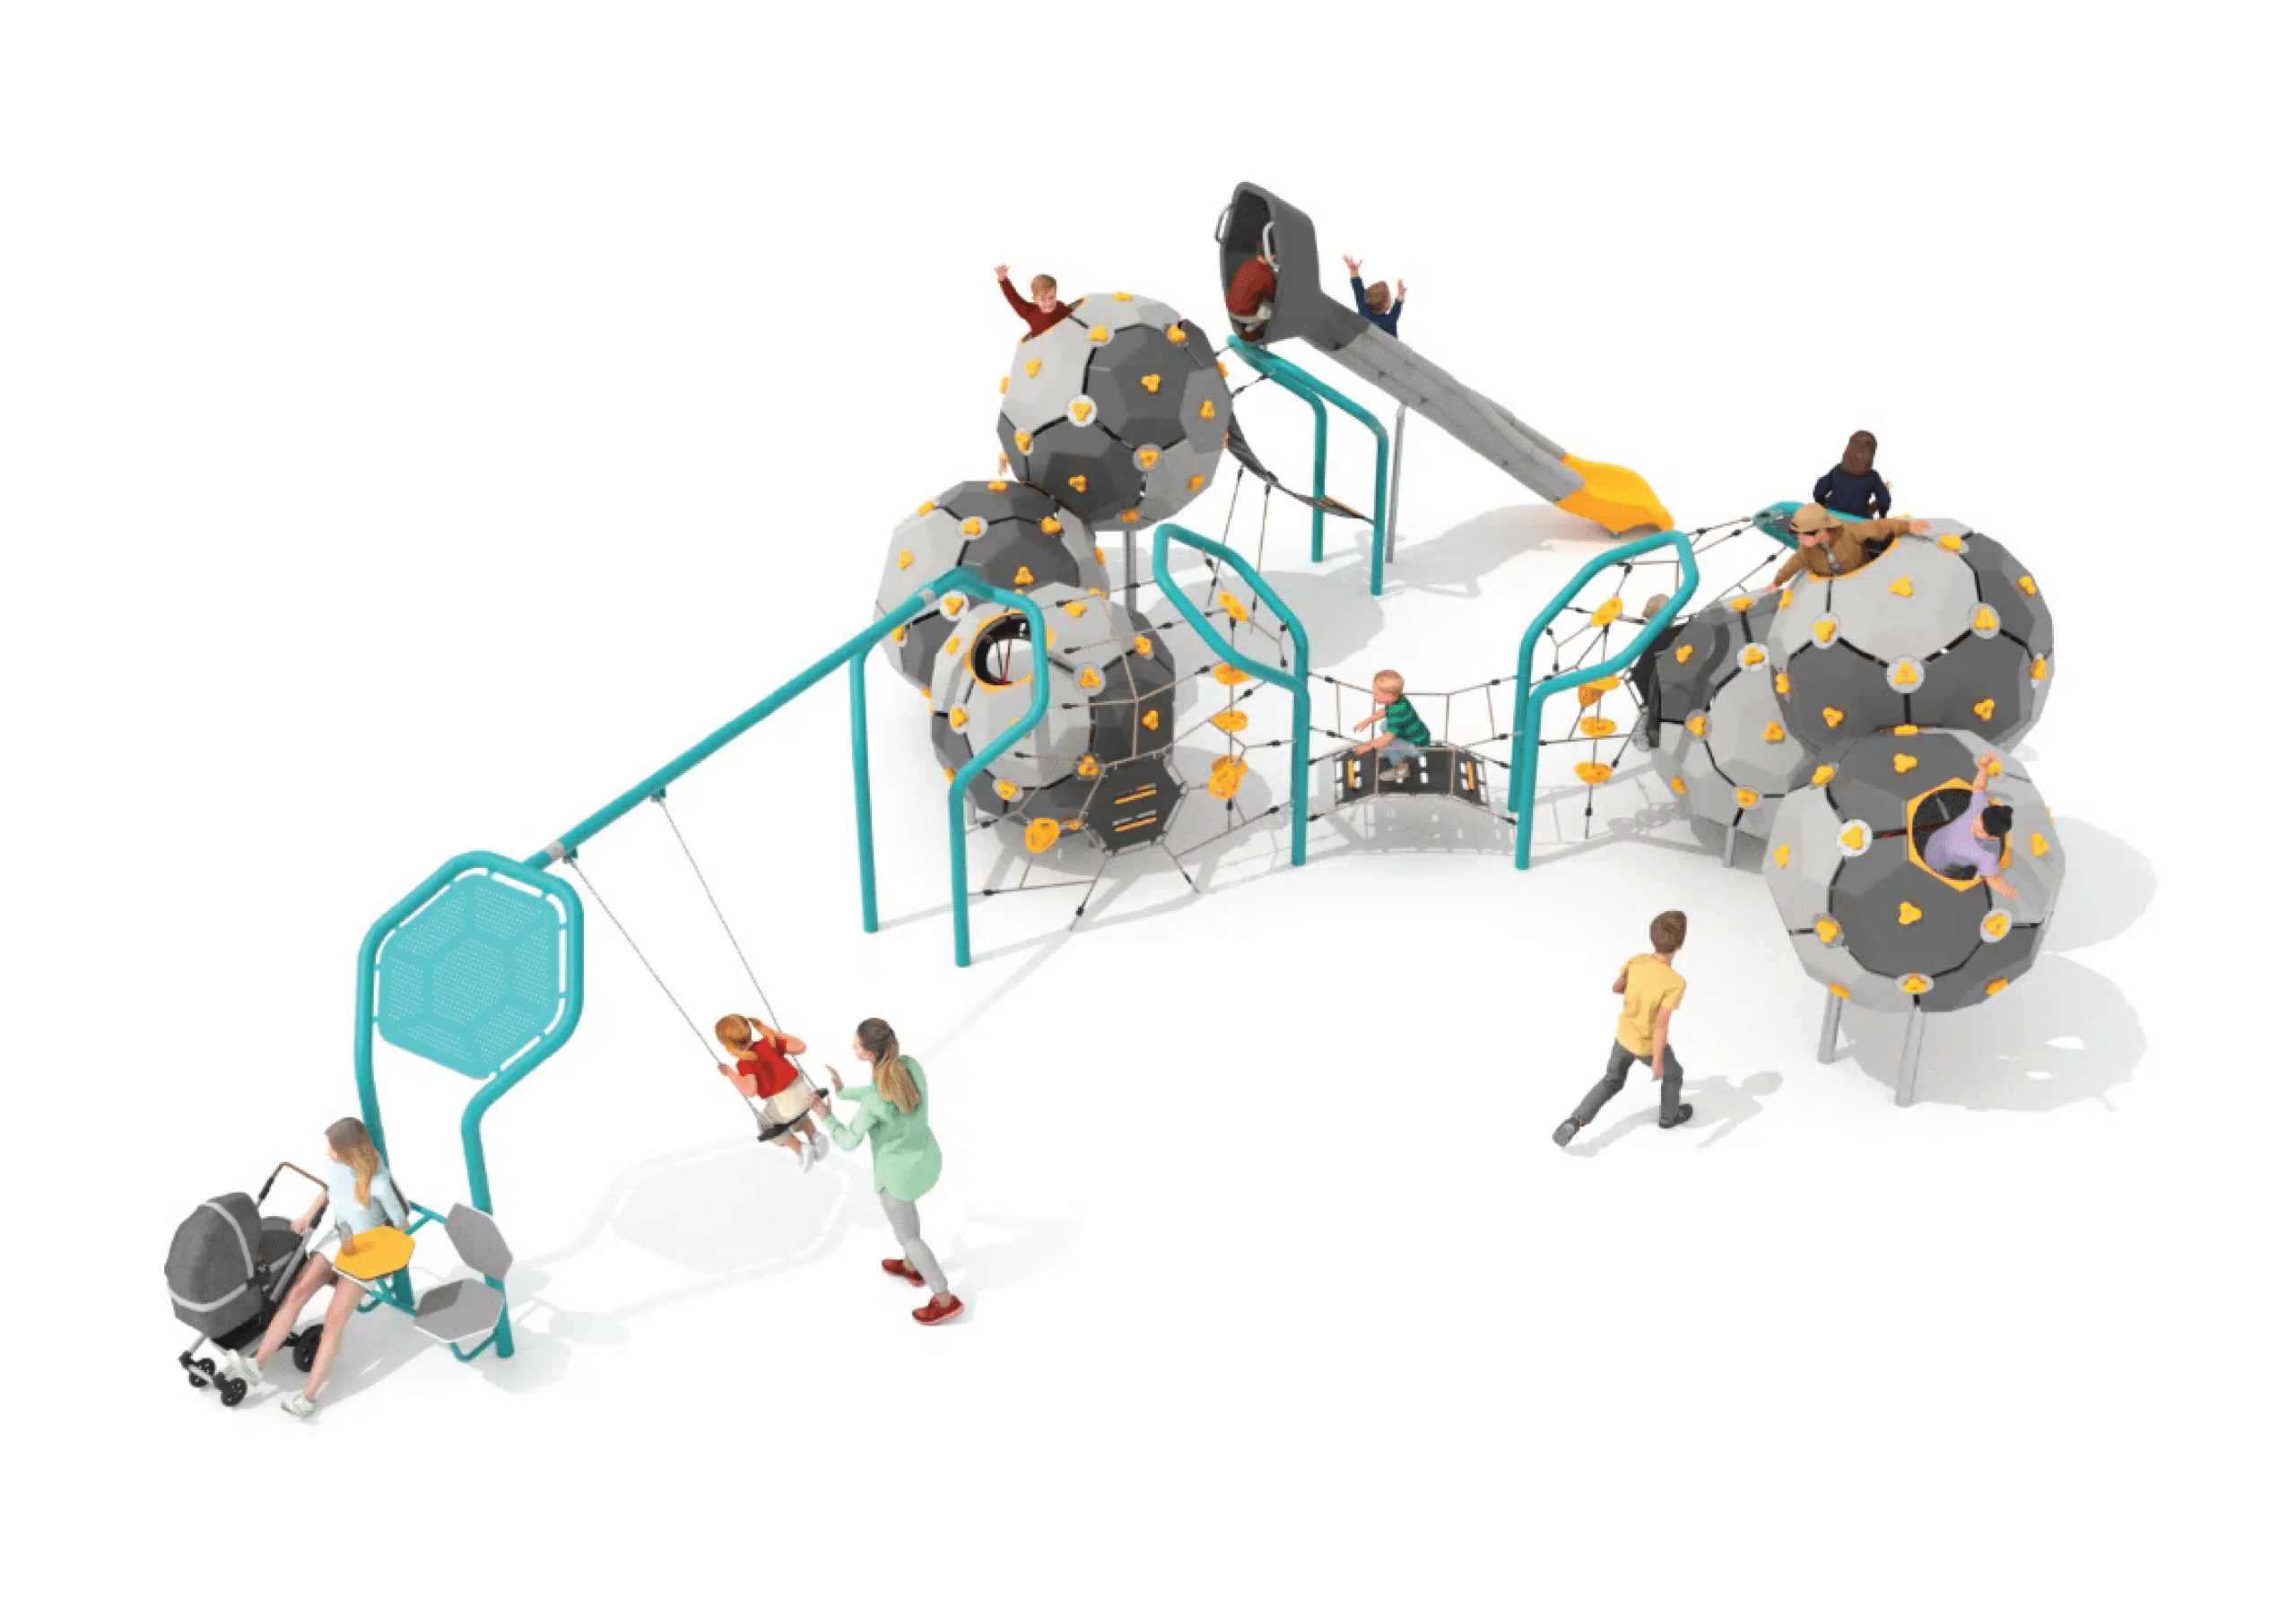
Atomiq Bubbles 2
Height: 3.03m Width: 4.86m Length: 8.95m Fall Zone Area: 107m2 Free Height of Fall: 2.1m 9522Atomiq Bubbles 2
Height: 3.03m Width: 4.86m Length: 8.95m Fall Zone Area: 107m2 Free Height of Fall: 2.1m - New9523
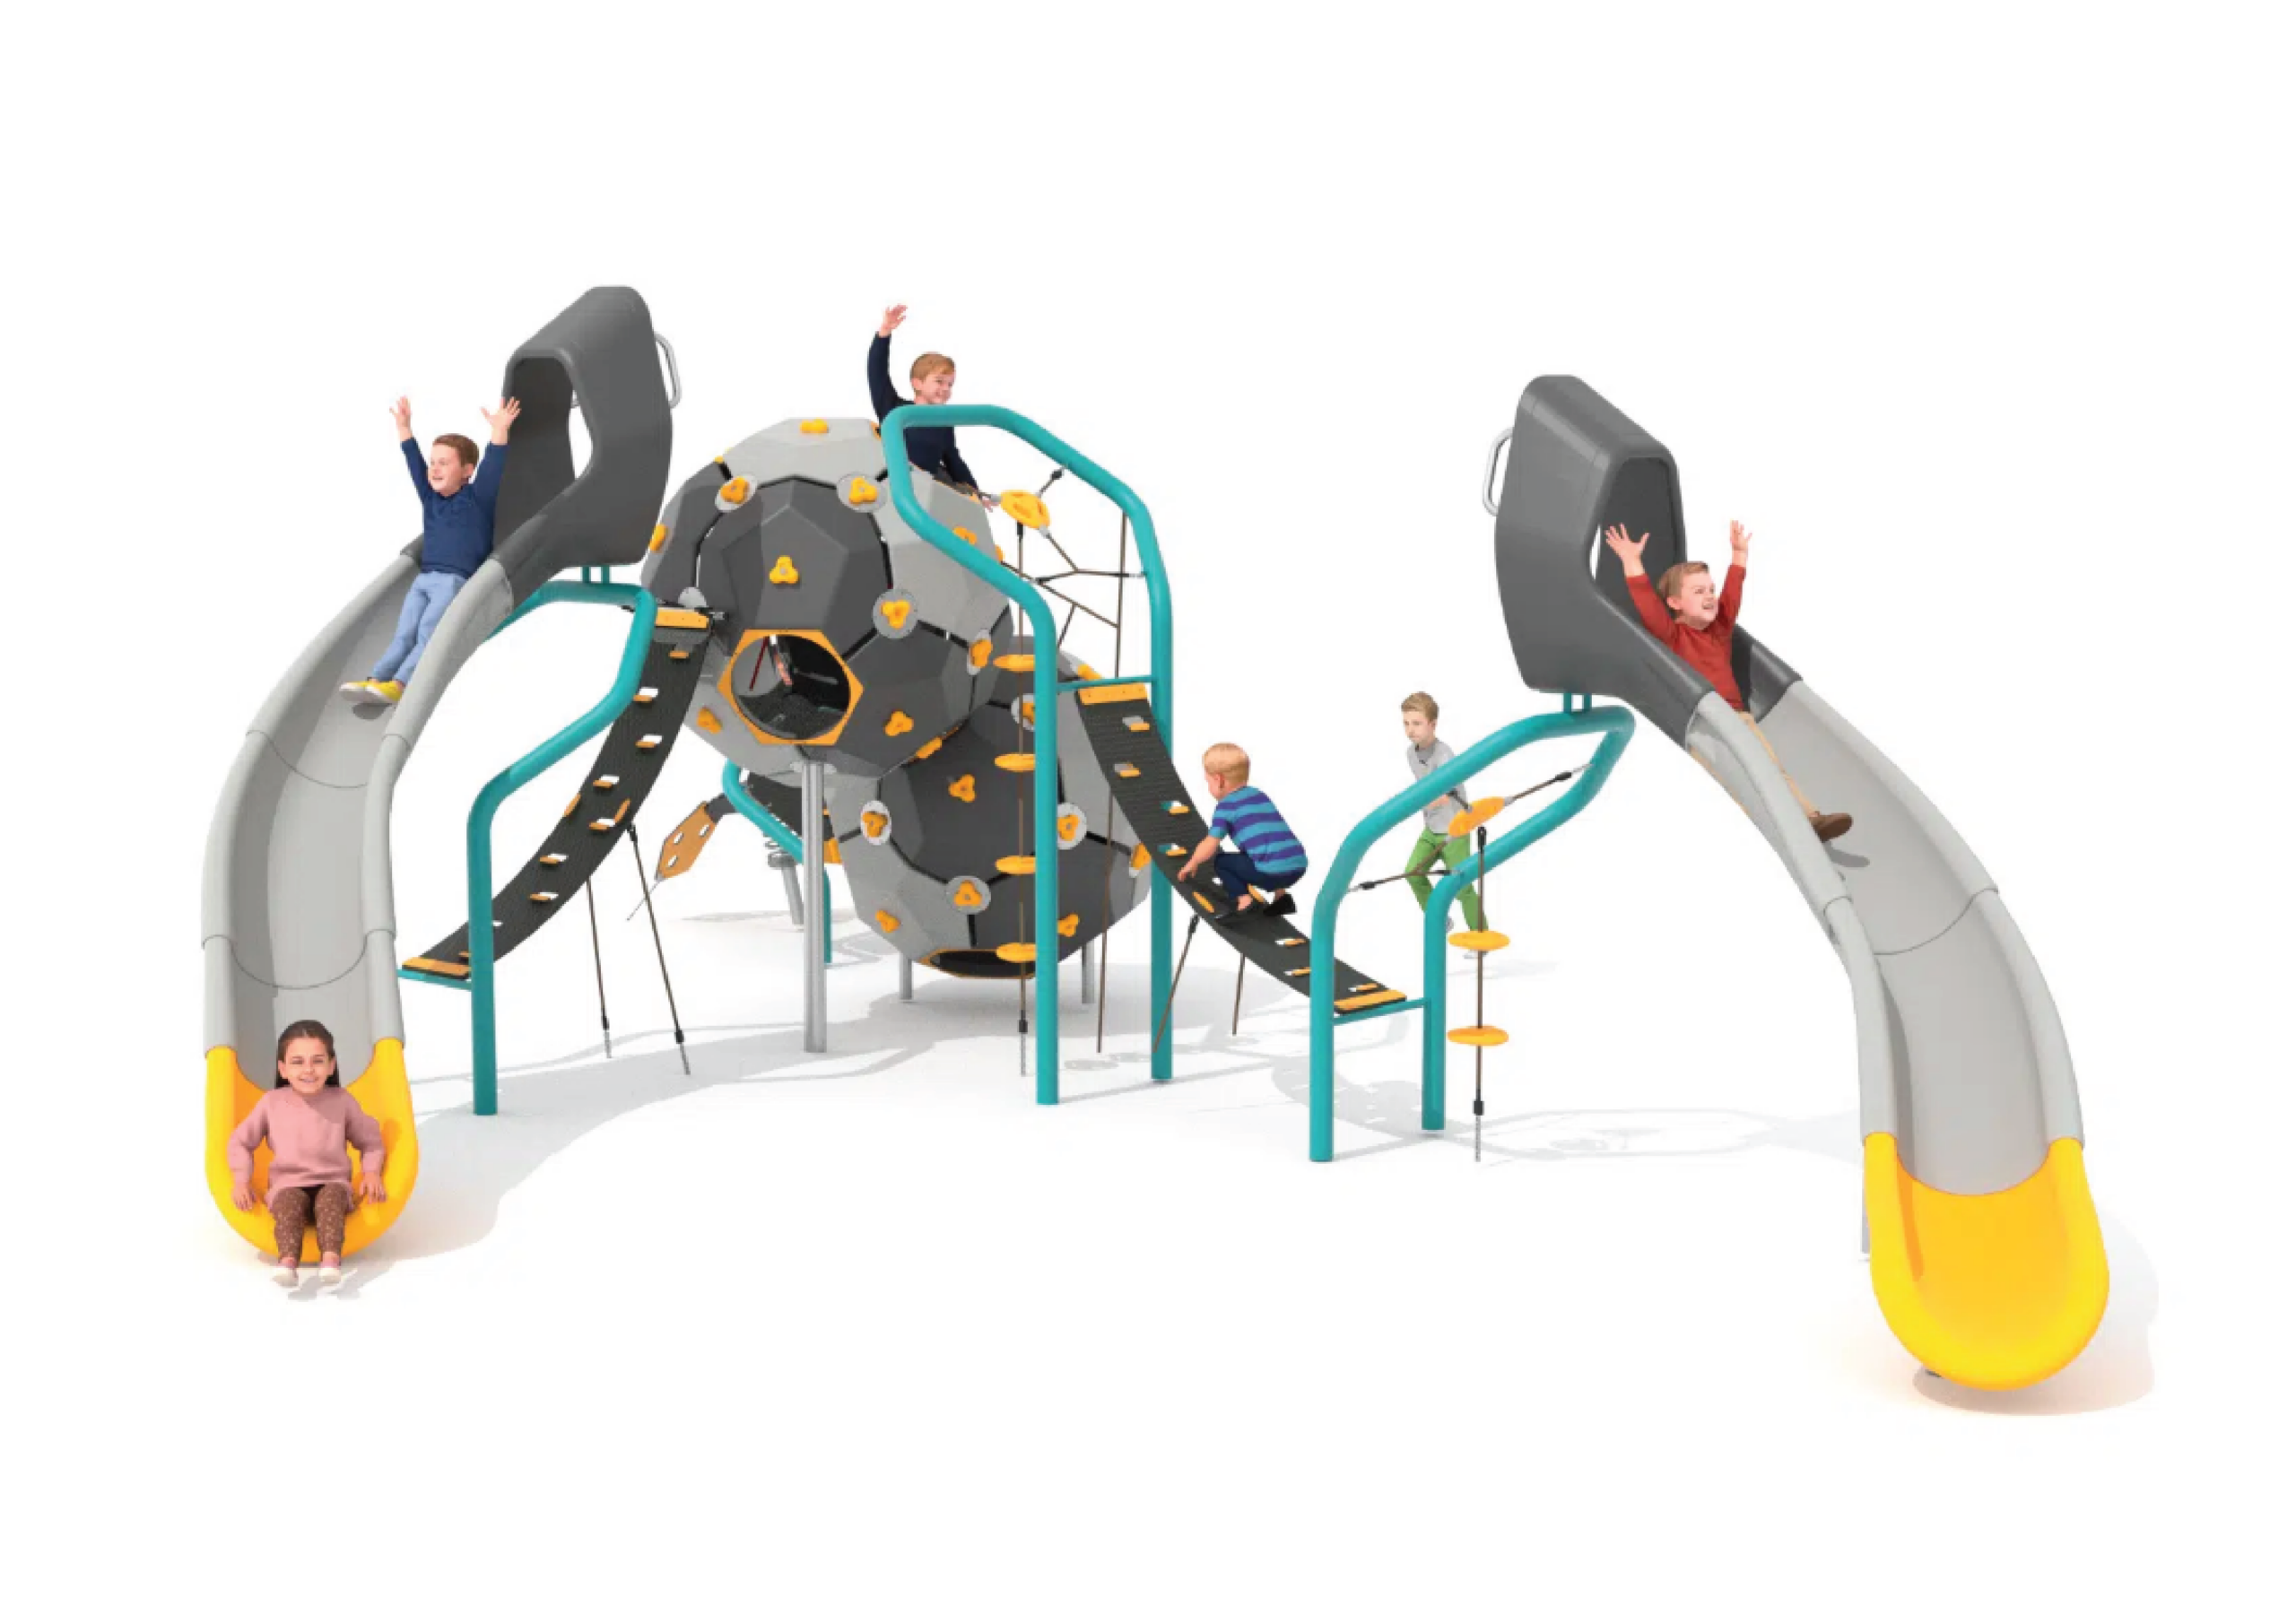
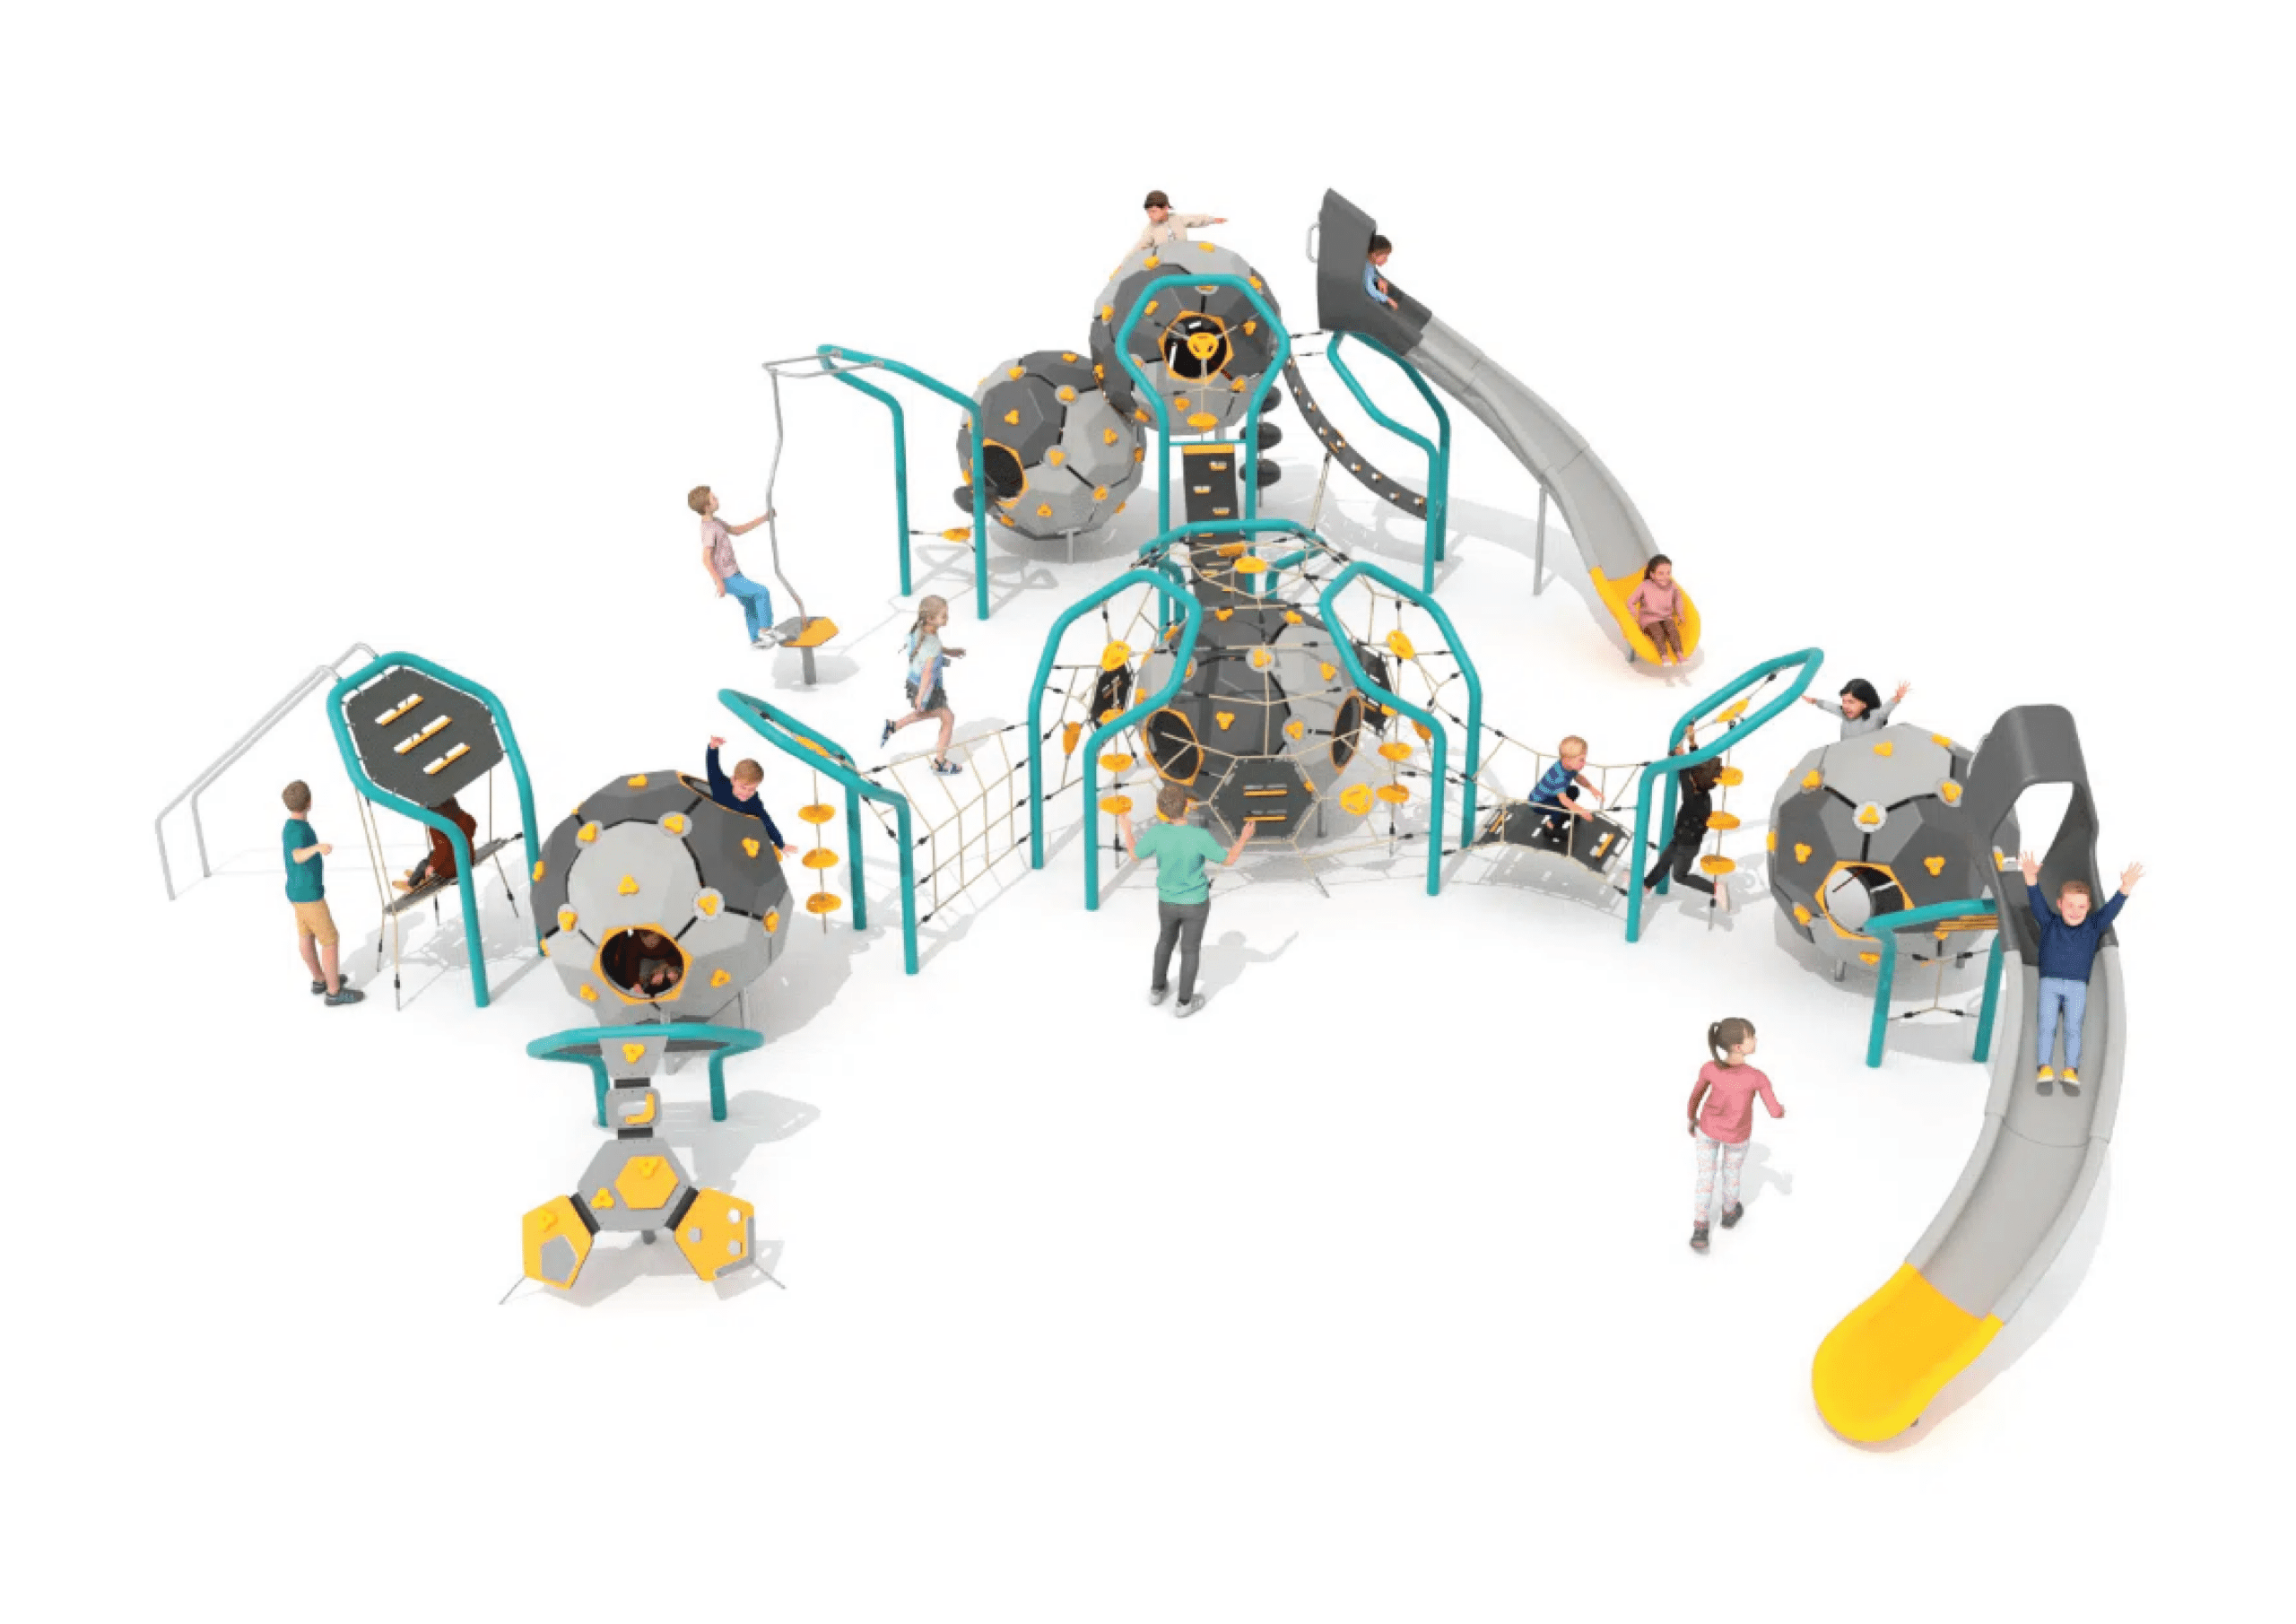
Atomiq Bubbles 3
Height: 2.99m Width: 5.89m Length: 9.88m Fall Zone Area: 75.5m2 Free Height of Fall: 2.69m 9523Atomiq Bubbles 3
Height: 2.99m Width: 5.89m Length: 9.88m Fall Zone Area: 75.5m2 Free Height of Fall: 2.69m - New9524
Atomiq Bubbles 4
Height: 3.28m Width: 6.56m Length: 5.08m Fall Zone Area: 75.5m2 Free Height of Fall: 2.10m 9524Atomiq Bubbles 4
Height: 3.28m Width: 6.56m Length: 5.08m Fall Zone Area: 75.5m2 Free Height of Fall: 2.10m - New9525
Atomiq Bubbles 5
Height: 2.99m Width: 4.32m Length: 8.04m Fall Zone Area: 59.5m2 Free Height of Fall: 2.69m 9525Atomiq Bubbles 5
Height: 2.99m Width: 4.32m Length: 8.04m Fall Zone Area: 59.5m2 Free Height of Fall: 2.69m - New9526
Atomiq Bubbles 6
Height: 3.56m Width: 8.13m Length: 8.24m Fall Zone Area: 94.5m2 Free Height of Fall: 2.69m 9526Atomiq Bubbles 6
Height: 3.56m Width: 8.13m Length: 8.24m Fall Zone Area: 94.5m2 Free Height of Fall: 2.69m - New9527
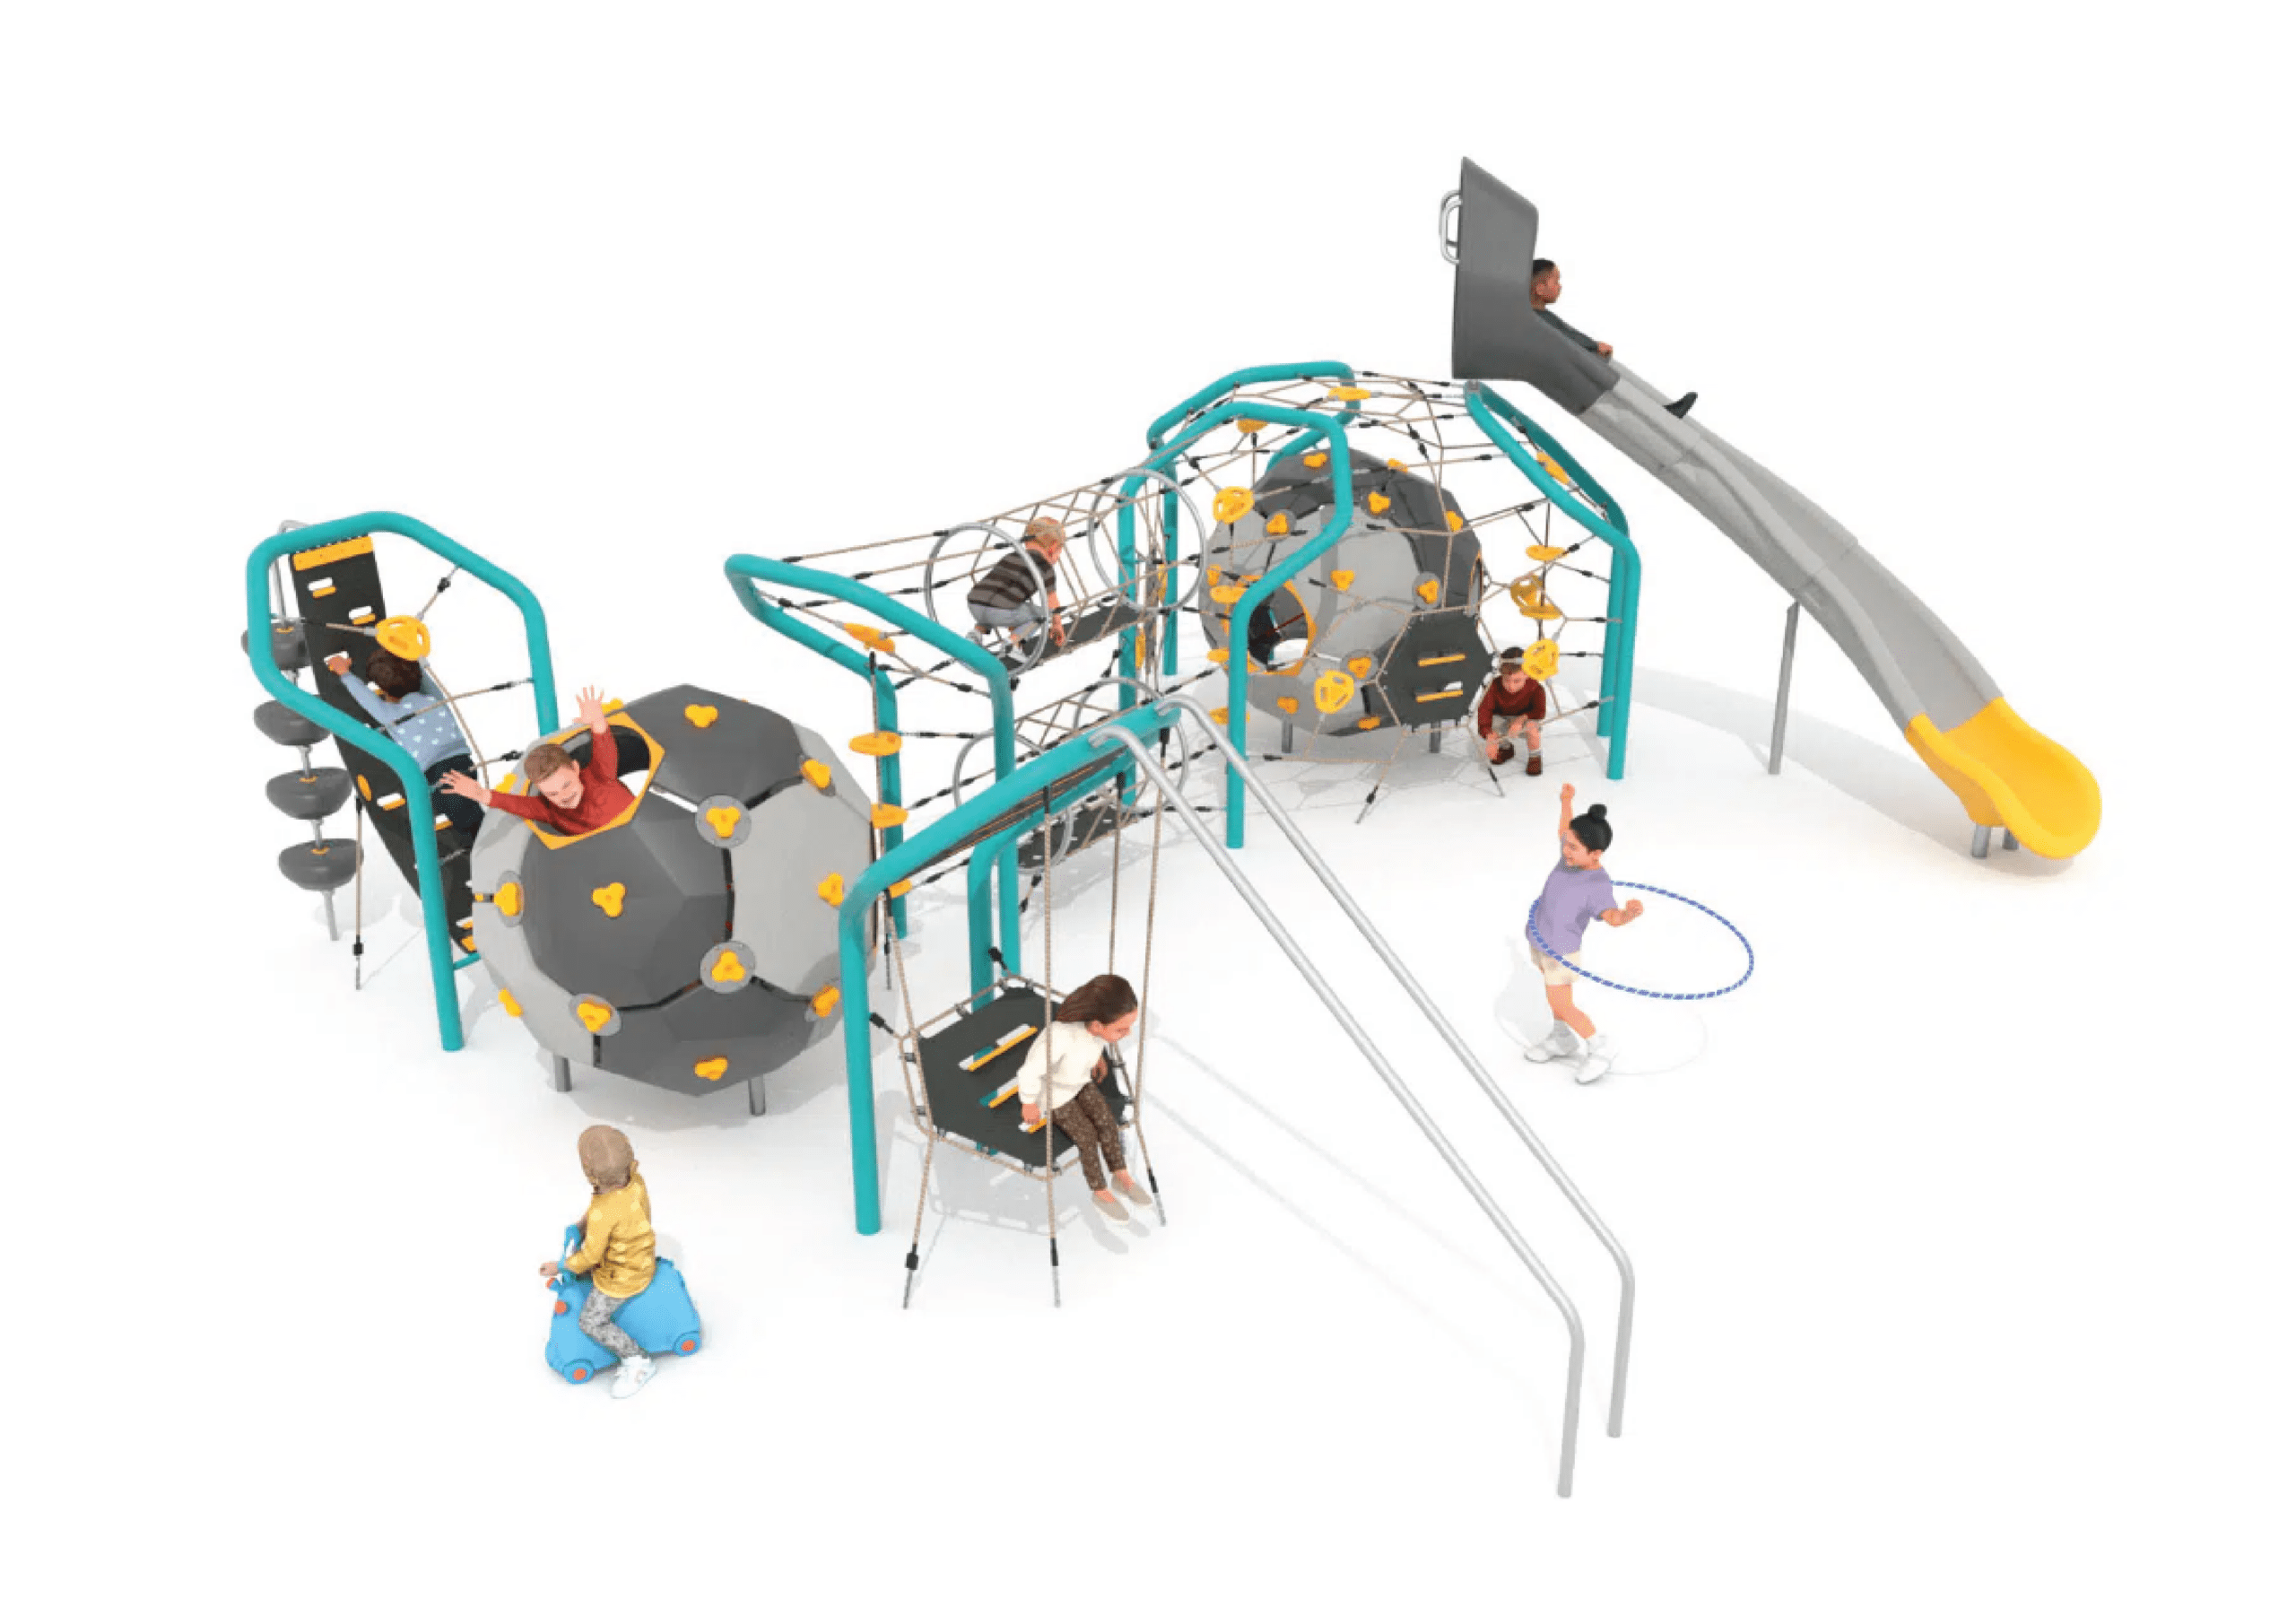
Atomiq Bubbles 7
Height: 3.20m Width: 9.48m Length: 10.16m Fall Zone Area: 115m2 Free Height of Fall: 2.69m 9527Atomiq Bubbles 7
Height: 3.20m Width: 9.48m Length: 10.16m Fall Zone Area: 115m2 Free Height of Fall: 2.69m - New9528
Atomiq Bubbles 8
Height: 2.99m Width: 11.22m Length: 12.93m Fall Zone Area: 150m2 Free Height of Fall: 2.69m 9528Atomiq Bubbles 8
Height: 2.99m Width: 11.22m Length: 12.93m Fall Zone Area: 150m2 Free Height of Fall: 2.69m - BA 06-1005-T01
Baby Climb & Slide
Height: 1.82m Width: 1.34m Length: 2.53m Fall Zone Area: 19m2 Free Height of Fall: 1m  BA 06-1005-T01
Baby Climb & Slide
Height: 1.82m Width: 1.34m Length: 2.53m Fall Zone Area: 19m2 Free Height of Fall: 1m - BA 06-1007-A05
Baby Crawl & Play
Height: 1.57m Width: 1.55m Length: 2.3m Fall Zone Area: 19m2 Free Height of Fall: 0.69m BA 06-1007-A05Baby Crawl & Play
Height: 1.57m Width: 1.55m Length: 2.3m Fall Zone Area: 19m2 Free Height of Fall: 0.69m - BA 06-1014-A99
Baby Garden Adventure Unit
Height: 1.57m Width: 3.14m Length: 3.33m Fall Zone Area: 28m2 Free Height of Fall: 1m BA 06-1014-A99Baby Garden Adventure Unit
Height: 1.57m Width: 3.14m Length: 3.33m Fall Zone Area: 28m2 Free Height of Fall: 1m - BA 06-1013-T01
Baby Garden Climb & Slide
Height: 1.82m Width: 2.29m Length: 2.59m Fall Zone Area: 22m2 Free Height of Fall: 1m BA 06-1013-T01Baby Garden Climb & Slide
Height: 1.82m Width: 2.29m Length: 2.59m Fall Zone Area: 22m2 Free Height of Fall: 1m - BA 06-1018-A15
Baby Garden Crawl & Play
Height: 1.82m Width: 2.7m Length: 2.98m Fall Zone Area: 24m2 Free Height of Fall: 1m BA 06-1018-A15Baby Garden Crawl & Play
Height: 1.82m Width: 2.7m Length: 2.98m Fall Zone Area: 24m2 Free Height of Fall: 1m - BA 06-1025-A15
Baby Garden Multiplay
Height: 1.82m Width: 3.77m Length: 5.42m Fall Zone Area: 36m2 Free Height of Fall: 1m BA 06-1025-A15Baby Garden Multiplay
Height: 1.82m Width: 3.77m Length: 5.42m Fall Zone Area: 36m2 Free Height of Fall: 1m - BA 06-1012-T02-IL
Baby Garden Play Unit
Height: 1.7m Width: 2.23m Length: 3.06m Fall Zone Area: 22m2 Free Height of Fall: 0.7m BA 06-1012-T02-ILBaby Garden Play Unit
Height: 1.7m Width: 2.23m Length: 3.06m Fall Zone Area: 22m2 Free Height of Fall: 0.7m - MGAS 102-P
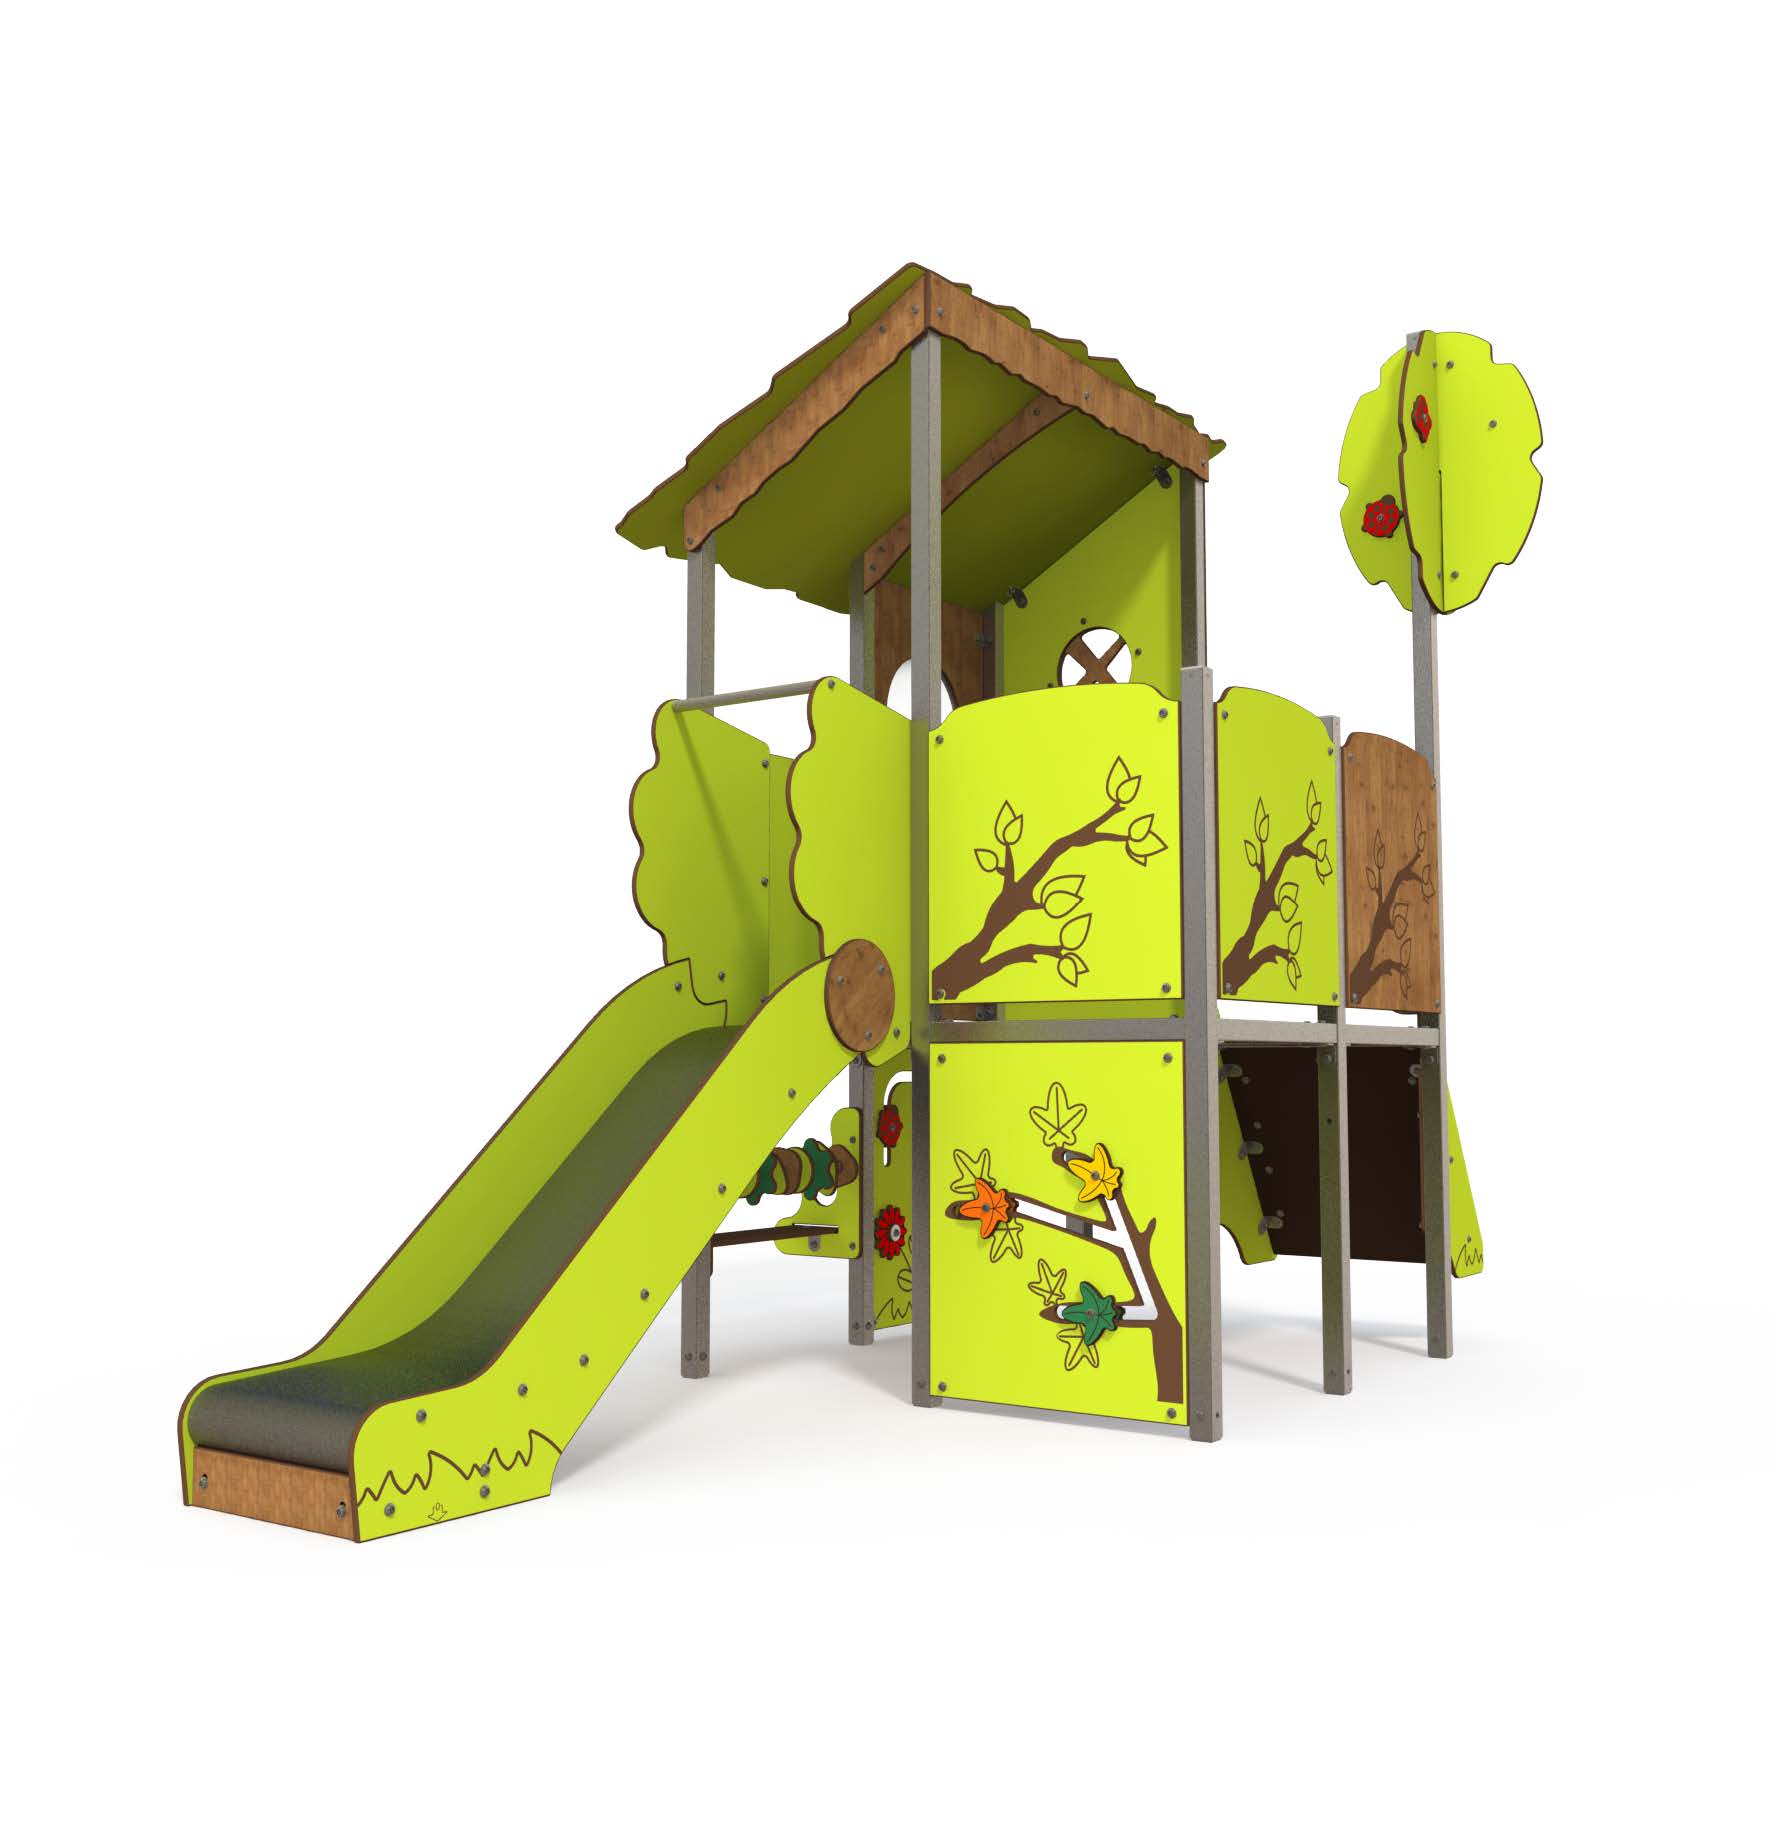
Canopy Tree House 2
Height: 4.3m Width: 4.9m Length: 7.2m Fall Zone Area: 60m2 Free Height of Fall: 1.6m  MGAS 102-P
Canopy Tree House 2
Height: 4.3m Width: 4.9m Length: 7.2m Fall Zone Area: 60m2 Free Height of Fall: 1.6m - MGAS 101-1-P
Canopy Treehouse 1
Height: 3.65m Width: 3.8m Length: 5.85m Fall Zone Area: 44m2 Free Height of Fall: 1.1m  MGAS 101-1-P
Canopy Treehouse 1
Height: 3.65m Width: 3.8m Length: 5.85m Fall Zone Area: 44m2 Free Height of Fall: 1.1m - CT 15-1001-29
Dino Play Unit A
Height: 3.18m Width: 6.03m Length: 7.67m Fall Zone Area: 74m2 Free Height of Fall: 4.3m  CT 15-1001-29
Dino Play Unit A
Height: 3.18m Width: 6.03m Length: 7.67m Fall Zone Area: 74m2 Free Height of Fall: 4.3m