

Junior Jarrah
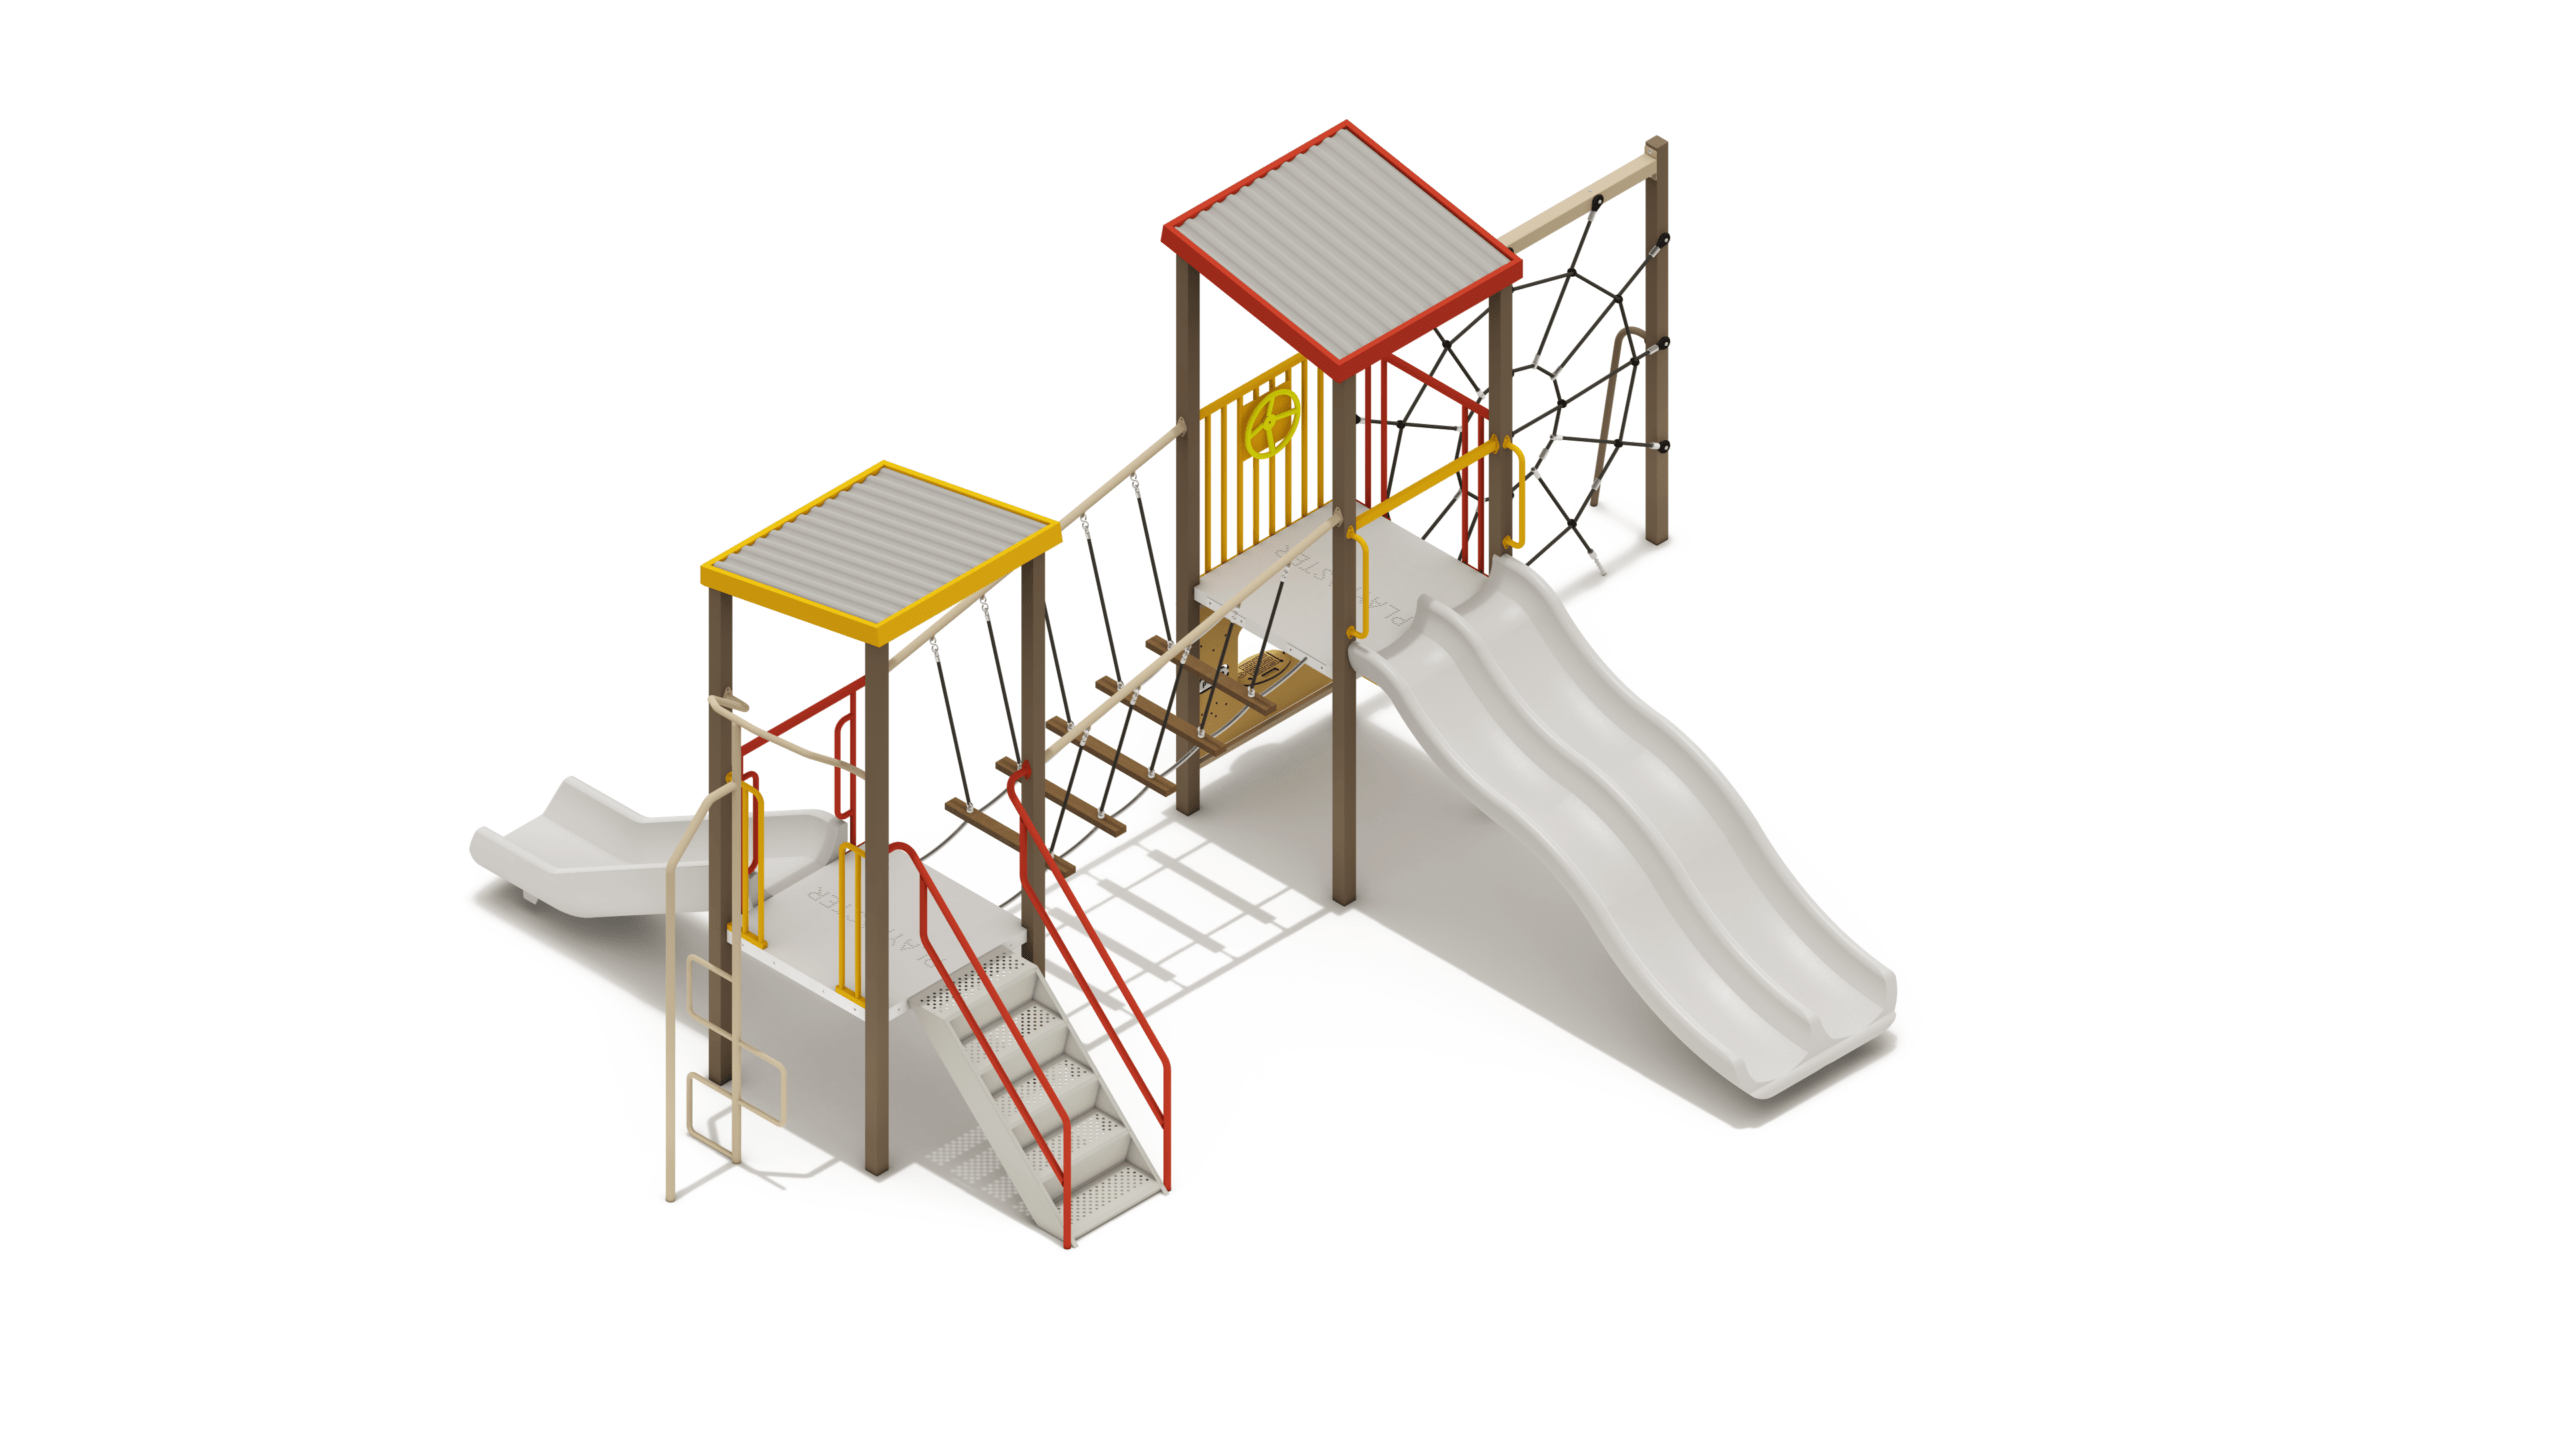
Junior Jarrah
Product Specifications
- Height: 3.26m
- Width: 5.40m
- Length: 6.87m
- Fall Zone Area: 58m2
- Free Height of Fall: 2.20m
Downloads
Related Products
- AD5-030
All Ages Rock Wallaby
Height: 3.85m Width: 5.70m Length: 6.07m Fall Zone Area: 71m2 Free Height of Fall: 1.80m  AD5-030
All Ages Rock Wallaby
Height: 3.85m Width: 5.70m Length: 6.07m Fall Zone Area: 71m2 Free Height of Fall: 1.80m - PM19-04
Inclusive Echidna
Height: 3.65m Width: 12.12m Length: 12.43m Fall Zone Area: 150m2 Free Height of Fall: 2.20m PM19-04Inclusive Echidna
Height: 3.65m Width: 12.12m Length: 12.43m Fall Zone Area: 150m2 Free Height of Fall: 2.20m


