

Rustic Dampiera
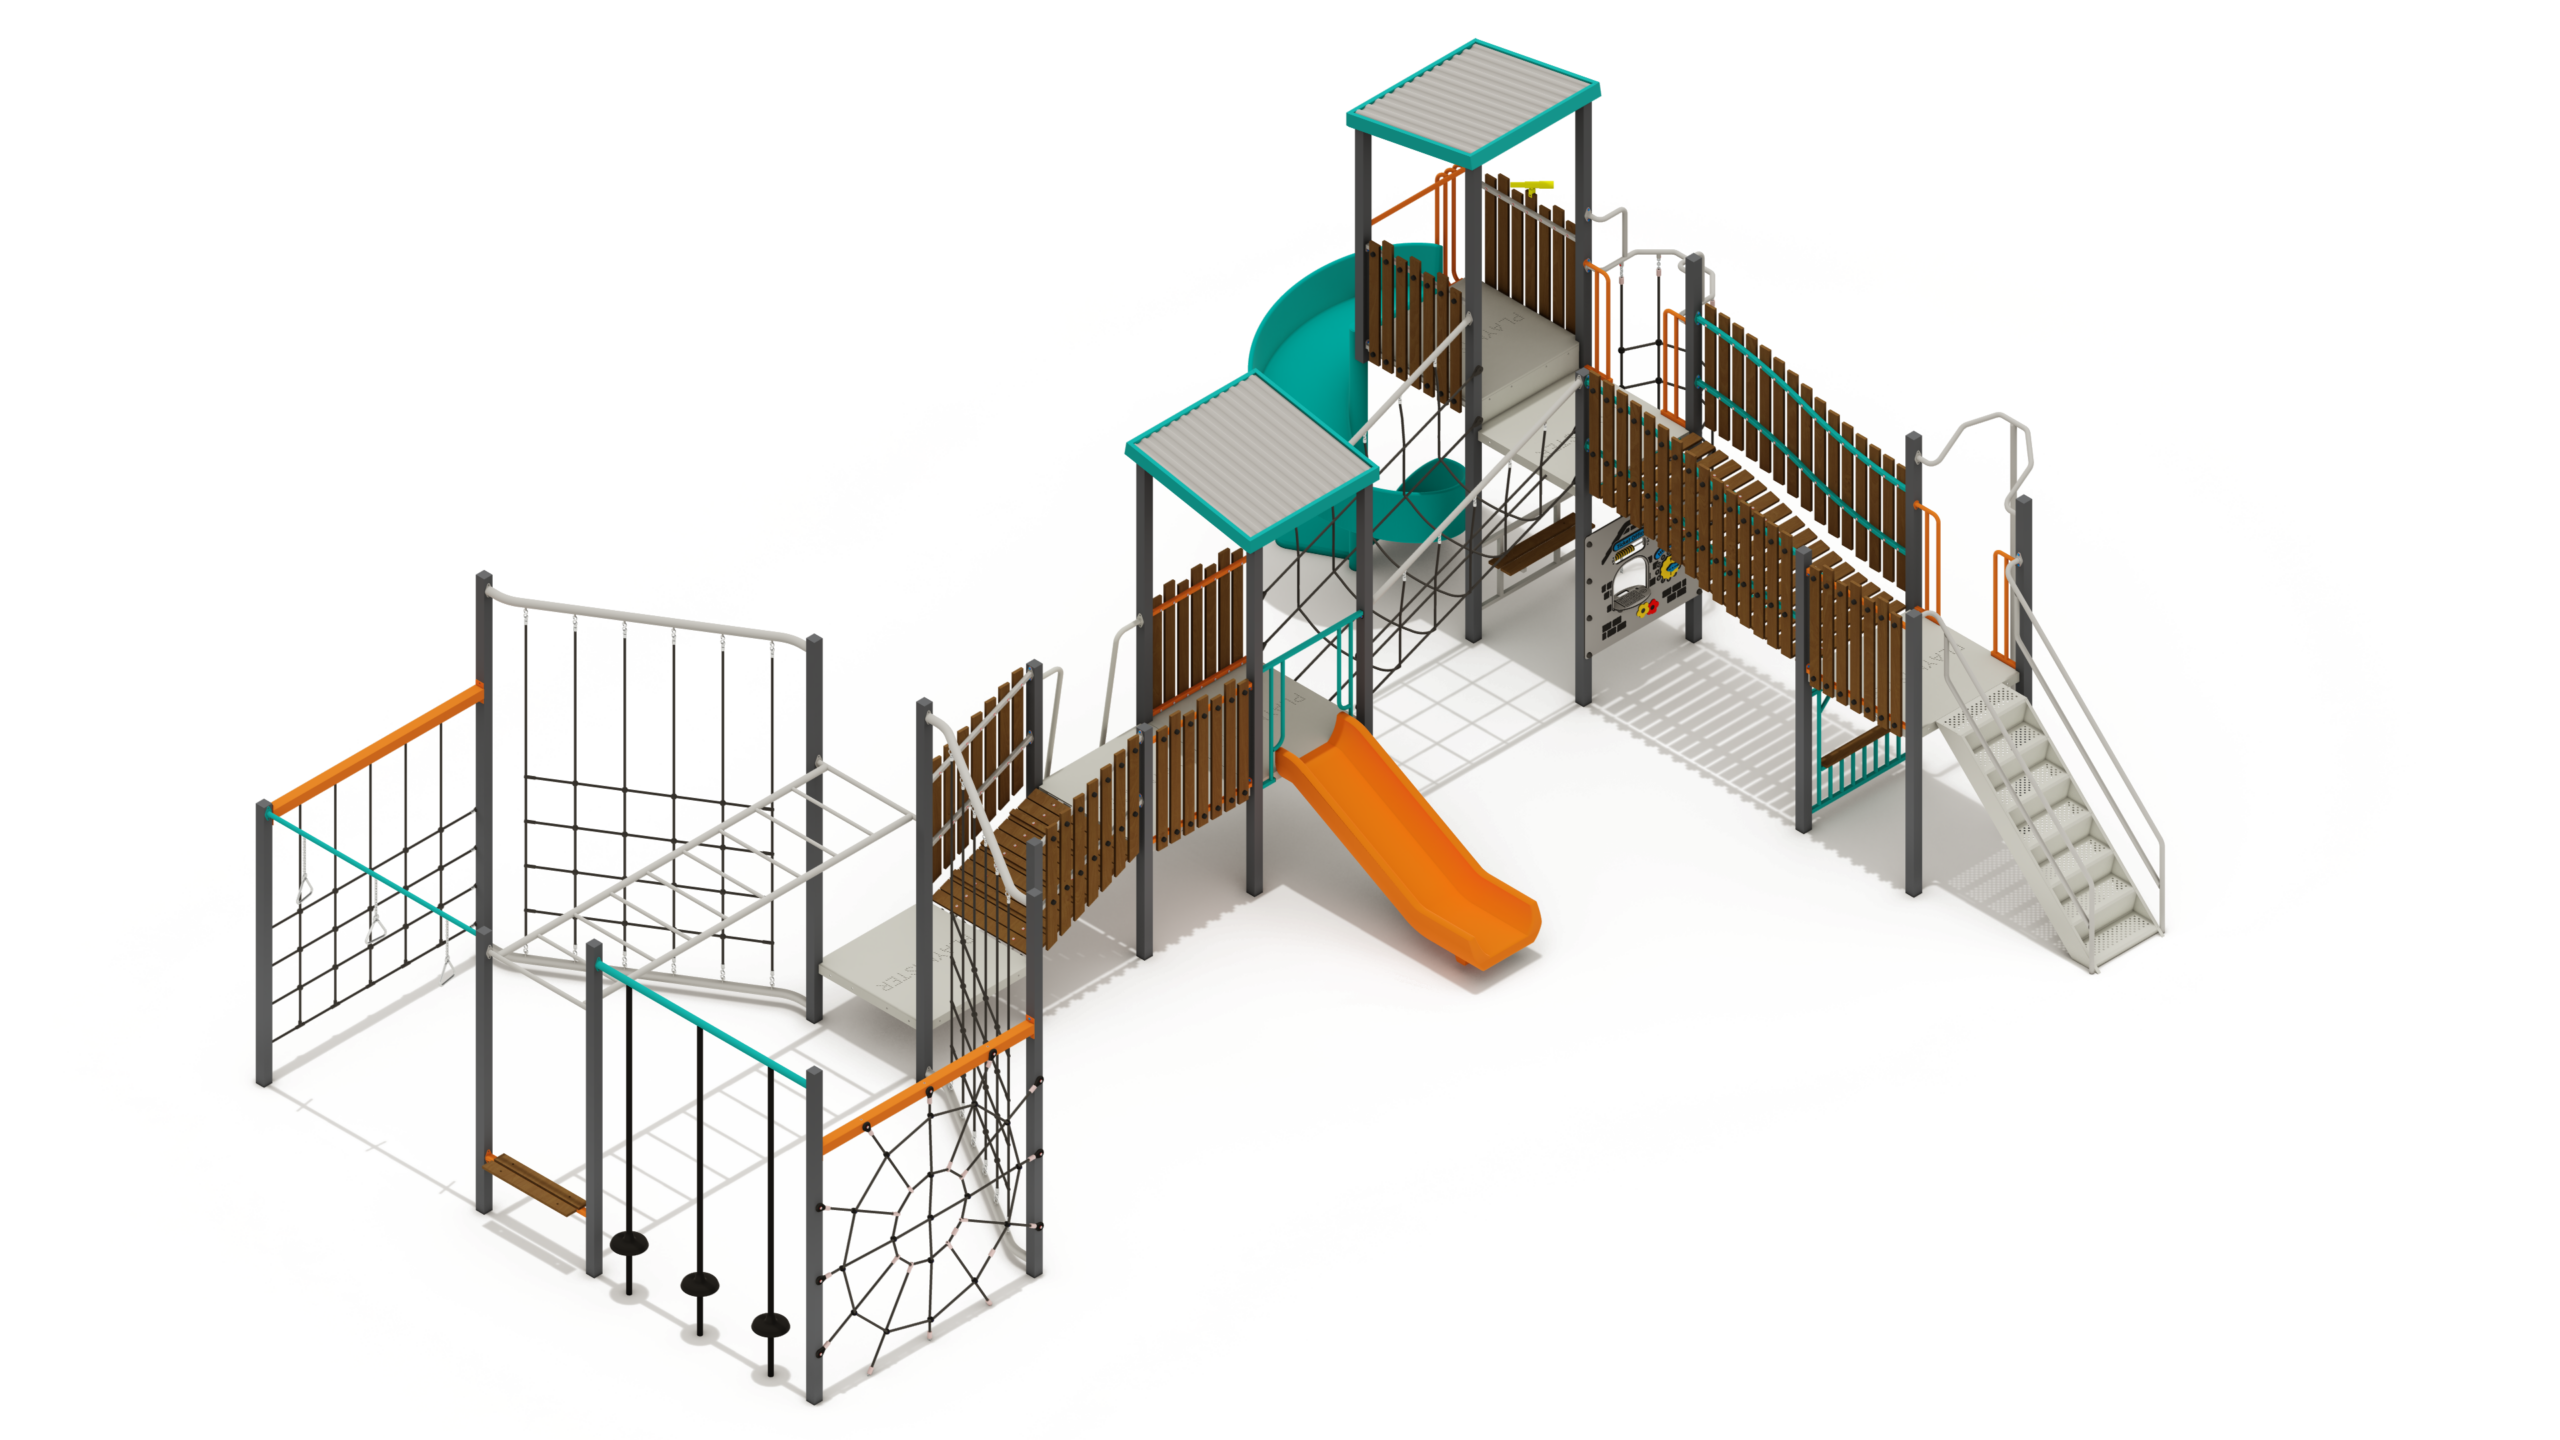
Rustic Dampiera
Product Specifications
- Height: 3.85m
- Width: 7.35m
- Length: 10.64m
- Fall Zone Area: 113m2
- Free Height of Fall: 2.20m
Downloads
Related Products
- GGJS 1003-P
The Jungle Series 1
Height: 3.00m Width: 2.90m Length: 4.10m Fall Zone Area: 47.00m2 Free Height of Fall: 1.15m  GGJS 1003-P
The Jungle Series 1
Height: 3.00m Width: 2.90m Length: 4.10m Fall Zone Area: 47.00m2 Free Height of Fall: 1.15m - AGFS 210
The Fantastic Series 6
Height: 4.65m Width: 7.90m Length: 5.00m Fall Zone Area: 70.00m2 Free Height of Fall: 2.20m  AGFS 210
The Fantastic Series 6
Height: 4.65m Width: 7.90m Length: 5.00m Fall Zone Area: 70.00m2 Free Height of Fall: 2.20m - MGMS 101
The Motion Series 101
Height: 2.65m Width: 3.00m Length: 4.25m Fall Zone Area: 34.3m2 Free Height of Fall: 0.65m  MGMS 101
The Motion Series 101
Height: 2.65m Width: 3.00m Length: 4.25m Fall Zone Area: 34.3m2 Free Height of Fall: 0.65m - MGMS 105
The Motion Series 105
Height: 5.10m Width: 4.60m Length: 8.55m Fall Zone Area: 67.0m2 Free Height of Fall: 3.00m MGMS 105The Motion Series 105
Height: 5.10m Width: 4.60m Length: 8.55m Fall Zone Area: 67.0m2 Free Height of Fall: 3.00m


