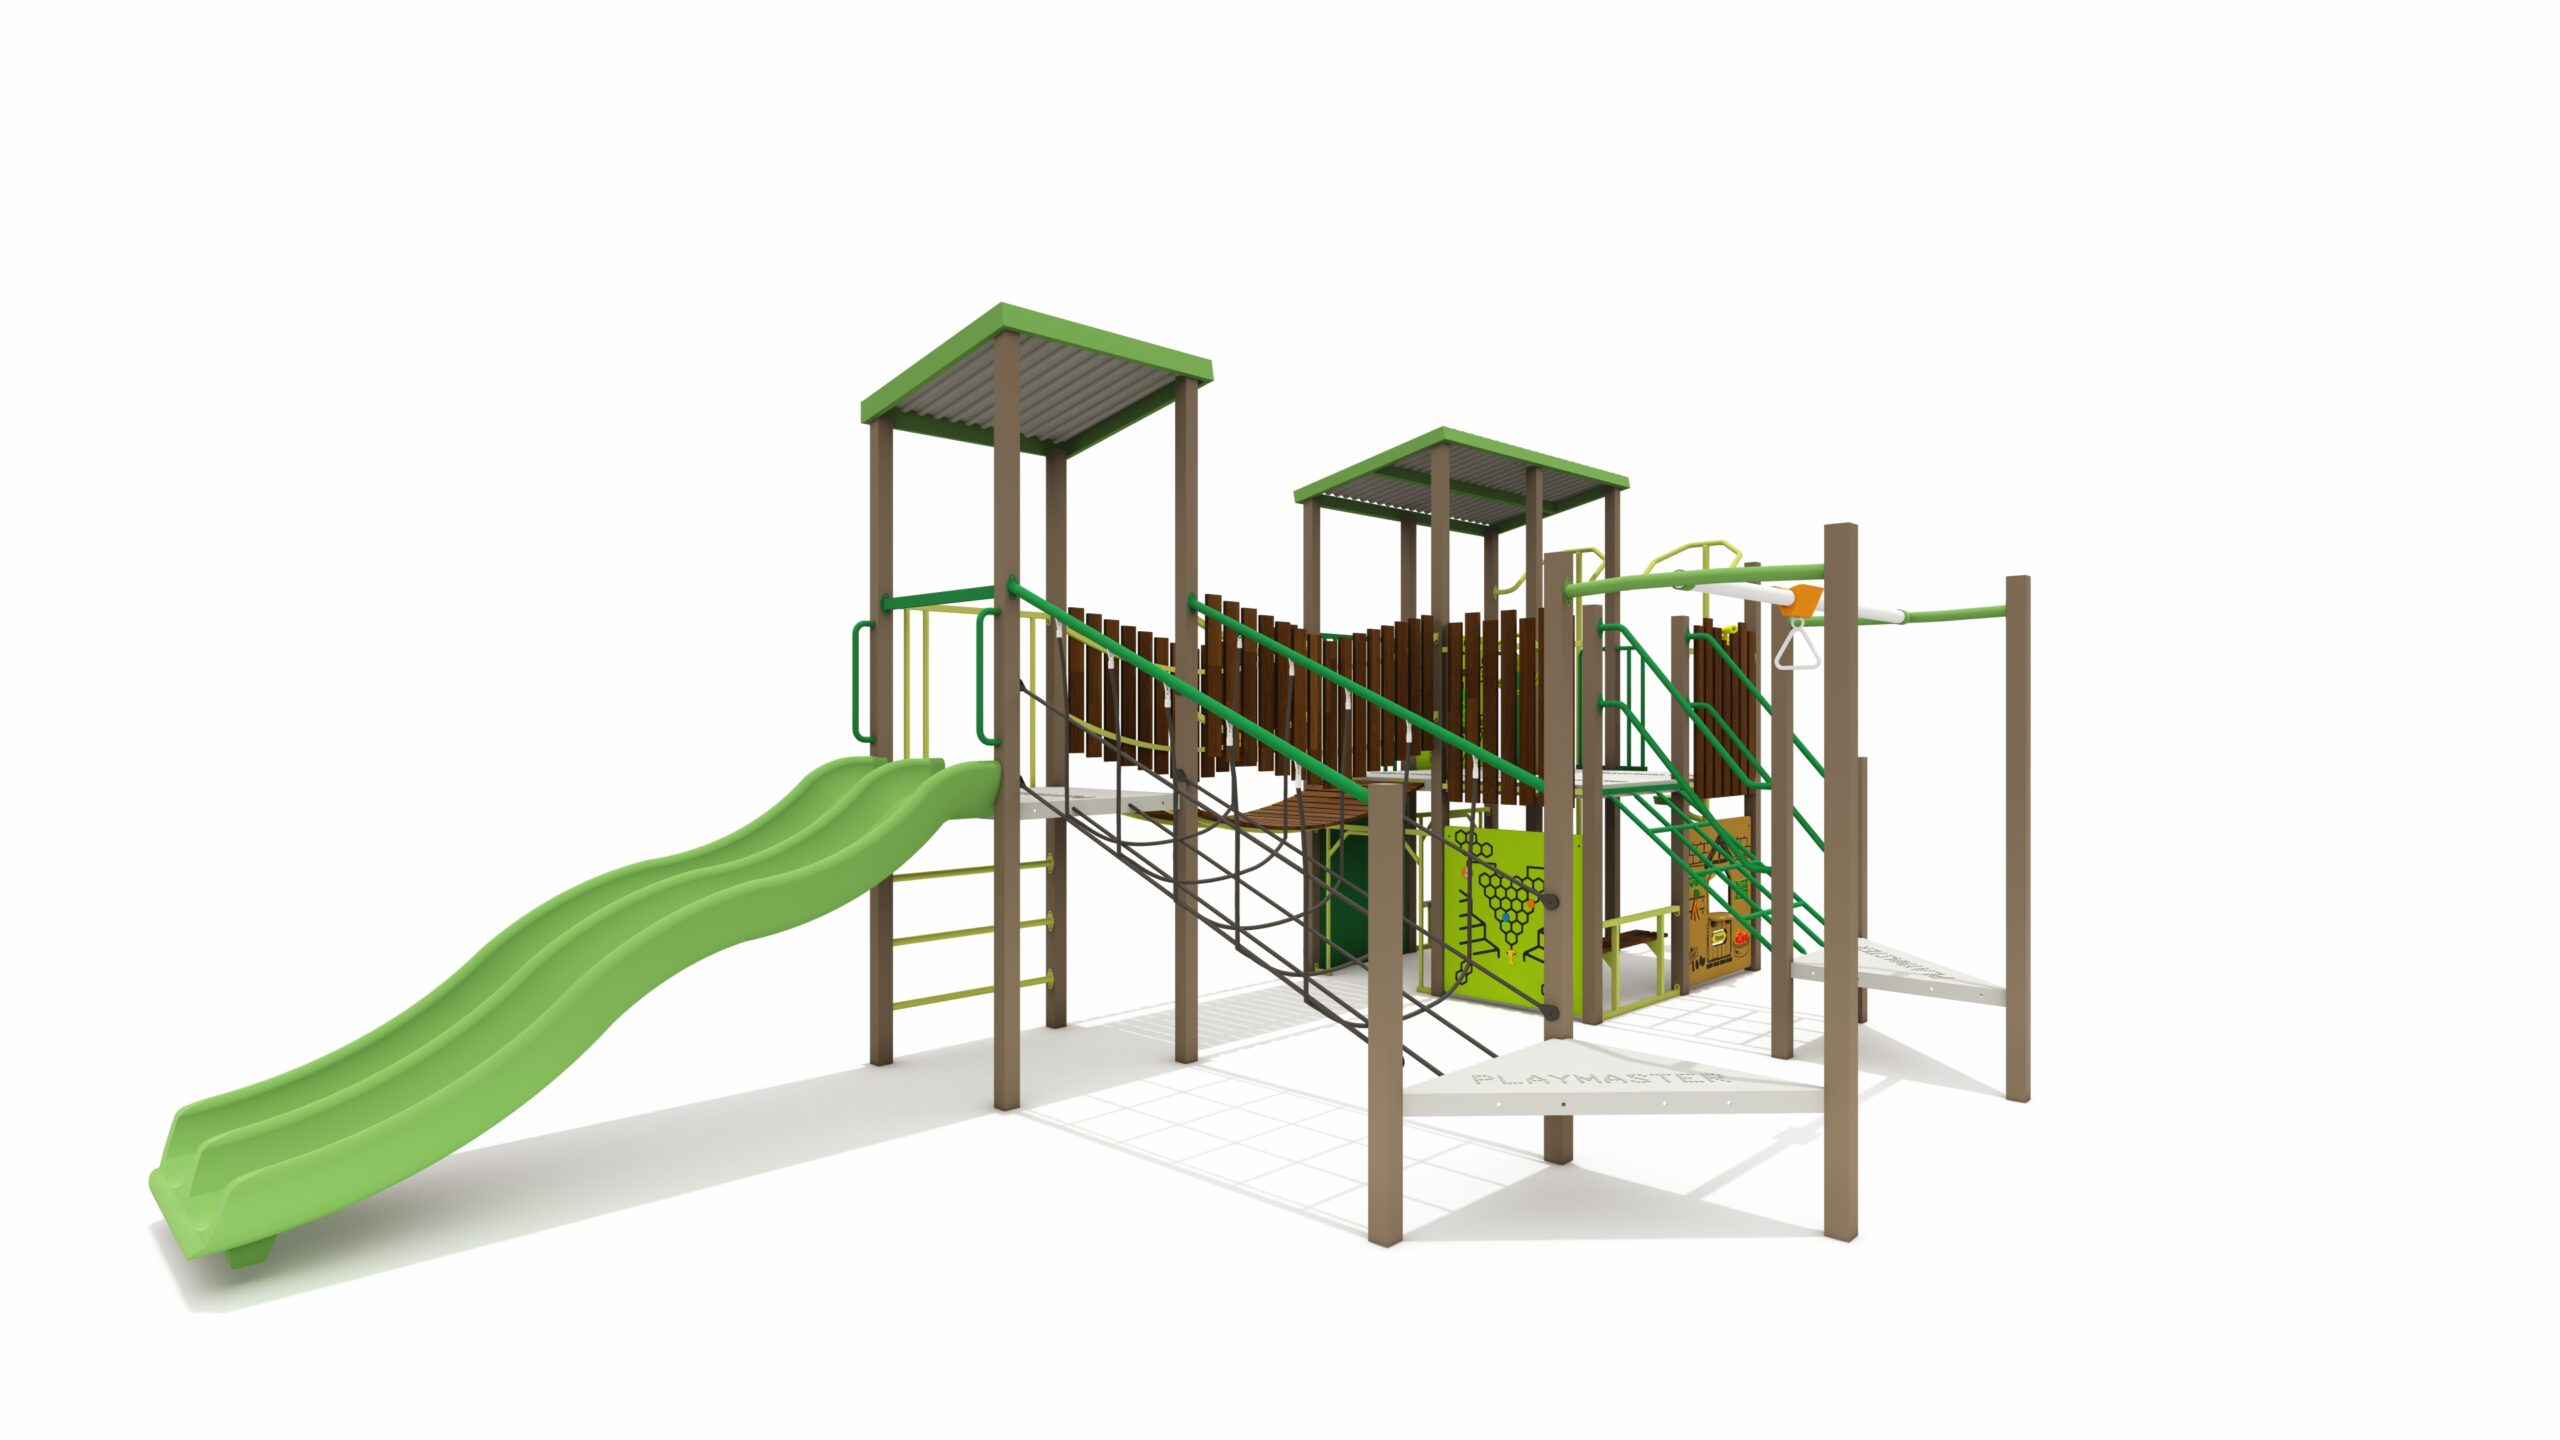
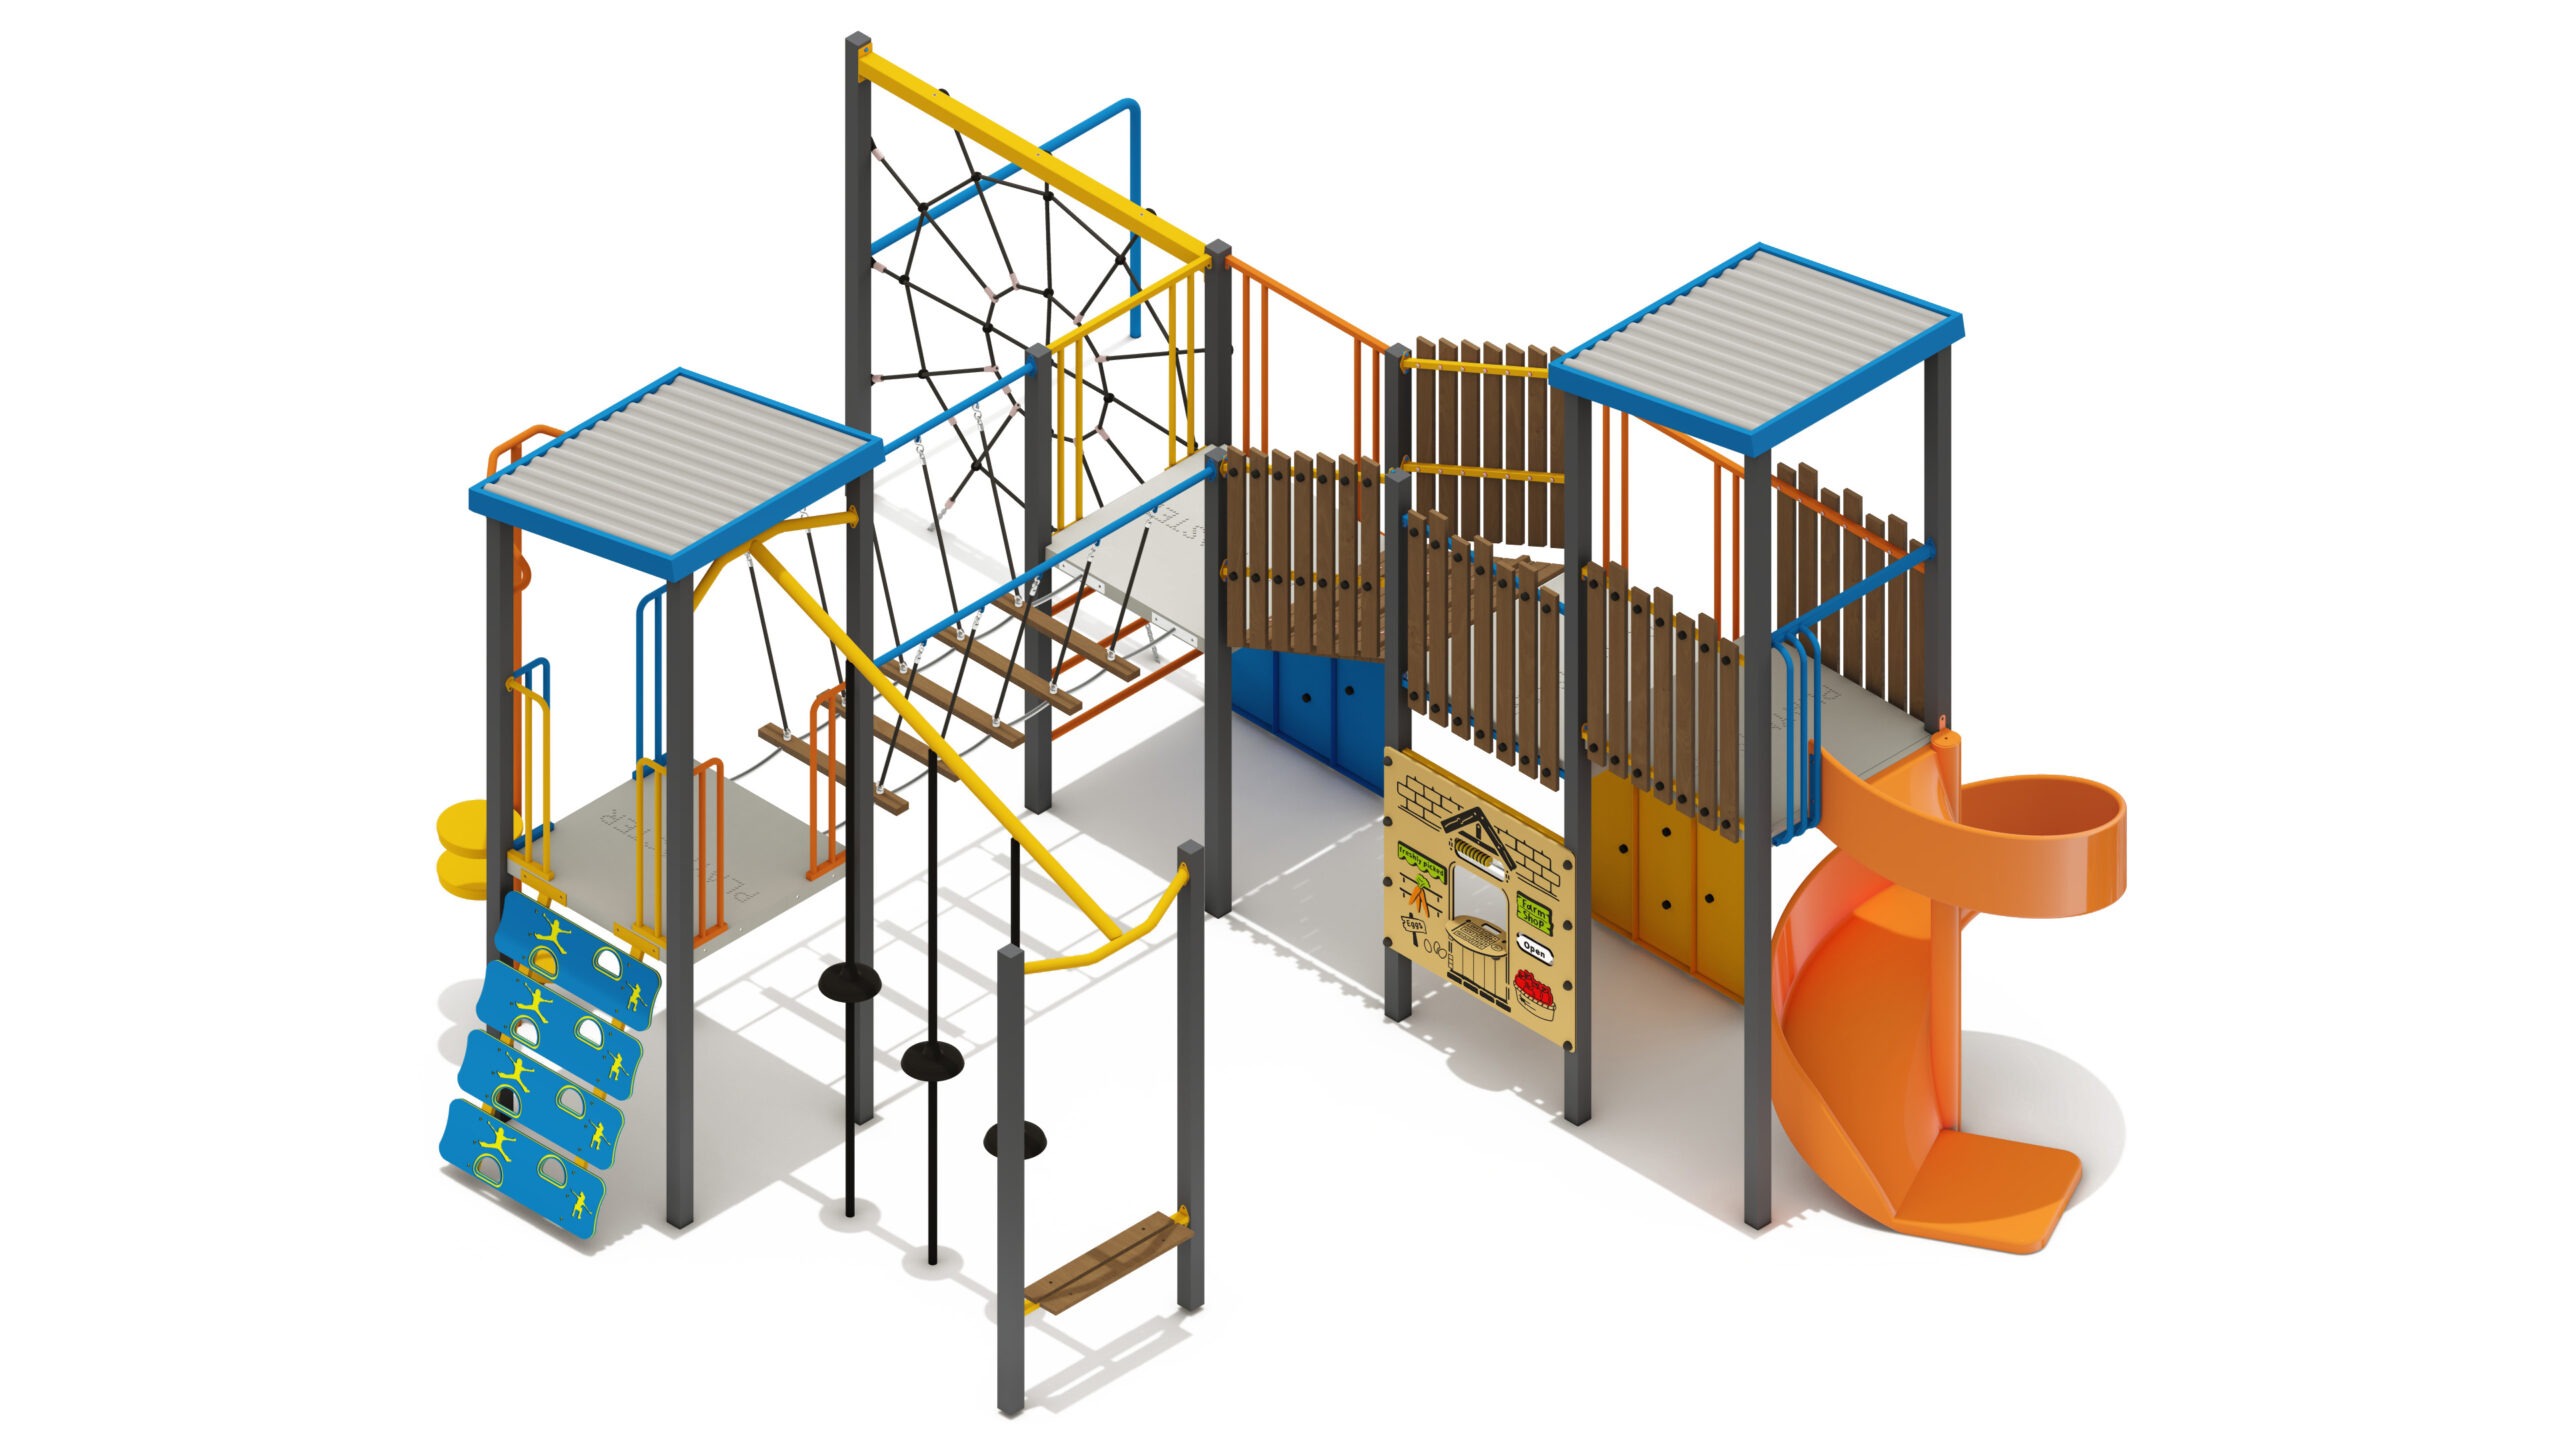
Rustic Fan Flower

Rustic Fan Flower
Product Specifications
- Height: 3.85m
- Width: 8.69m
- Length: 8.70m
- Fall Zone Area: 124m2
- Free Height of Fall: 2.20m
Downloads
Related Products
- PM2-0404
Rustic Paperbark
Height: 2.90m Width: 3.10m Length: 4.10m Fall Zone Area: 34m2 Free Height of Fall: 0.80m  PM2-0404
Rustic Paperbark
Height: 2.90m Width: 3.10m Length: 4.10m Fall Zone Area: 34m2 Free Height of Fall: 0.80m - PM4-0824
Junior Marri
Height: 3.00m Width: 6.24m Length: 6.72m Fall Zone Area: 82m2 Free Height of Fall: 2.00m PM4-0824Junior Marri
Height: 3.00m Width: 6.24m Length: 6.72m Fall Zone Area: 82m2 Free Height of Fall: 2.00m - PM4-0827
Rustic Moodjar
Height: 3.85m Width: 5.19m Length: 6.93m Fall Zone Area: 68m2 Free Height of Fall: 2.20m PM4-0827Rustic Moodjar
Height: 3.85m Width: 5.19m Length: 6.93m Fall Zone Area: 68m2 Free Height of Fall: 2.20m