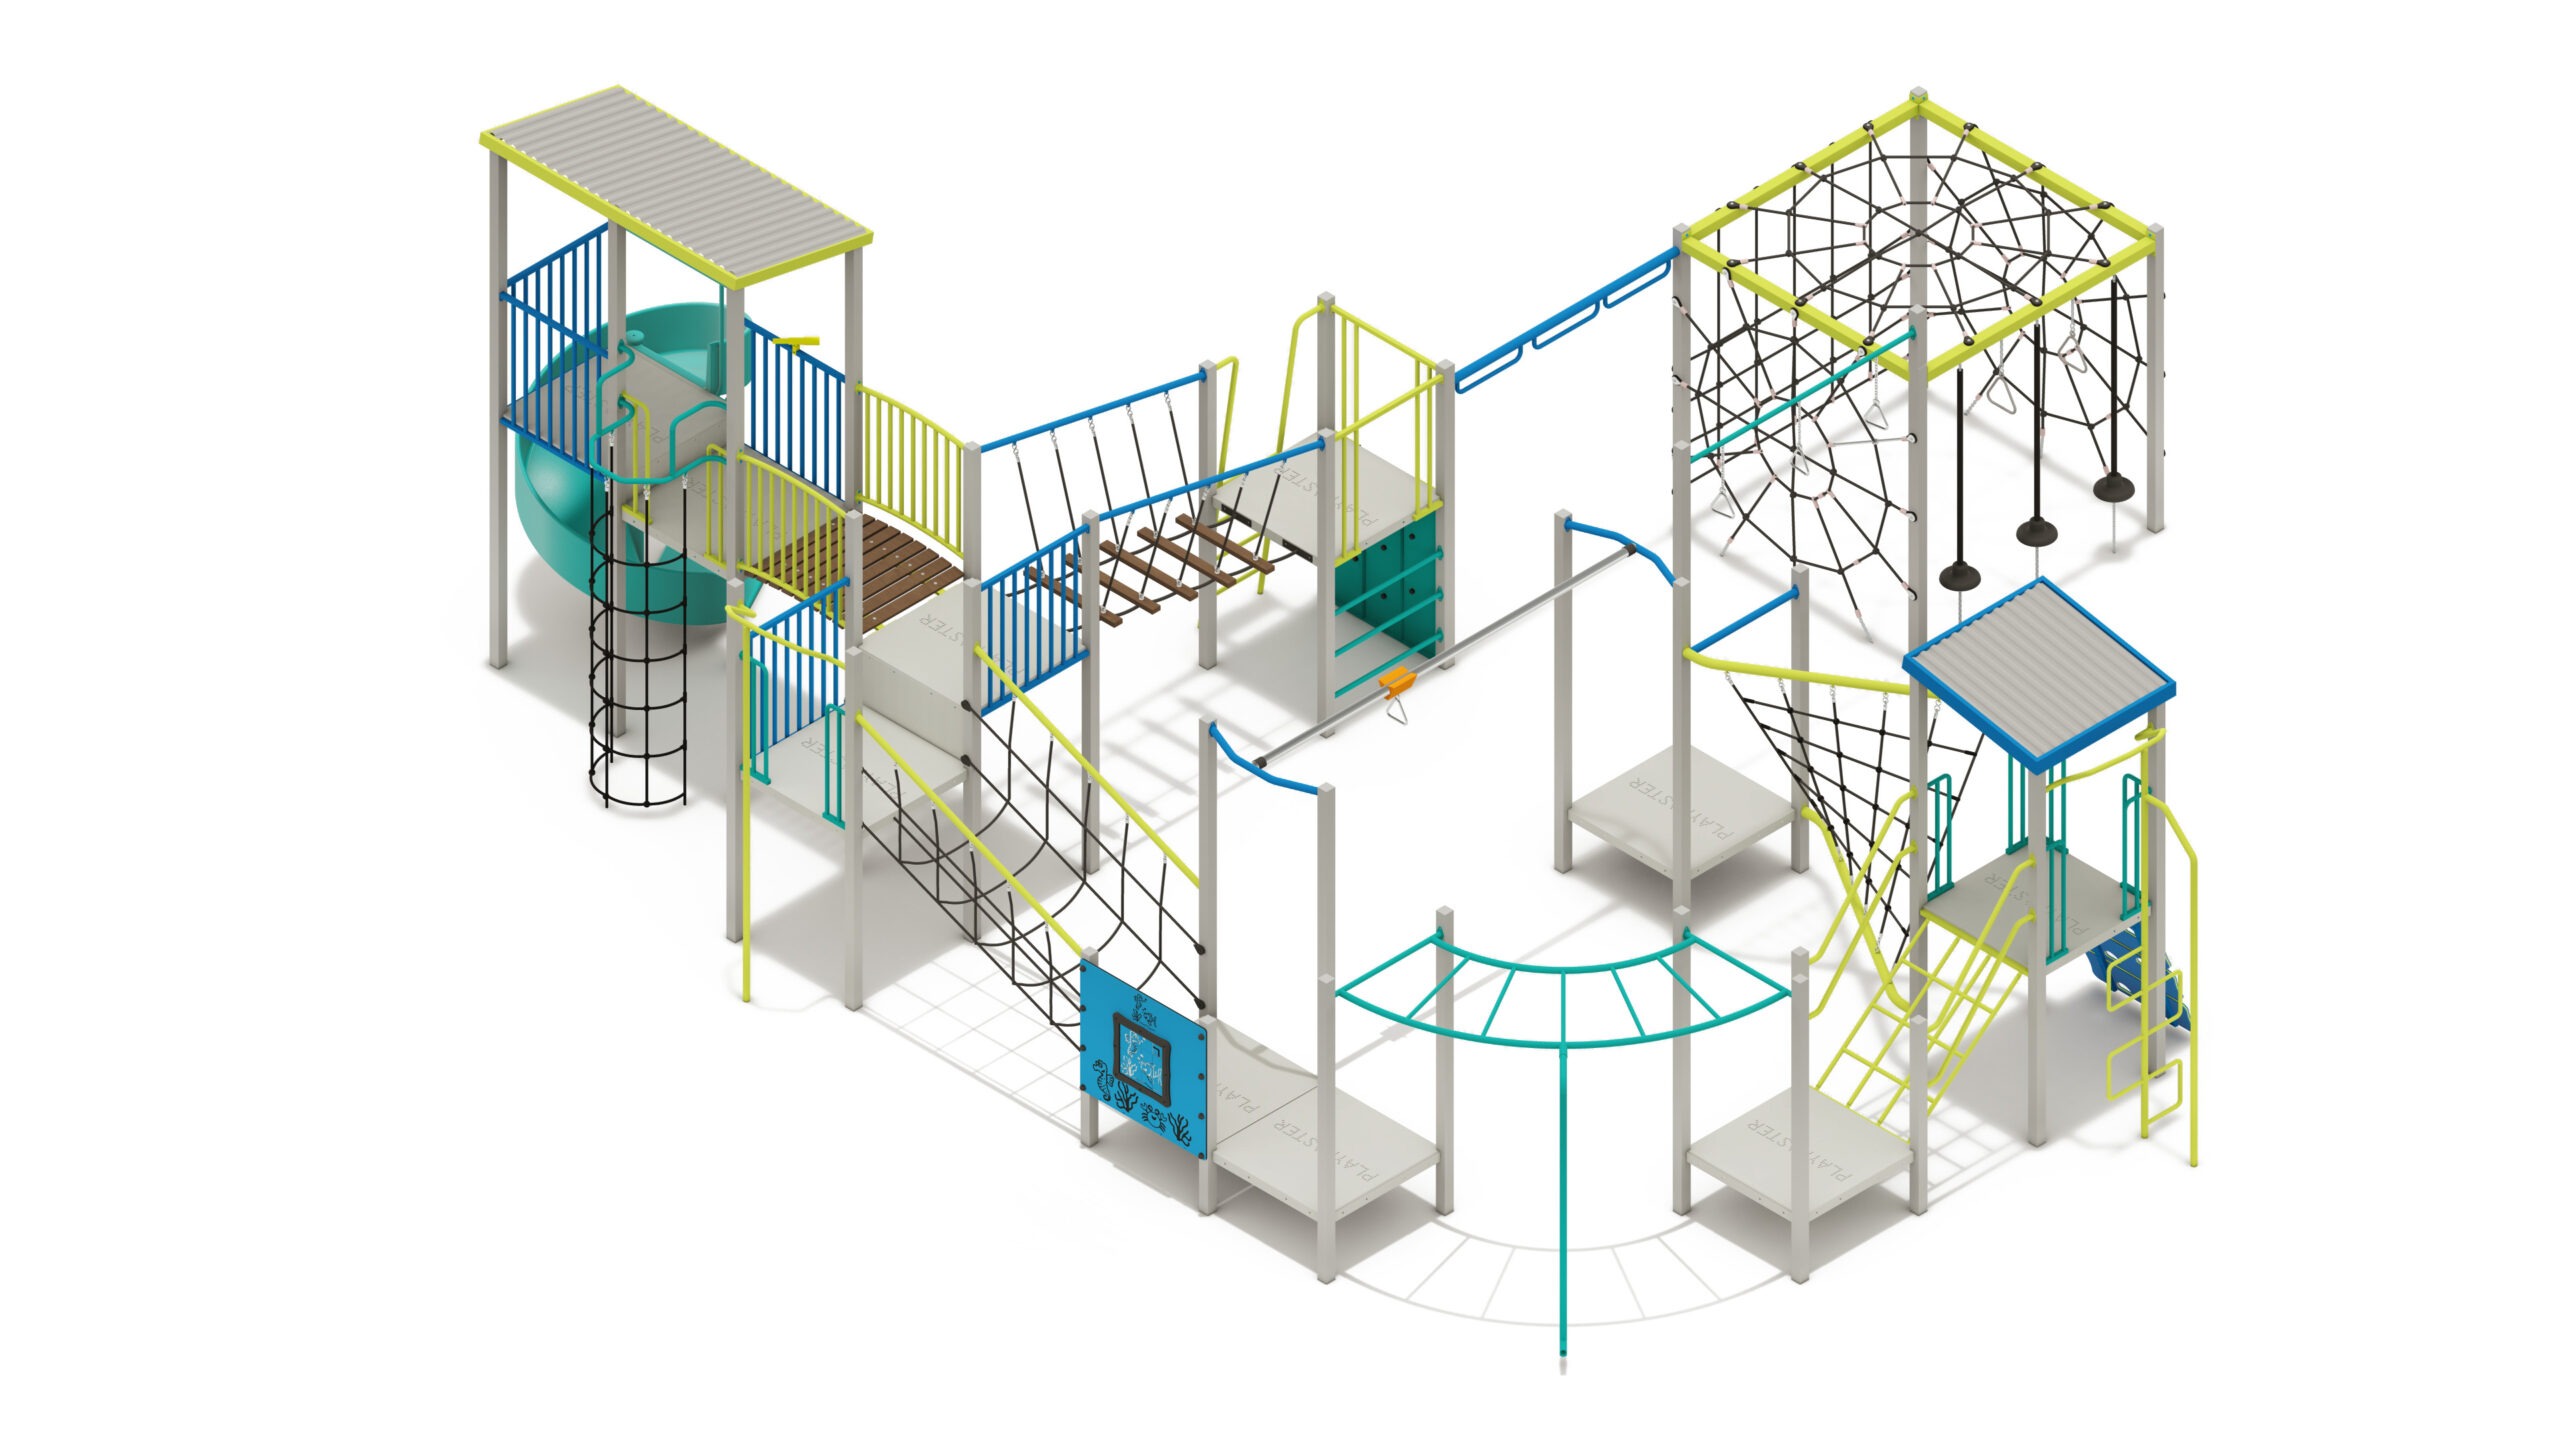
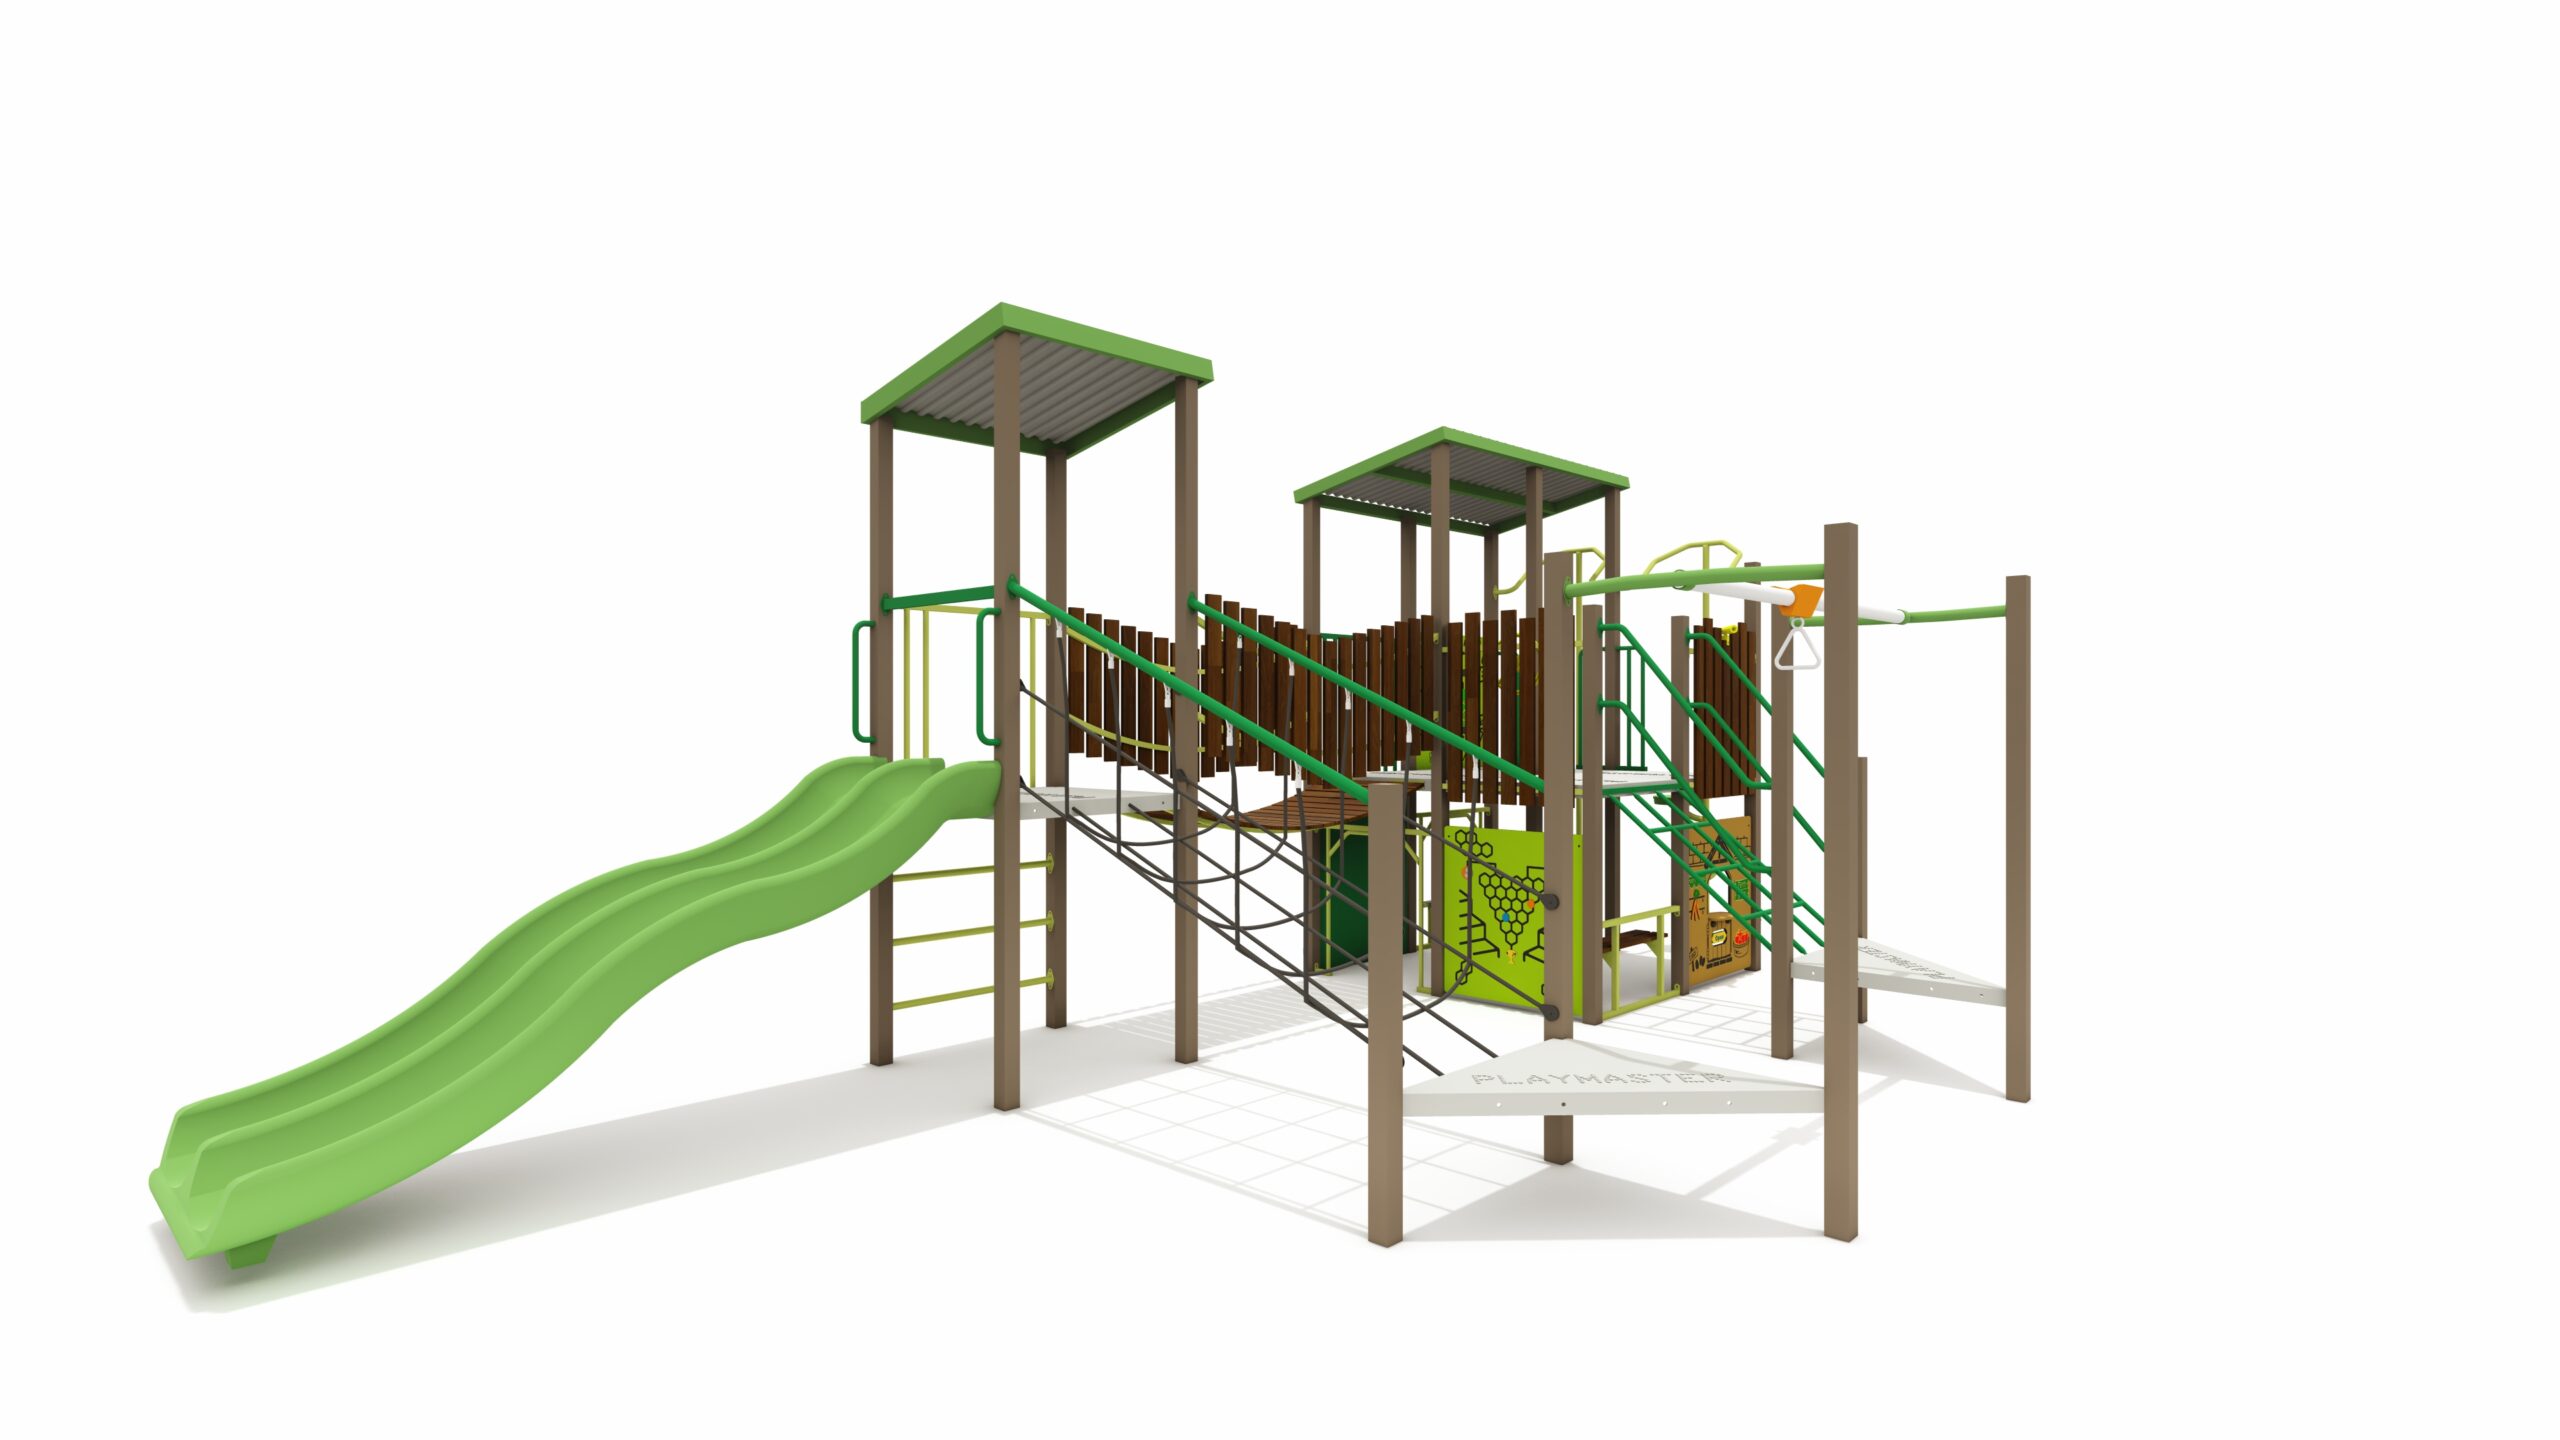
Inclusive Ghost Bat
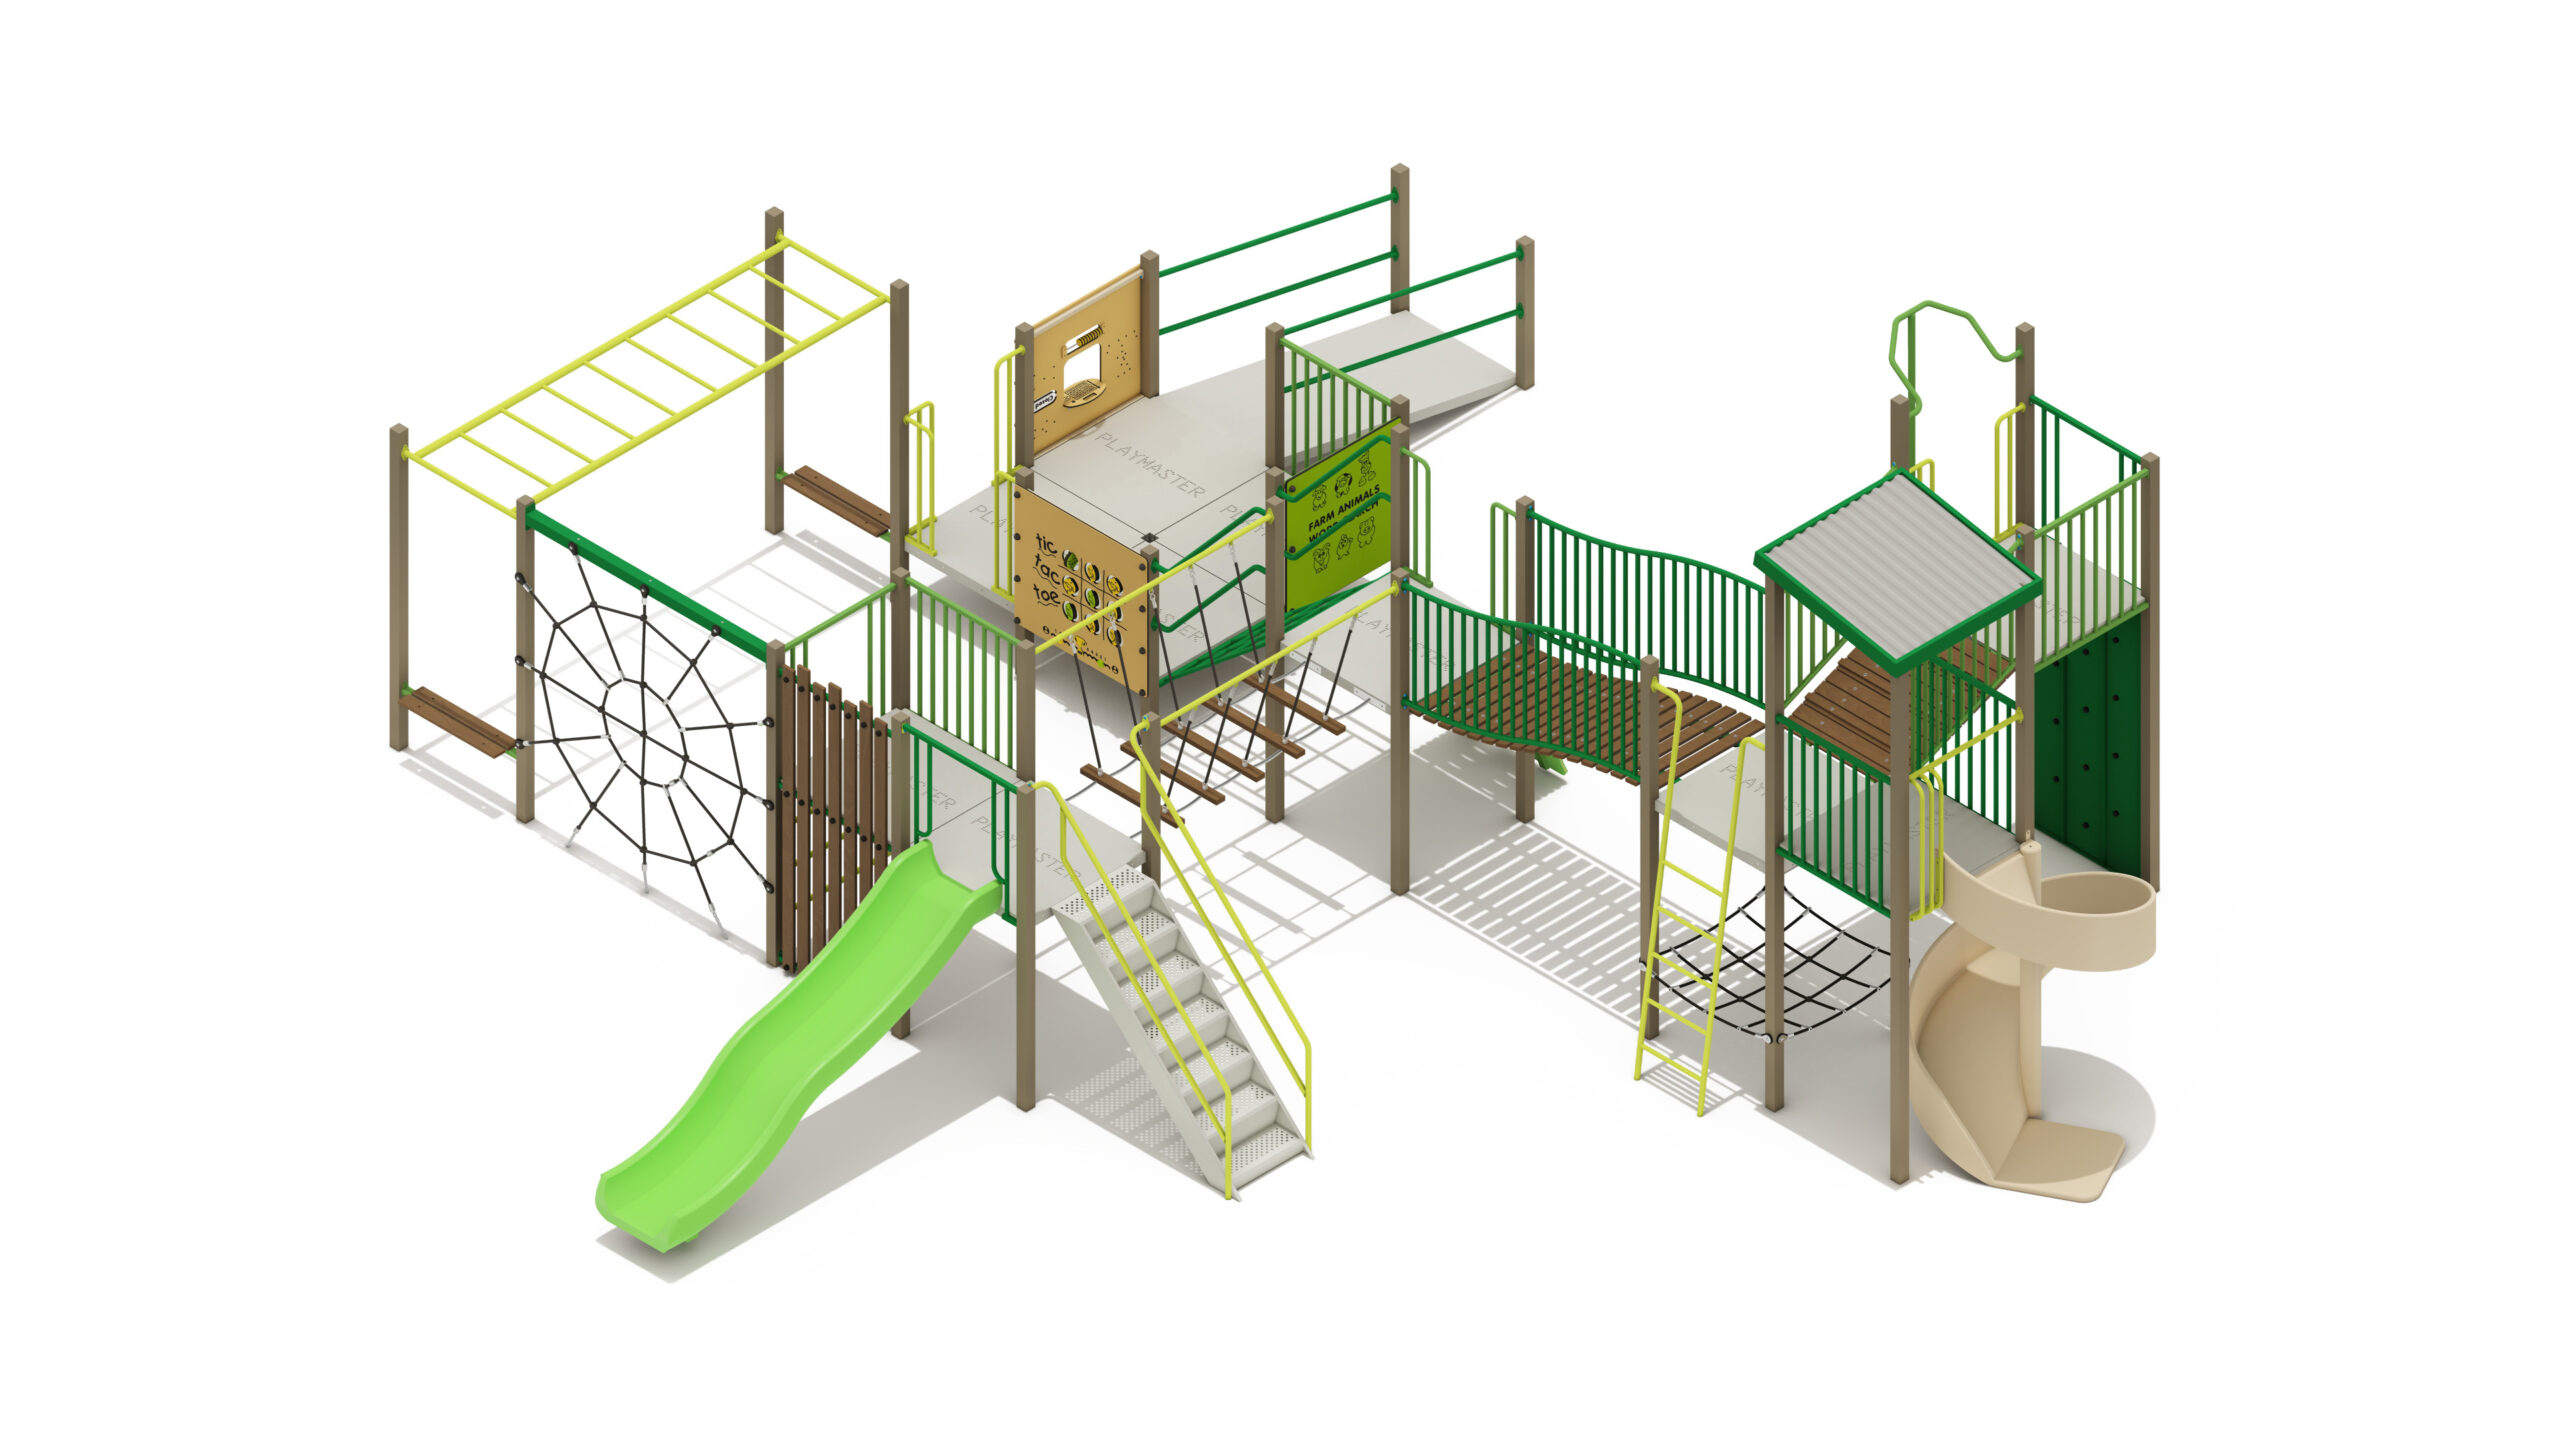
Inclusive Ghost Bat
Product Specifications
- Height: 3.80m
- Width: 9.68m
- Length: 9.95m
- Fall Zone Area: 121m2
- Free Height of Fall: 2.20m
Related Products
- AD10-003
Senior Fairy Orchid
Height: 3.9m Width: 7.47m Length: 11.5m Fall Zone Area: 134m2 Free Height of Fall: 2.2m  AD10-003
Senior Fairy Orchid
Height: 3.9m Width: 7.47m Length: 11.5m Fall Zone Area: 134m2 Free Height of Fall: 2.2m - PM10-271
Senior Pobblebonk
Height: 3.45m Width: 8.41m Length: 11.53m Fall Zone Area: 159m2 Free Height of Fall: 2.20m PM10-271Senior Pobblebonk
Height: 3.45m Width: 8.41m Length: 11.53m Fall Zone Area: 159m2 Free Height of Fall: 2.20m - PS01/DS1S
PS01 A Frame Double Swing
Height: 2.1m Width: 4.4m Length: 2.4m Fall Zone Area: 35.2m2 Free Height of Fall: 1.5m  PS01/DS1S
PS01 A Frame Double Swing
Height: 2.1m Width: 4.4m Length: 2.4m Fall Zone Area: 35.2m2 Free Height of Fall: 1.5m