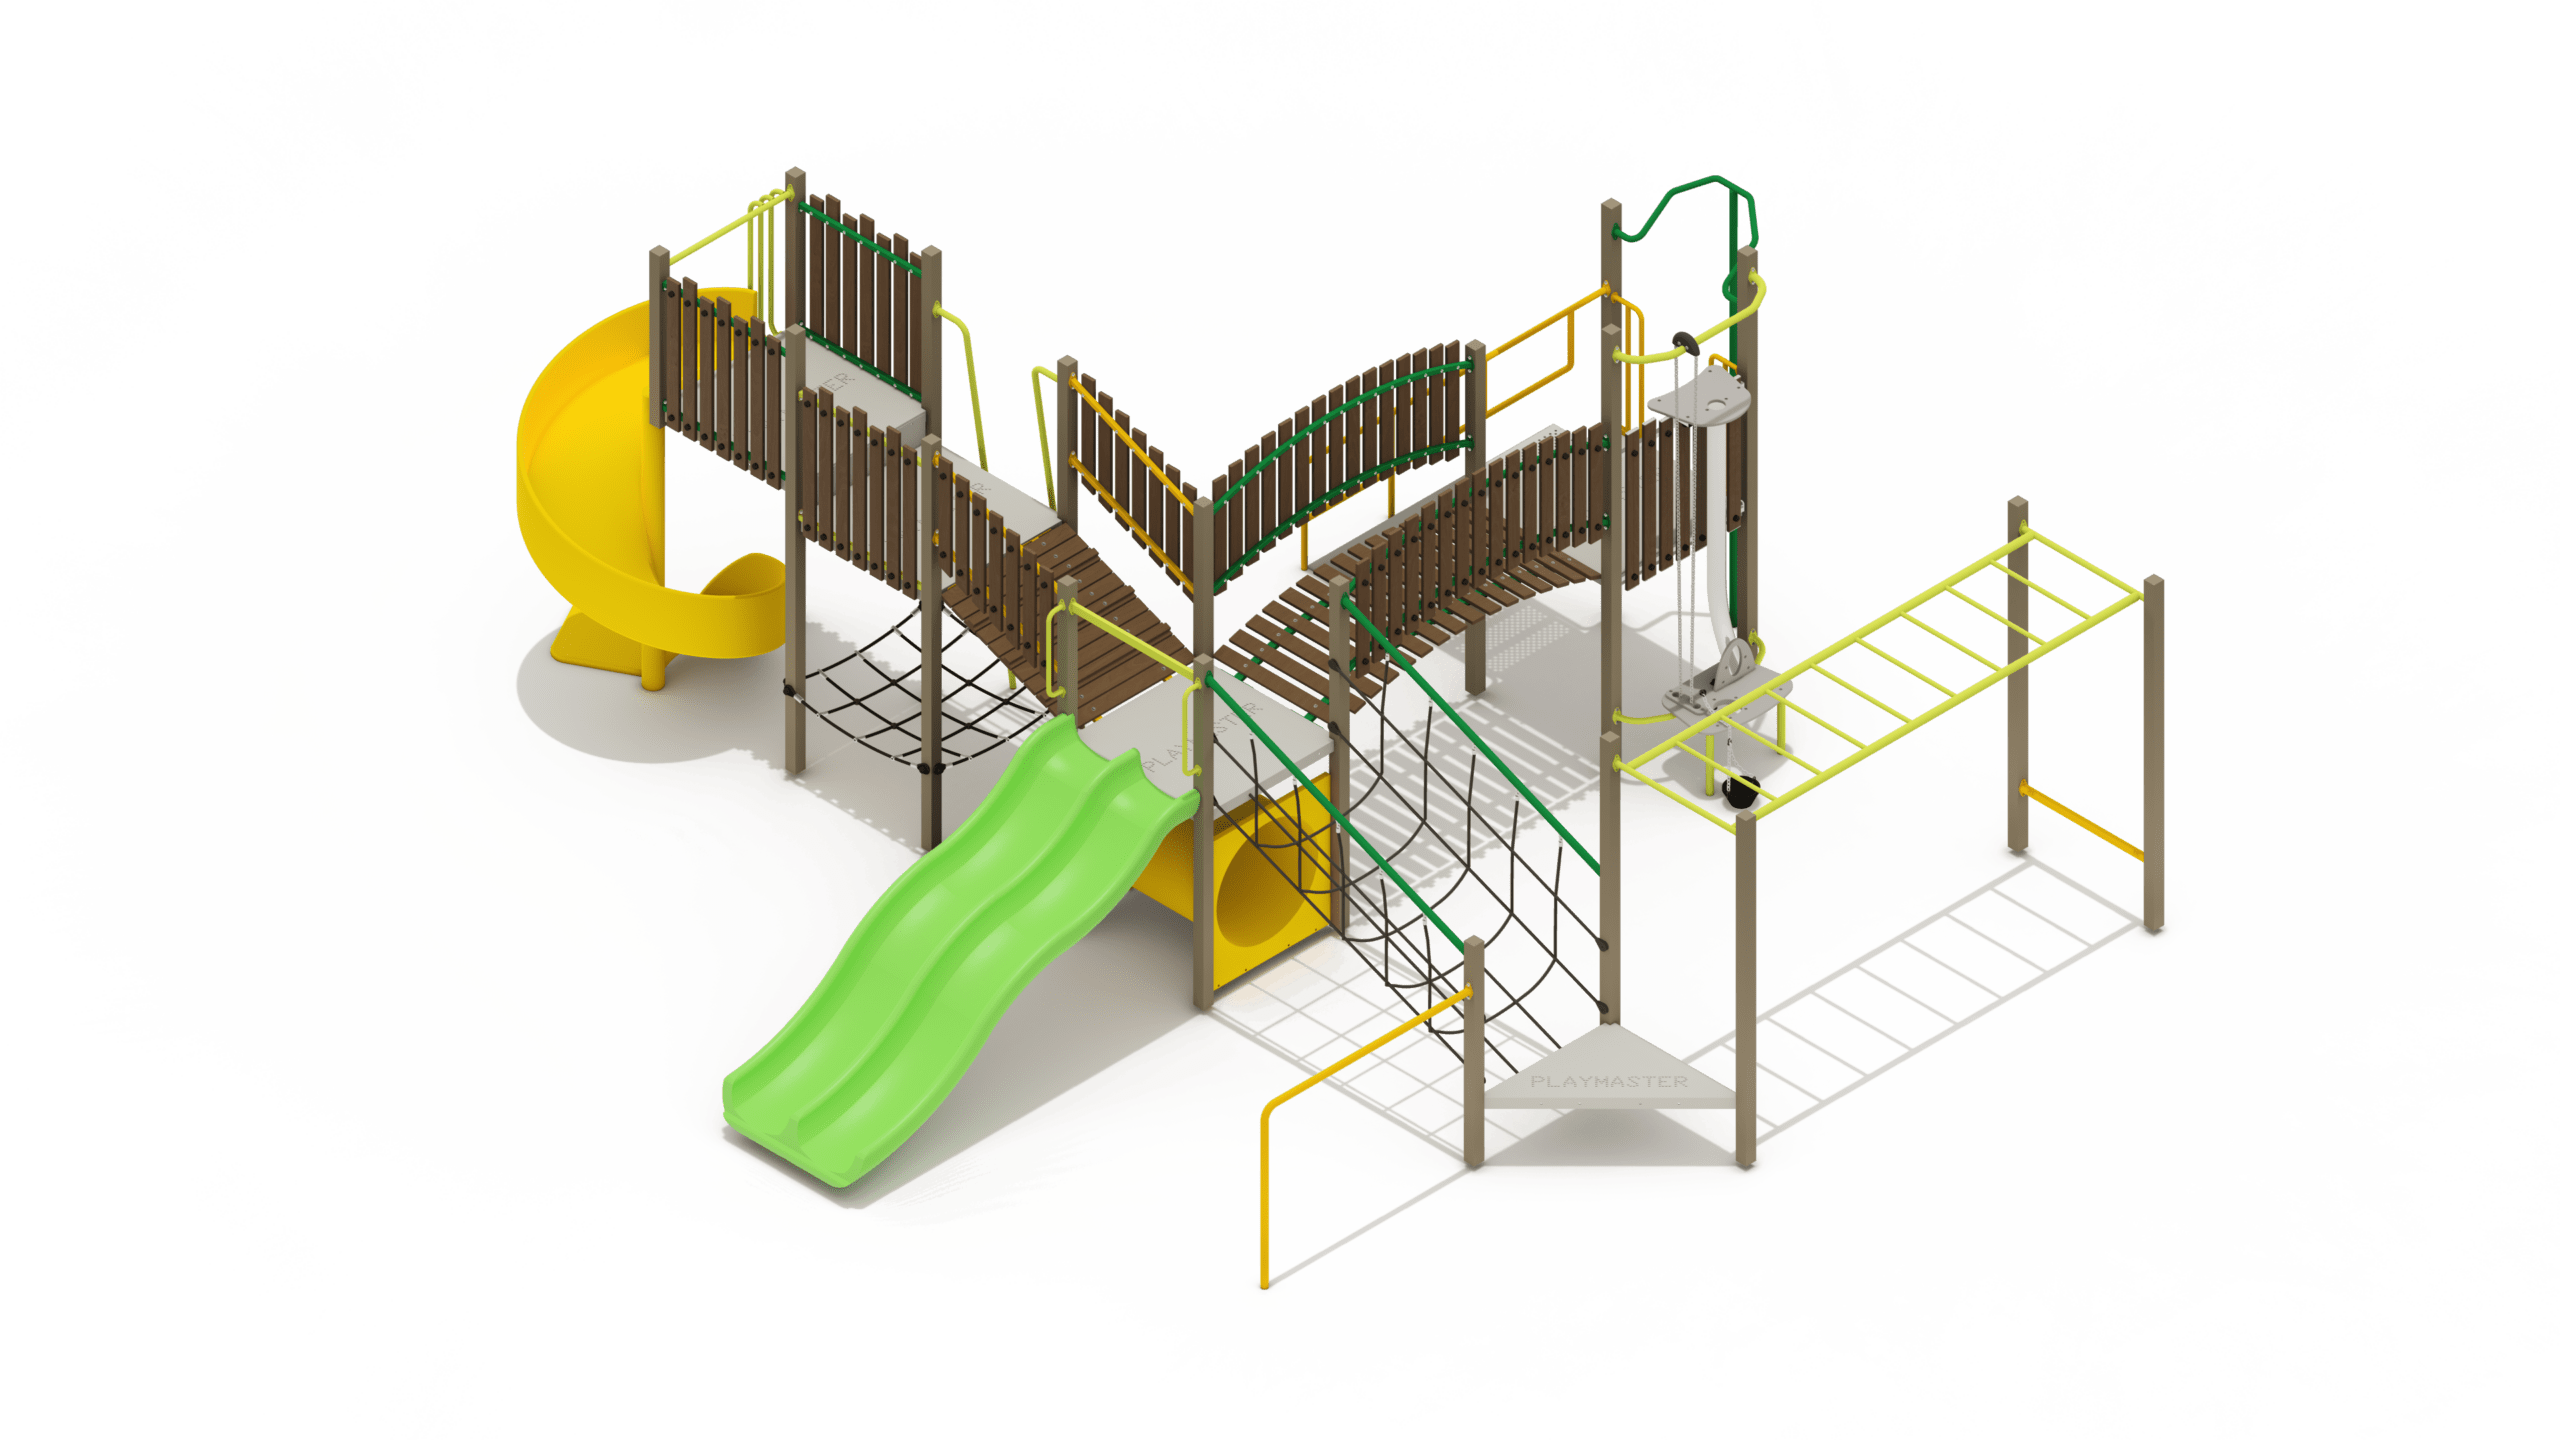
Playmaster Range

We are excited to announce that we’ve acquired Perth-based and family-owned playground manufacturer, Playmaster!
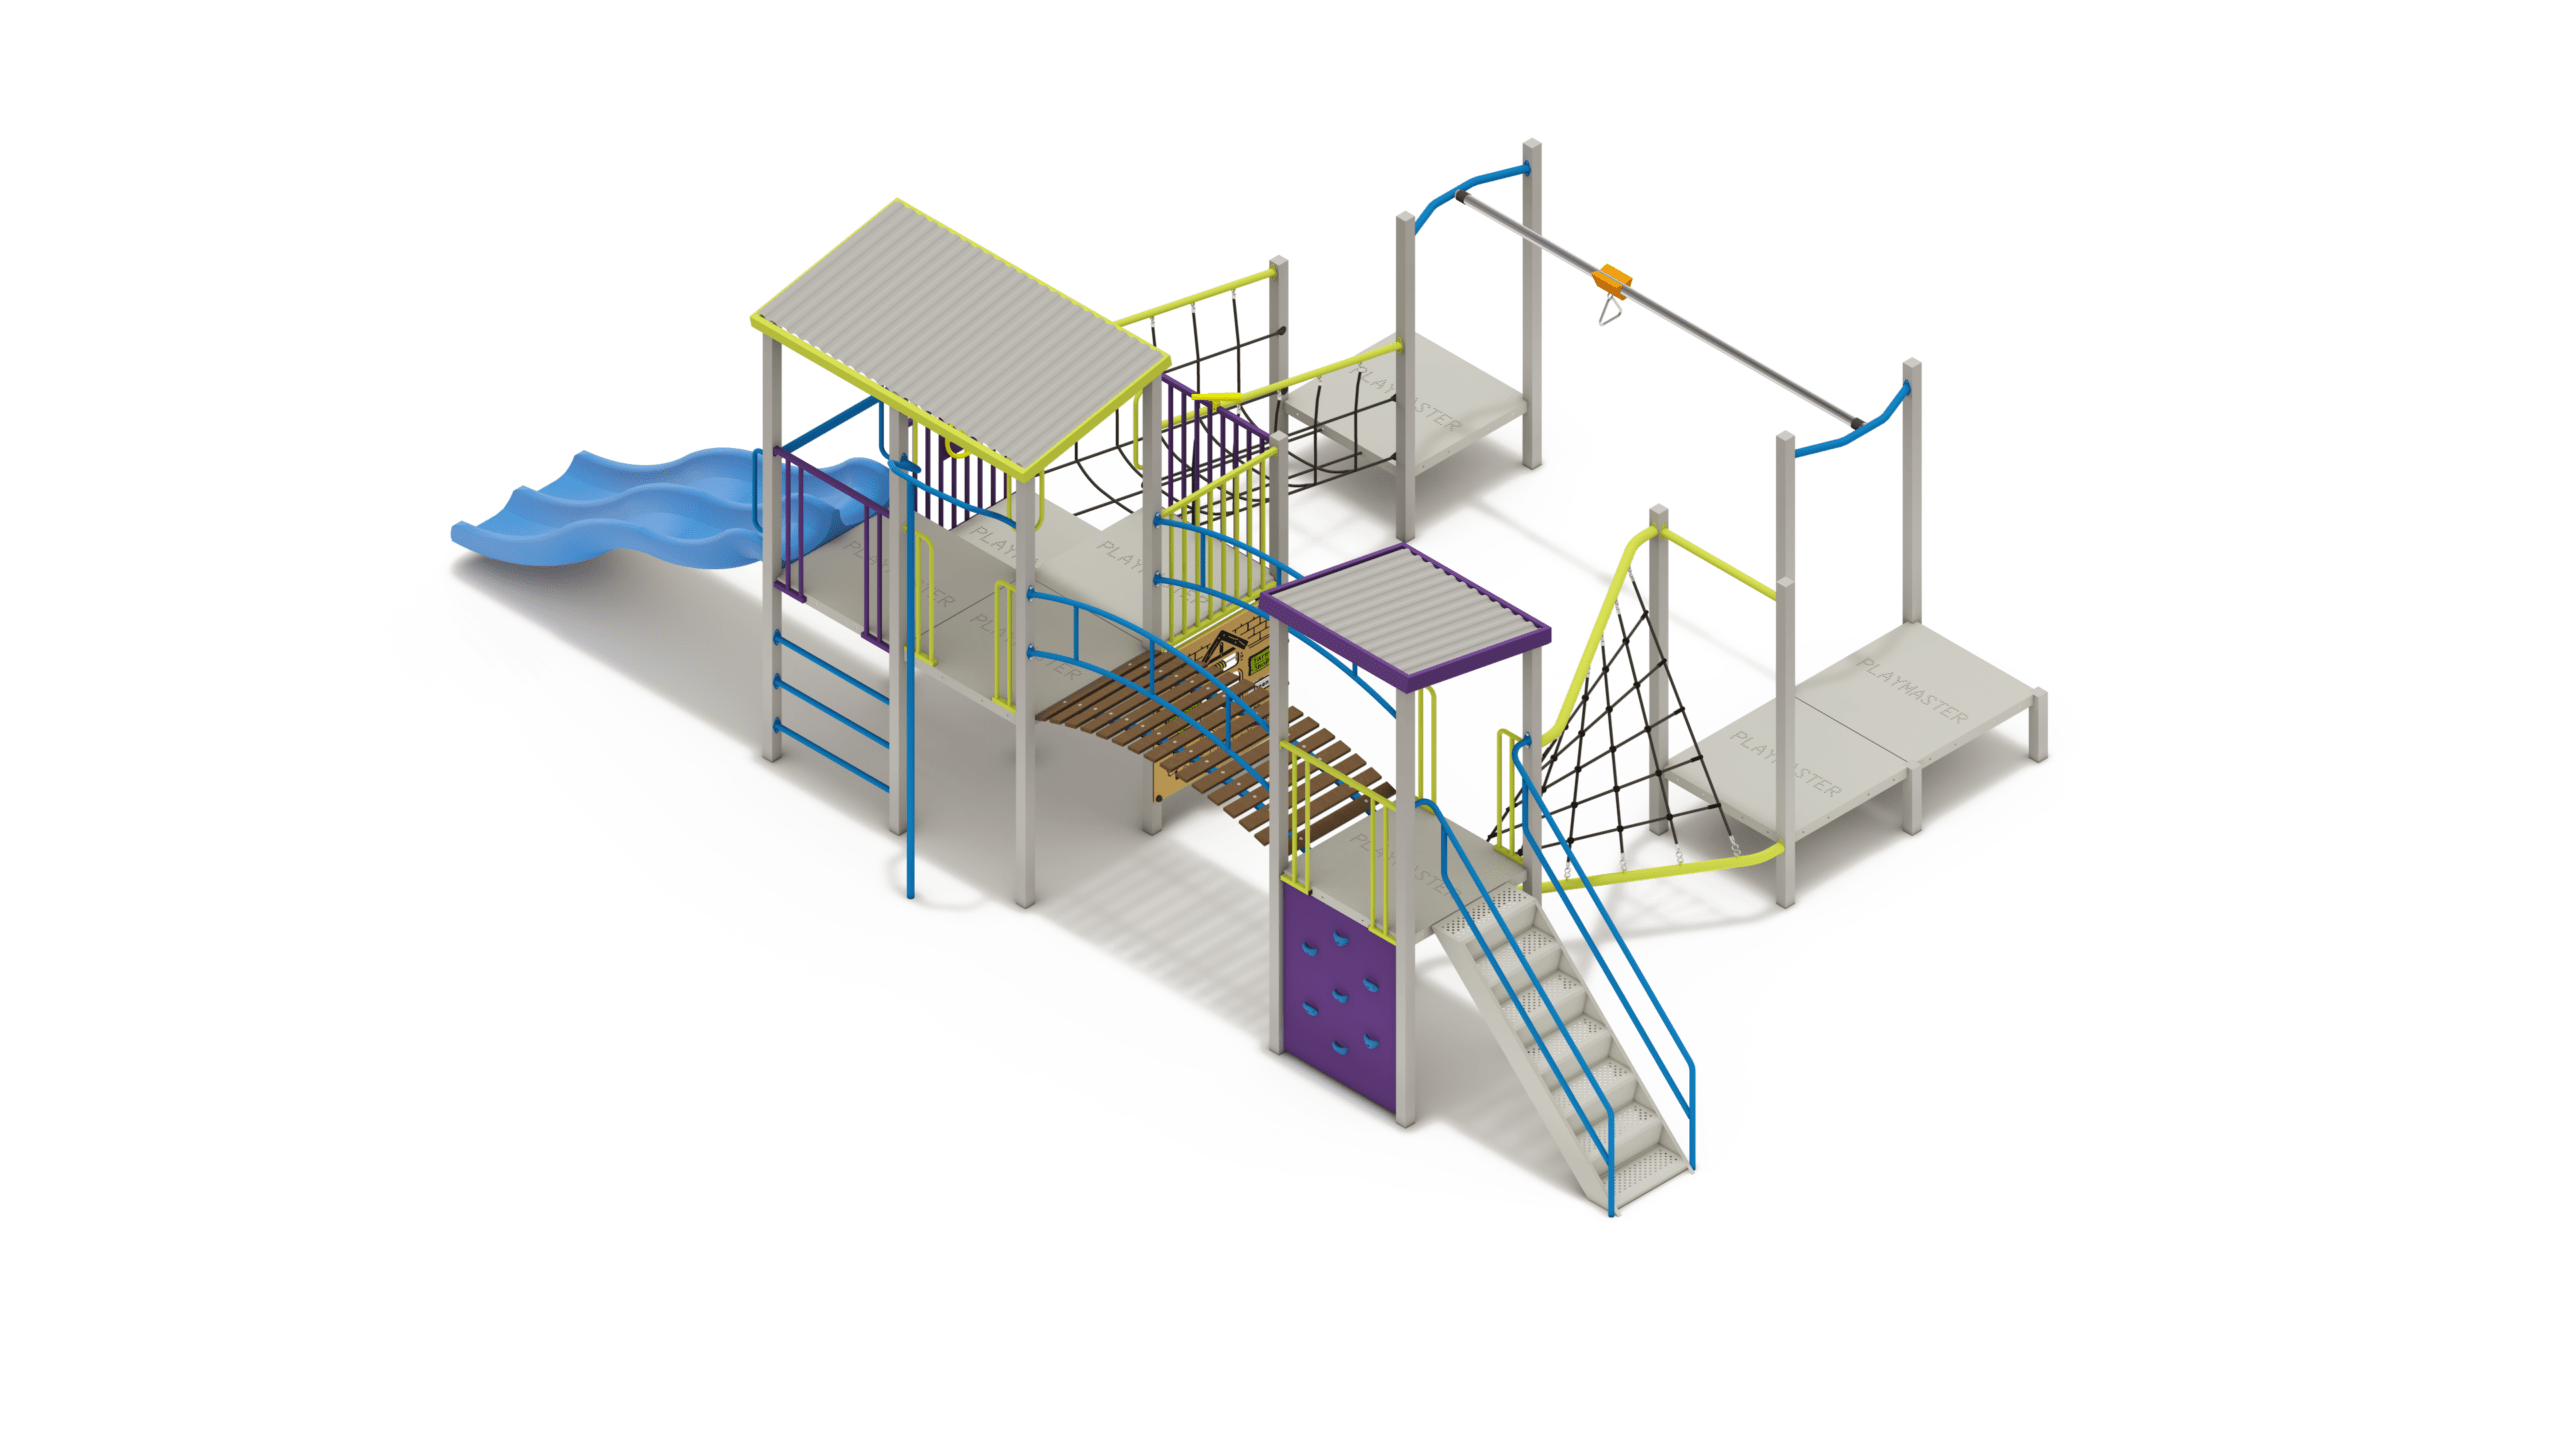
- PM11-32
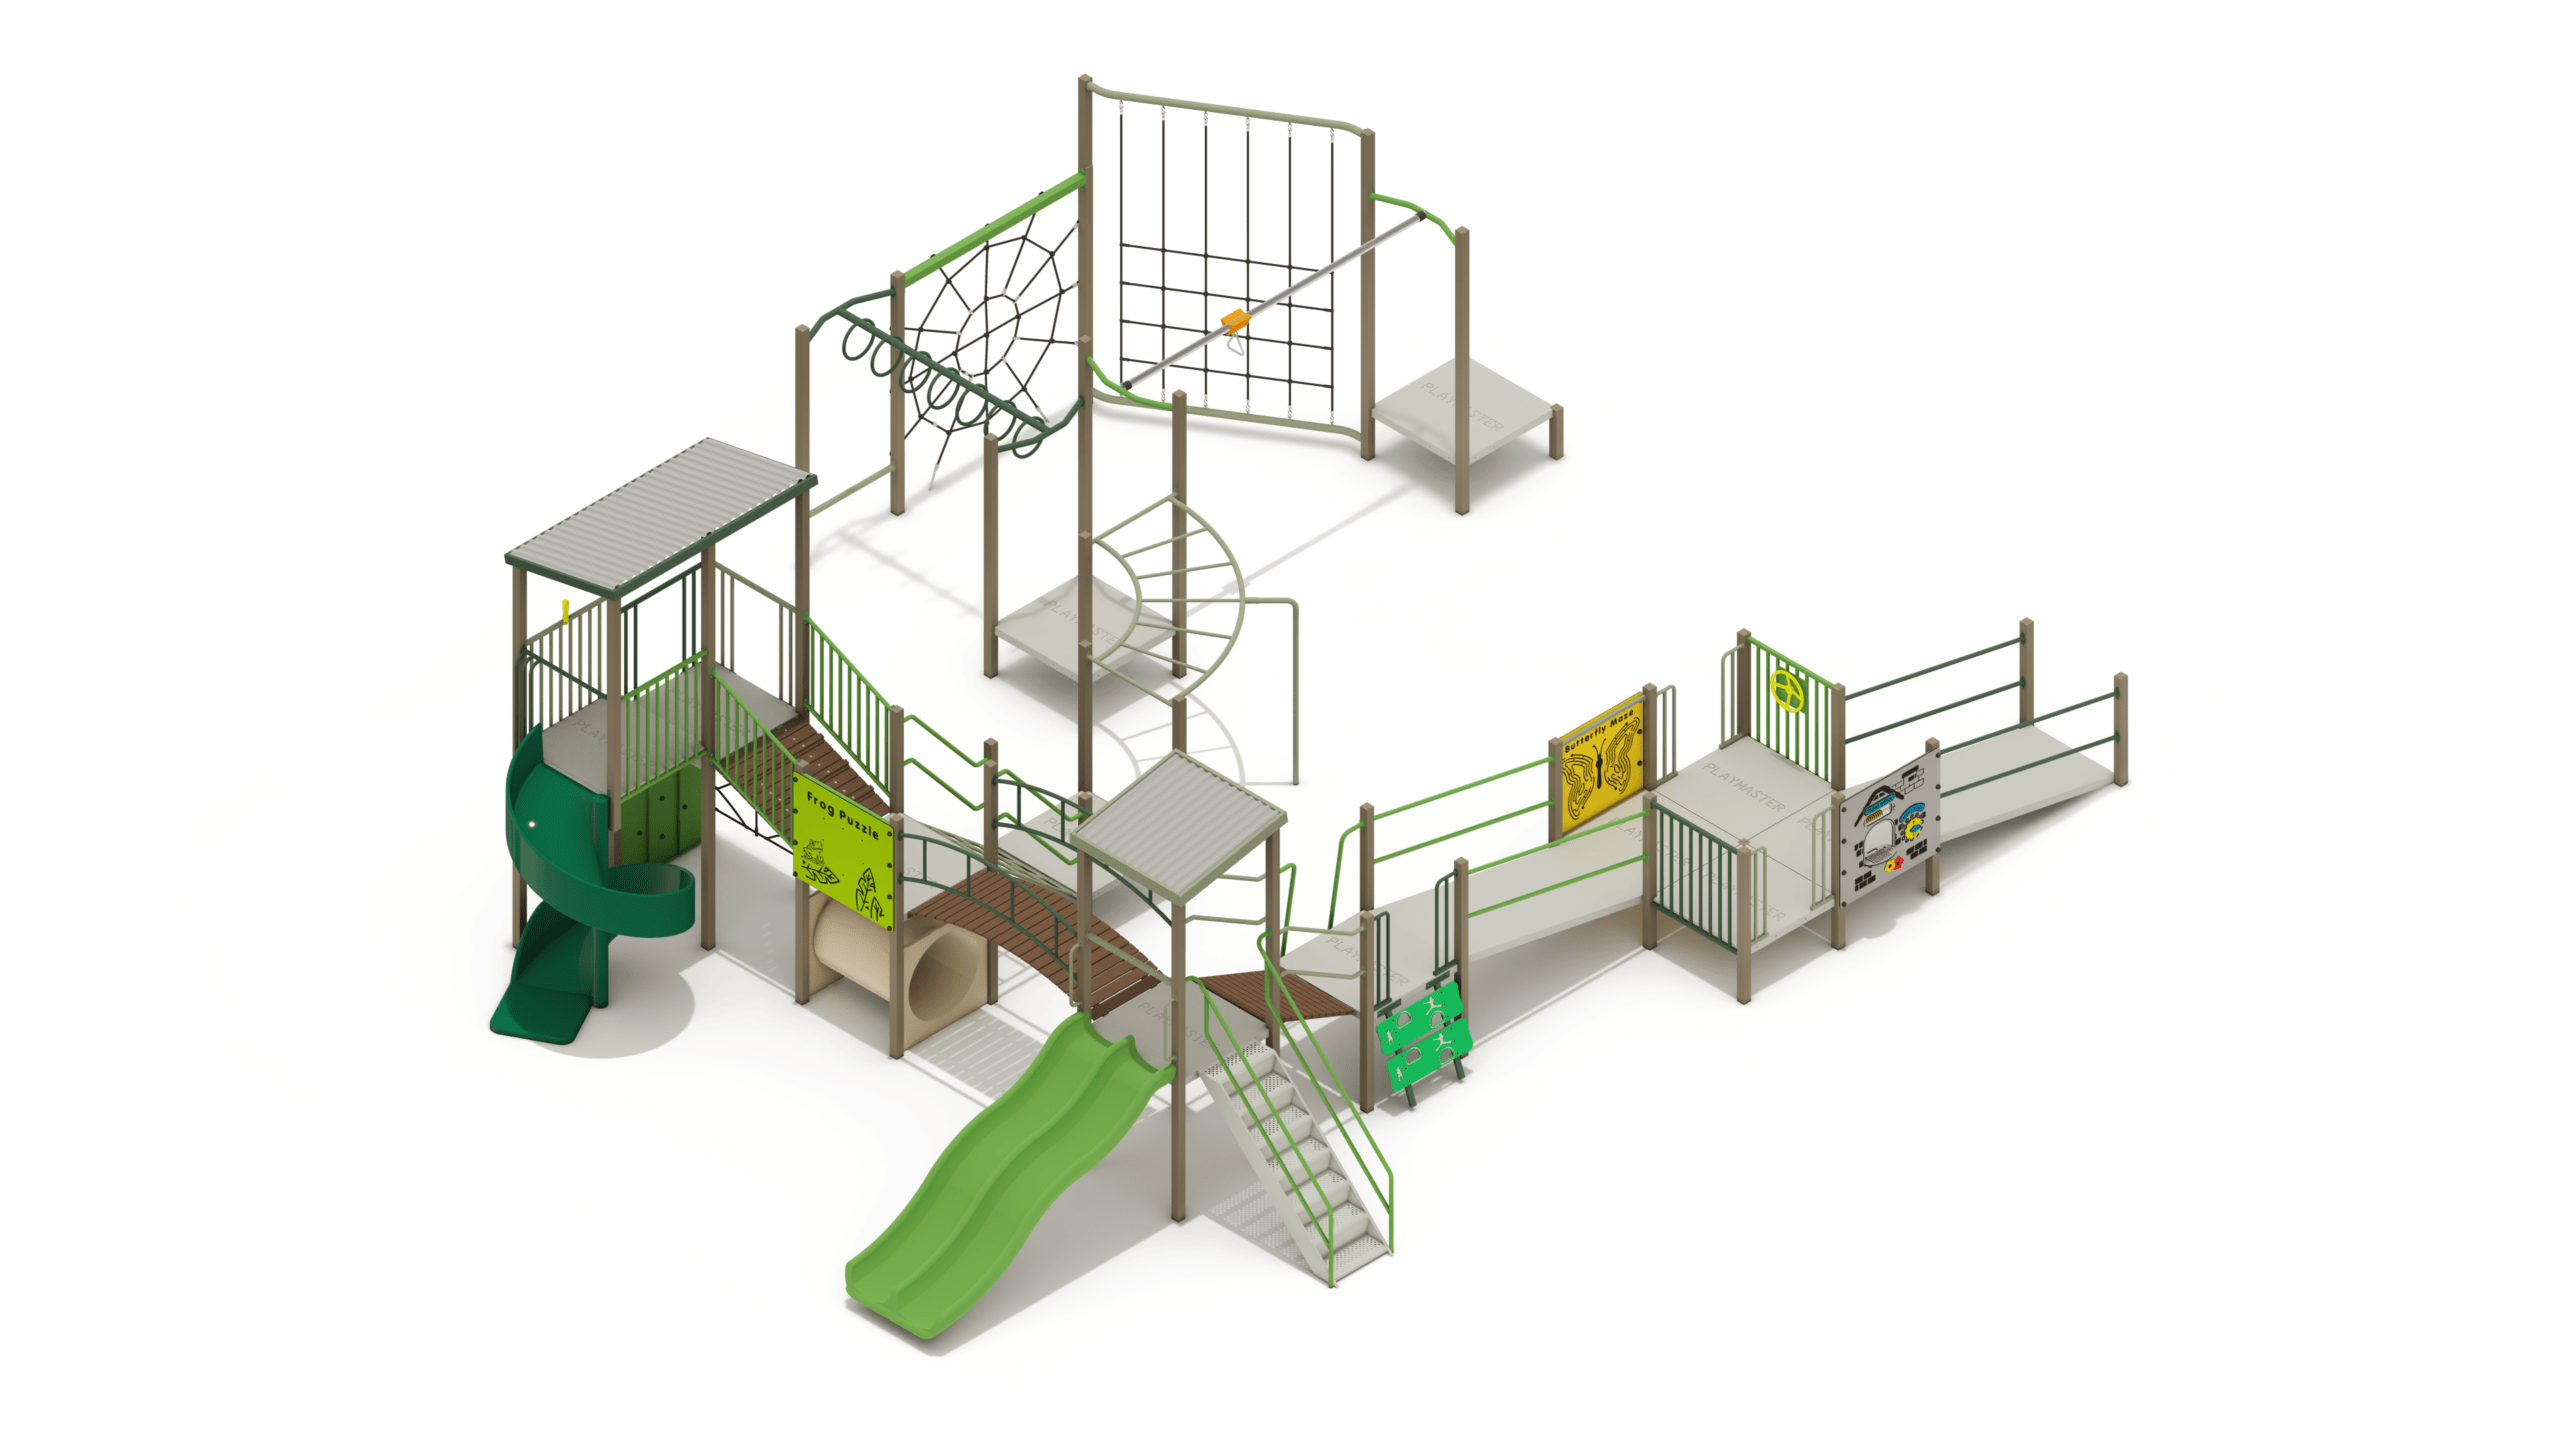
Inclusive Water Gum
Height: 3.85m Width: 9.59m Length: 11.65m Fall Zone Area: 143m2 Free Height of Fall: 2.20m  PM11-32
Inclusive Water Gum
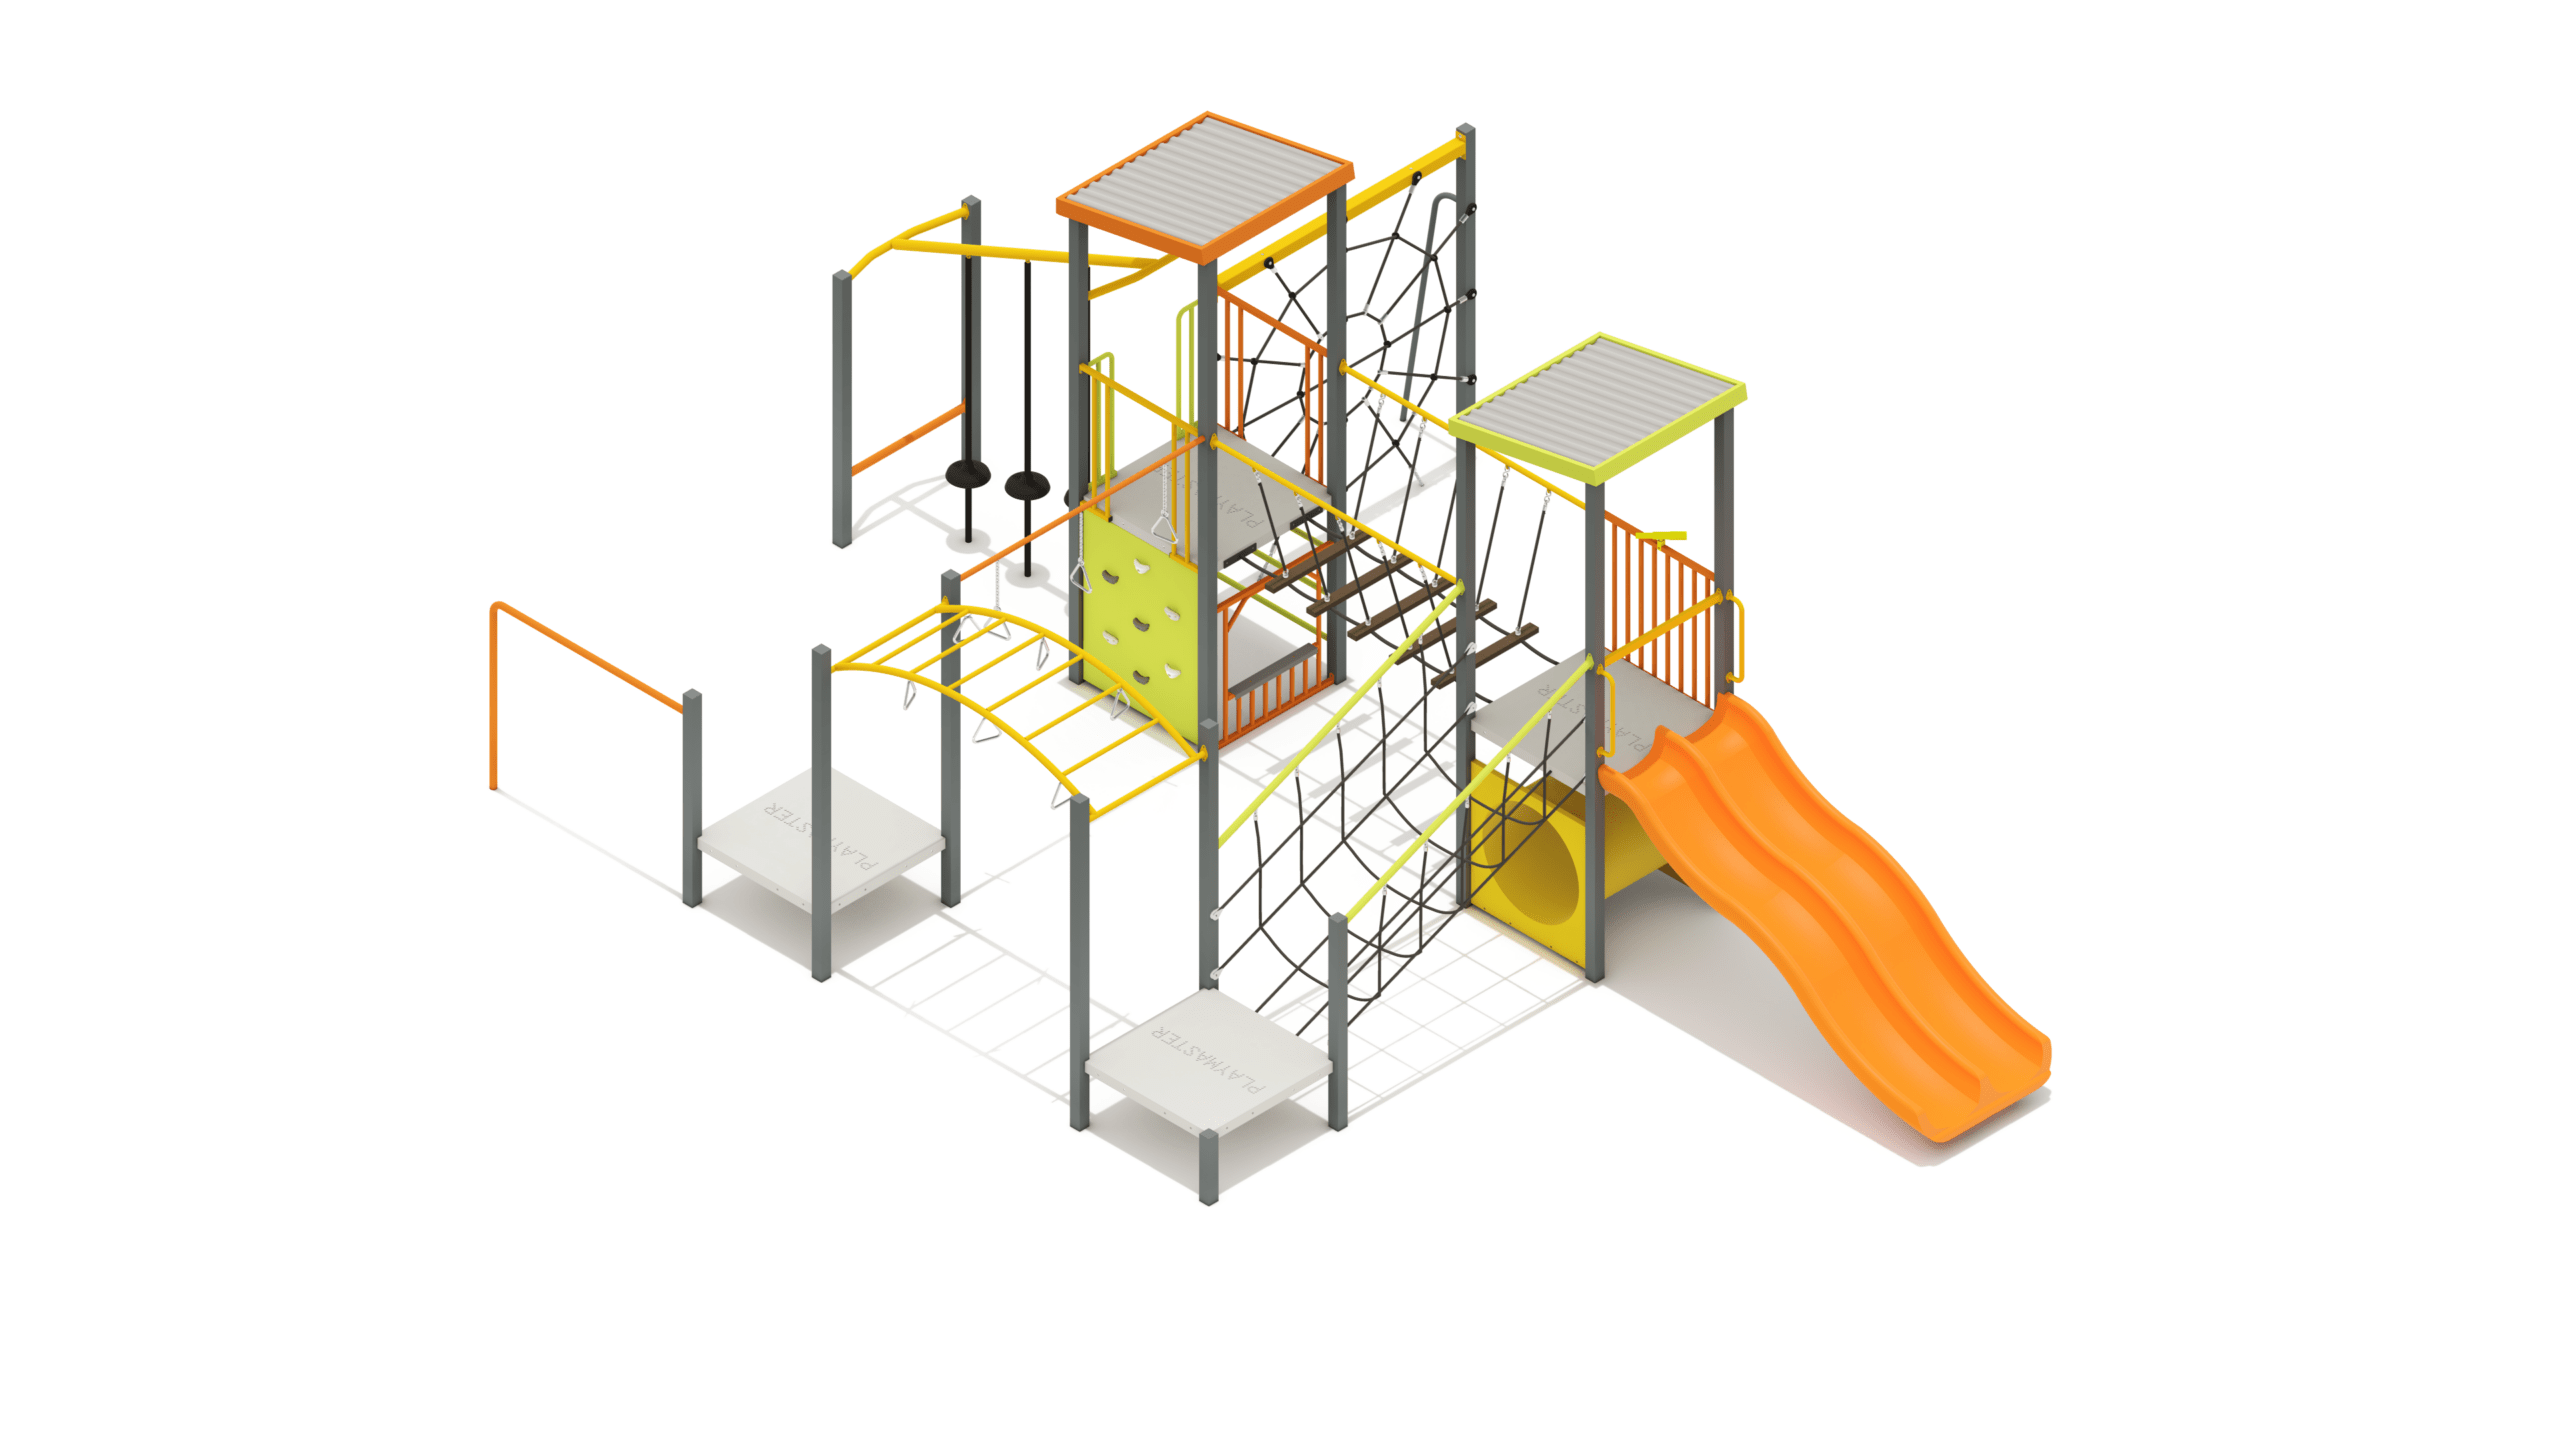
Height: 3.85m Width: 9.59m Length: 11.65m Fall Zone Area: 143m2 Free Height of Fall: 2.20m - PM14-20
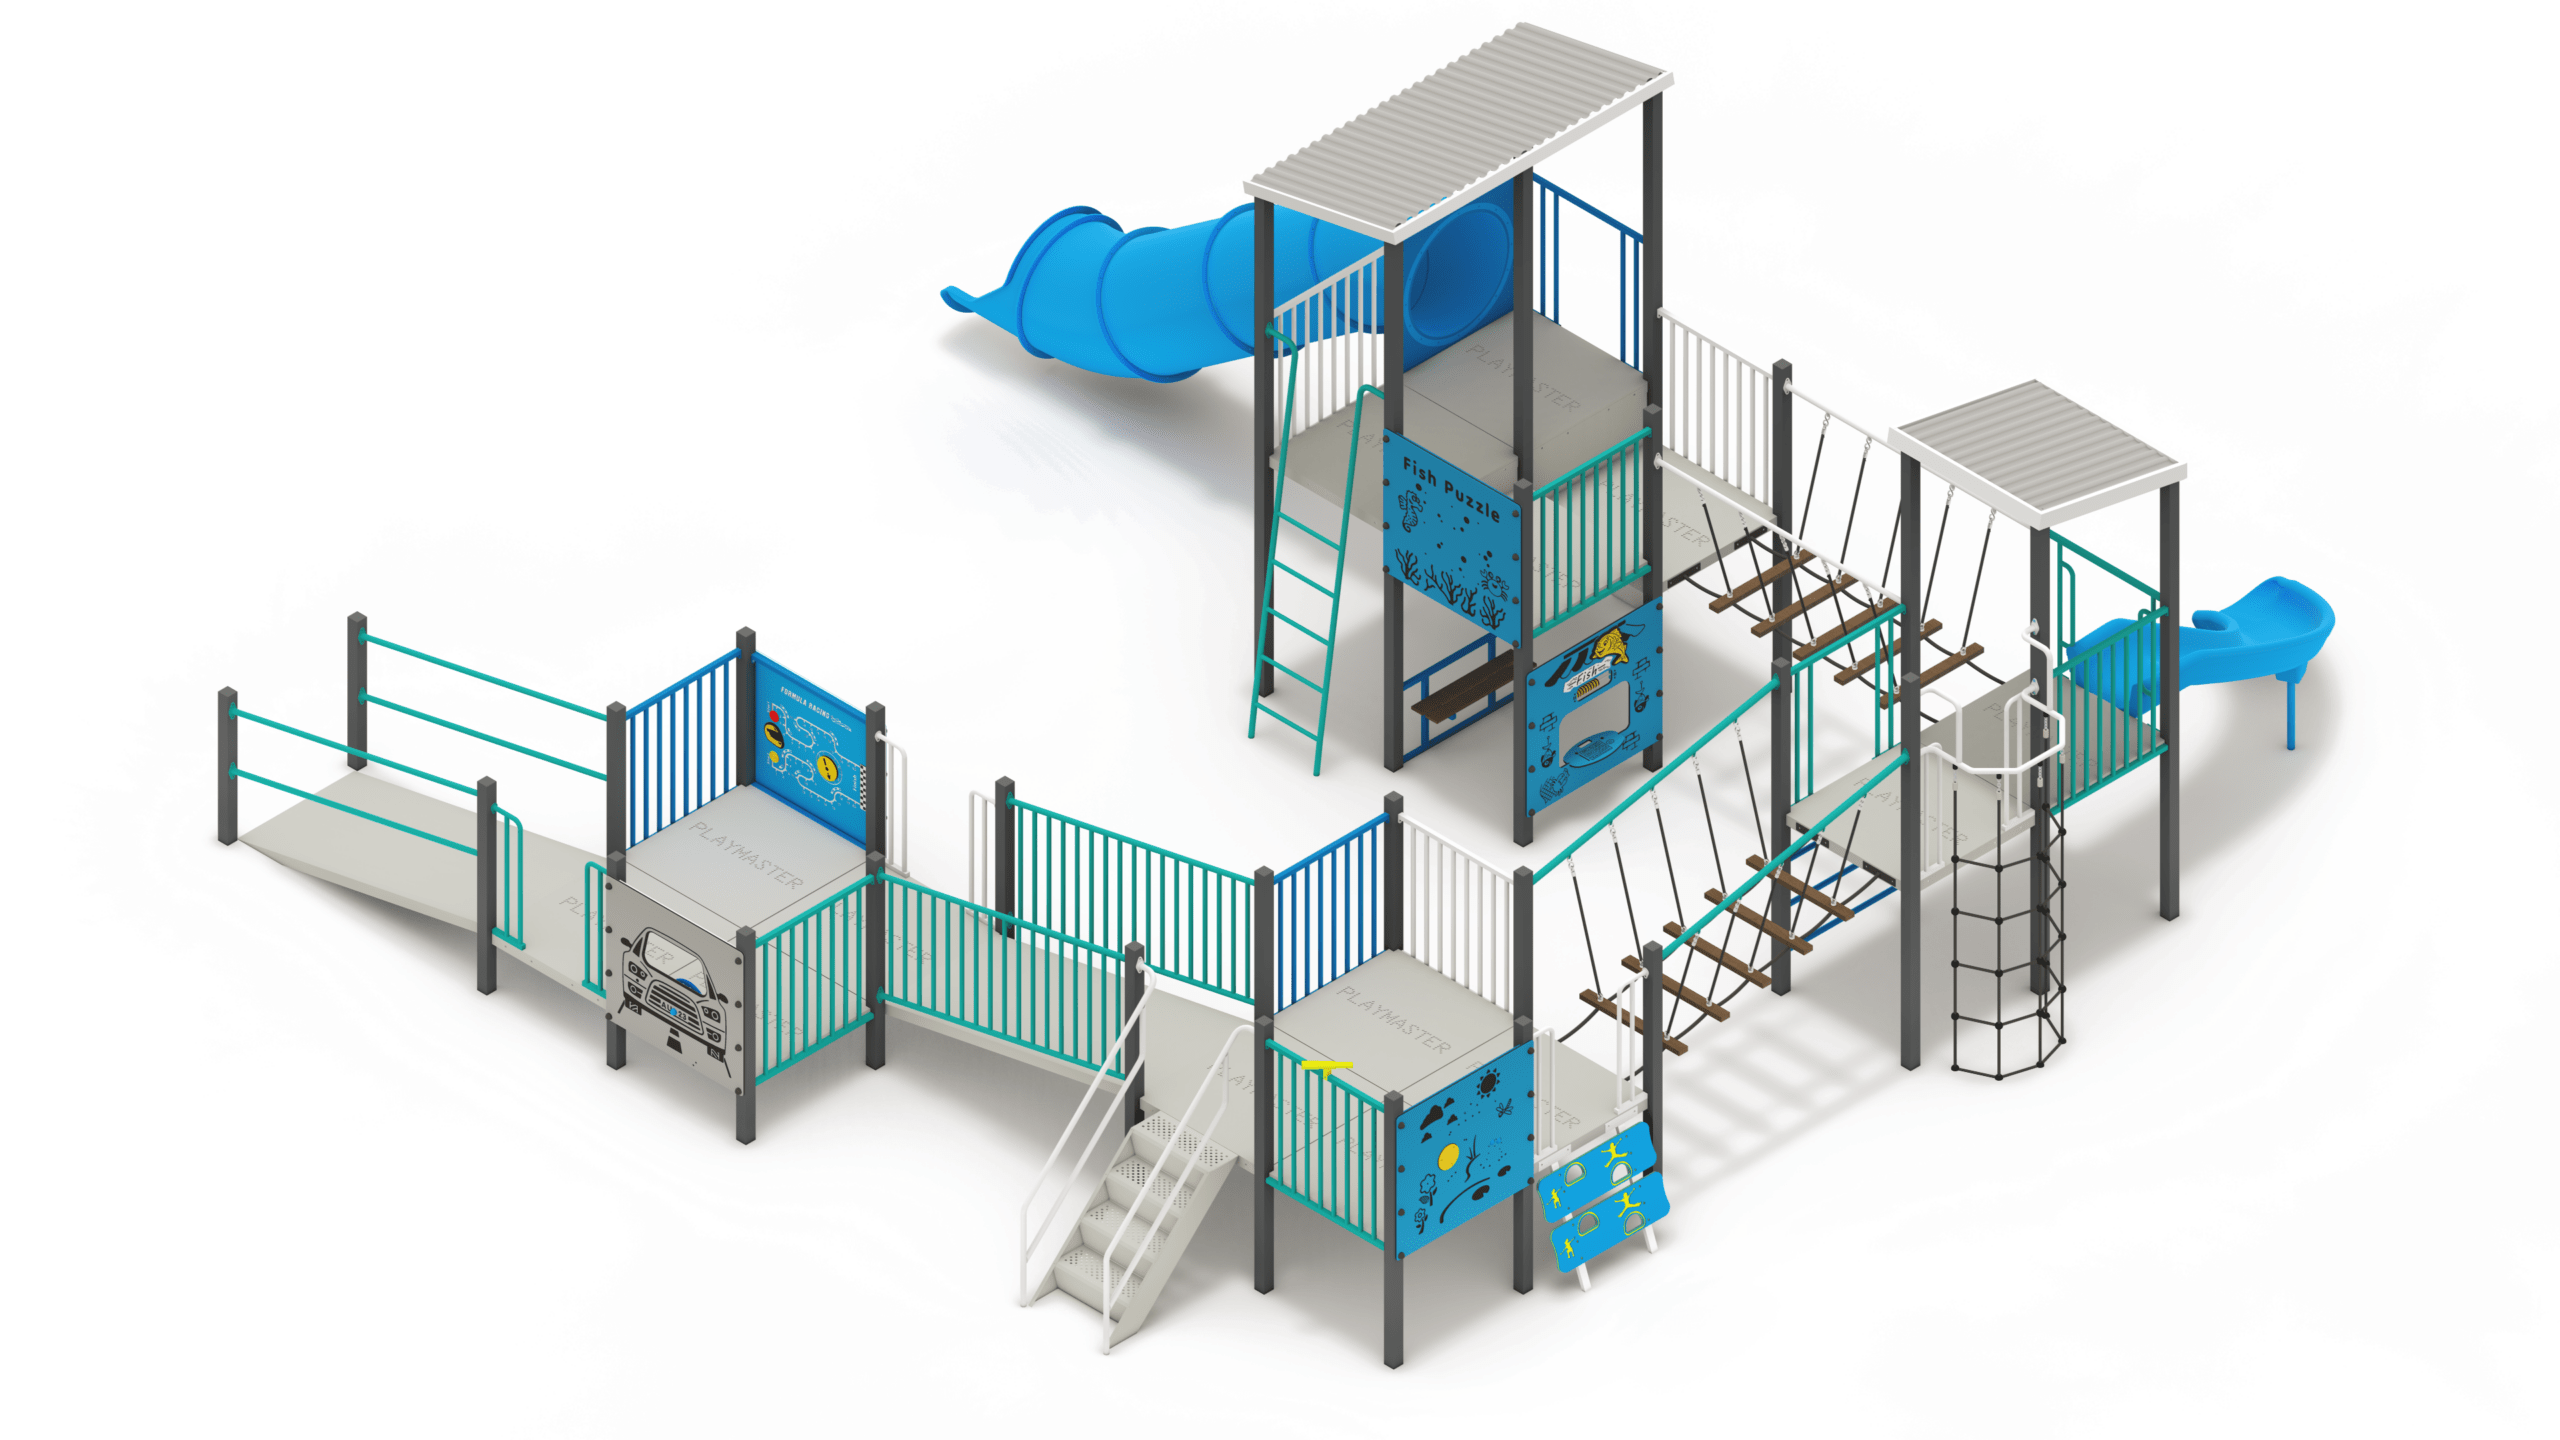
Inclusive Wombat
Height: 3.65m Width: 9.11m Length: 9.43m Fall Zone Area: 107m2 Free Height of Fall: 2.20m PM14-20Inclusive Wombat
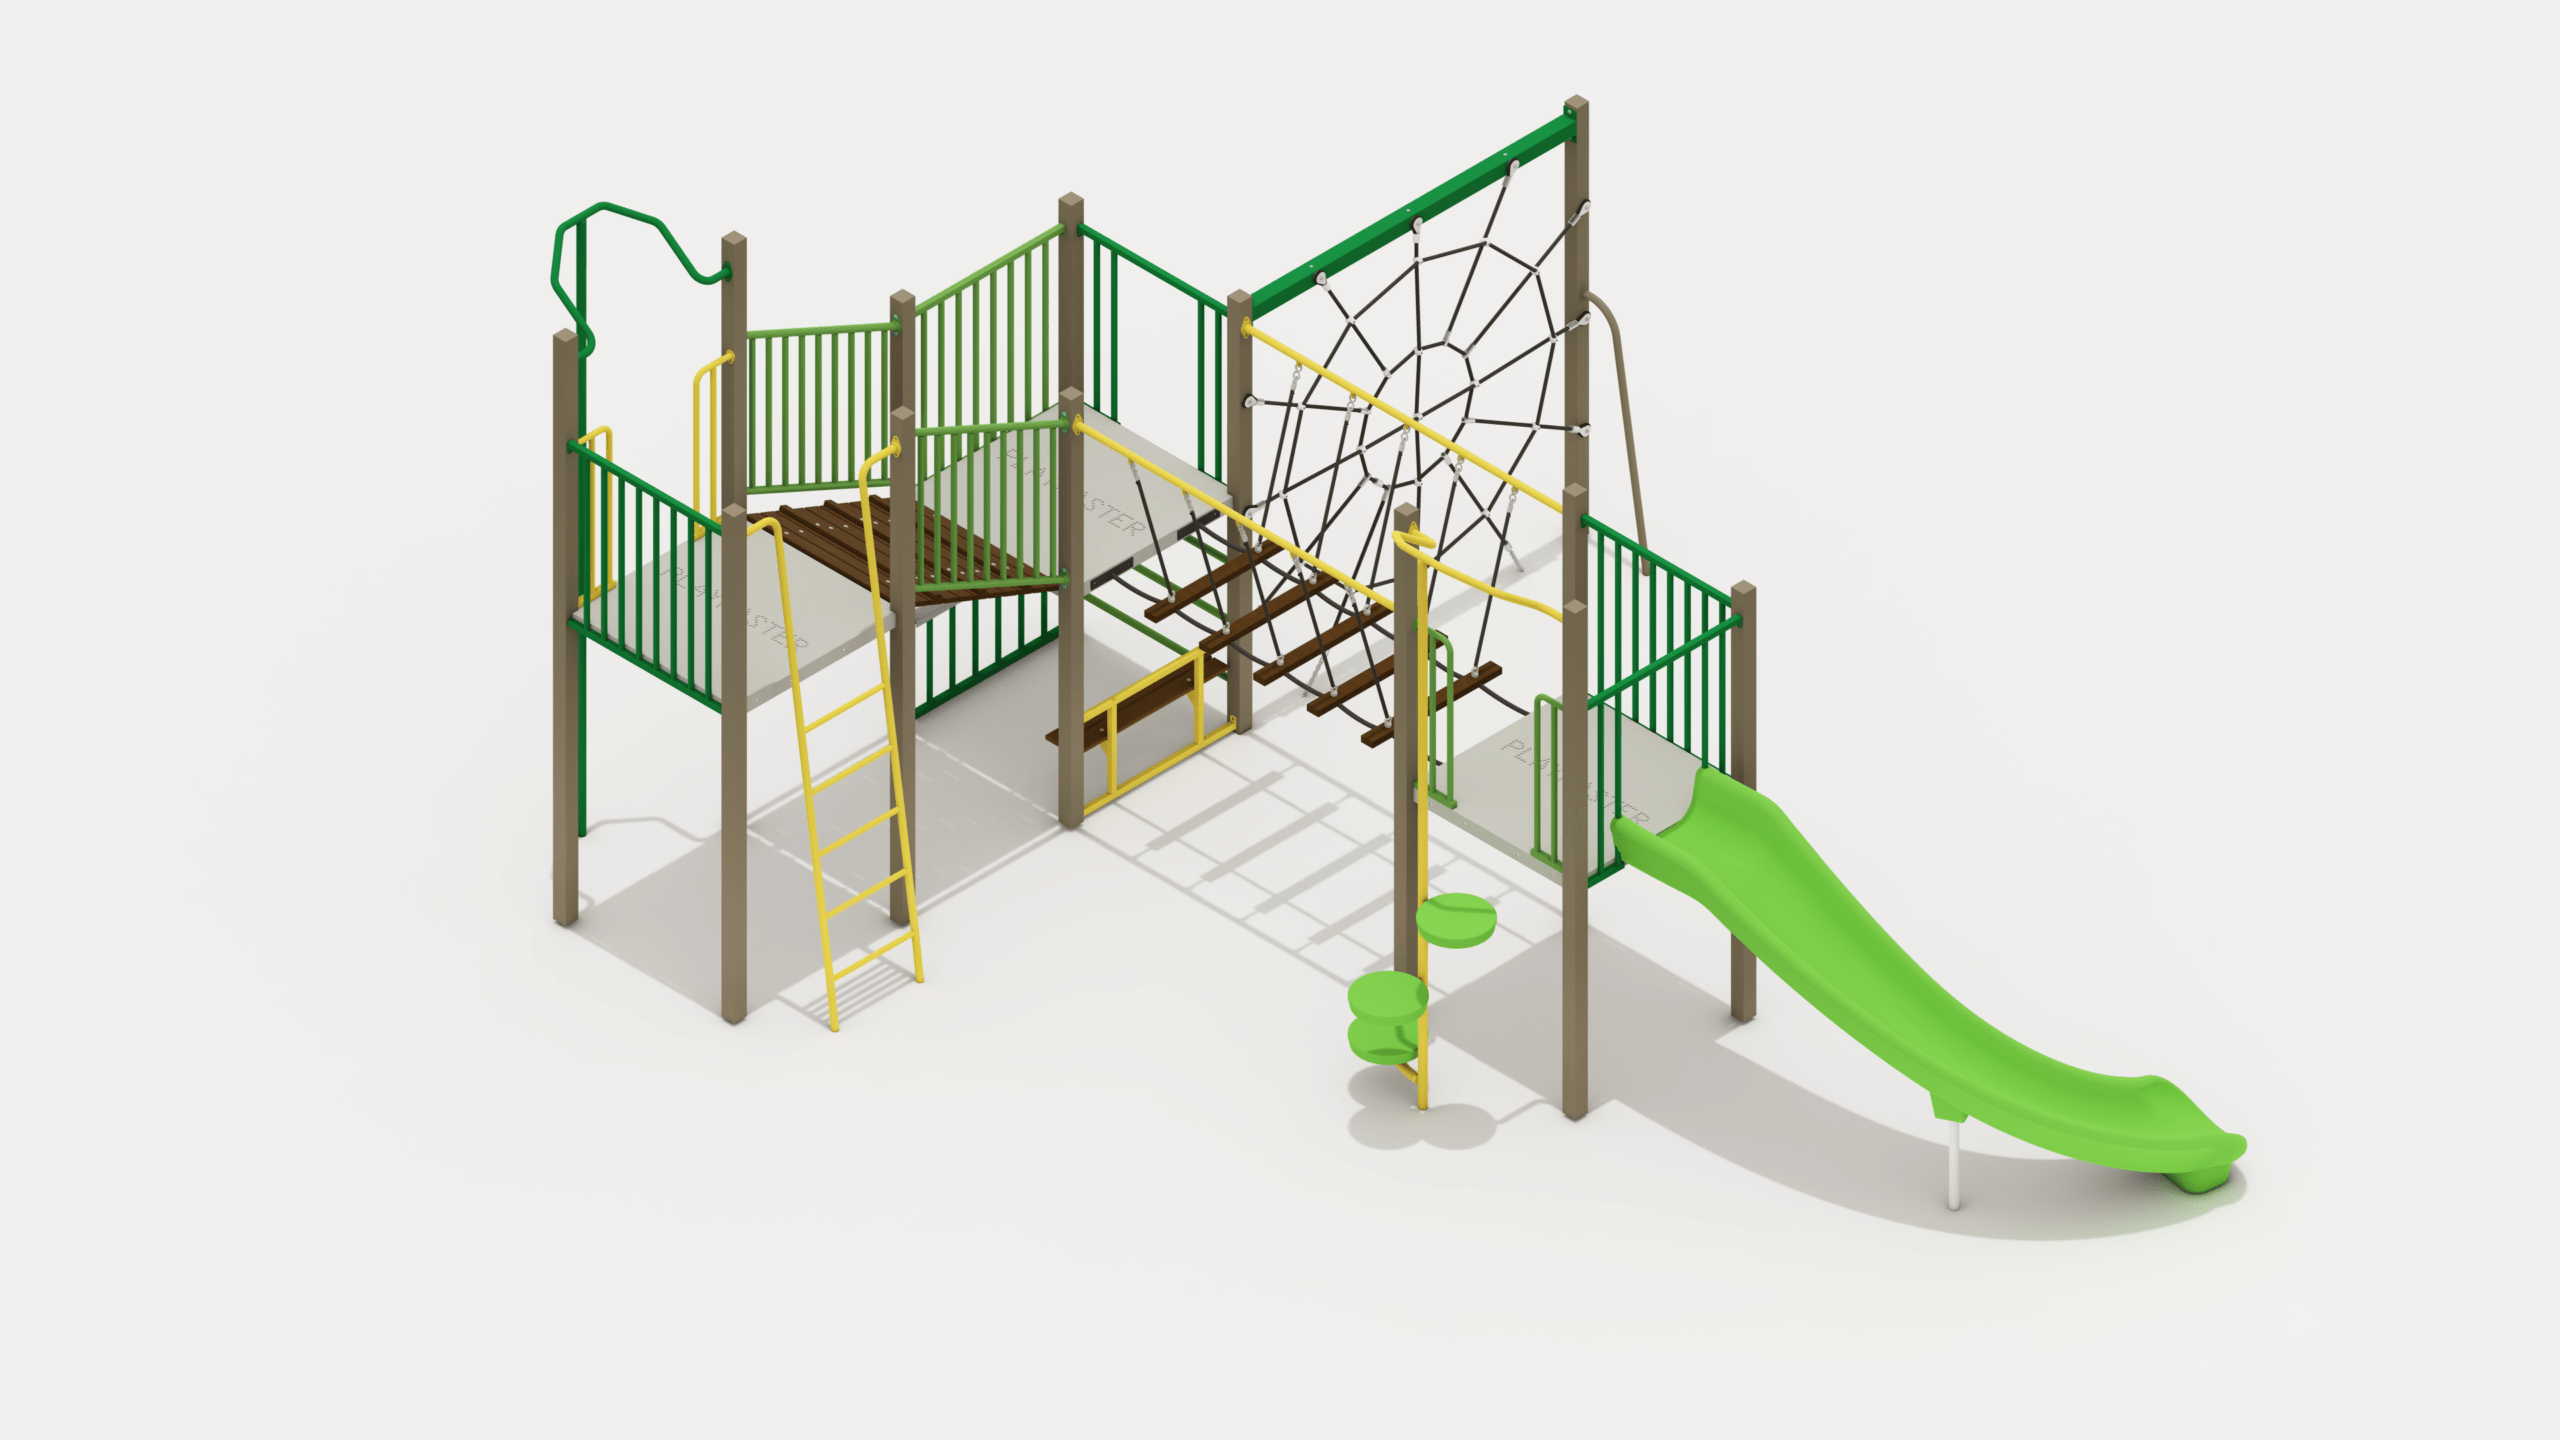
Height: 3.65m Width: 9.11m Length: 9.43m Fall Zone Area: 107m2 Free Height of Fall: 2.20m - PM4-0925
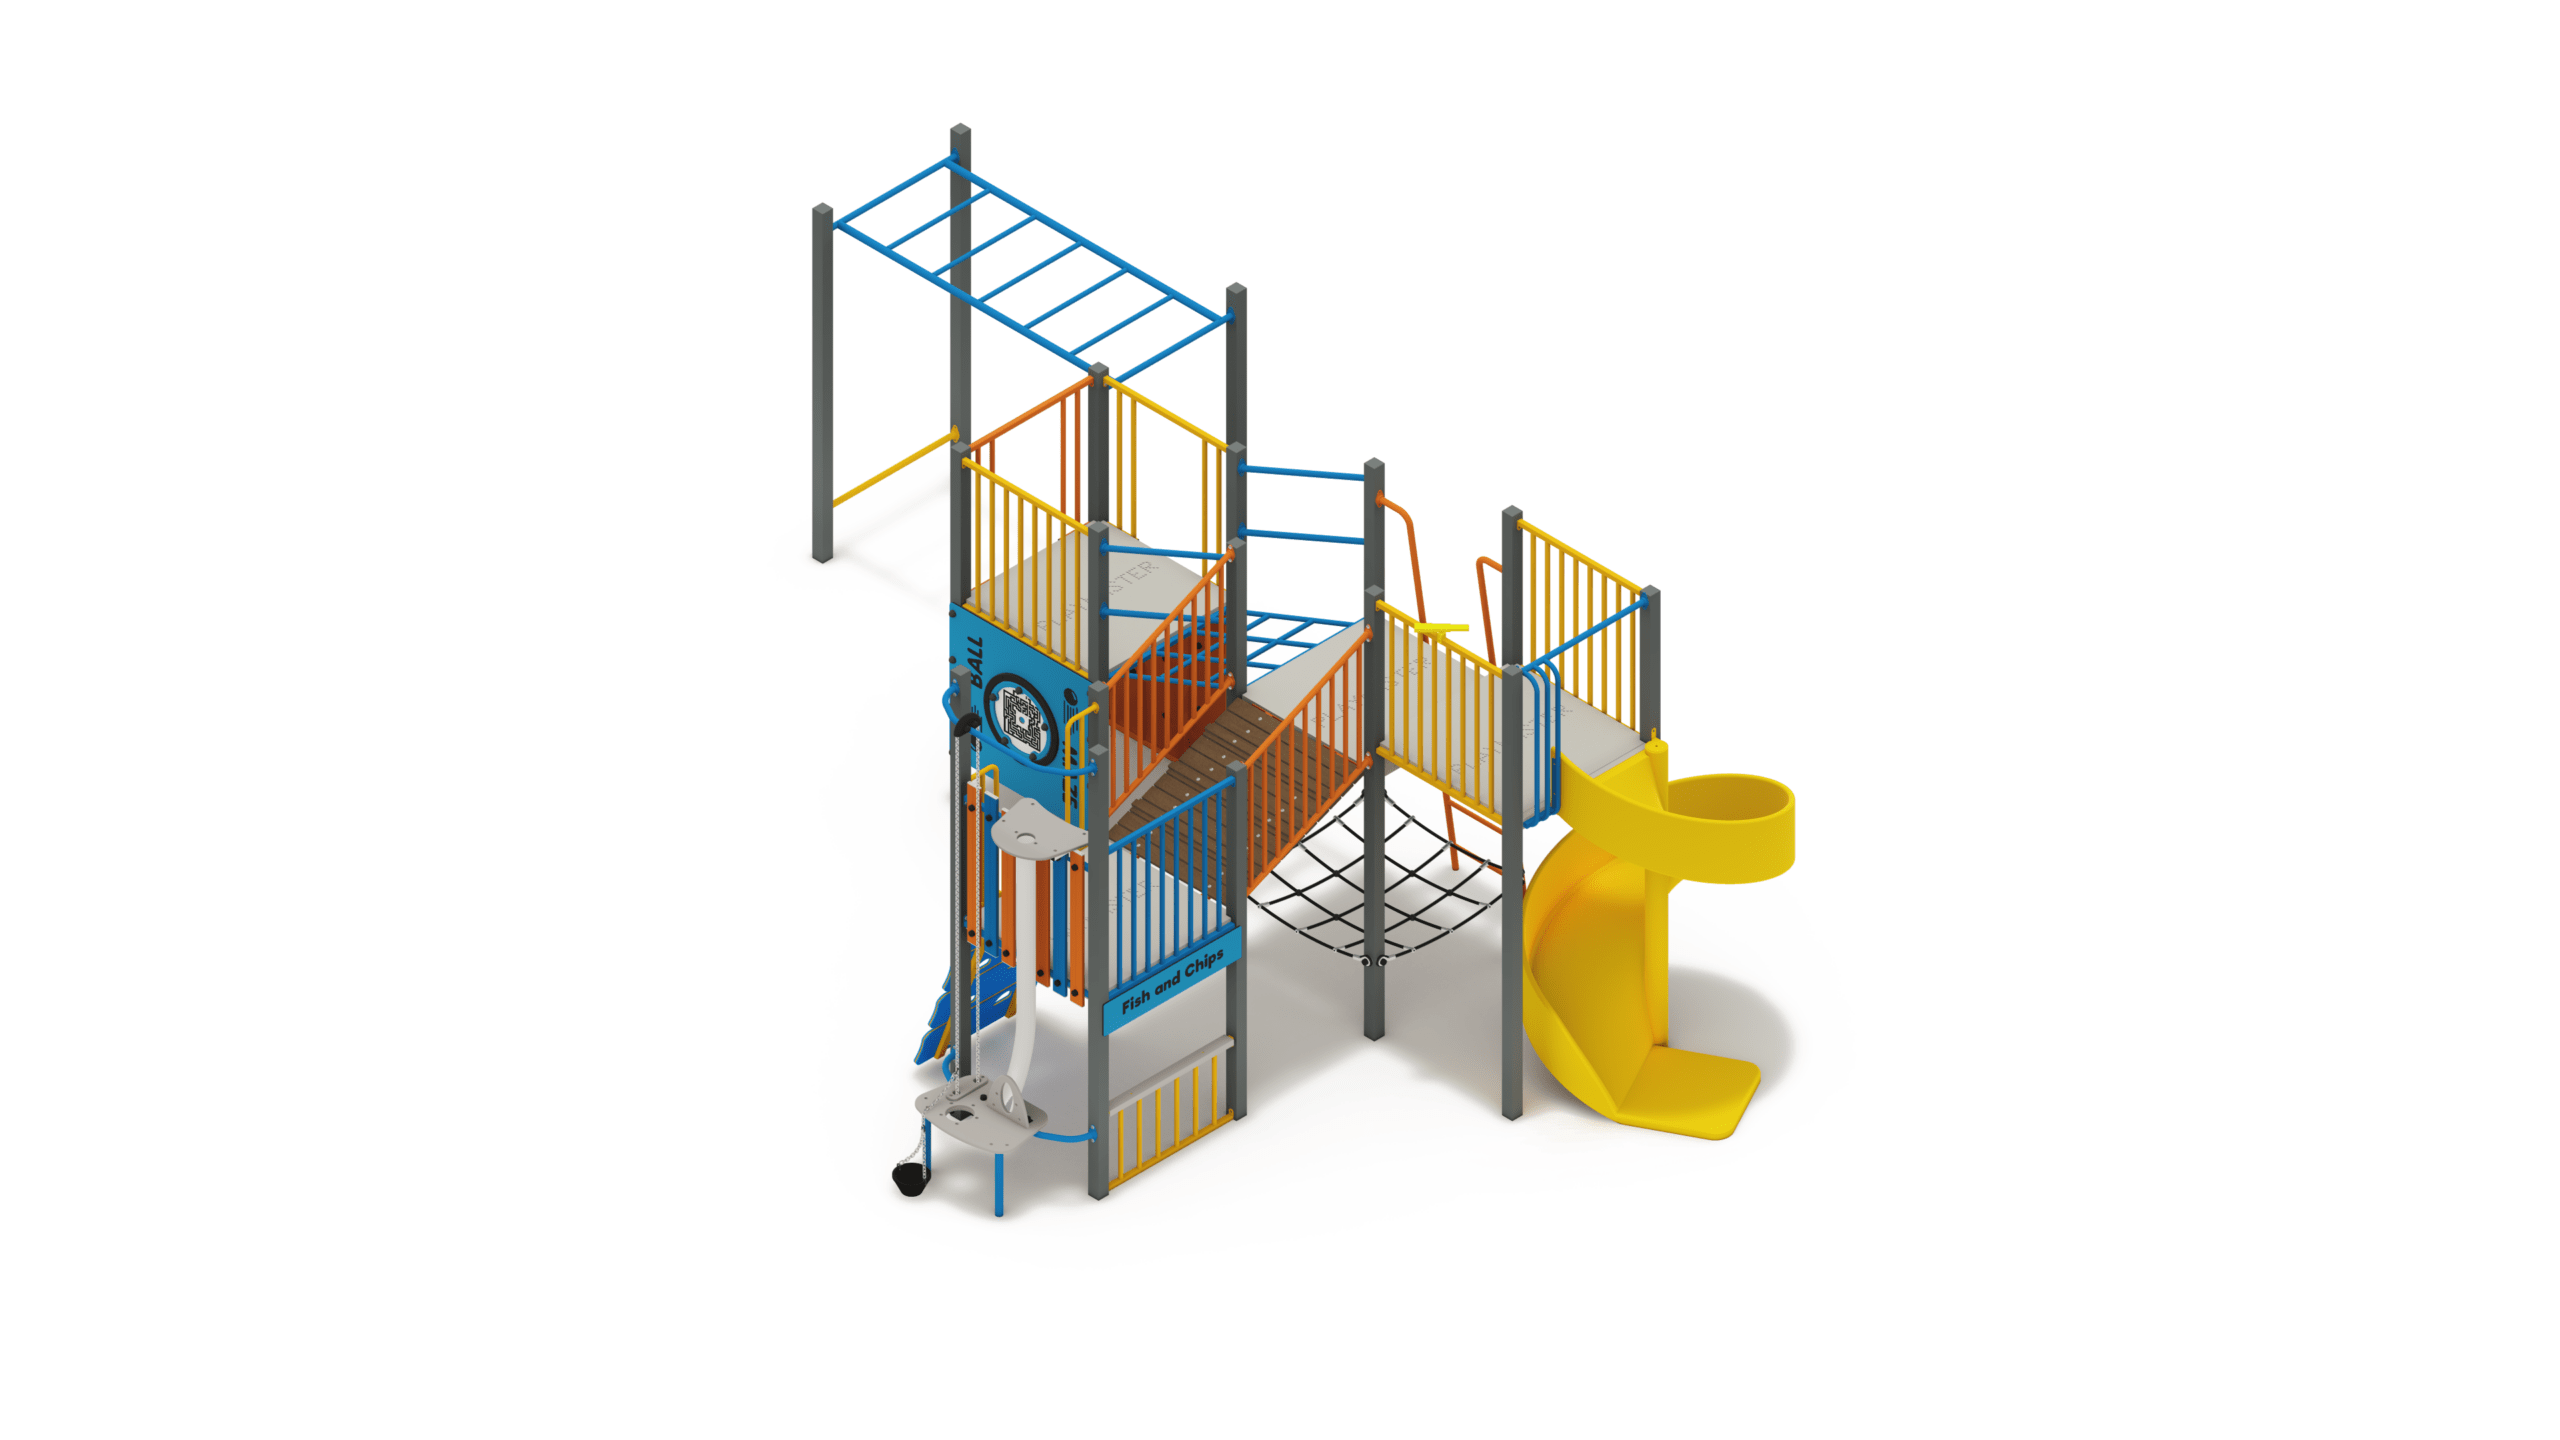
Junior Banksia
Height: 2.80m Width: 4.08m Length: 6.96m Fall Zone Area: 54m2 Free Height of Fall: 2.20m PM4-0925Junior Banksia
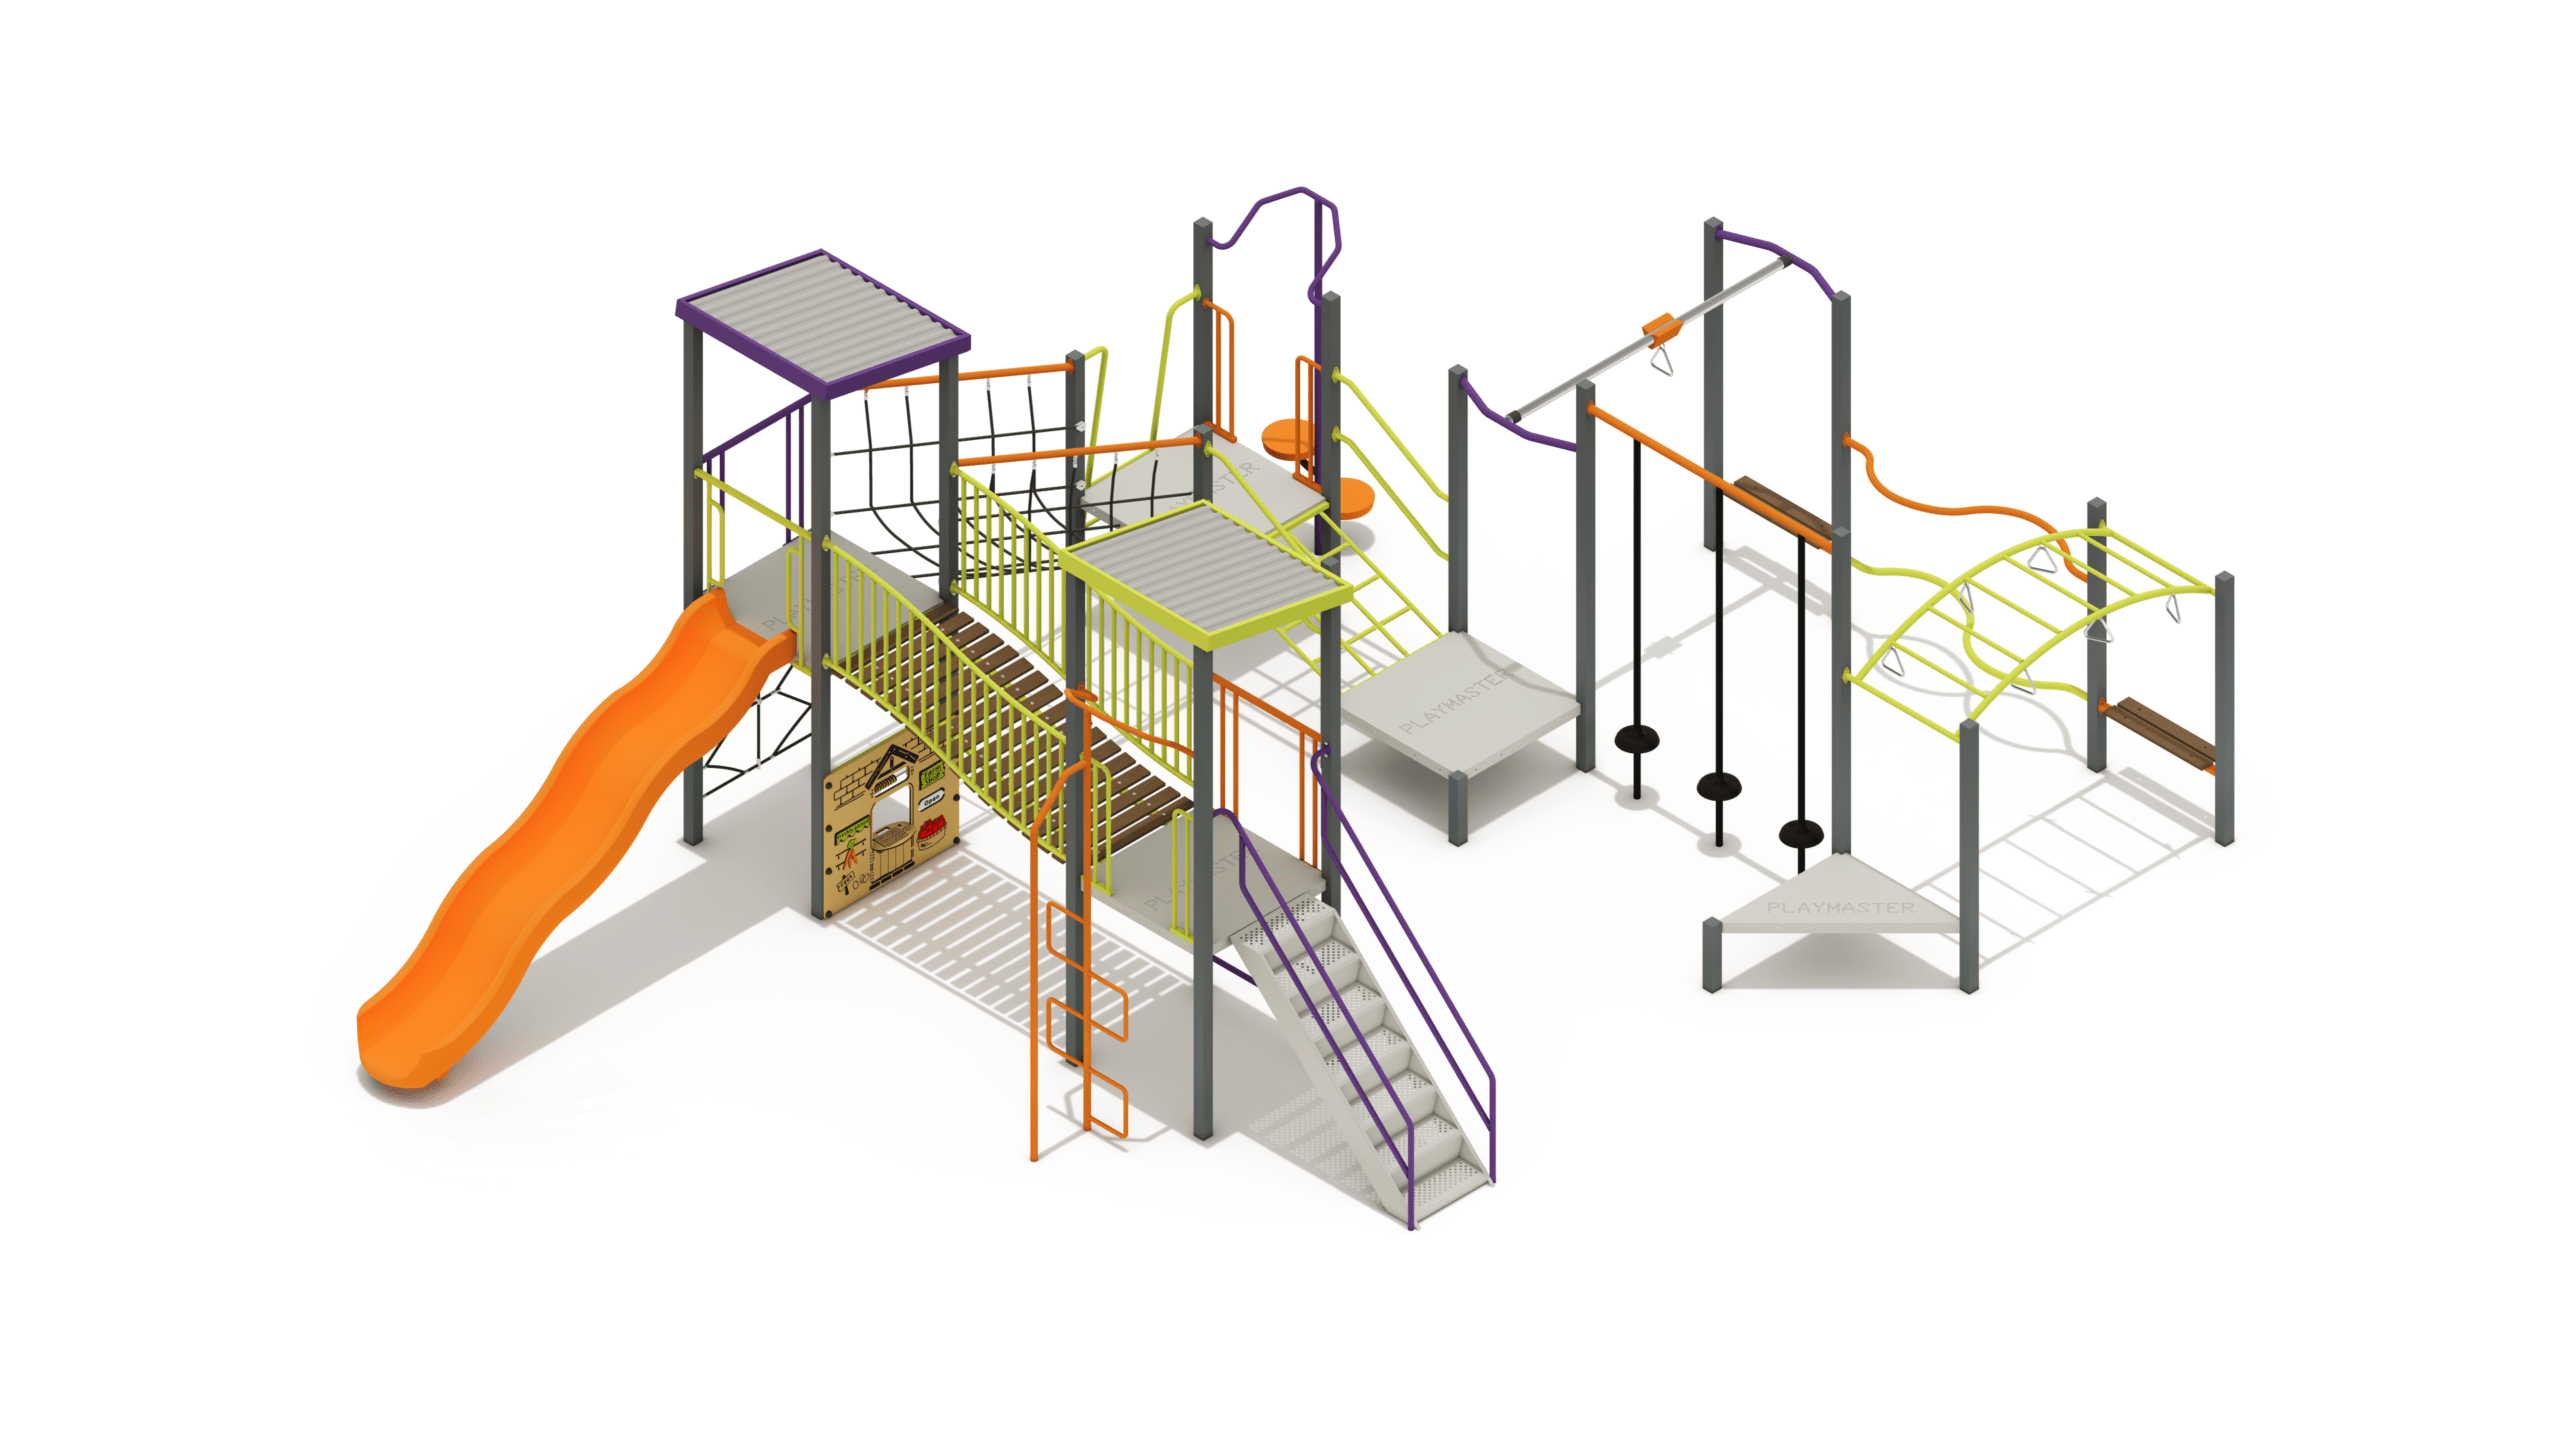
Height: 2.80m Width: 4.08m Length: 6.96m Fall Zone Area: 54m2 Free Height of Fall: 2.20m - PM5-602
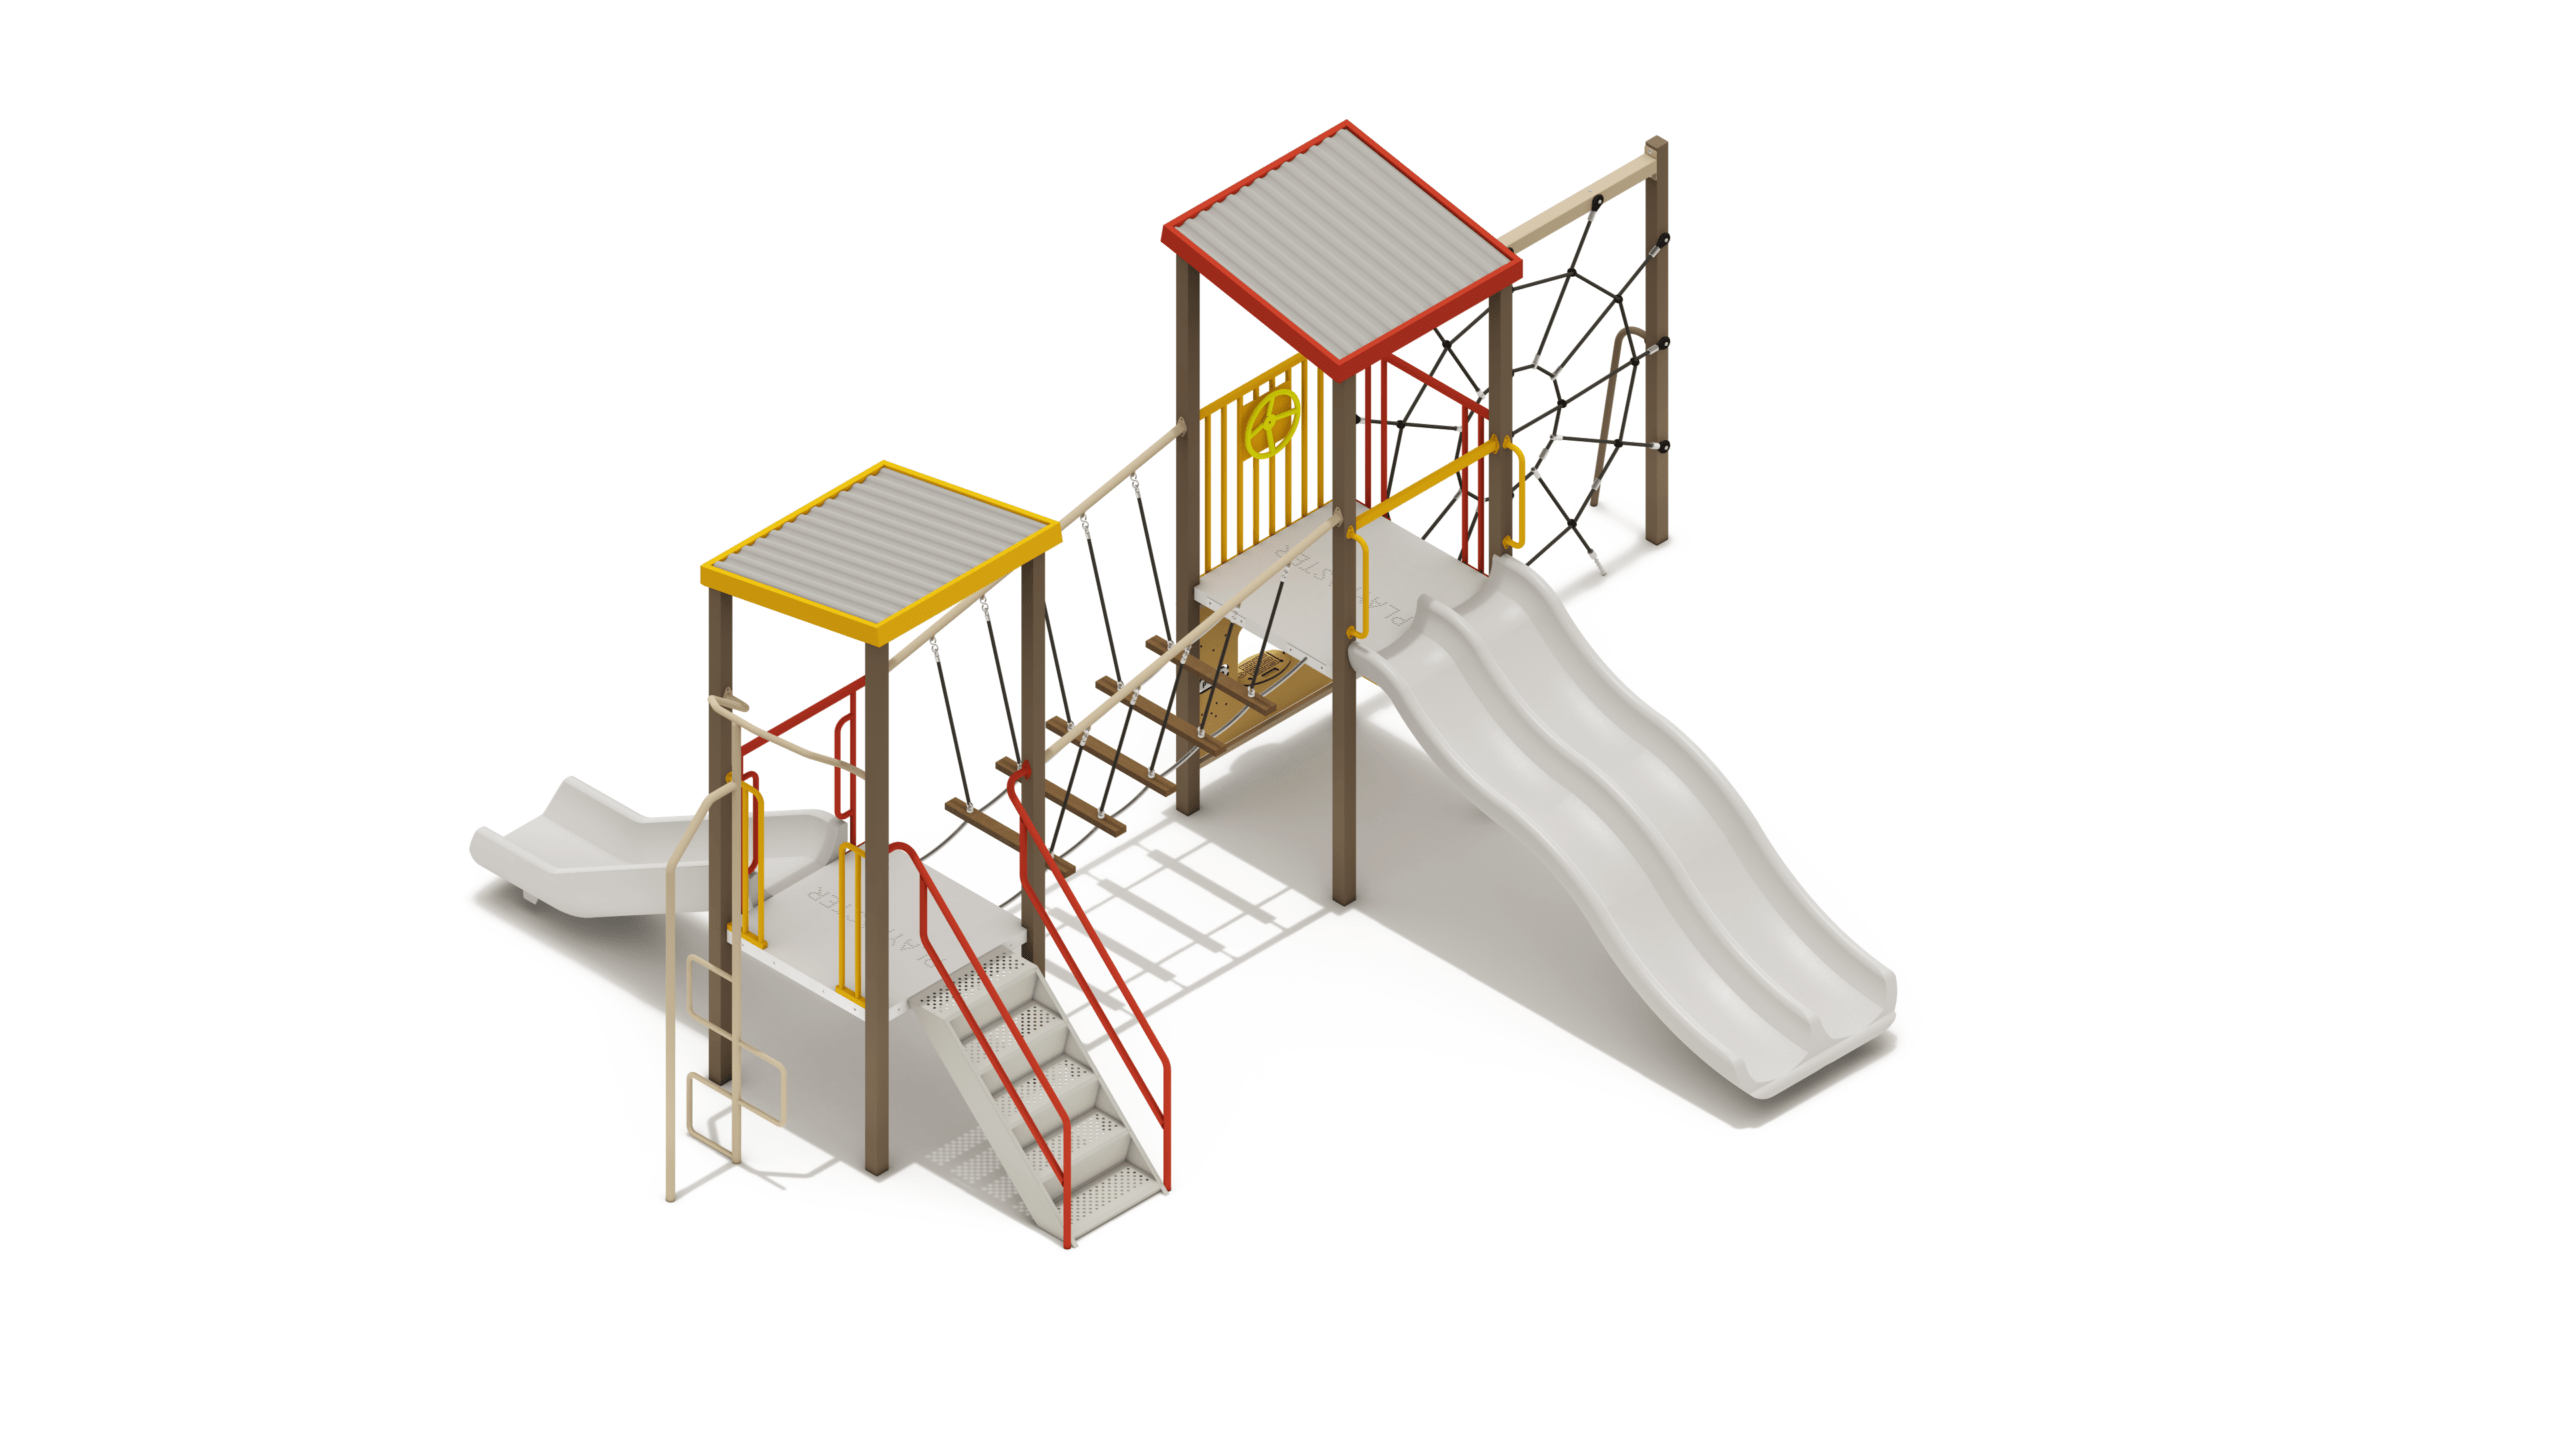
Junior Featherflowers
Height: 3.00m Width: 7.07m Length: 9.19m Fall Zone Area: 98m2 Free Height of Fall: 2.20m PM5-602Junior Featherflowers
Height: 3.00m Width: 7.07m Length: 9.19m Fall Zone Area: 98m2 Free Height of Fall: 2.20m - PM2-408
Junior Jarrah
Height: 3.26m Width: 5.40m Length: 6.87m Fall Zone Area: 58m2 Free Height of Fall: 2.20m PM2-408Junior Jarrah
Height: 3.26m Width: 5.40m Length: 6.87m Fall Zone Area: 58m2 Free Height of Fall: 2.20m - PM7-324
Junior Kangaroo Paw
Height: 3.30m Width: 5.47m Length: 8.80m Fall Zone Area: 80m2 Free Height of Fall: 2.20m PM7-324Junior Kangaroo Paw
Height: 3.30m Width: 5.47m Length: 8.80m Fall Zone Area: 80m2 Free Height of Fall: 2.20m - PM4-0830
Junior Karri
Height: 3.45m Width: 6.06m Length: 8.59m Fall Zone Area: 85m2 Free Height of Fall: 2.20m PM4-0830Junior Karri
Height: 3.45m Width: 6.06m Length: 8.59m Fall Zone Area: 85m2 Free Height of Fall: 2.20m - AD3-687
Junior Malleefowl
Height: 3.20m Width: 5.08m Length: 6.82m Fall Zone Area: 59m2 Free Height of Fall: 2.20m AD3-687Junior Malleefowl
Height: 3.20m Width: 5.08m Length: 6.82m Fall Zone Area: 59m2 Free Height of Fall: 2.20m - PM4-0824
Junior Marri
Height: 3.00m Width: 6.24m Length: 6.72m Fall Zone Area: 82m2 Free Height of Fall: 2.00m PM4-0824Junior Marri
Height: 3.00m Width: 6.24m Length: 6.72m Fall Zone Area: 82m2 Free Height of Fall: 2.00m - PM5-610
Junior Quandong
Height: 3.65m Width: 6.33m Length: 9.11m Fall Zone Area: 97m2 Free Height of Fall: 2.20m PM5-610Junior Quandong
Height: 3.65m Width: 6.33m Length: 9.11m Fall Zone Area: 97m2 Free Height of Fall: 2.20m - PM4-0831
Junior Tuart
Height: 3.25m Width: 7.00m Length: 8.67m Fall Zone Area: 108m2 Free Height of Fall: 2.20m PM4-0831Junior Tuart
Height: 3.25m Width: 7.00m Length: 8.67m Fall Zone Area: 108m2 Free Height of Fall: 2.20m - AD2-0418
Junior Western Rosella
Height: 3.25m Width: 3.50m Length: 4.48m Fall Zone Area: 36m2 Free Height of Fall: 1.50m AD2-0418Junior Western Rosella
Height: 3.25m Width: 3.50m Length: 4.48m Fall Zone Area: 36m2 Free Height of Fall: 1.50m - PS01/DS1S
PS01 A Frame Double Swing
Height: 2.1m Width: 4.4m Length: 2.4m Fall Zone Area: 35.2m2 Free Height of Fall: 1.5m  PS01/DS1S
PS01 A Frame Double Swing
Height: 2.1m Width: 4.4m Length: 2.4m Fall Zone Area: 35.2m2 Free Height of Fall: 1.5m - PS04/QS1
PS04 Combination Quad Swing
Height: 2.1m Width: 8.0m Length: 2.4m Fall Zone Area: 65.6m2 Free Height of Fall: 1.5m PS04/QS1PS04 Combination Quad Swing
Height: 2.1m Width: 8.0m Length: 2.4m Fall Zone Area: 65.6m2 Free Height of Fall: 1.5m - PS05/CSW1
PS05 Combination Swing
Height: 2.1m Width: 8.0m Length: 2.4m Fall Zone Area: 65.6m2 Free Height of Fall: 1.5m PS05/CSW1PS05 Combination Swing
Height: 2.1m Width: 8.0m Length: 2.4m Fall Zone Area: 65.6m2 Free Height of Fall: 1.5m - PS06
PS06 3 Bay Combination Swing
Height: 2.28m Width: 11.59m Length: 2.4m Fall Zone Area: 95.03m2 Free Height of Fall: 1.5m PS06PS06 3 Bay Combination Swing
Height: 2.28m Width: 11.59m Length: 2.4m Fall Zone Area: 95.03m2 Free Height of Fall: 1.5m - PS07/BNSA1
PS07 A-Frame Birds Nest Swing
Height: 2.1m Width: 4.4m Length: 2.4m Fall Zone Area: 34.76m2 Free Height of Fall: 1.5m PS07/BNSA1PS07 A-Frame Birds Nest Swing
Height: 2.1m Width: 4.4m Length: 2.4m Fall Zone Area: 34.76m2 Free Height of Fall: 1.5m - PS08/PLS1
PS08 Pipeline Swing
Height: 2.1m Width: 3.03m Length: 1.8m Fall Zone Area: 27.65m2 Free Height of Fall: 1.5m PS08/PLS1PS08 Pipeline Swing
Height: 2.1m Width: 3.03m Length: 1.8m Fall Zone Area: 27.65m2 Free Height of Fall: 1.5m - PS09
PS09 Pipeline Quad Swing
Height: 2.2m Width: 1.9m Length: 6.1m Fall Zone Area: 51.58m2 Free Height of Fall: 1.5m  PS09
PS09PS09 Pipeline Quad Swing
Height: 2.2m Width: 1.9m Length: 6.1m Fall Zone Area: 51.58m2 Free Height of Fall: 1.5m - PS10
PS10 Pipeline Combination Swing
Height: 2.22m Width: 1.9m Length: 6.1m Fall Zone Area: 49.24m2 Free Height of Fall: 1.5m PS10PS10 Pipeline Combination Swing
Height: 2.22m Width: 1.9m Length: 6.1m Fall Zone Area: 49.24m2 Free Height of Fall: 1.5m - PS11/BNSP1
PS11 Pipeline Birds Nest Swing
Height: 2.1m Width: 3.03m Length: 3.5m Fall Zone Area: 27.65m2 Free Height of Fall: 1.5m PS11/BNSP1PS11 Pipeline Birds Nest Swing
Height: 2.1m Width: 3.03m Length: 3.5m Fall Zone Area: 27.65m2 Free Height of Fall: 1.5m - PS13/CSW2
PS13 Double Birds Nest Swing
Height: 2.1m Width: 8.0m Length: 2.4m Fall Zone Area: 65.6m2 Free Height of Fall: 1.5m PS13/CSW2PS13 Double Birds Nest Swing
Height: 2.1m Width: 8.0m Length: 2.4m Fall Zone Area: 65.6m2 Free Height of Fall: 1.5m - PM5-061
Rustic Bluebell
Height: 2.80m Width: 7.00m Length: 7.95m Fall Zone Area: 91m2 Free Height of Fall: 2.20m PM5-061Rustic Bluebell
Height: 2.80m Width: 7.00m Length: 7.95m Fall Zone Area: 91m2 Free Height of Fall: 2.20m