
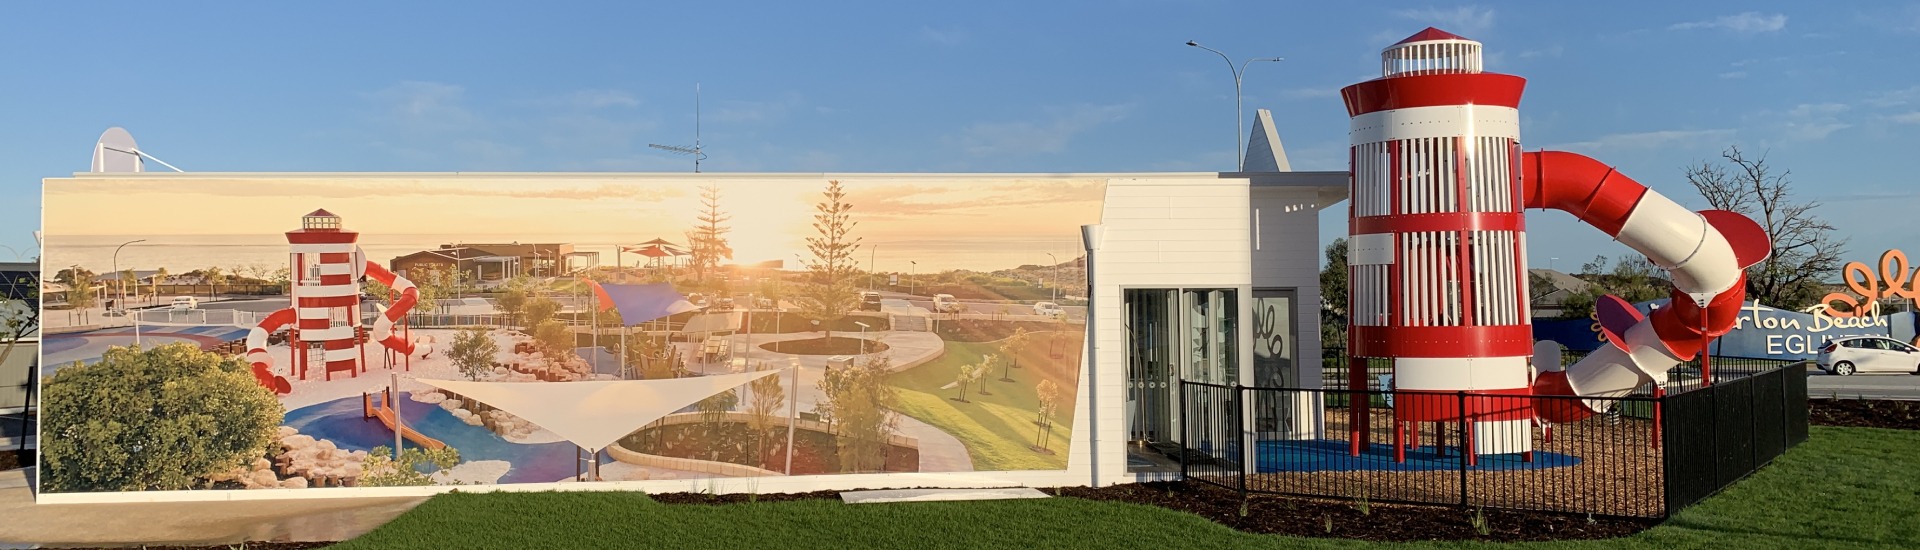
3. Sky Village Tower


3. Sky Village Tower
Product Specifications
- Height: 9.41m
- Width: 14.09m
- Length: 14.43m
- Fall Zone Area: 194m2
- Free Height of Fall: 2.16m
Downloads
Related Products
- AGFS 253-P
The Bird Tower (Poly)
Height: 8.55m Width: 6.35m Length: 11.35m Fall Zone Area: 180.00m2 Free Height of Fall: 1.85m  AGFS 253-P
The Bird Tower (Poly)
Height: 8.55m Width: 6.35m Length: 11.35m Fall Zone Area: 180.00m2 Free Height of Fall: 1.85m - AGFS 253
The Bird Tower
Height: 8.55m Width: 6.50m Length: 14.20m Fall Zone Area: 180.00m2 Free Height of Fall: 1.85m AGFS 253The Bird Tower
Height: 8.55m Width: 6.50m Length: 14.20m Fall Zone Area: 180.00m2 Free Height of Fall: 1.85m - CDP 107
7. The Helical Tower
Height: 7.6m Width: 10.7m Length: 11.6m Fall Zone Area: 131.5m2 Free Height of Fall: 2.2m CDP 1077. The Helical Tower
Height: 7.6m Width: 10.7m Length: 11.6m Fall Zone Area: 131.5m2 Free Height of Fall: 2.2m - CDP 101
7. The Galata Tower
Height: 11.00m Width: 8.00m Length: 11.3m Fall Zone Area: 96m2 Free Height of Fall: 1.7m CDP 1017. The Galata Tower
Height: 11.00m Width: 8.00m Length: 11.3m Fall Zone Area: 96m2 Free Height of Fall: 1.7m


