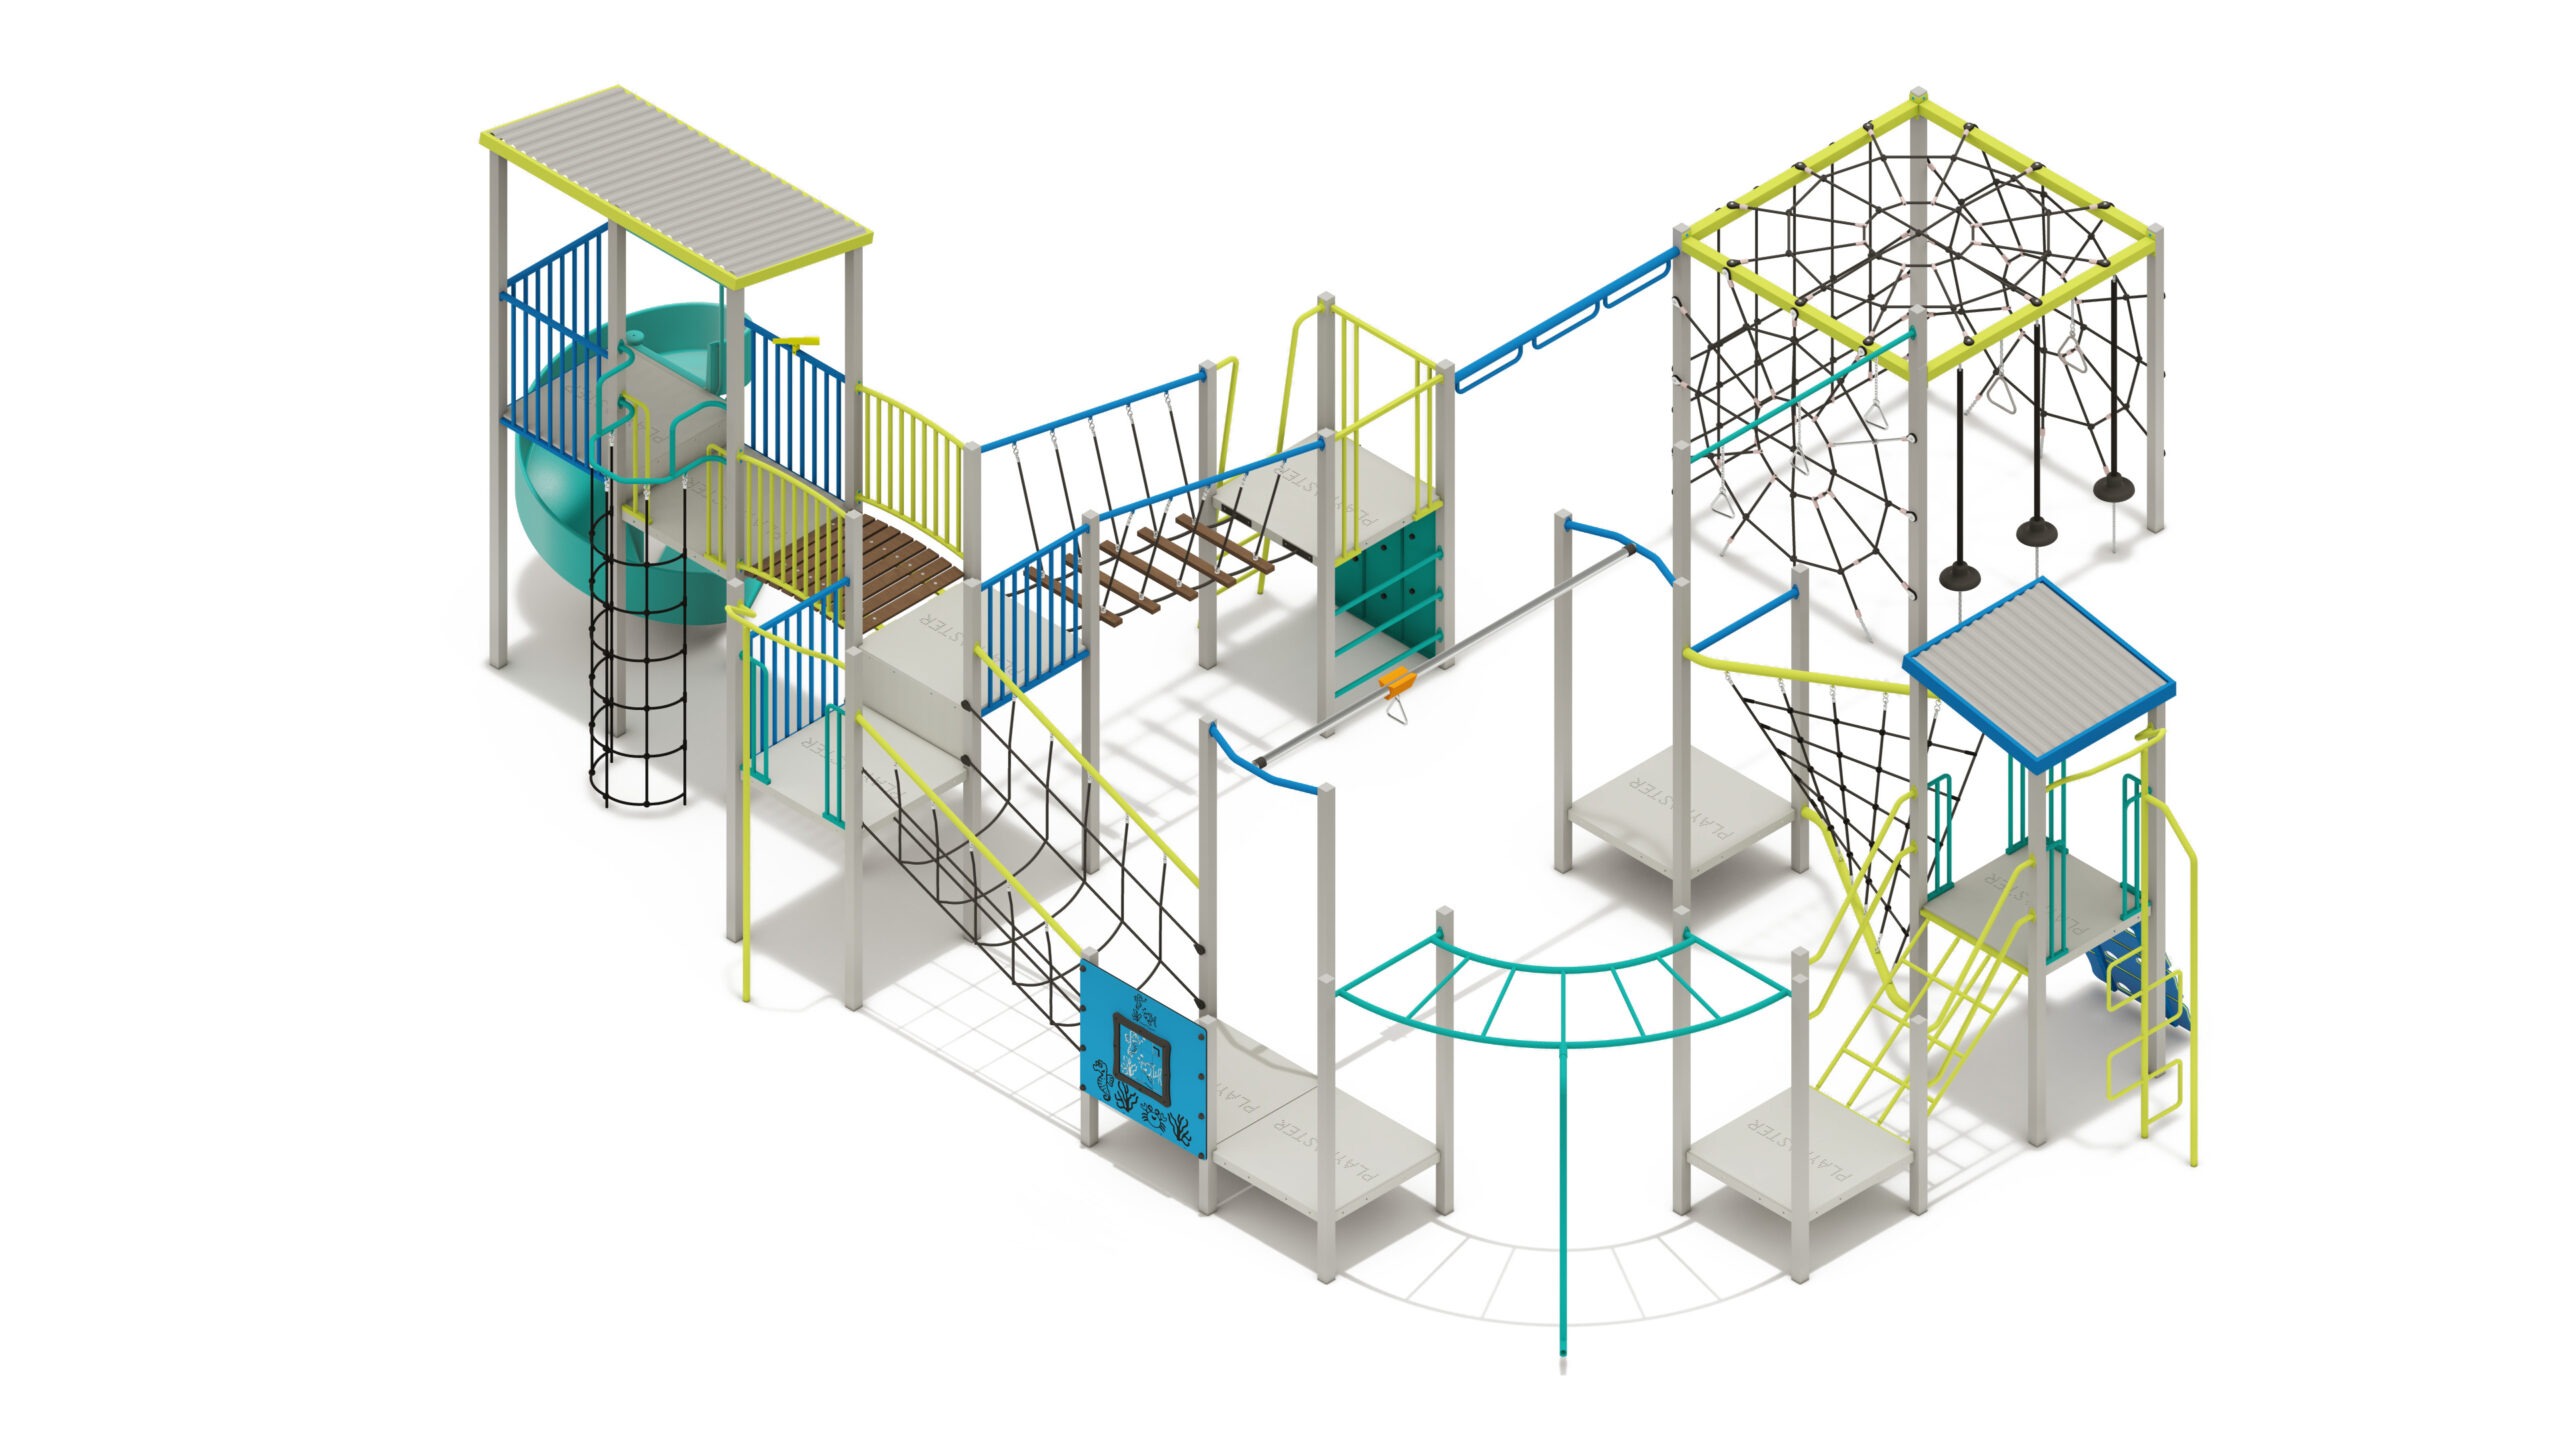
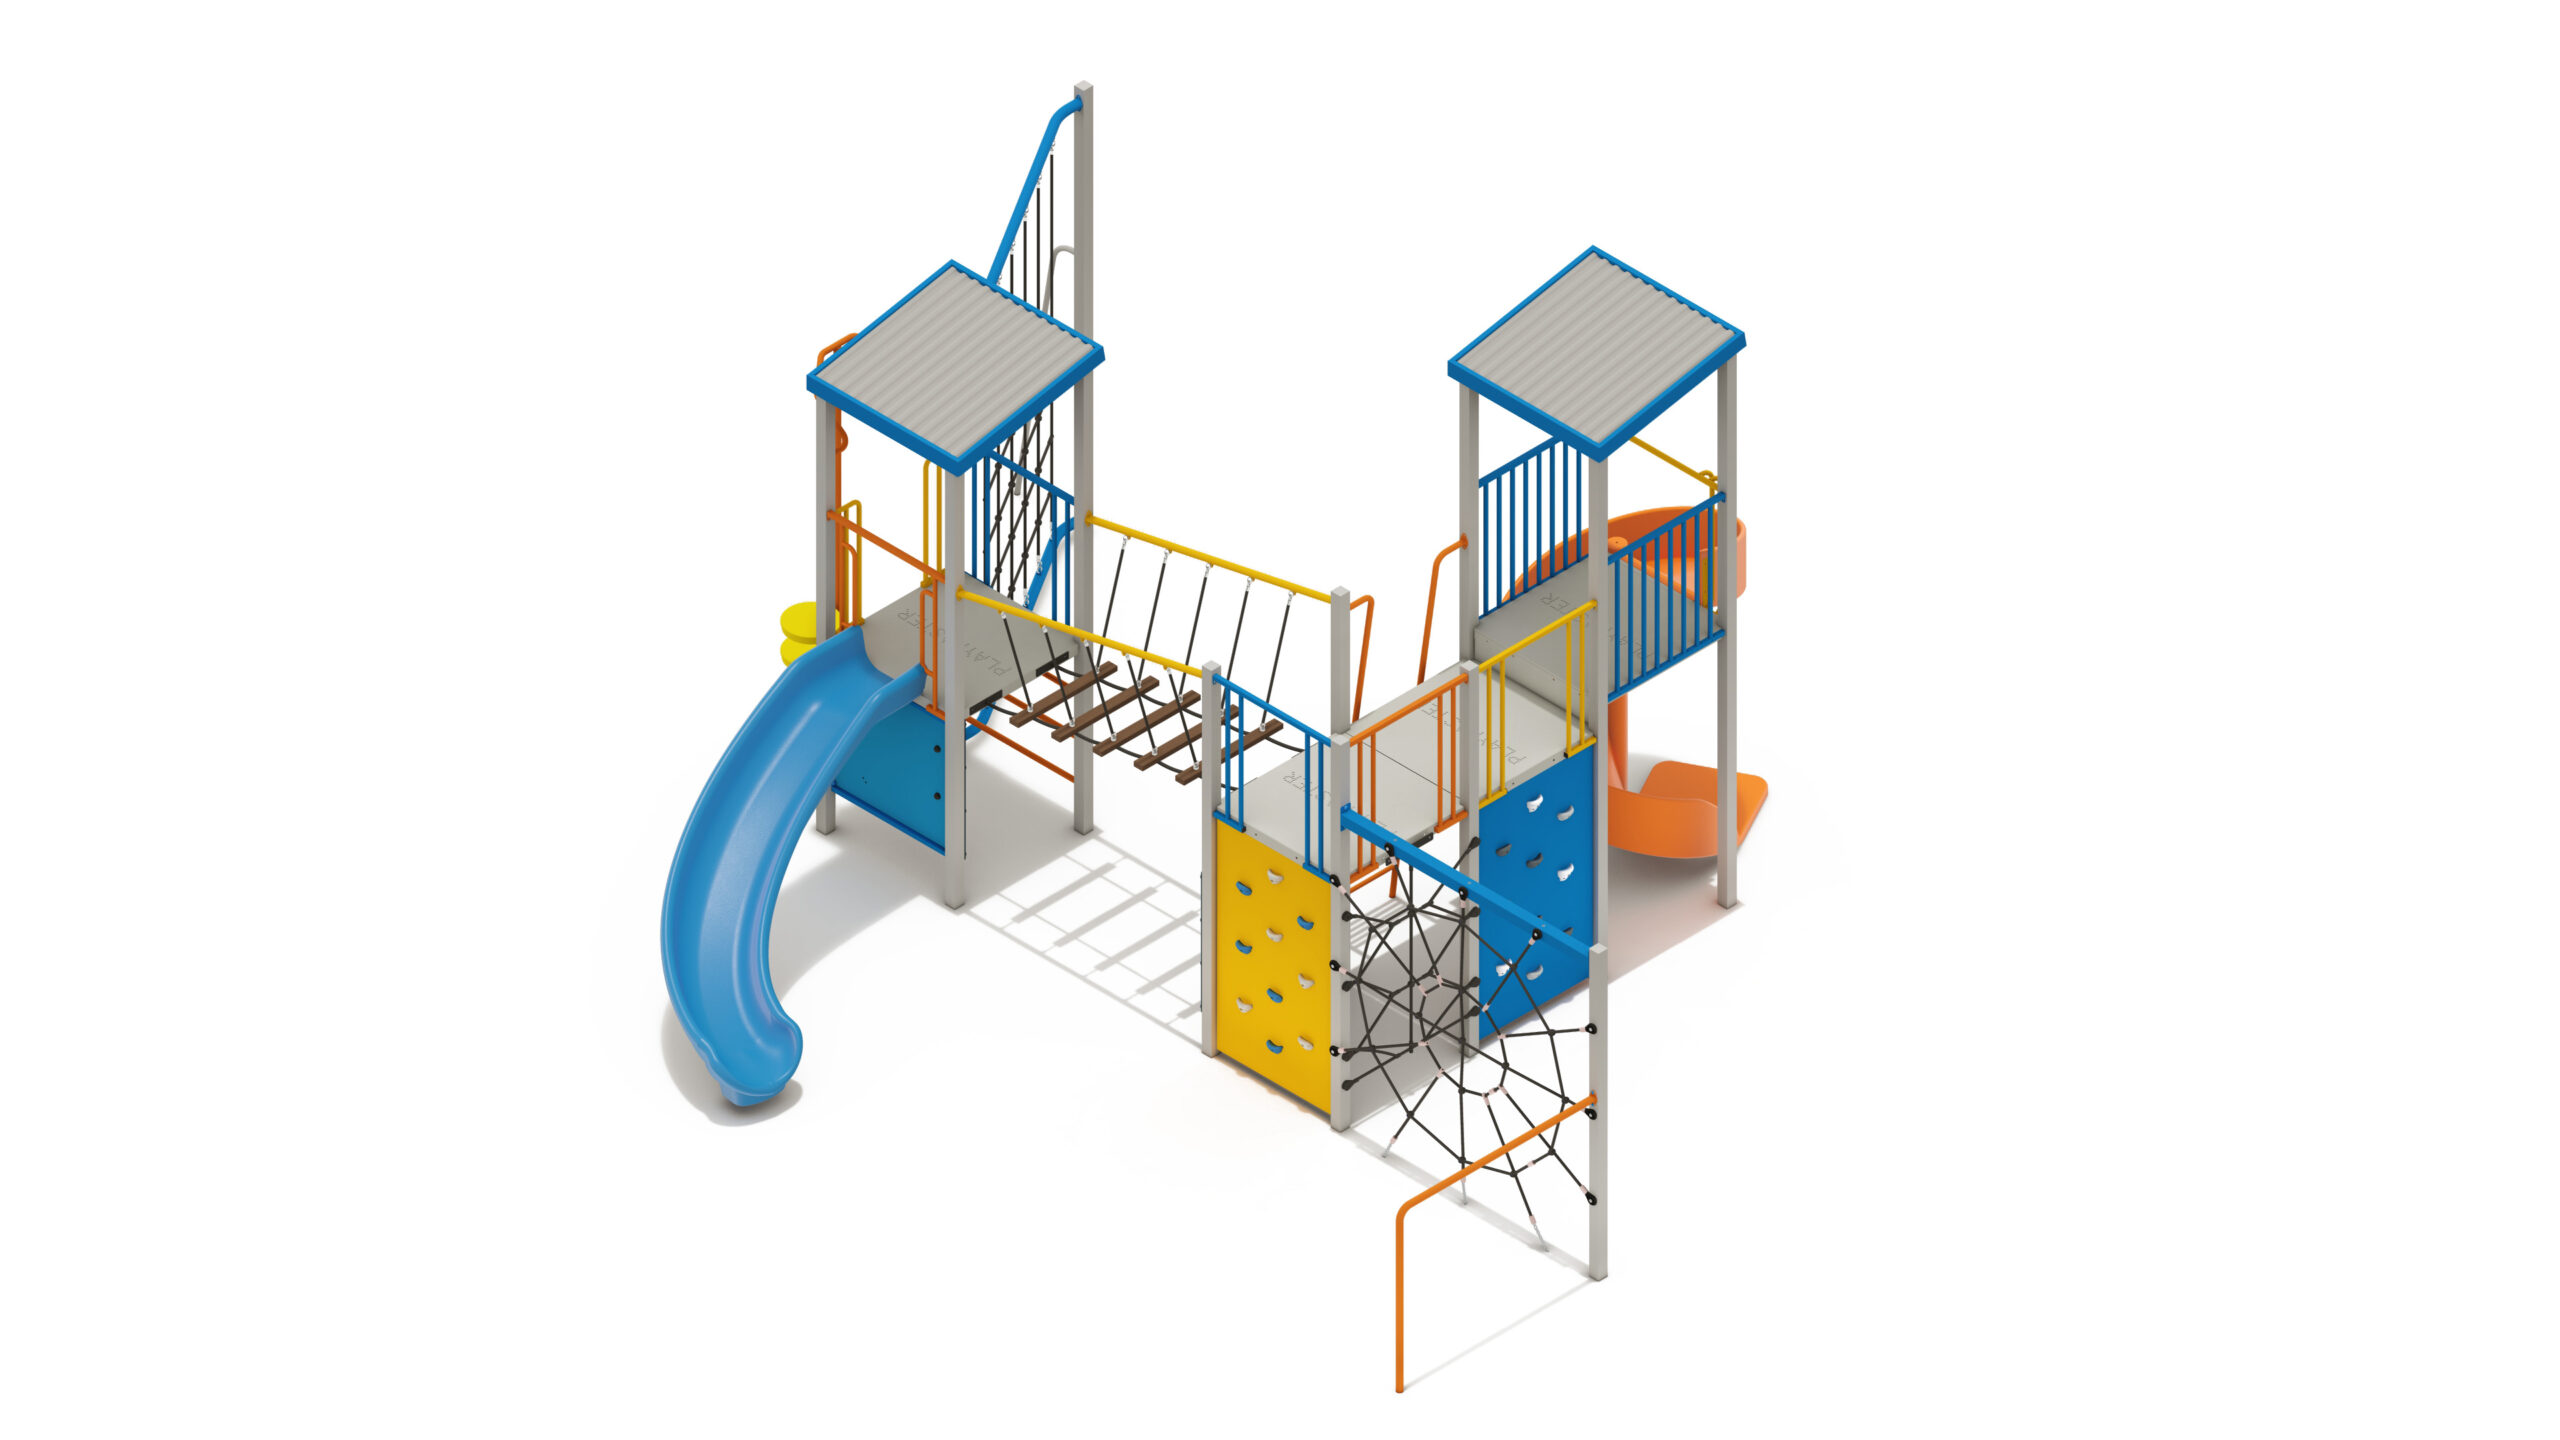
Inclusive Fruit Bat
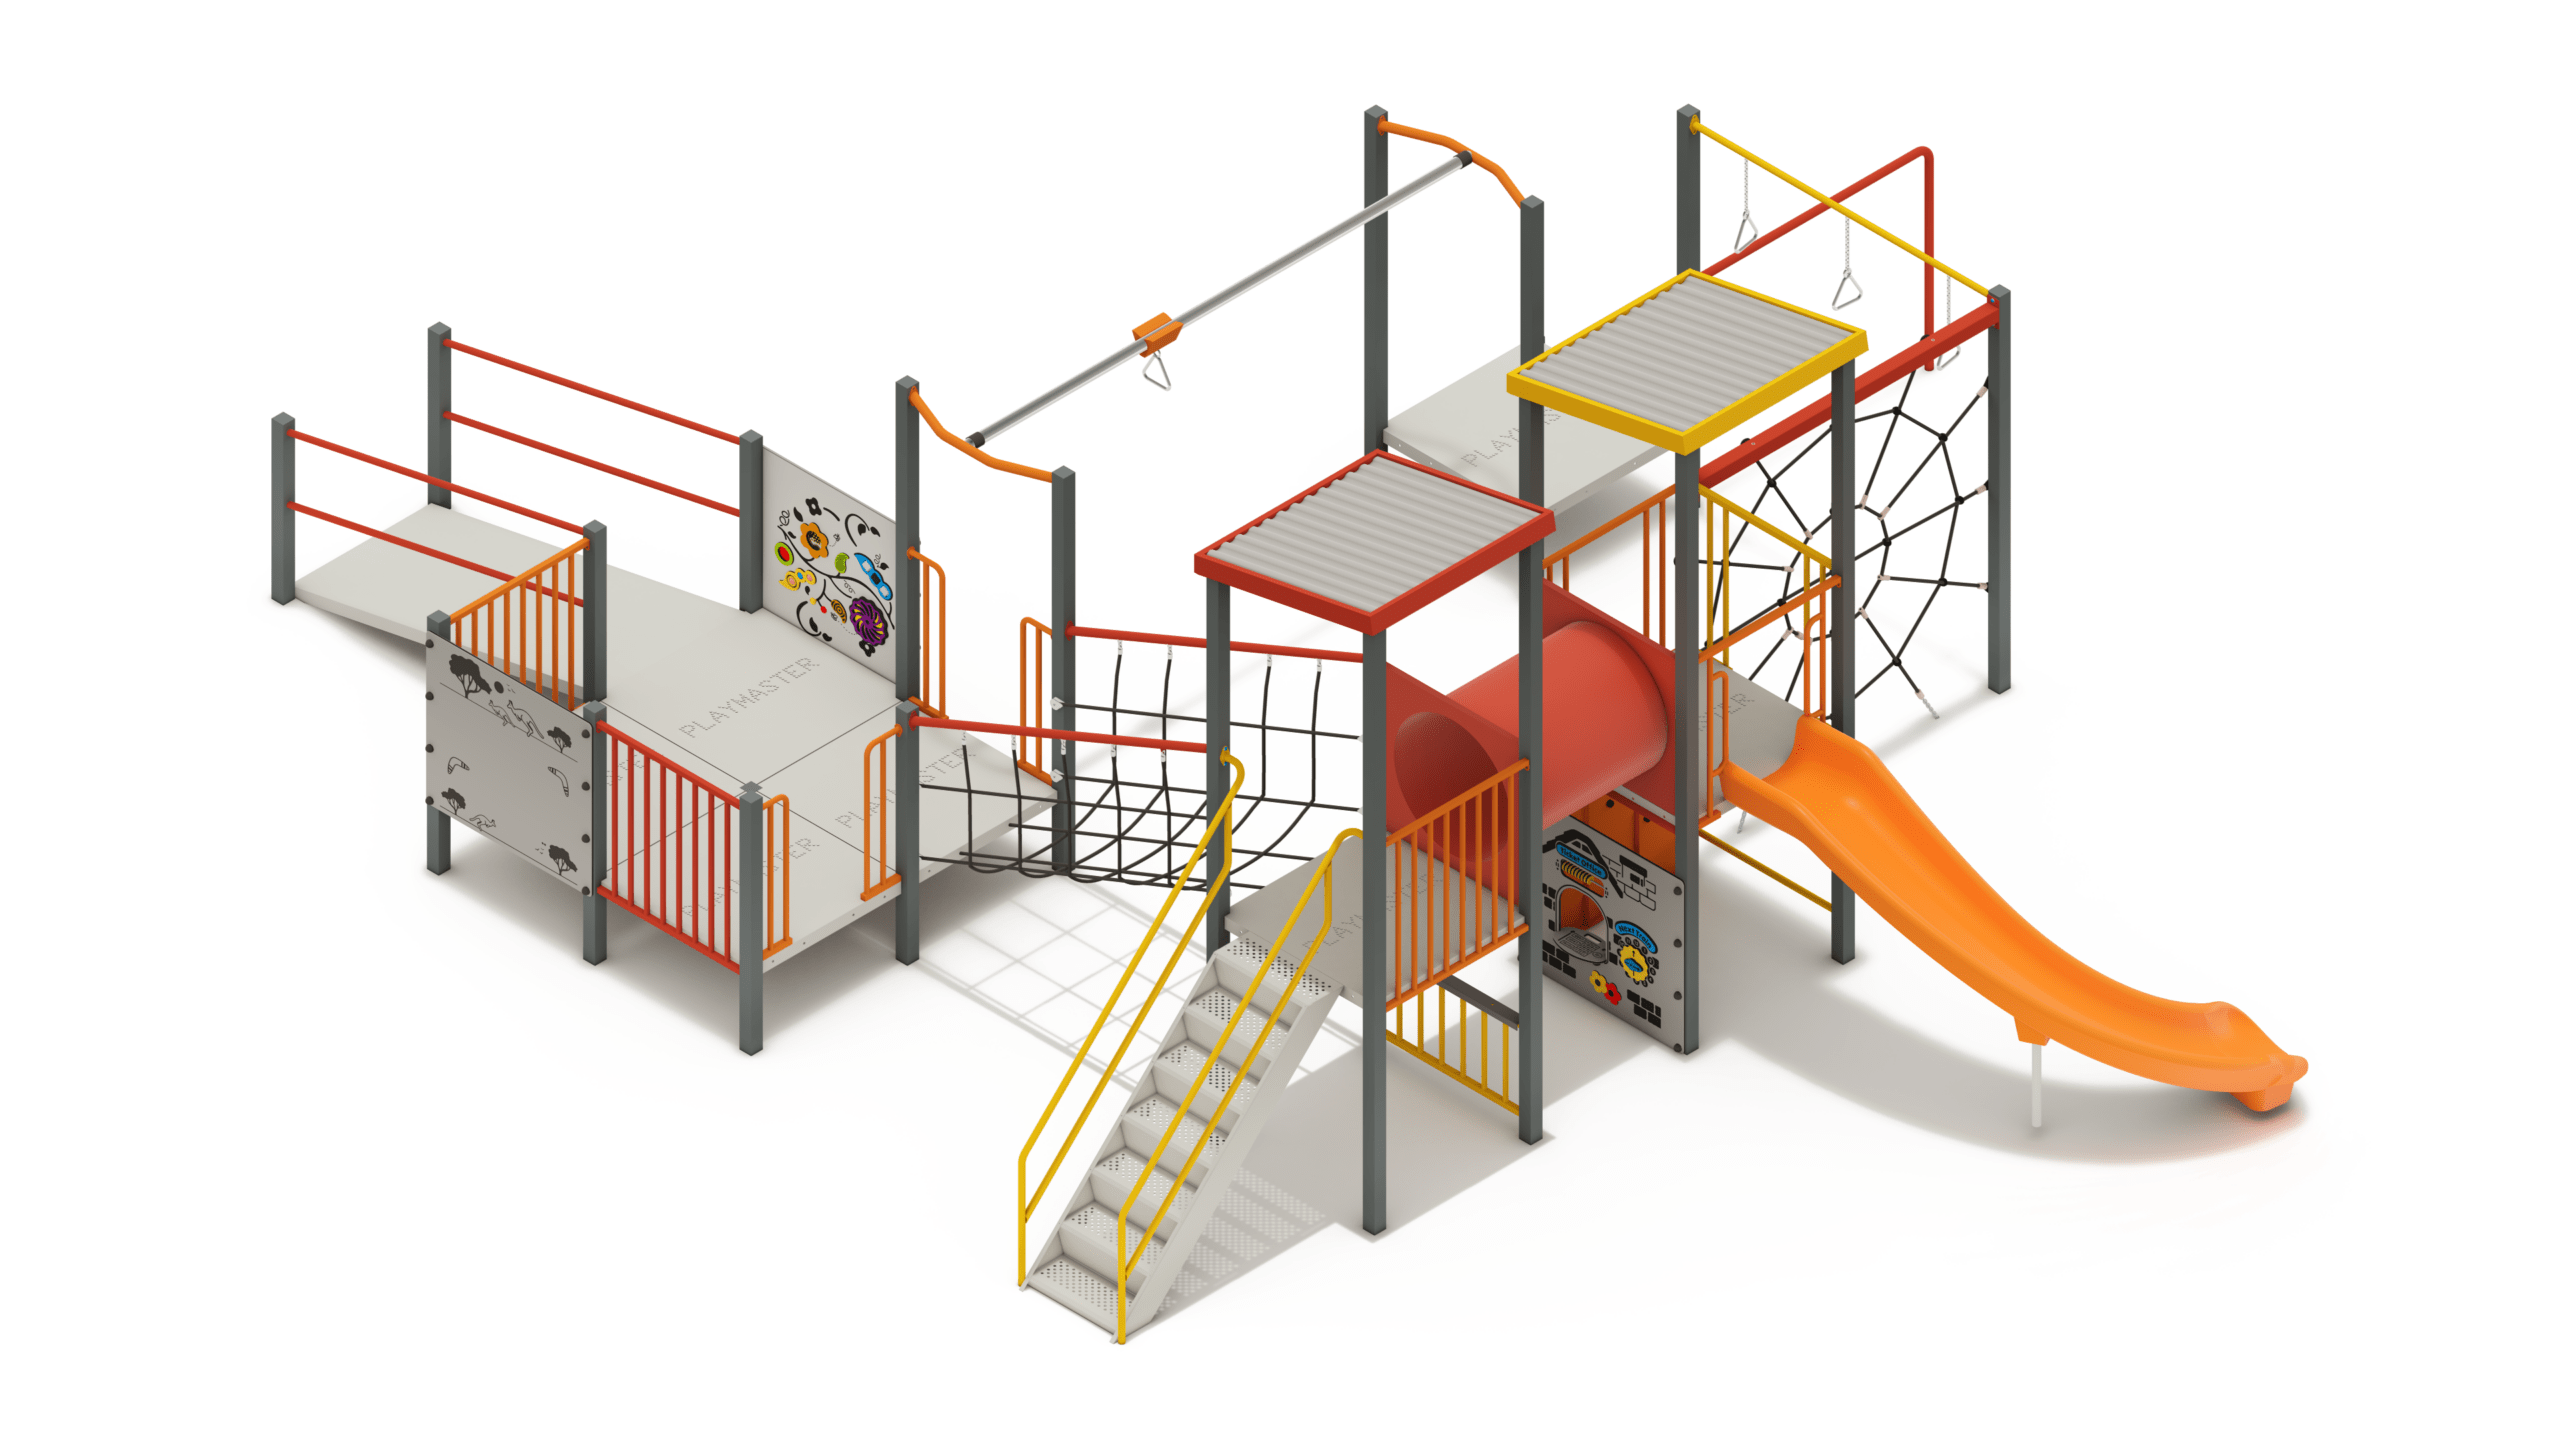
Inclusive Fruit Bat
Product Specifications
- Height: 3.40m
- Width: 7.24m
- Length: 9.42m
- Fall Zone Area: 90m2
- Free Height of Fall: 2.20m
Downloads
Related Products
- AD10-003
Senior Fairy Orchid
Height: 3.9m Width: 7.47m Length: 11.5m Fall Zone Area: 134m2 Free Height of Fall: 2.2m  AD10-003
Senior Fairy Orchid
Height: 3.9m Width: 7.47m Length: 11.5m Fall Zone Area: 134m2 Free Height of Fall: 2.2m - PM11-48
Inclusive Wallaroo
Height: 3.25m Width: 8.82m Length: 9.37m Fall Zone Area: 105m2 Free Height of Fall: 1.20m PM11-48Inclusive Wallaroo
Height: 3.25m Width: 8.82m Length: 9.37m Fall Zone Area: 105m2 Free Height of Fall: 1.20m - PM19-04
Inclusive Echidna
Height: 3.65m Width: 12.12m Length: 12.43m Fall Zone Area: 150m2 Free Height of Fall: 2.20m PM19-04Inclusive Echidna
Height: 3.65m Width: 12.12m Length: 12.43m Fall Zone Area: 150m2 Free Height of Fall: 2.20m - PM4-0468
All Ages Quenda
Height: 3.85m Width: 6.32m Length: 7.07m Fall Zone Area: 73m2 Free Height of Fall: 2.20m PM4-0468All Ages Quenda
Height: 3.85m Width: 6.32m Length: 7.07m Fall Zone Area: 73m2 Free Height of Fall: 2.20m