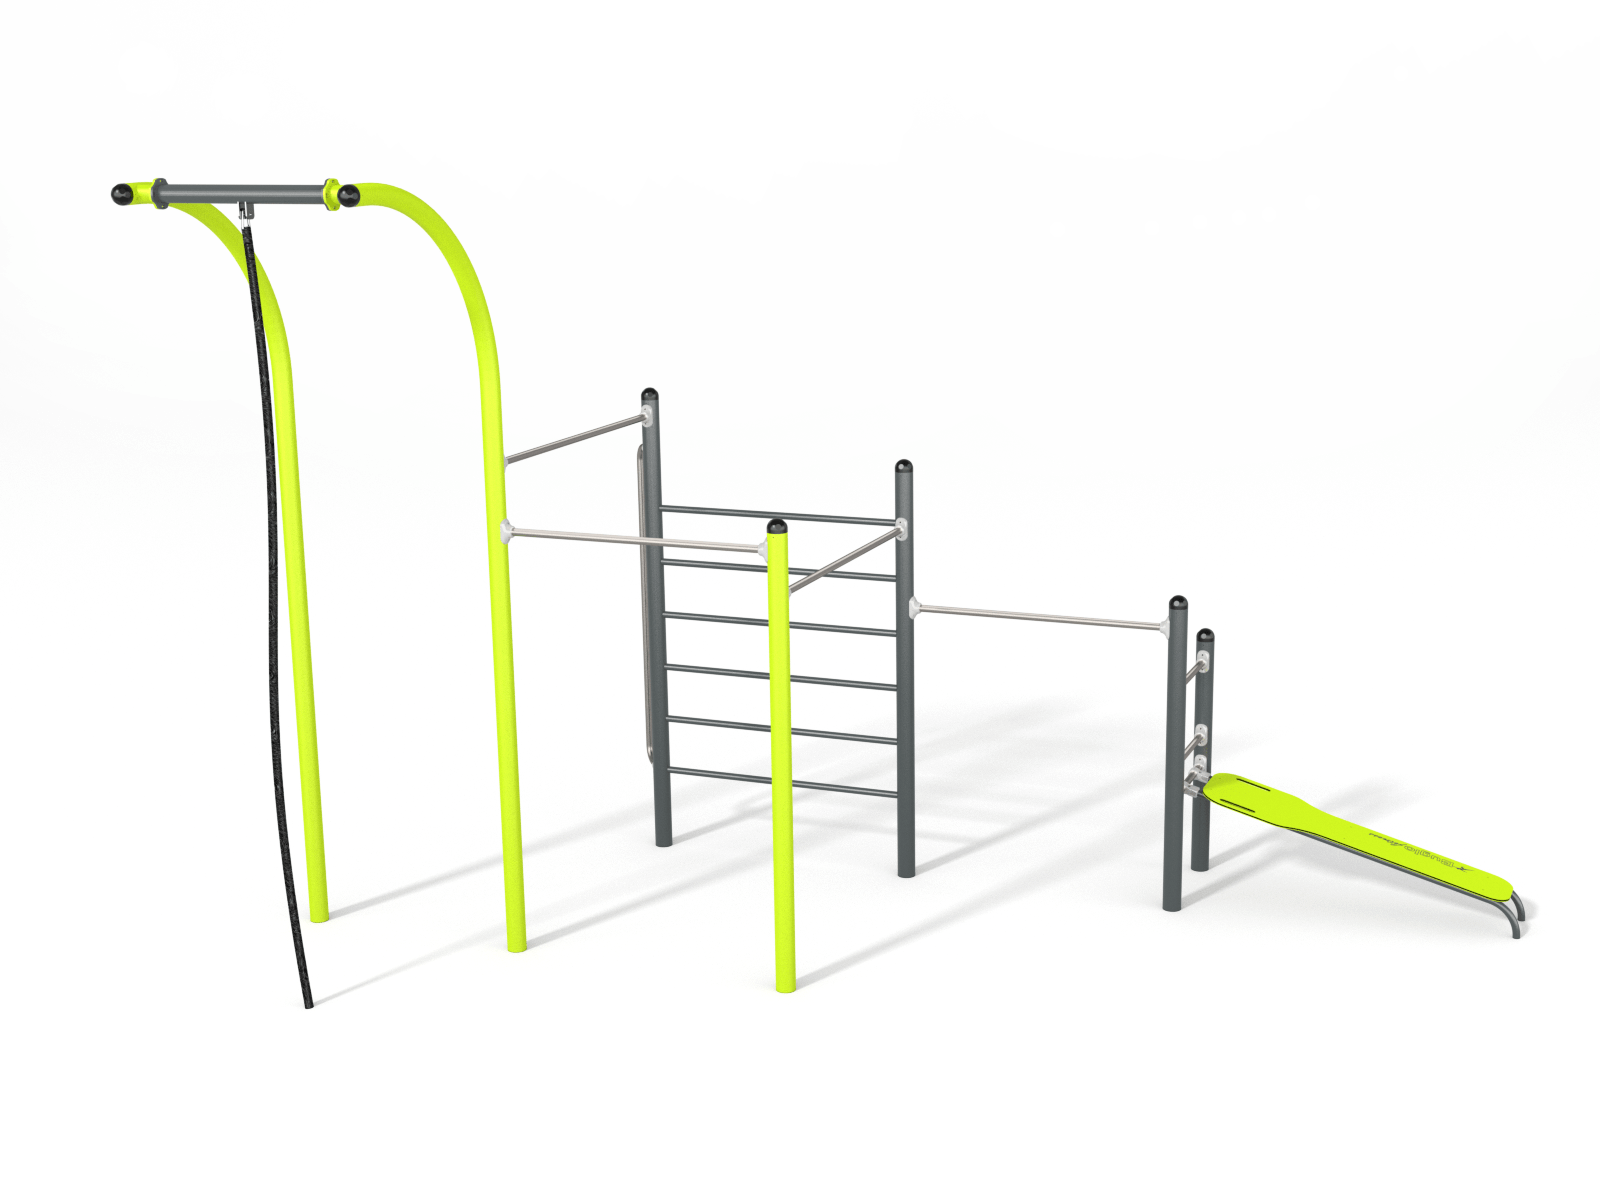
OPEN MOUV’ROC SPORT L


OPEN MOUV’ROC SPORT L
Product Specifications
- Height: 3.02m
- Width: 3.82m
- Length: 5.29m
- Fall Zone Area: 36.9m2
- Free Height of Fall: 1.44m
Downloads
Related Products
- 7615
Street Workout – Fitness Unit 2
Height: 3.10m Width: 4.85m Length: 4.51m Fall Zone Area: 49m2 Free Height of Fall: 1.72m  7615
7615Street Workout – Fitness Unit 2
Height: 3.10m Width: 4.85m Length: 4.51m Fall Zone Area: 49m2 Free Height of Fall: 1.72m - 09 410 03 00
OPEN MOUV’ROC SPORT XL
Height: 3.55m Width: 4.99m Length: 6.94m Fall Zone Area: 52.7m2 Free Height of Fall: 1.44m  09 410 03 00
OPEN MOUV’ROC SPORT XL
Height: 3.55m Width: 4.99m Length: 6.94m Fall Zone Area: 52.7m2 Free Height of Fall: 1.44m - 7613
Street Workout – Fitness Unit 1
Height: 2.87m Width: 4.99m Length: 3.61m Fall Zone Area: 47m2 Free Height of Fall: 1.66m 7613Street Workout – Fitness Unit 1
Height: 2.87m Width: 4.99m Length: 3.61m Fall Zone Area: 47m2 Free Height of Fall: 1.66m - 7614
Street Workout – Fitness Unit 4
Height: 3.60m Width: 5.49m Length: 3.28m Fall Zone Area: 40m2 Free Height of Fall: 2.50m 7614Street Workout – Fitness Unit 4
Height: 3.60m Width: 5.49m Length: 3.28m Fall Zone Area: 40m2 Free Height of Fall: 2.50m