
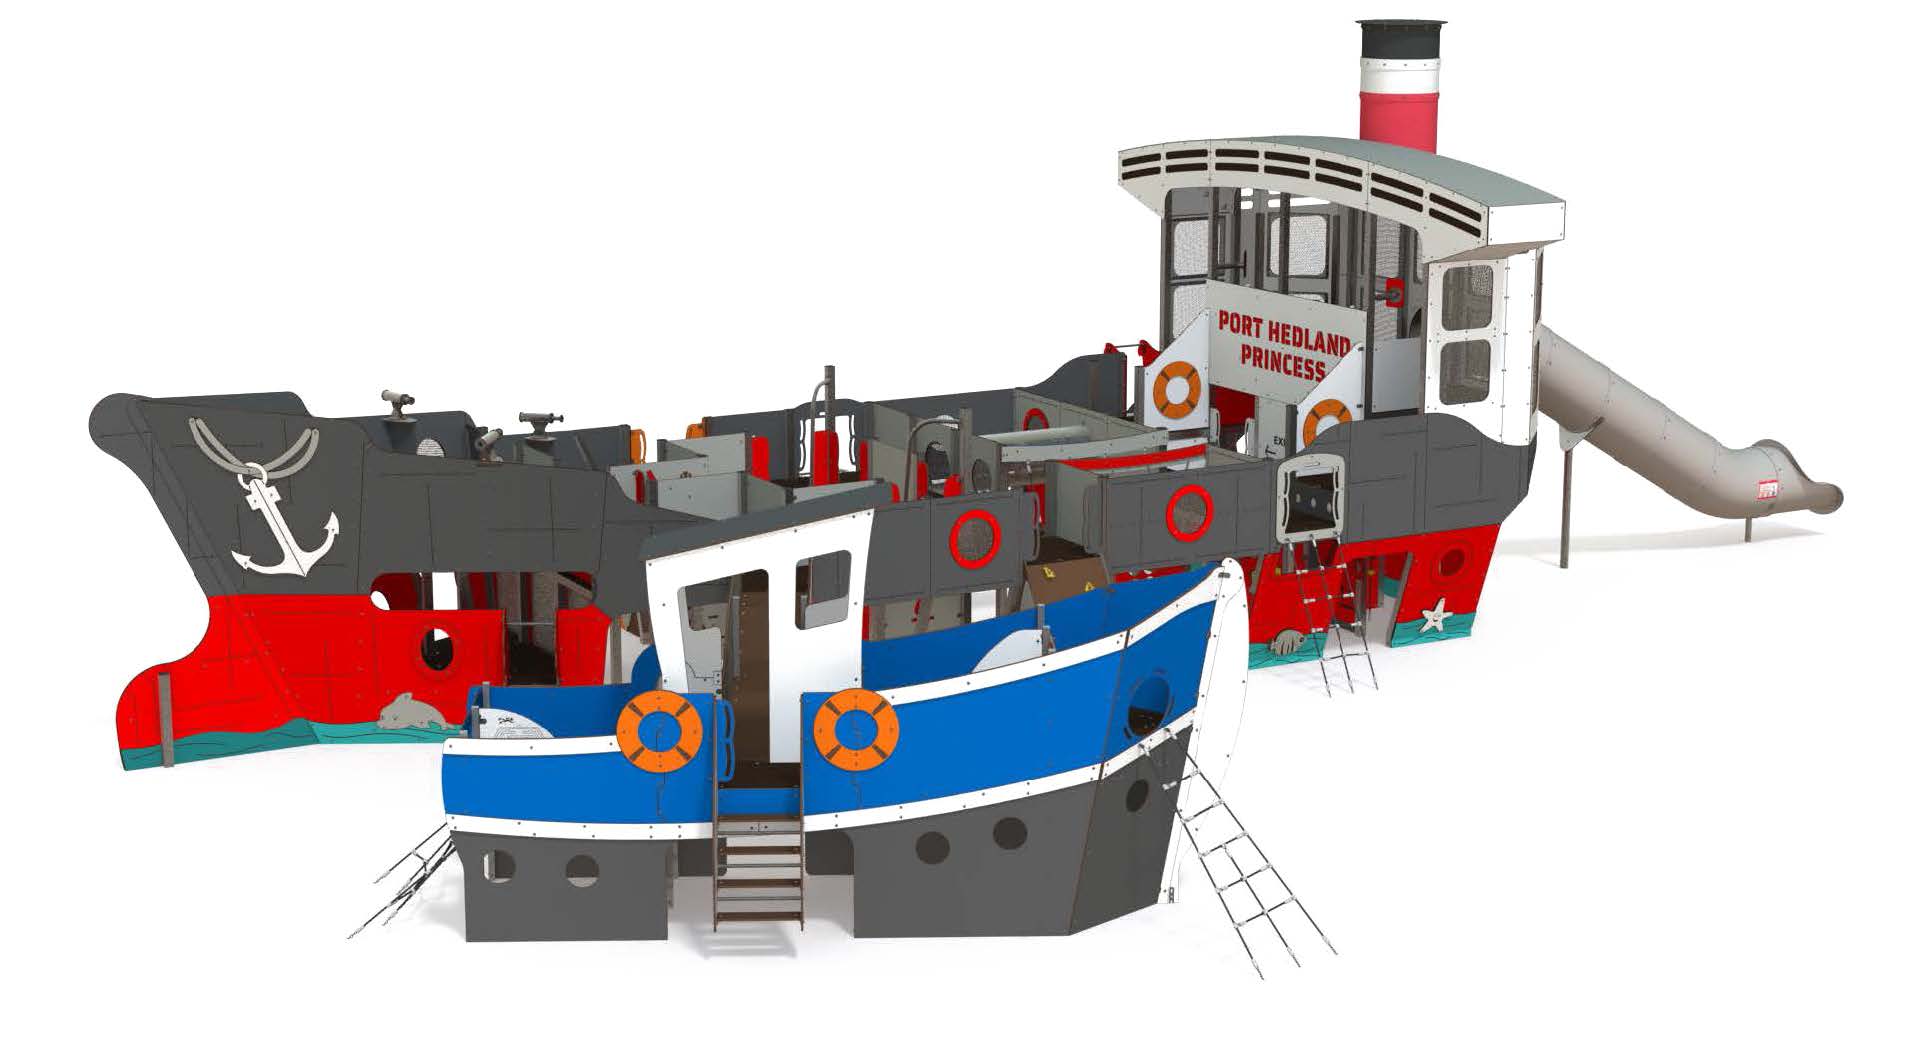
Junior Ship Lookout

Junior Ship Lookout
Product Specifications
- Height: 3.11m
- Width: 2.43m
- Length: 4.37m
- Fall Zone Area: 30m2
- Free Height of Fall: 1.11m
Downloads
Related Products
- EX 15-1009-Q14
Marine Slide
Height: 3.22m Width: 1.65m Length: 4m Fall Zone Area: 25m2 Free Height of Fall: 1.46m  EX 15-1009-Q14
Marine Slide
Height: 3.22m Width: 1.65m Length: 4m Fall Zone Area: 25m2 Free Height of Fall: 1.46m - CI 09-1001-Q
Junior Ship Multiplay C
Height: 2.84m Width: 2.33m Length: 3.91m Fall Zone Area: 23m2 Free Height of Fall: 1m  CI 09-1001-Q
Junior Ship Multiplay C
Height: 2.84m Width: 2.33m Length: 3.91m Fall Zone Area: 23m2 Free Height of Fall: 1m - CI 24-1001-T01
Mega Ship Multiplay A
Height: 8.45m Width: 9.48m Length: 18.92m Fall Zone Area: 179m2 Free Height of Fall: 2m  CI 24-1001-T01
Mega Ship Multiplay A
Height: 8.45m Width: 9.48m Length: 18.92m Fall Zone Area: 179m2 Free Height of Fall: 2m - CI 03-1003-Q99
Nautical Junior Play Unit B
Height: 1.53m Width: 1.65m Length: 3.62m Fall Zone Area: 25m2 Free Height of Fall: 0.34m  CI 03-1003-Q99
Nautical Junior Play Unit B
Height: 1.53m Width: 1.65m Length: 3.62m Fall Zone Area: 25m2 Free Height of Fall: 0.34m


