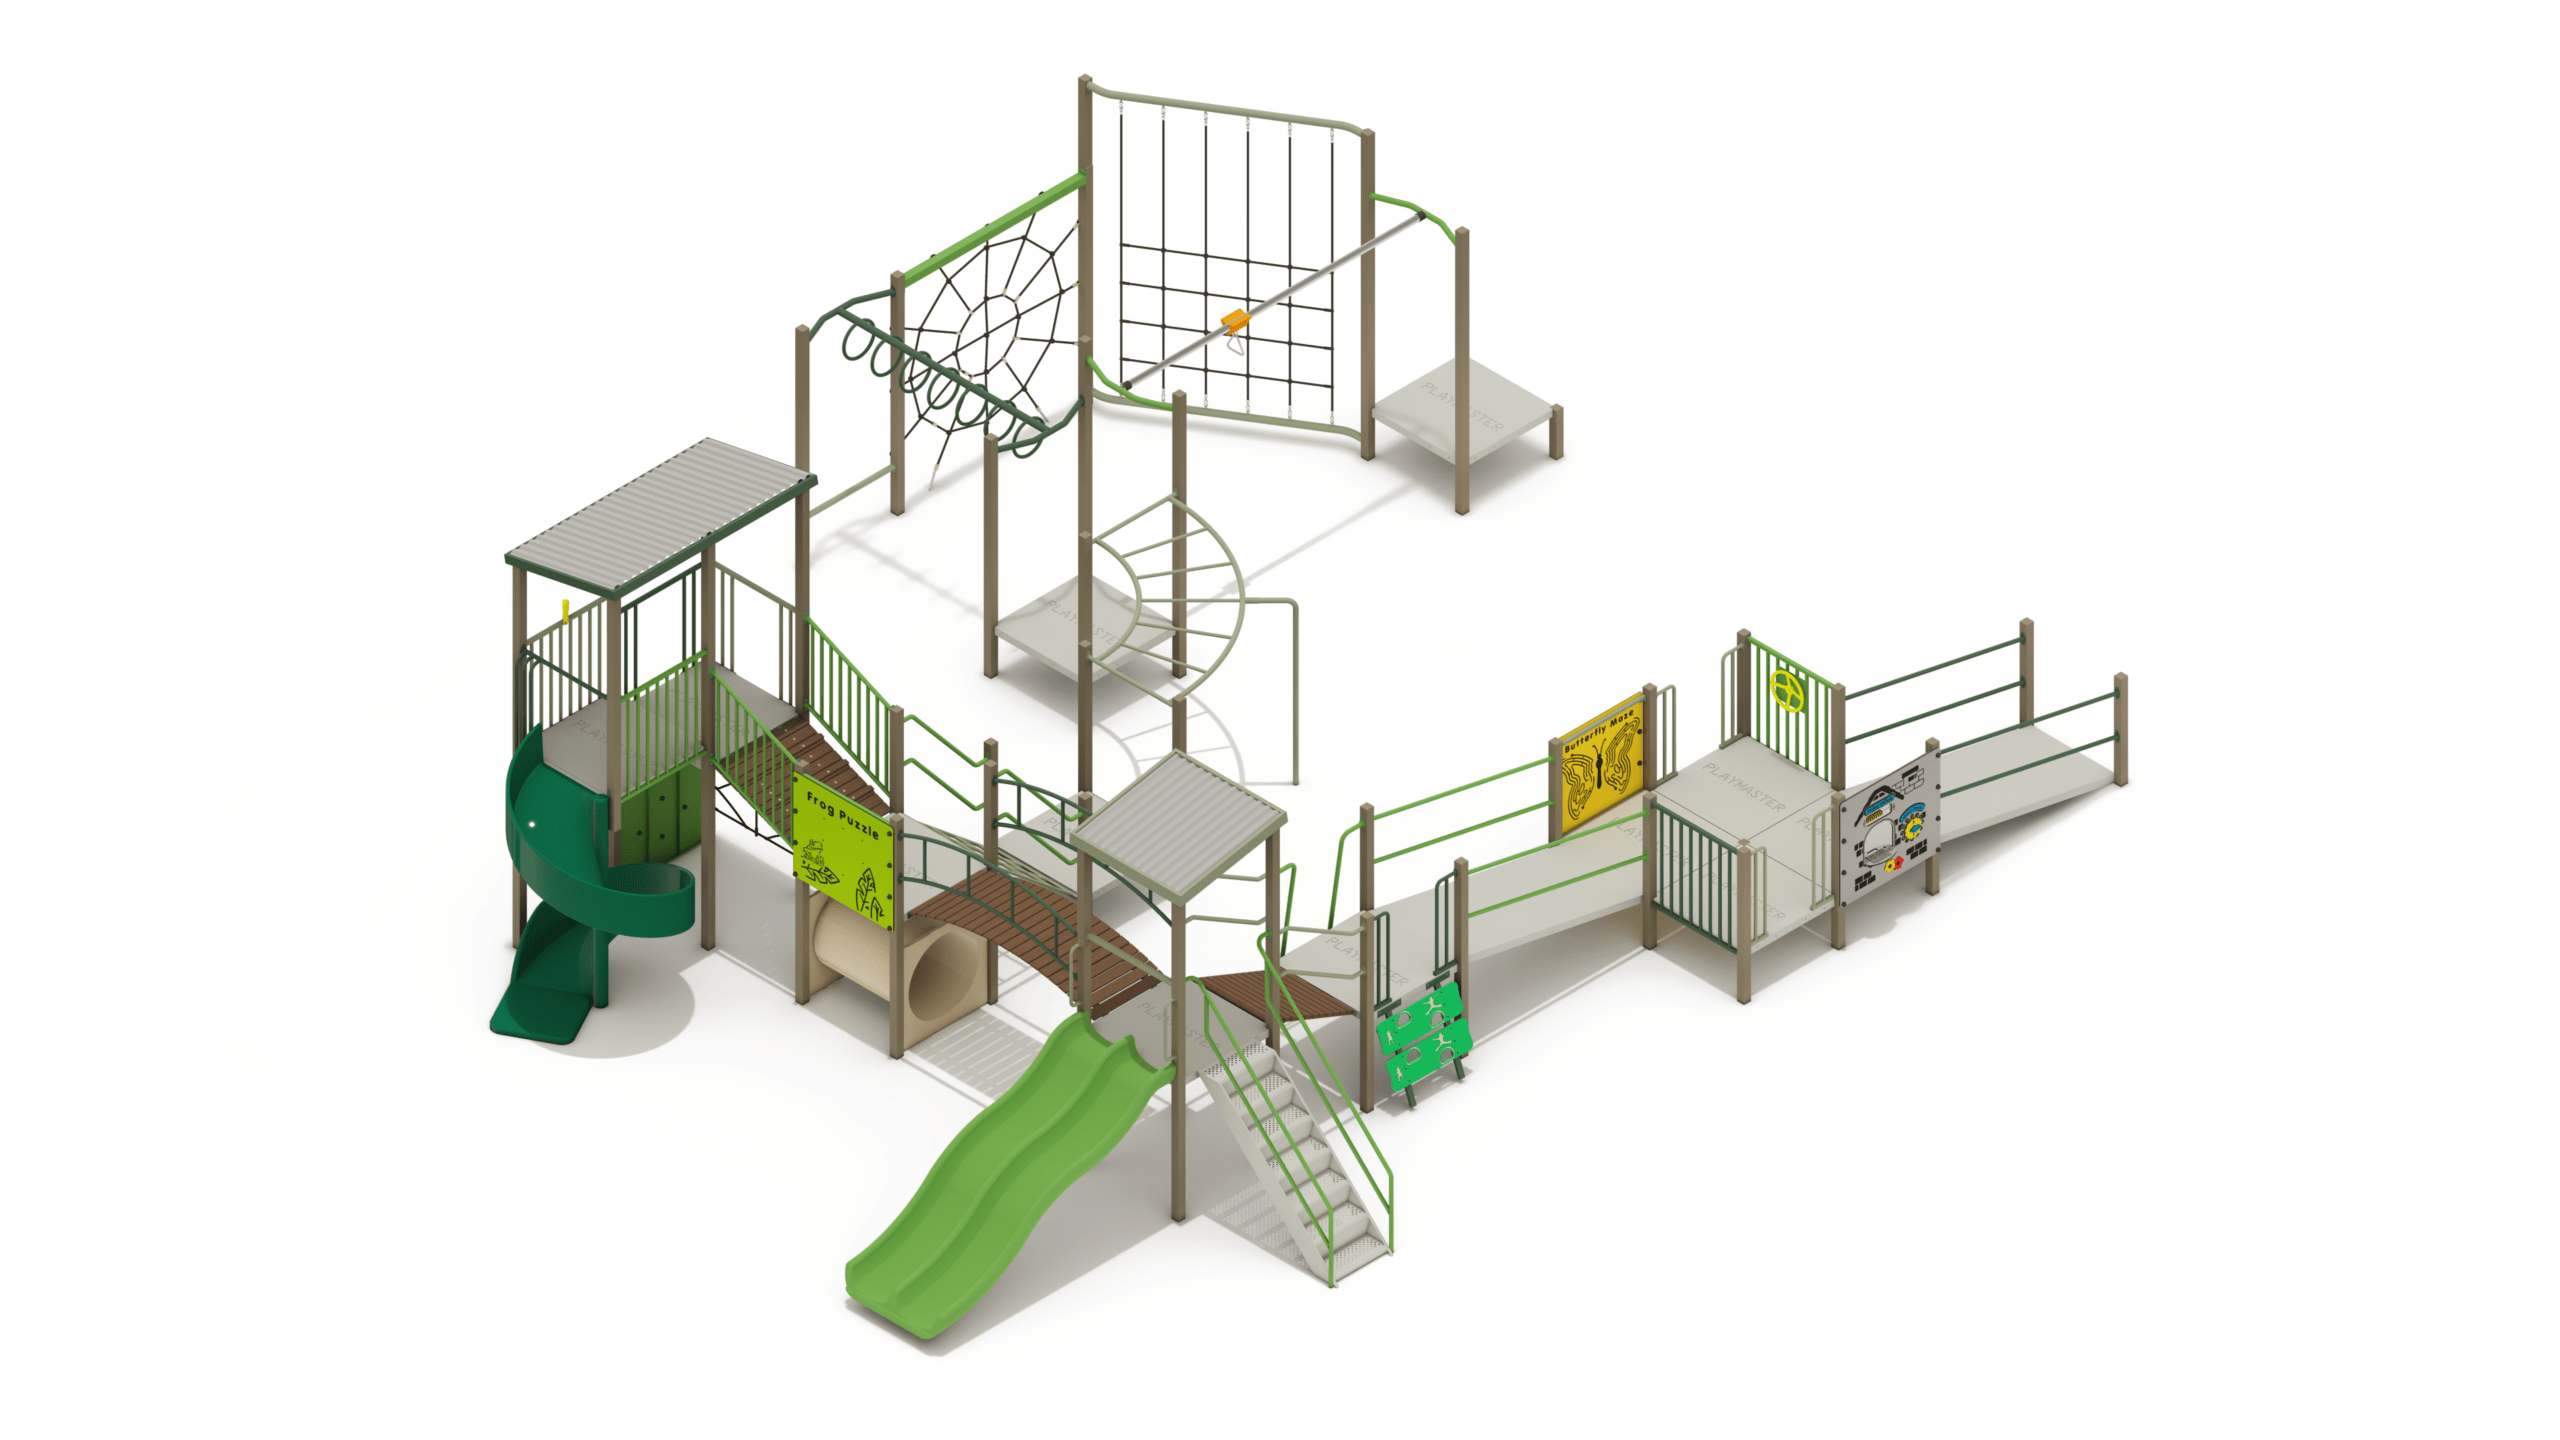
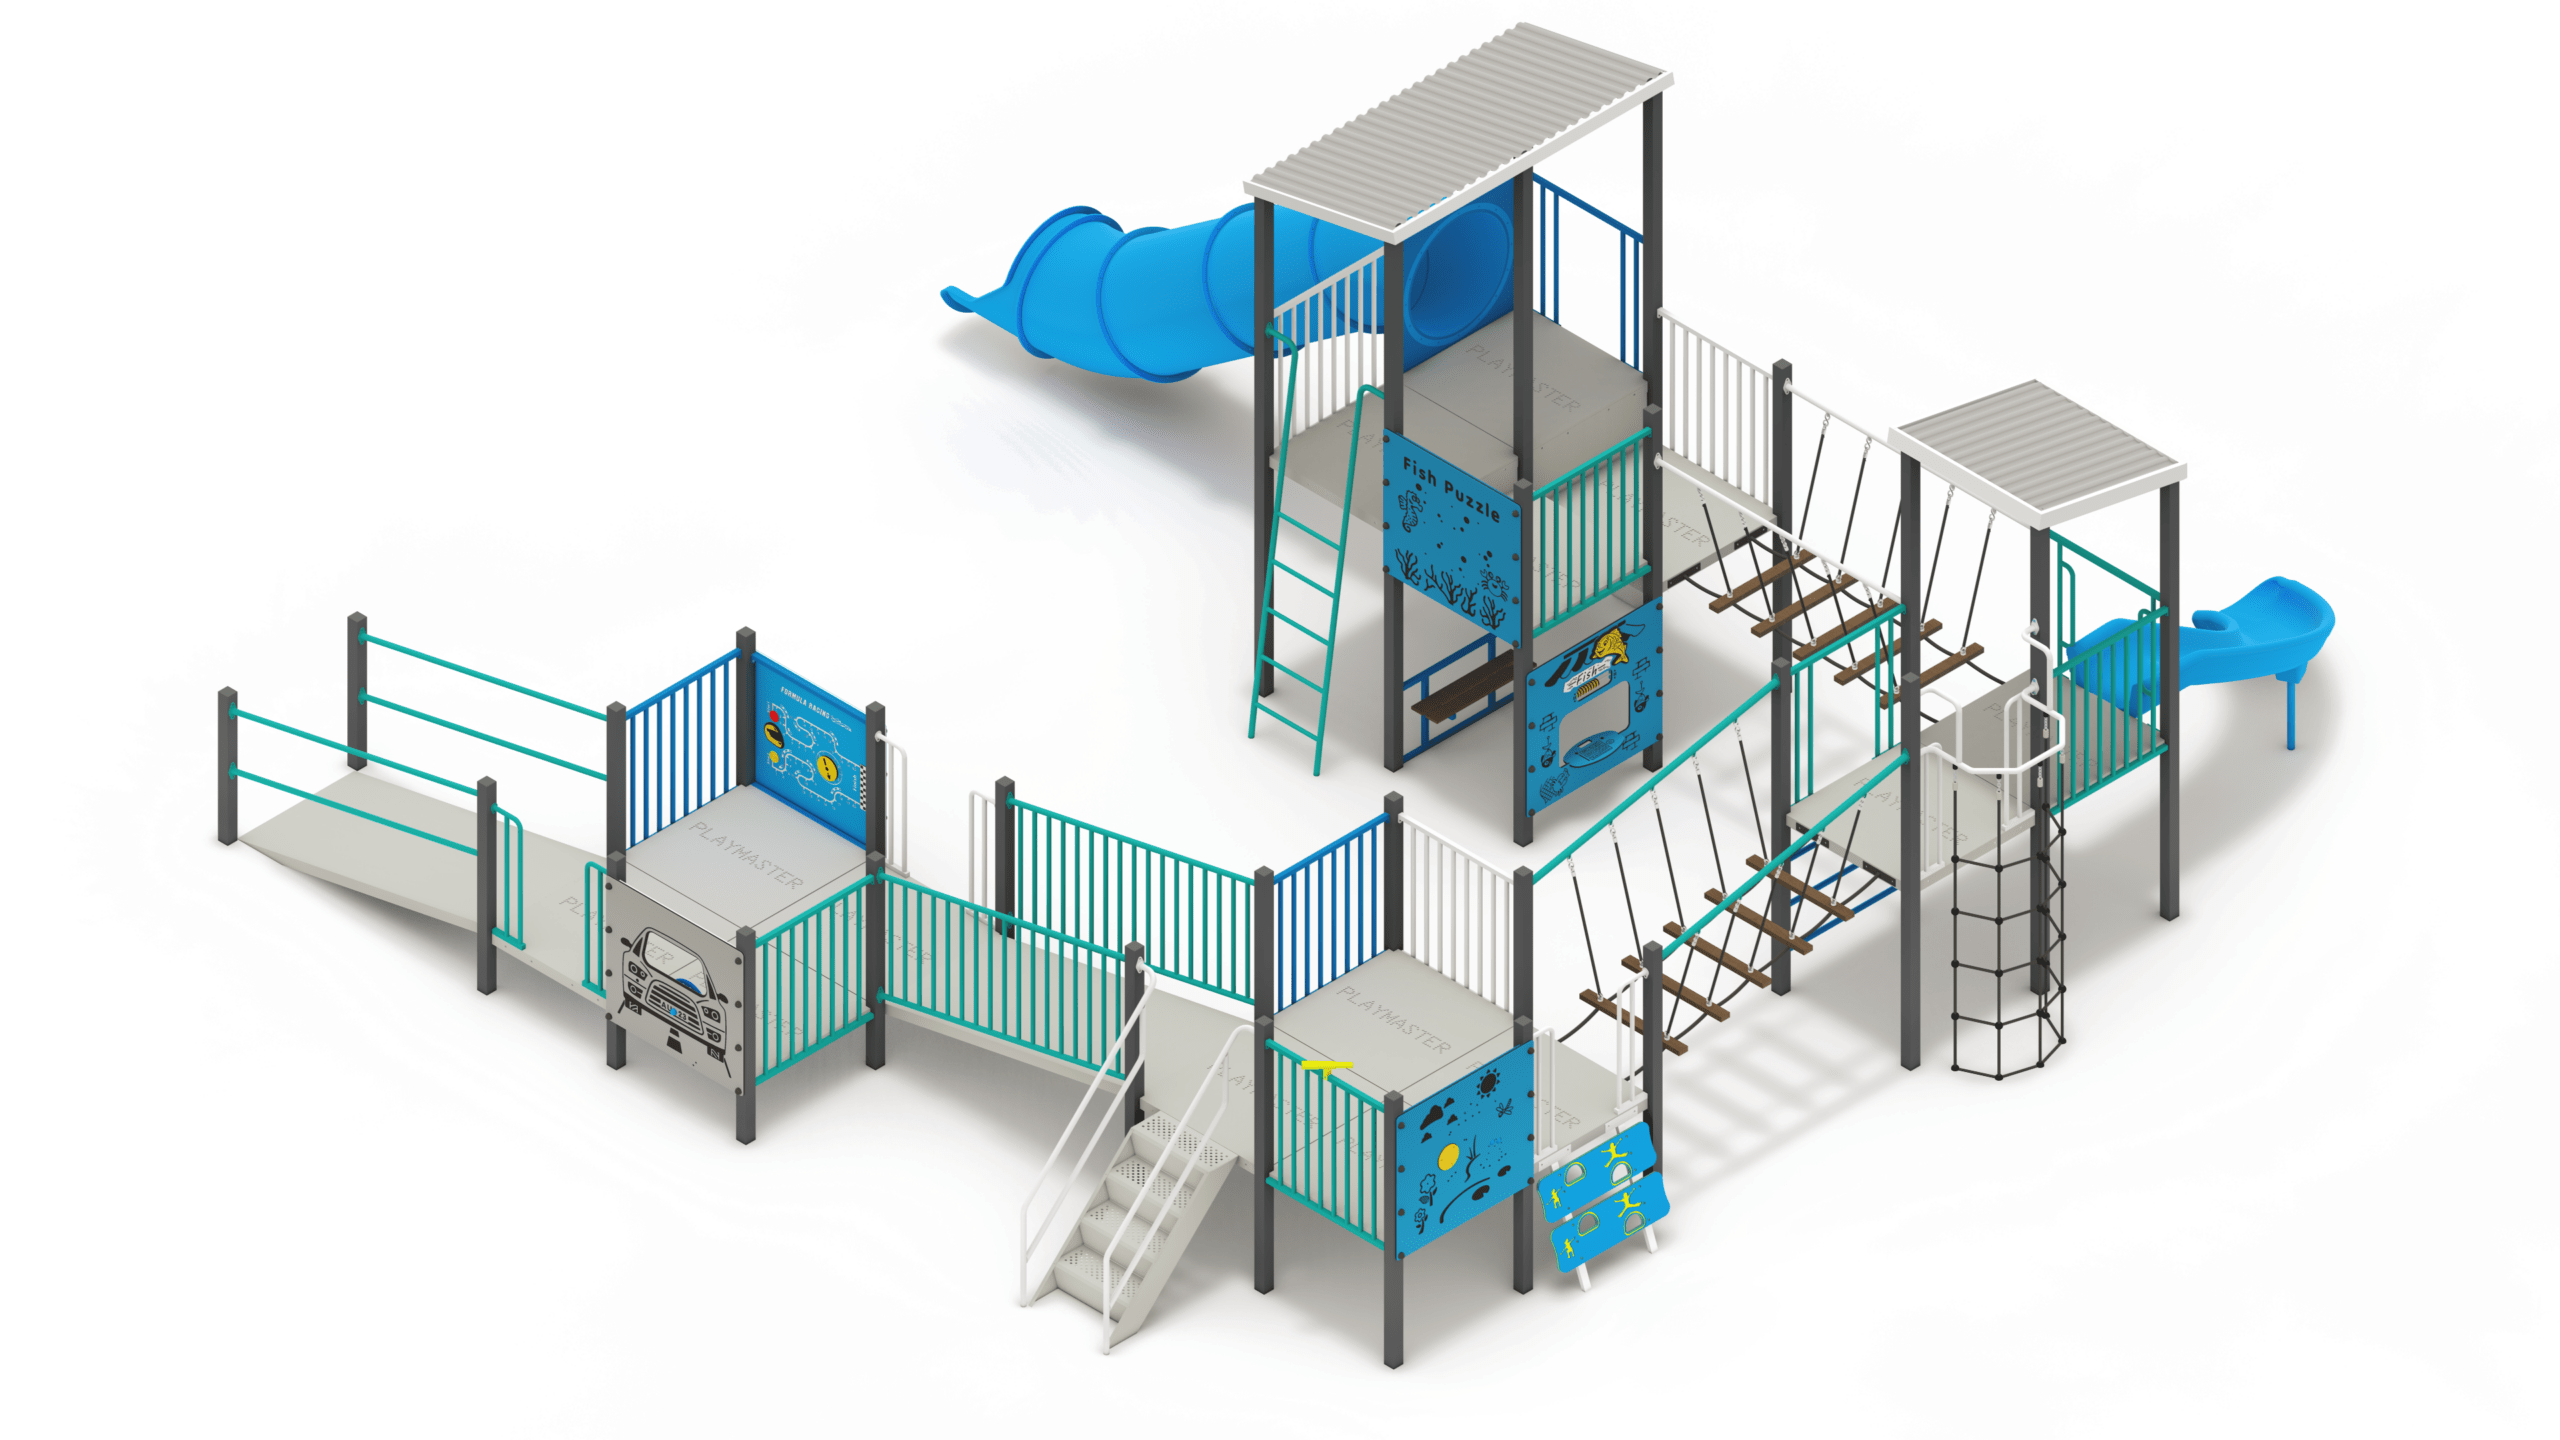
Early Childhood Boodie

Early Childhood Boodie
Product Specifications
- Height: 3.50m
- Width: 6.82m
- Length: 6.56m
- Fall Zone Area: 60m2
- Free Height of Fall: 0.80m
Downloads
Related Products
- PM10-271
Senior Pobblebonk
Height: 3.45m Width: 8.41m Length: 11.53m Fall Zone Area: 159m2 Free Height of Fall: 2.20m  PM10-271
Senior Pobblebonk
Height: 3.45m Width: 8.41m Length: 11.53m Fall Zone Area: 159m2 Free Height of Fall: 2.20m - AD4-0873
Early Childhood Honey Possum
Height: 2.90m Width: 4.08m Length: 3.57m Fall Zone Area: 36m2 Free Height of Fall: 1.50m AD4-0873Early Childhood Honey Possum
Height: 2.90m Width: 4.08m Length: 3.57m Fall Zone Area: 36m2 Free Height of Fall: 1.50m - PM11-32
Inclusive Water Gum
Height: 3.85m Width: 9.59m Length: 11.65m Fall Zone Area: 143m2 Free Height of Fall: 2.20m PM11-32Inclusive Water Gum
Height: 3.85m Width: 9.59m Length: 11.65m Fall Zone Area: 143m2 Free Height of Fall: 2.20m - PM14-20
Inclusive Wombat
Height: 3.65m Width: 9.11m Length: 9.43m Fall Zone Area: 107m2 Free Height of Fall: 2.20m PM14-20Inclusive Wombat
Height: 3.65m Width: 9.11m Length: 9.43m Fall Zone Area: 107m2 Free Height of Fall: 2.20m