
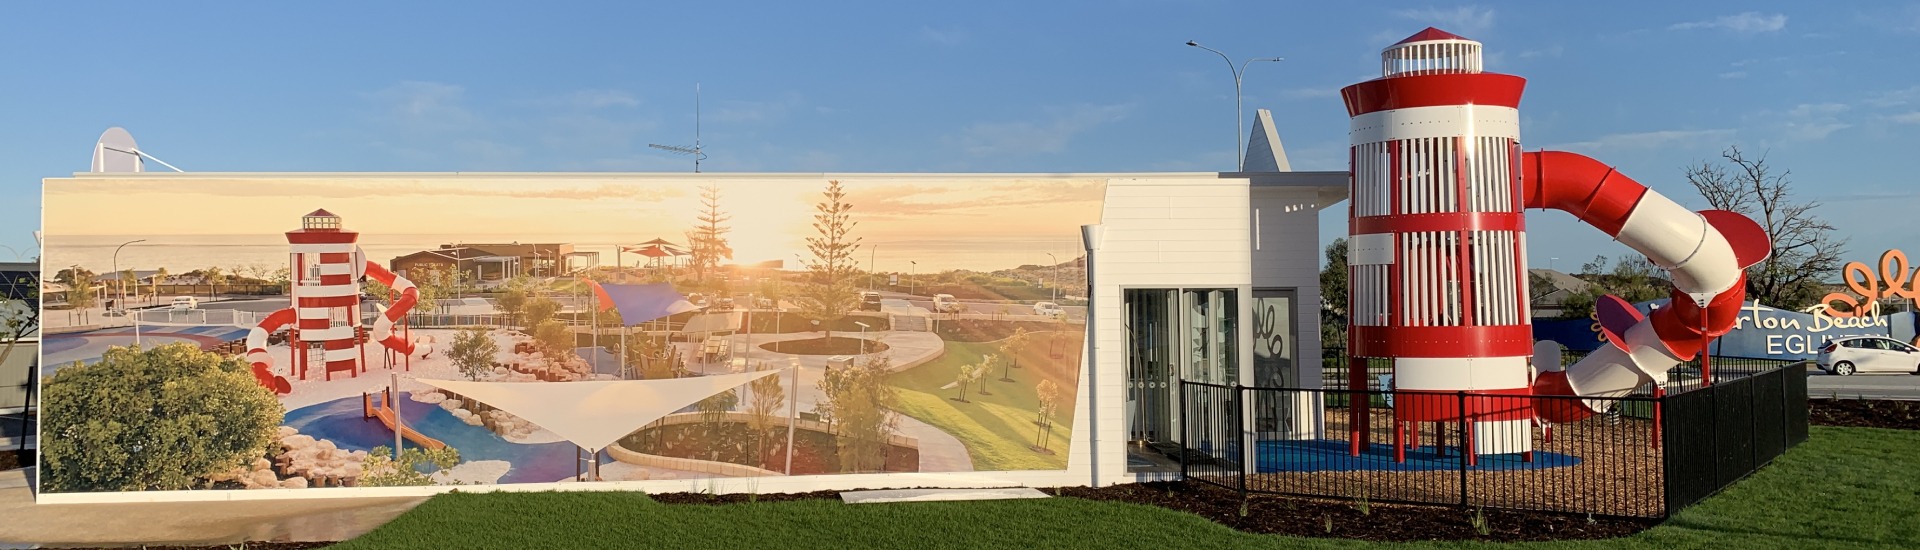
Aerial Tower C

Aerial Tower C
Product Specifications
- Height: 6.63m
- Width: 3.91m
- Length: 5.79m
- Fall Zone Area: 49m2
- Free Height of Fall: 2m
Downloads
Related Products
- CDP 102-P
Witch Dome
Height: 9.2m Width: 22.85m Length: 30.2m Fall Zone Area: 443.6m2 Free Height of Fall: 3.00m  CDP 102-P
Witch Dome
Height: 9.2m Width: 22.85m Length: 30.2m Fall Zone Area: 443.6m2 Free Height of Fall: 3.00m - MGBS 104-P
The Biggies Series 104-P
Height: 9.00m Width: 11.00m Length: 11.2m Fall Zone Area: 138m2 Free Height of Fall: 2.5m MGBS 104-PThe Biggies Series 104-P
Height: 9.00m Width: 11.00m Length: 11.2m Fall Zone Area: 138m2 Free Height of Fall: 2.5m - CDP 105
The Jungle Tower
Height: 7.1m Width: 17.4m Length: 14.95m Fall Zone Area: 166.1m2 Free Height of Fall: 2.1m CDP 105The Jungle Tower
Height: 7.1m Width: 17.4m Length: 14.95m Fall Zone Area: 166.1m2 Free Height of Fall: 2.1m - CDP 103
The World Cup Tower
Height: 10.00m Width: 10.1m Length: 10.5m Fall Zone Area: 123.2m2 Free Height of Fall: 1.35m CDP 103The World Cup Tower
Height: 10.00m Width: 10.1m Length: 10.5m Fall Zone Area: 123.2m2 Free Height of Fall: 1.35m


