Active Discovery
Who we are
The Team
Our Partners
Our Range
Our Range
Outdoor Play
New Products
Multi Play Units
Towers
Swings
Spinners & Carousels
Slides
Springers & Rockers
Cableways
Rope Play
Climbing & Balancing
Bouldering
Trampolines
Play Houses
Play Panels
Musical
Sand & Water Play
Bike Track
Dog Parks
Sports
Playmaster Range
Multiplay Units
Playmaster Units
Baby
Mini
Gnome Village
Kahute
Hut Meadow
Kinglo
Flora
Aquarius
Ellipsum
Nature
Extra
Atomiq
Organiq
Dino
Aquatic
Tetto
Jungle
Motion
Witch
Playmaster
All Ages
Junior & Early Childhood
Inclusive
Rustic
Senior
Play Spaces
Inclusive Play
Nature Play
Schools
Early Learning
Themed Play
Bushland
City & Transport
Marine Explorers
Outer Space Adventures
Aussie Outback & Farm Life
Fitness & Park Furniture
Ninja Courses
Fitness Elements
Fitness Stations
Park Furniture
Indoor Play
Interactive Play Systems
Wallgames
Play Systems
Play Houses
Play Corners
IKC Arctic
IKC Monster
Kids Furniture
Softplay
Fences
International Senior Concepts
Surfacing
New Products
PlayMatta
Product Category
Projects
Catalogues
Play Matta
Play Matta Safety
Play Matta Re-Cover
Play Matta Maintenance
PVC Recycling
Creative Juice
Bespoke
Inclusive
Imaginative
Nature
Sensory
News
Who we are
The Team
Our Partners
Our Range
Product Category
Projects
Catalogues
Play Matta
Play Matta Safety
Play Matta Re-Cover
Play Matta Maintenance
PVC Recycling
Creative Juice
Bespoke
Inclusive
Imaginative
Nature
Sensory
News
Contact
0
items
Quote List
X
No products in the list
Contact
2037 Free Standing Slide
Home
Our Range
Outdoor Play
Slides
2037 Free Standing Slide
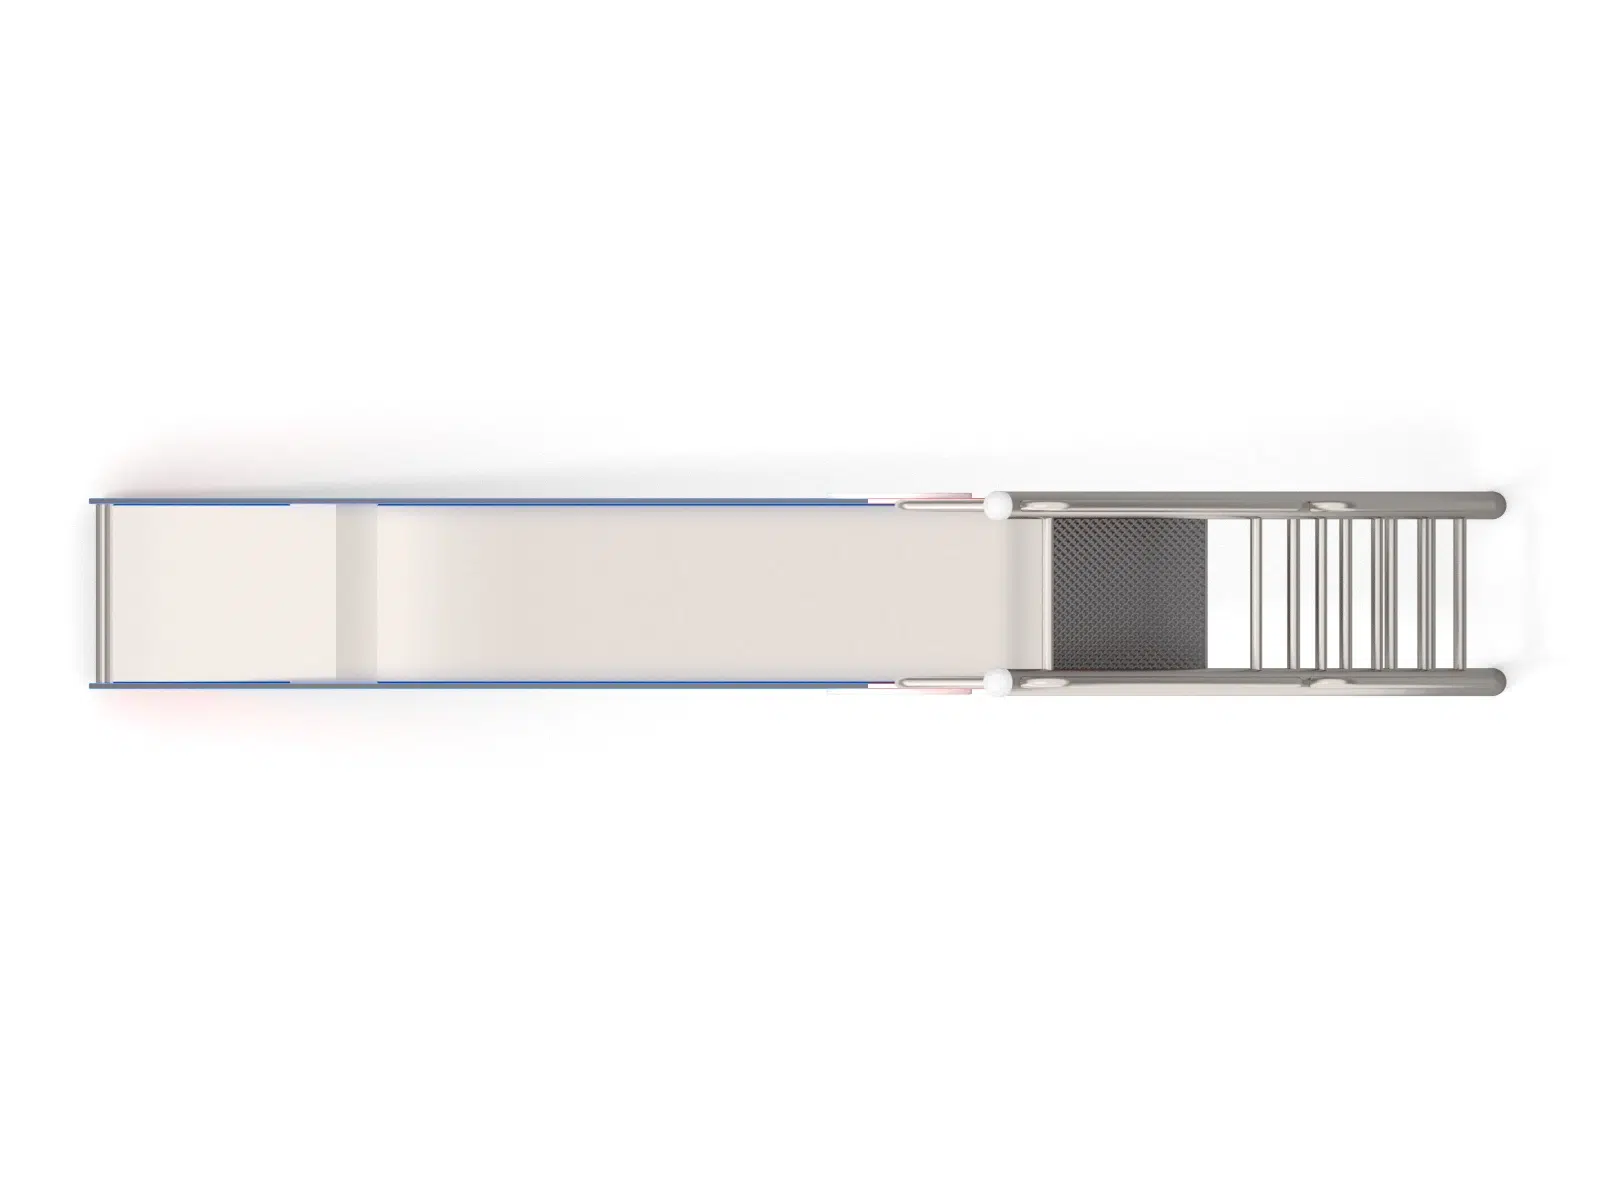
2037 Free Standing Slide
Product Specifications
Height:
2.67m
Width:
0.57m
Length:
3.98m
Fall Zone Area:
26m
2
Free Height of Fall:
1.80m
Downloads
2D CAD DWG
Add to quote
This product is already in your quote
View the Quote
Product Code:
2037
Category
Slides
Partner
Buglo
Related Products
2034
Florist/ Mechanic Shop
Height:
1.28m
Width:
0.2m
Length:
2.22m
Fall Zone Area:
21.92m
2
2034
Florist/ Mechanic Shop
Height:
1.28m
Width:
0.2m
Length:
2.22m
Fall Zone Area:
21.92m
2
View Product
Add to quote
This product is already in your quote
View the Quote
2032
Play House
Height:
1.2m
Width:
1.22m
Length:
1.22m
Fall Zone Area:
17.8m
2
Free Height of Fall:
0.94m
2032
Play House
Height:
1.2m
Width:
1.22m
Length:
1.22m
Fall Zone Area:
17.8m
2
Free Height of Fall:
0.94m
View Product
Add to quote
This product is already in your quote
View the Quote
7001
Mini Treehouse
Height:
2.18m
Width:
1.94m
Length:
2.87m
Fall Zone Area:
28.99m
2
7001
Mini Treehouse
Height:
2.18m
Width:
1.94m
Length:
2.87m
Fall Zone Area:
28.99m
2
View Product
Add to quote
This product is already in your quote
View the Quote
6310-5-9V24-1A
Basketball Backboard & Ring
Height:
3.85m
Width:
2.3m
Length:
1.5m
6310-5-9V24-1A
Basketball Backboard & Ring
Height:
3.85m
Width:
2.3m
Length:
1.5m
View Product
Add to quote
This product is already in your quote
View the Quote