

Mini Tractor
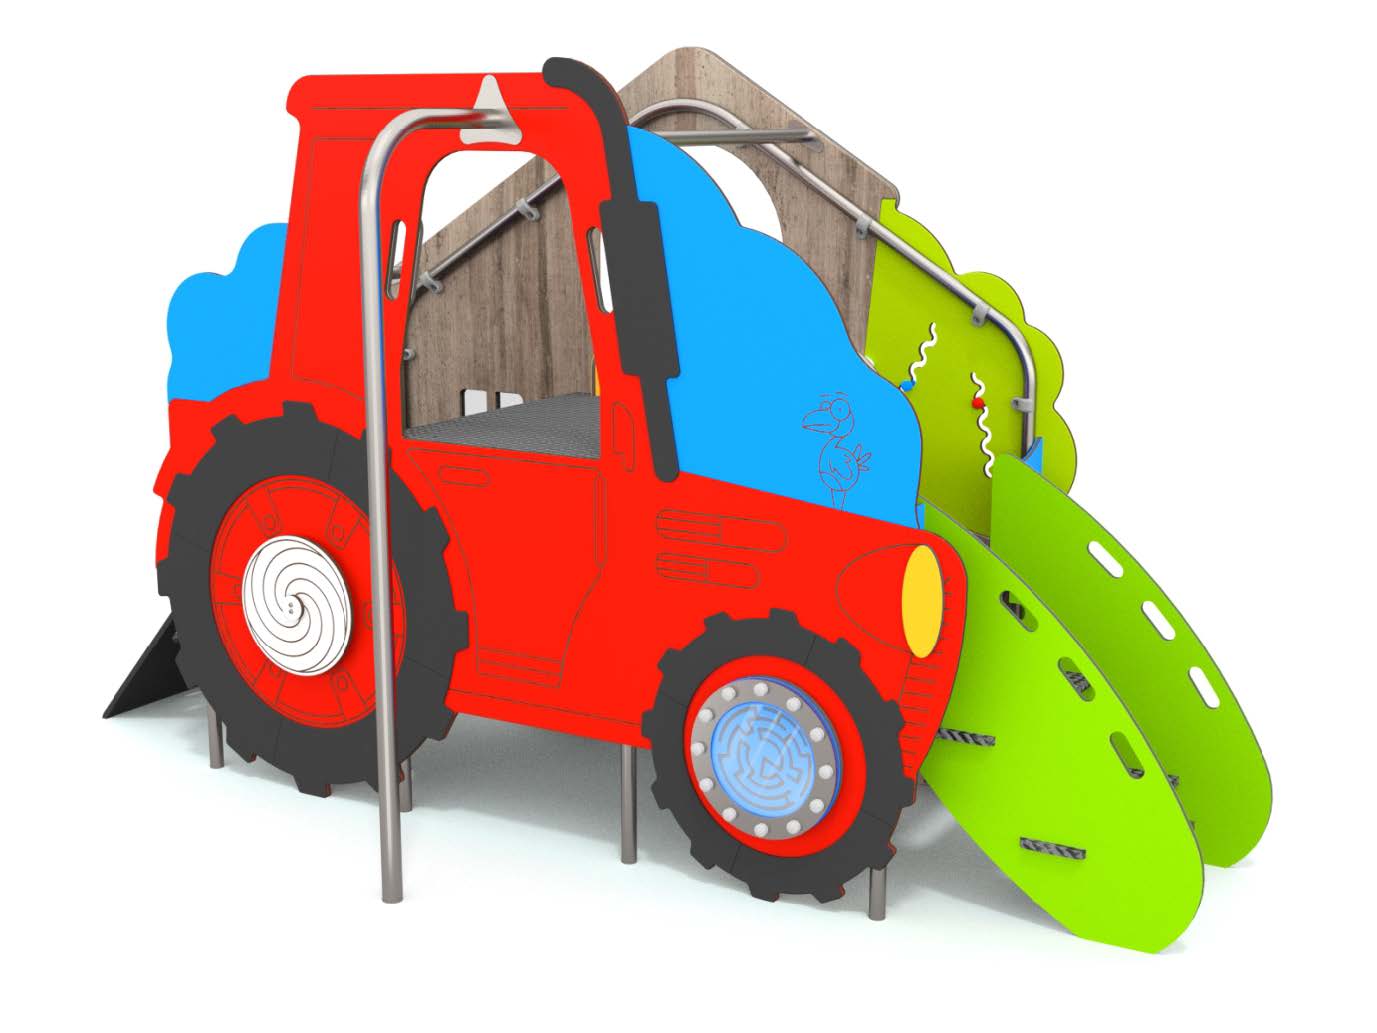
Mini Tractor
Product Specifications
- Height: 1.78m
- Width: 6.03m
- Length: 6.16m
- Fall Zone Area: 26m2
- Free Height of Fall: 0.90m
Downloads
Related Products
- SY 12-1006-S11
Farm Slide & Play
Height: 3.16m Width: 2.19m Length: 3.31m Fall Zone Area: 25m2 Free Height of Fall: 1.11m  SY 12-1006-S11
Farm Slide & Play
Height: 3.16m Width: 2.19m Length: 3.31m Fall Zone Area: 25m2 Free Height of Fall: 1.11m - RE-348
Warthog Springer
Height: 0.99m Width: 0.39m Length: 0.87m Fall Zone Area: 8m2 Free Height of Fall: 0.42m  RE-348
Warthog Springer
Height: 0.99m Width: 0.39m Length: 0.87m Fall Zone Area: 8m2 Free Height of Fall: 0.42m - 9309
Crocodile Organiq
Height: 2.10m Width: 8.65m Length: 11.15m Fall Zone Area: 10.8m2 Free Height of Fall: 2.10m  9309
9309Crocodile Organiq
Height: 2.10m Width: 8.65m Length: 11.15m Fall Zone Area: 10.8m2 Free Height of Fall: 2.10m - 9310
Flamingo Organiq
Height: 4.20m Width: 3.70m Length: 4.99m Fall Zone Area: 39.8m2 Free Height of Fall: 2.00m 9310Flamingo Organiq
Height: 4.20m Width: 3.70m Length: 4.99m Fall Zone Area: 39.8m2 Free Height of Fall: 2.00m


