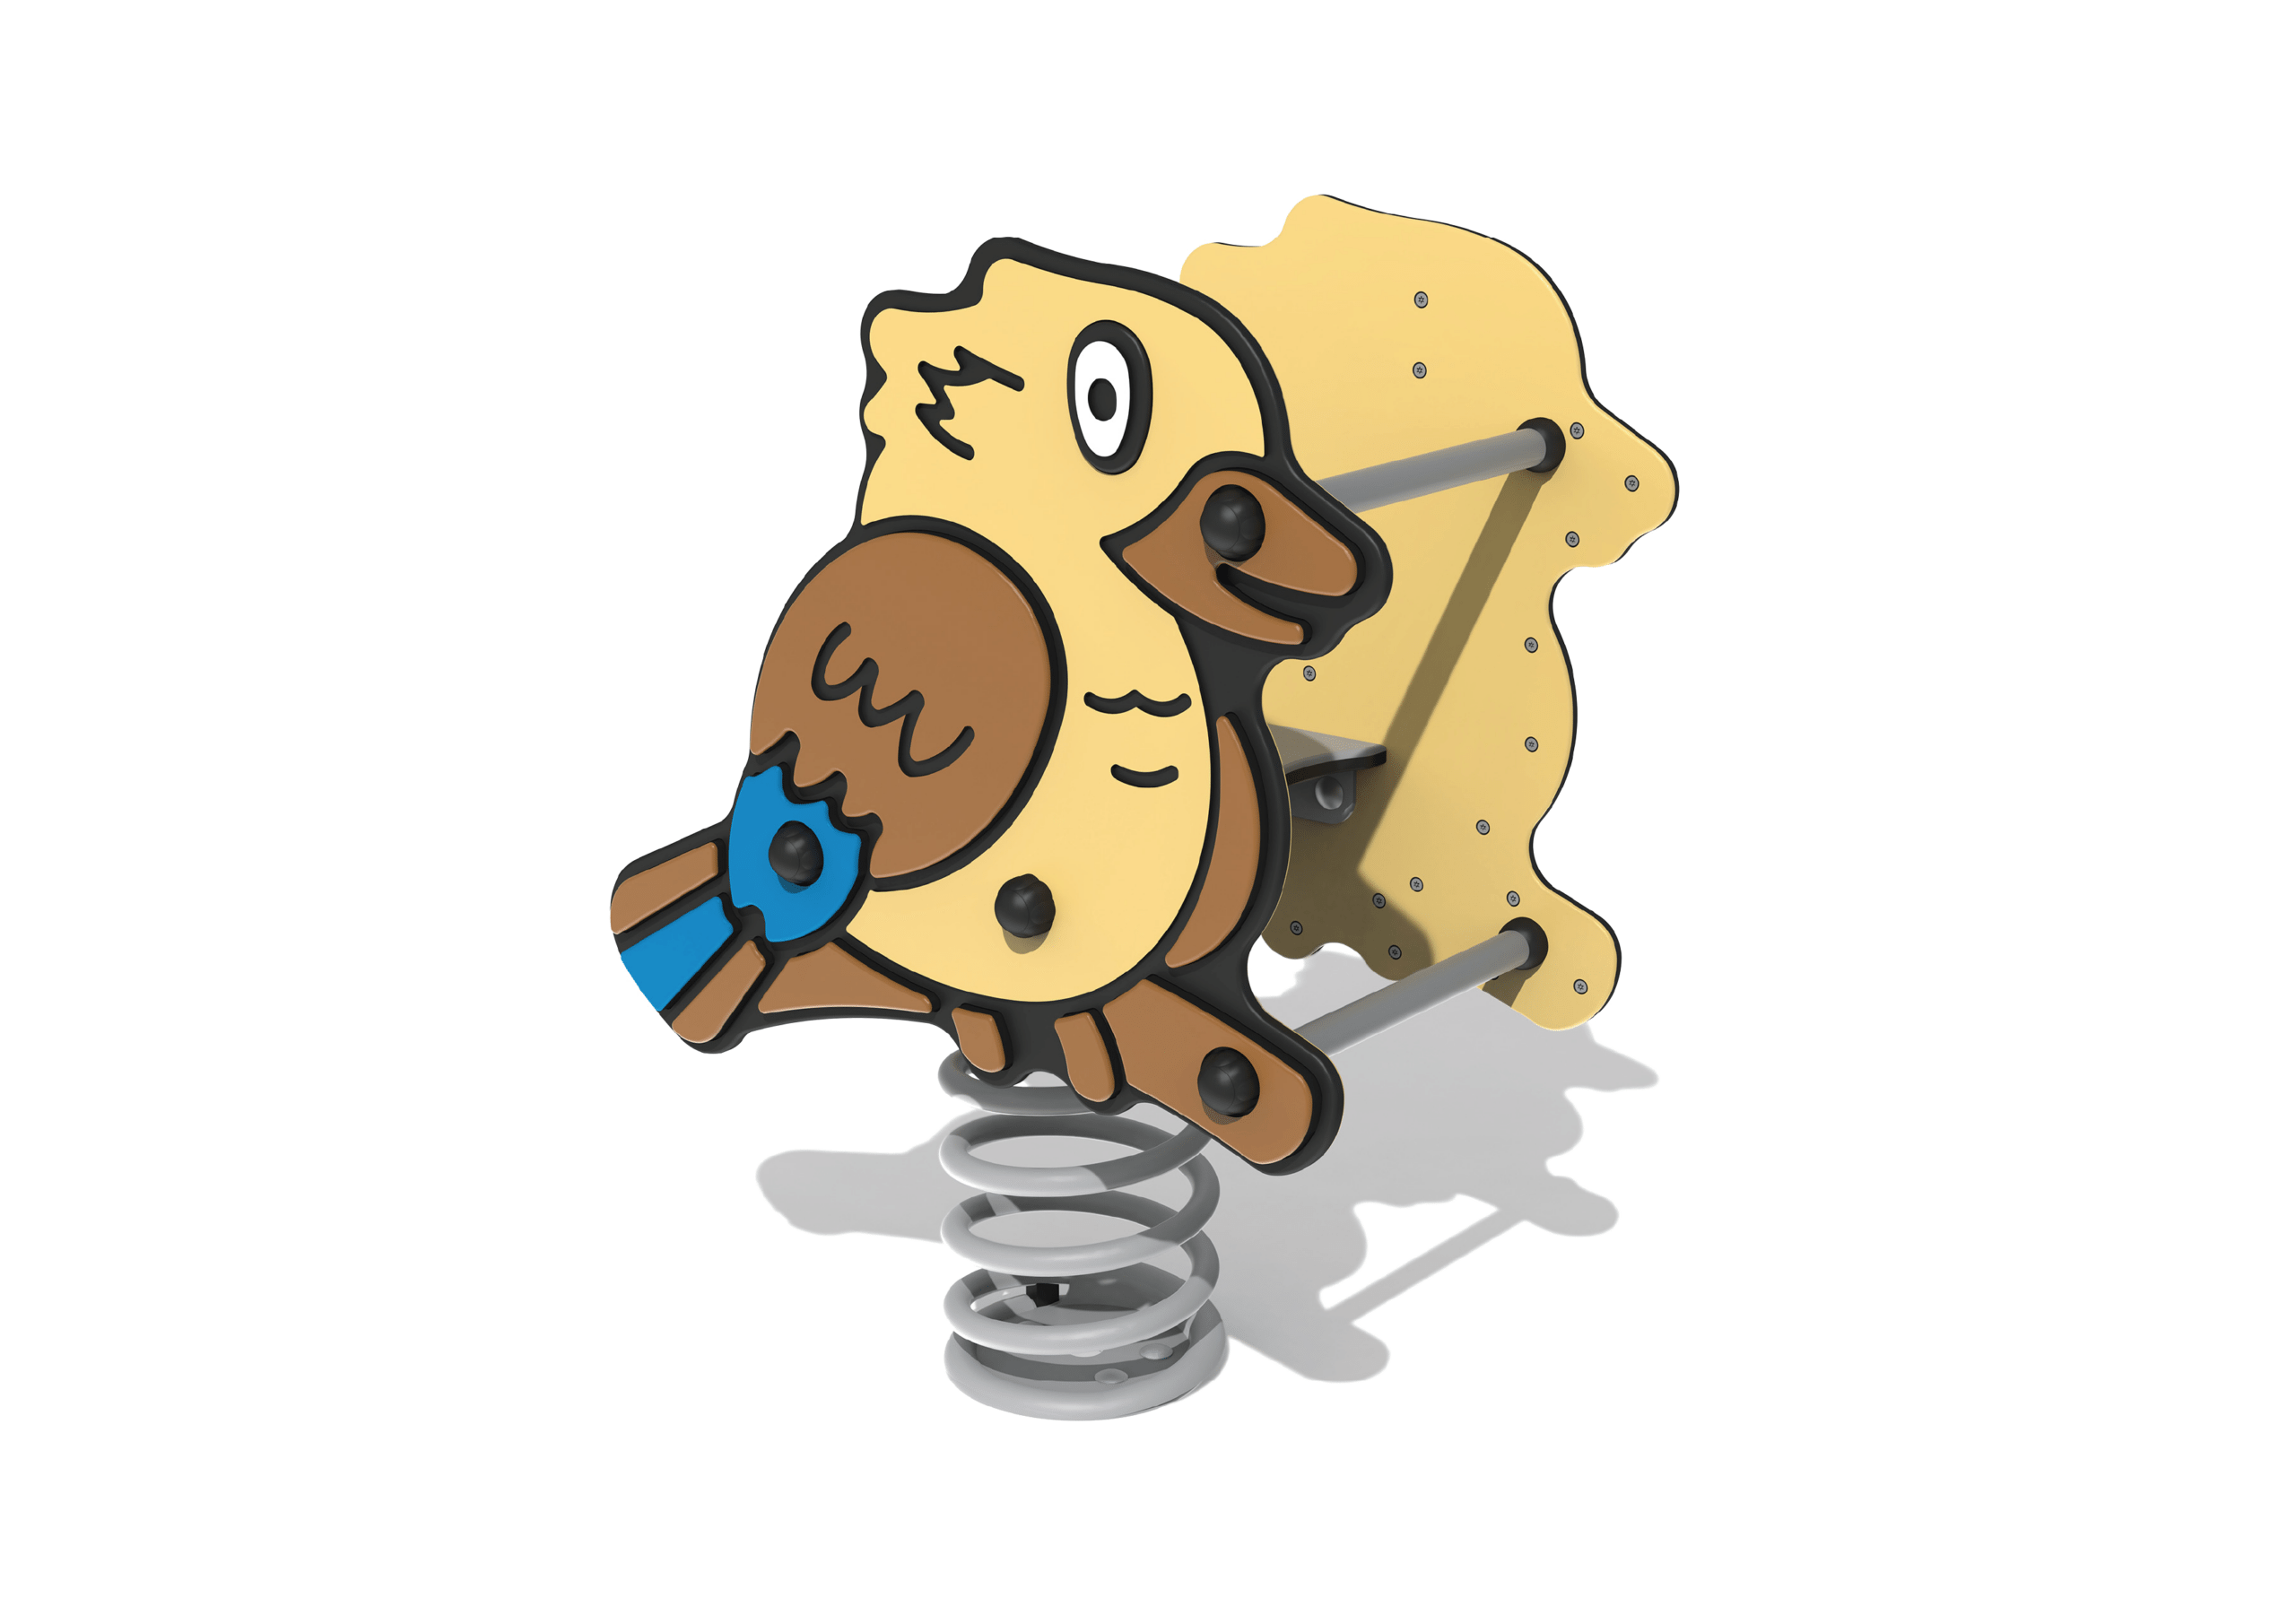
| Height: | 2.55m |
| Width: | 3.35m |
| Length: | 2.35m |
| Fall Zone Area: | 32.00m2 |
| Free Height of Fall: | 0.65m |
| Height: | 2.55m |
| Width: | 3.35m |
| Length: | 2.35m |
| Fall Zone Area: | 32.00m2 |
| Free Height of Fall: | 0.65m |
| Height: | 5.50m |
| Width: | 3.60m |
| Length: | 11.20m |
| Fall Zone Area: | 103.00m2 |
| Free Height of Fall: | 2.30m |
| Height: | 5.50m |
| Width: | 3.60m |
| Length: | 11.20m |
| Fall Zone Area: | 103.00m2 |
| Free Height of Fall: | 2.30m |
| Height: | 5.10m |
| Width: | 4.60m |
| Length: | 8.55m |
| Fall Zone Area: | 67.0m2 |
| Free Height of Fall: | 3.00m |
| Height: | 5.10m |
| Width: | 4.60m |
| Length: | 8.55m |
| Fall Zone Area: | 67.0m2 |
| Free Height of Fall: | 3.00m |
| Height: | 4.30m |
| Width: | 6.65m |
| Length: | 9.25m |
| Fall Zone Area: | 151.00m2 |
| Free Height of Fall: | 1.80m |
| Height: | 4.30m |
| Width: | 6.65m |
| Length: | 9.25m |
| Fall Zone Area: | 151.00m2 |
| Free Height of Fall: | 1.80m |
