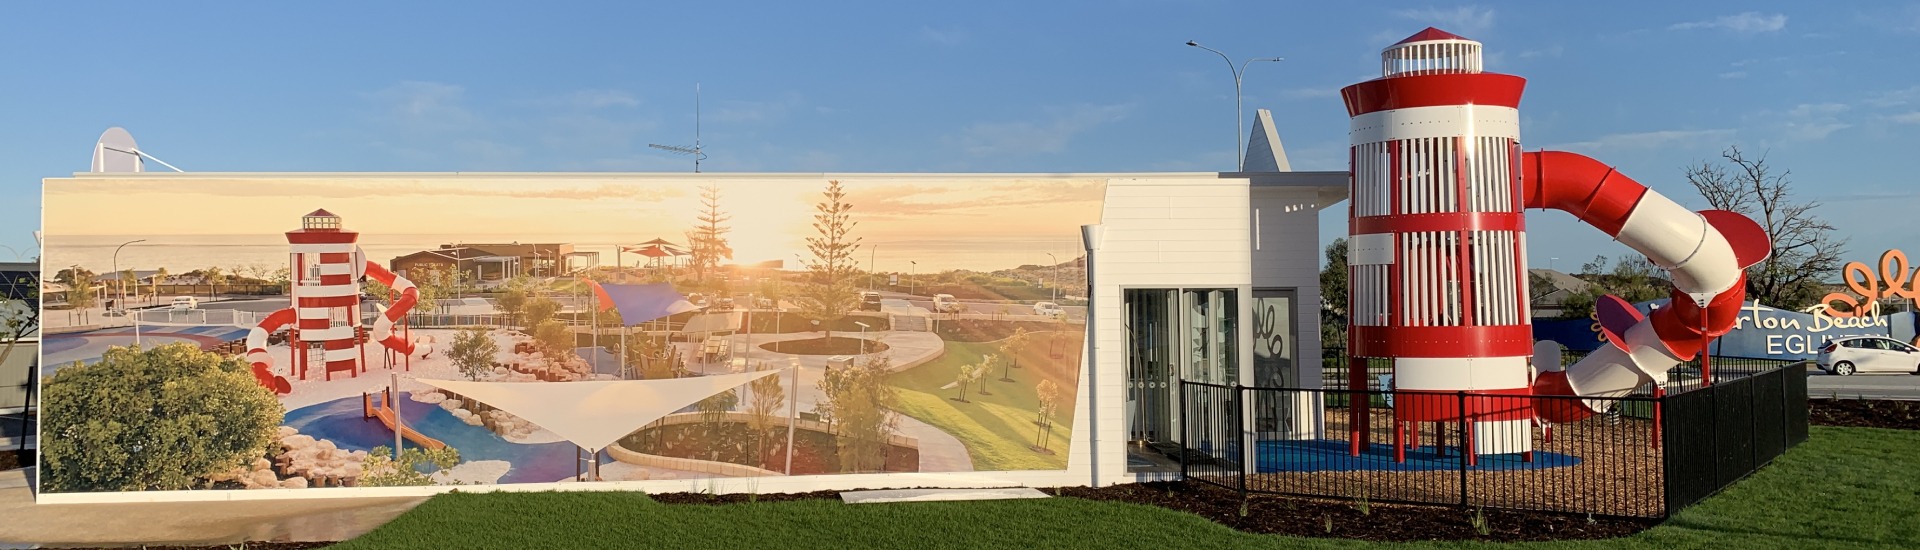
The City Watch Tower
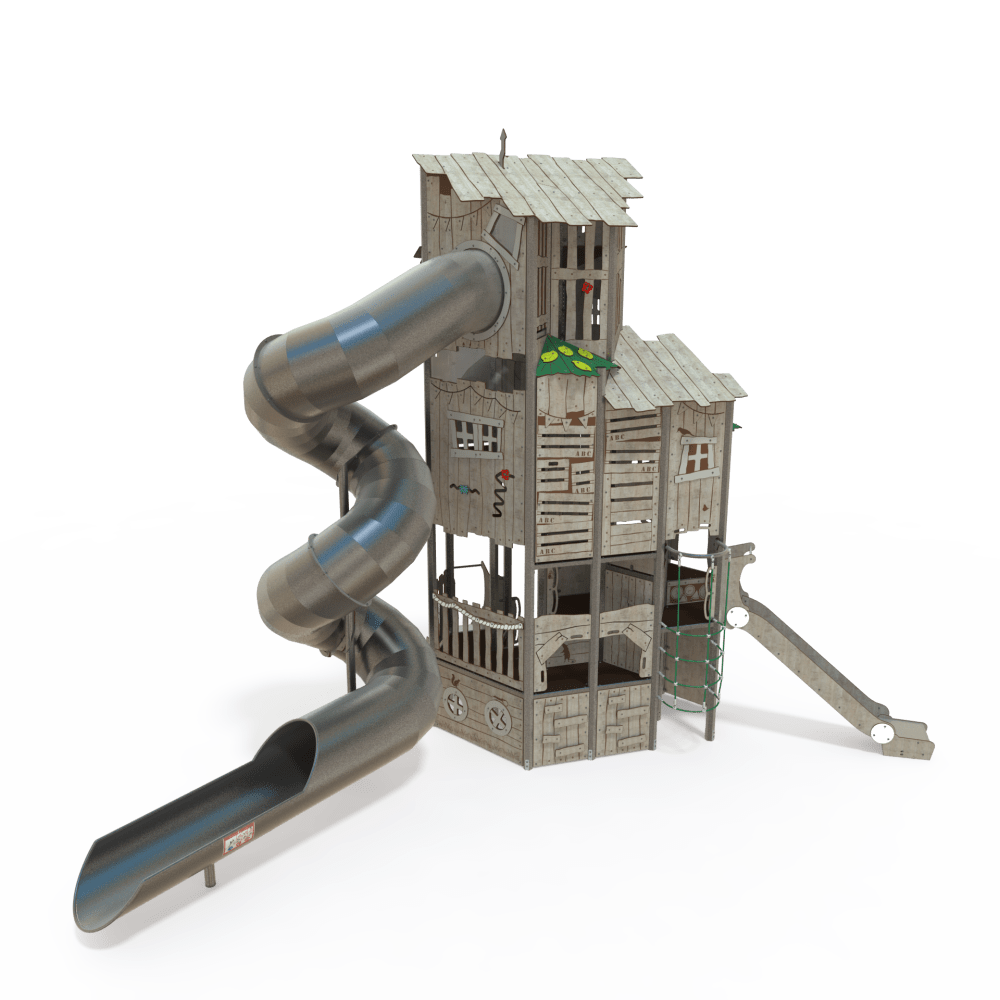

The City Watch Tower
Product Specifications
- Height: 6.39m
- Width: 6.11m
- Length: 6.98m
- Fall Zone Area: 58m2
- Free Height of Fall: 1.67m
Downloads
Related Products
- AGFS 207
The Fantastic Series 1
Height: 9.45m Width: 3.30m Length: 12.00m Fall Zone Area: 80.00m2 Free Height of Fall: 2.20m  AGFS 207
The Fantastic Series 1
Height: 9.45m Width: 3.30m Length: 12.00m Fall Zone Area: 80.00m2 Free Height of Fall: 2.20m - GGWS 1010
Witch Series 9
Height: 9.20m Width: 10.15m Length: 10.20m Fall Zone Area: 135.00m2 Free Height of Fall: 0.95m GGWS 1010Witch Series 9
Height: 9.20m Width: 10.15m Length: 10.20m Fall Zone Area: 135.00m2 Free Height of Fall: 0.95m - MGBS 105-P
The Biggies Series 105-P
Height: 9.00m Width: 12.00m Length: 15.00m Fall Zone Area: 134m2 Free Height of Fall: 2.5m MGBS 105-PThe Biggies Series 105-P
Height: 9.00m Width: 12.00m Length: 15.00m Fall Zone Area: 134m2 Free Height of Fall: 2.5m - AGFS 207-P
The Fantastic Series 2
Height: 9.45m Width: 6.65m Length: 3.65m Fall Zone Area: 60.00m2 Free Height of Fall: 2.20m AGFS 207-PThe Fantastic Series 2
Height: 9.45m Width: 6.65m Length: 3.65m Fall Zone Area: 60.00m2 Free Height of Fall: 2.20m


