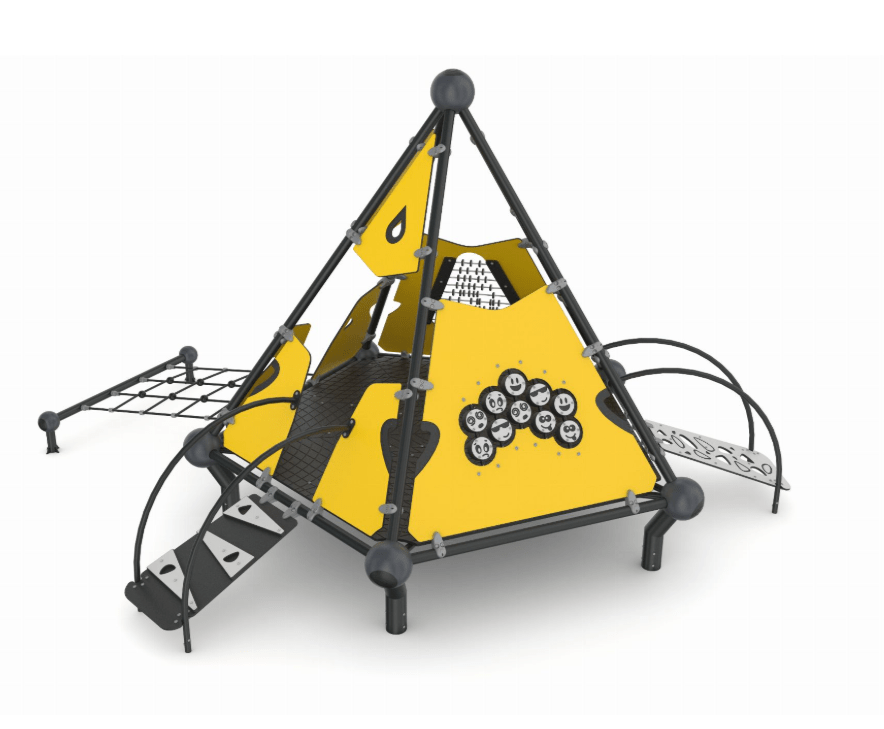
Pirate Play Unit

Pirate Play Unit
Product Specifications
- Height: 3.11m
- Width: 2.43m
- Length: 4.35m
- Fall Zone Area: 30m2
- Free Height of Fall: 1.11m
Downloads
Related Products
- MGMS 102
The Motion Series 102
Height: 4.50m Width: 2.25m Length: 4.65m Fall Zone Area: 33.2m2 Free Height of Fall: 2.00m  MGMS 102
The Motion Series 102
Height: 4.50m Width: 2.25m Length: 4.65m Fall Zone Area: 33.2m2 Free Height of Fall: 2.00m - GGJS 1021
The Jungle Series 9
Height: 2.55m Width: 3.35m Length: 2.35m Fall Zone Area: 32.00m2 Free Height of Fall: 0.65m GGJS 1021The Jungle Series 9
Height: 2.55m Width: 3.35m Length: 2.35m Fall Zone Area: 32.00m2 Free Height of Fall: 0.65m - GGWS 1010-P
Witch Series 8
Height: 9.20m Width: 6.30m Length: 10.25m Fall Zone Area: 135.00m2 Free Height of Fall: 0.95m GGWS 1010-PWitch Series 8
Height: 9.20m Width: 6.30m Length: 10.25m Fall Zone Area: 135.00m2 Free Height of Fall: 0.95m - GGJS 1023
The Jungle Series 10
Height: 2.90m Width: 4.80m Length: 3.50m Fall Zone Area: 42.00m2 Free Height of Fall: 0.65m  GGJS 1023
The Jungle Series 10
Height: 2.90m Width: 4.80m Length: 3.50m Fall Zone Area: 42.00m2 Free Height of Fall: 0.65m